Automations Tutorial
- Setting up Automations are simple in Craftify AI!
- Step 1: Head over to Automations from your Craftify AI dashboard
- Step 2: Configure your Automation
- Schedule your Automation
- Important Dates triggered Automation
- When something happens Automation
- Step 3: Choose an email to send
- Step 4: Configure when and how to send the email
- Step 5: Deactivate, or edit your Automation
Setting up Automations are simple in Craftify AI!
Using Automations with Craftify AI turns your CRM from a passive database into an active sales engine. Instead of manually tracking every lead, the system uses event-based triggers to ensure no opportunity slips through the cracks.
Automations are easy to set up and you can follow along in this short tutorial to learn how.
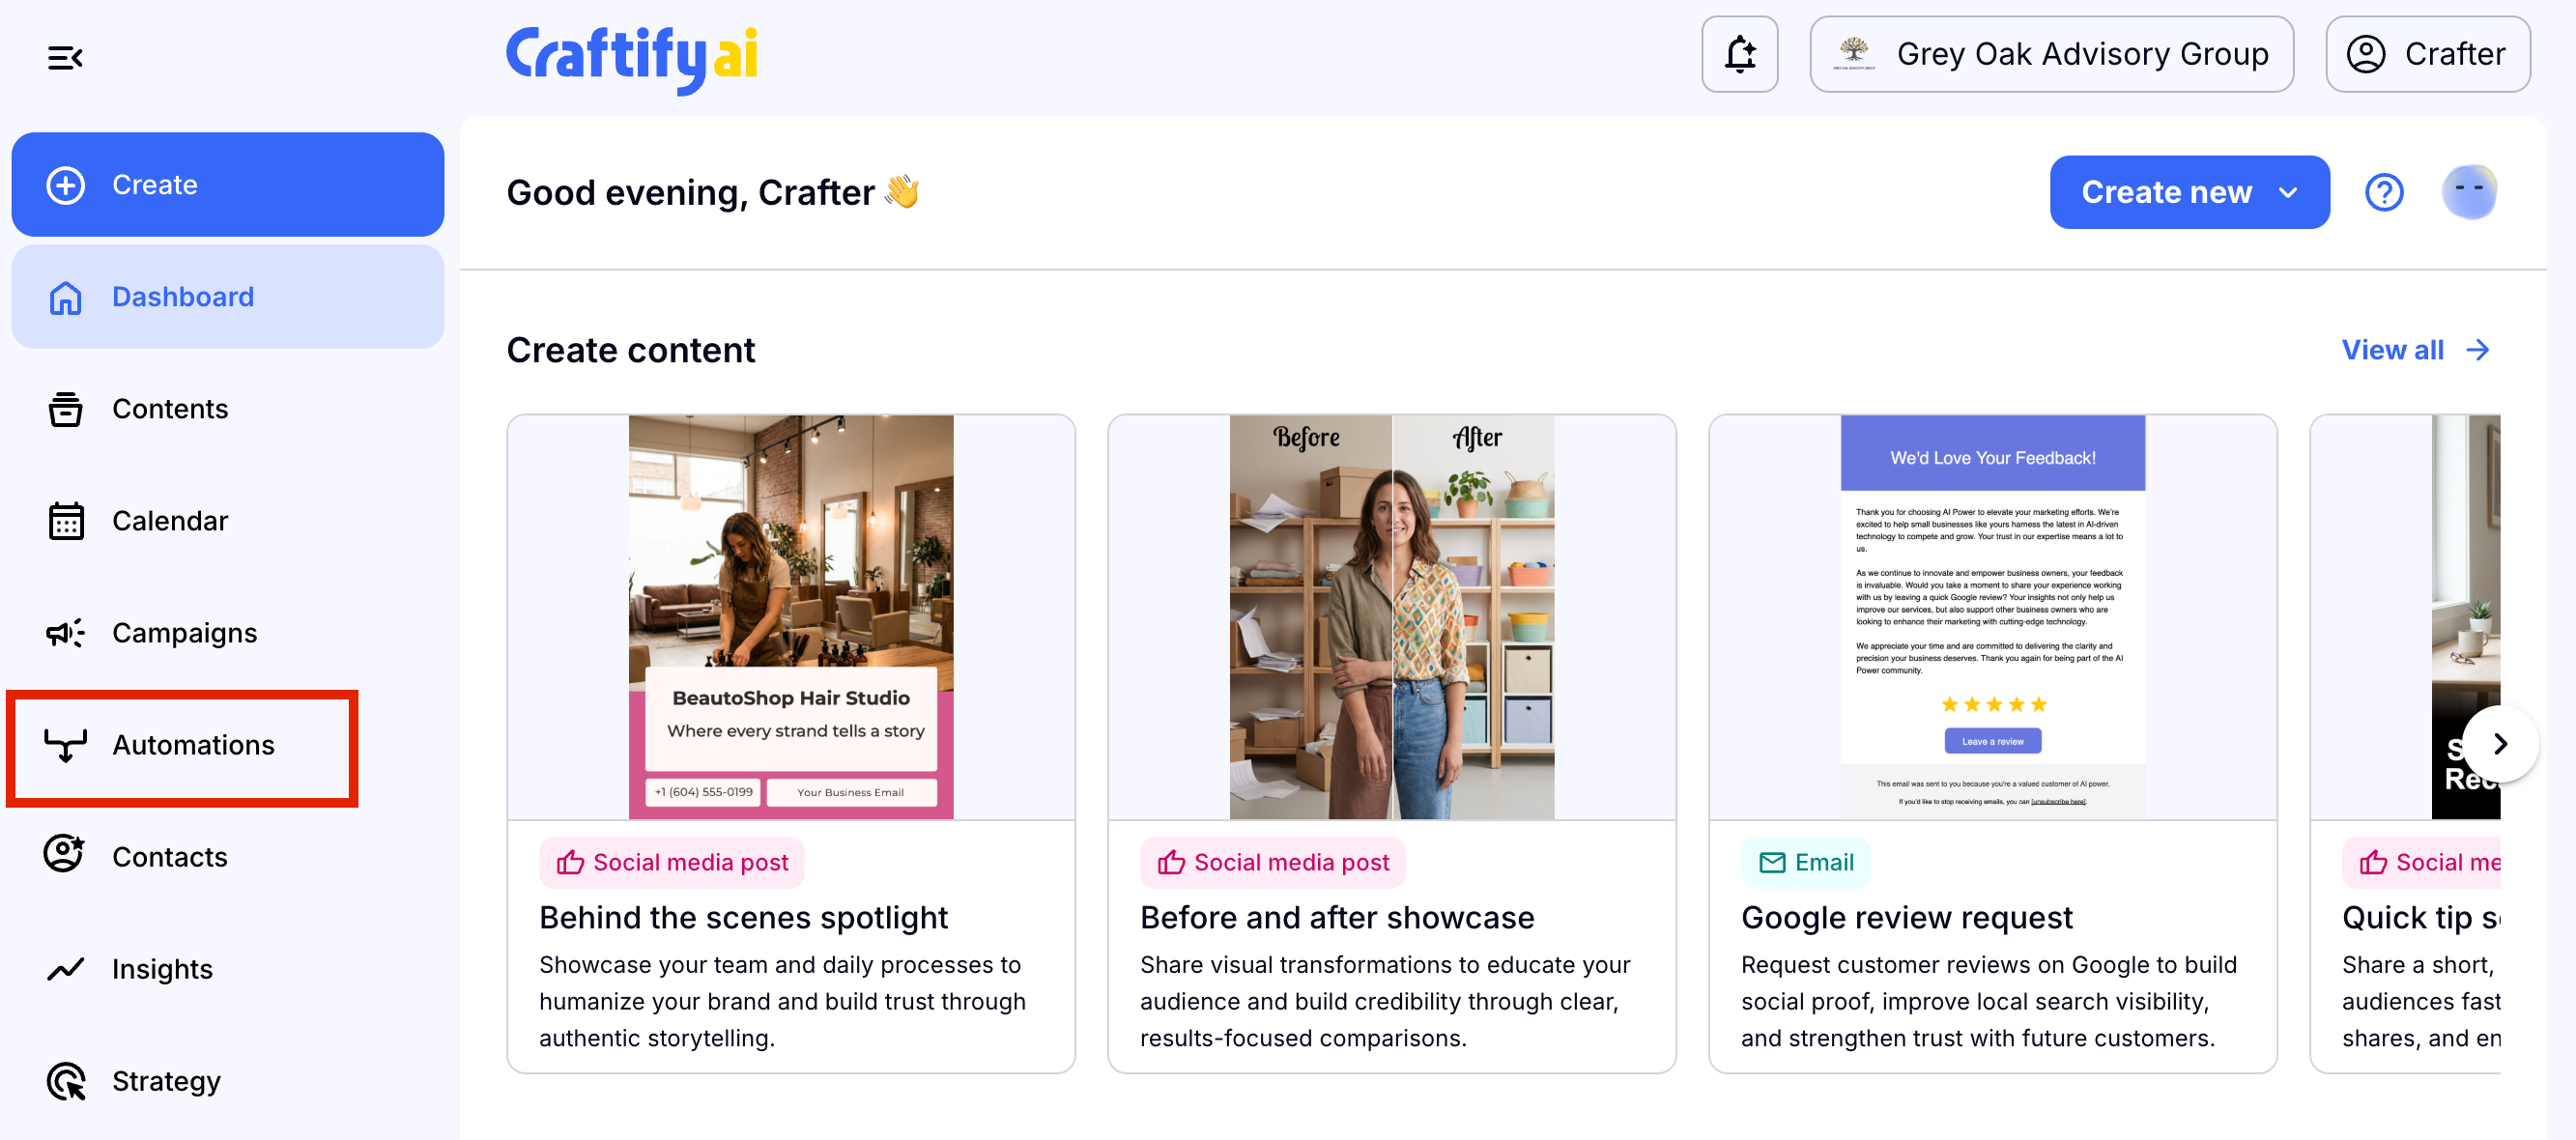
Step 1: Head over to Automations from your Craftify AI dashboard
Choose 'Automations' from the left-hand side menu.
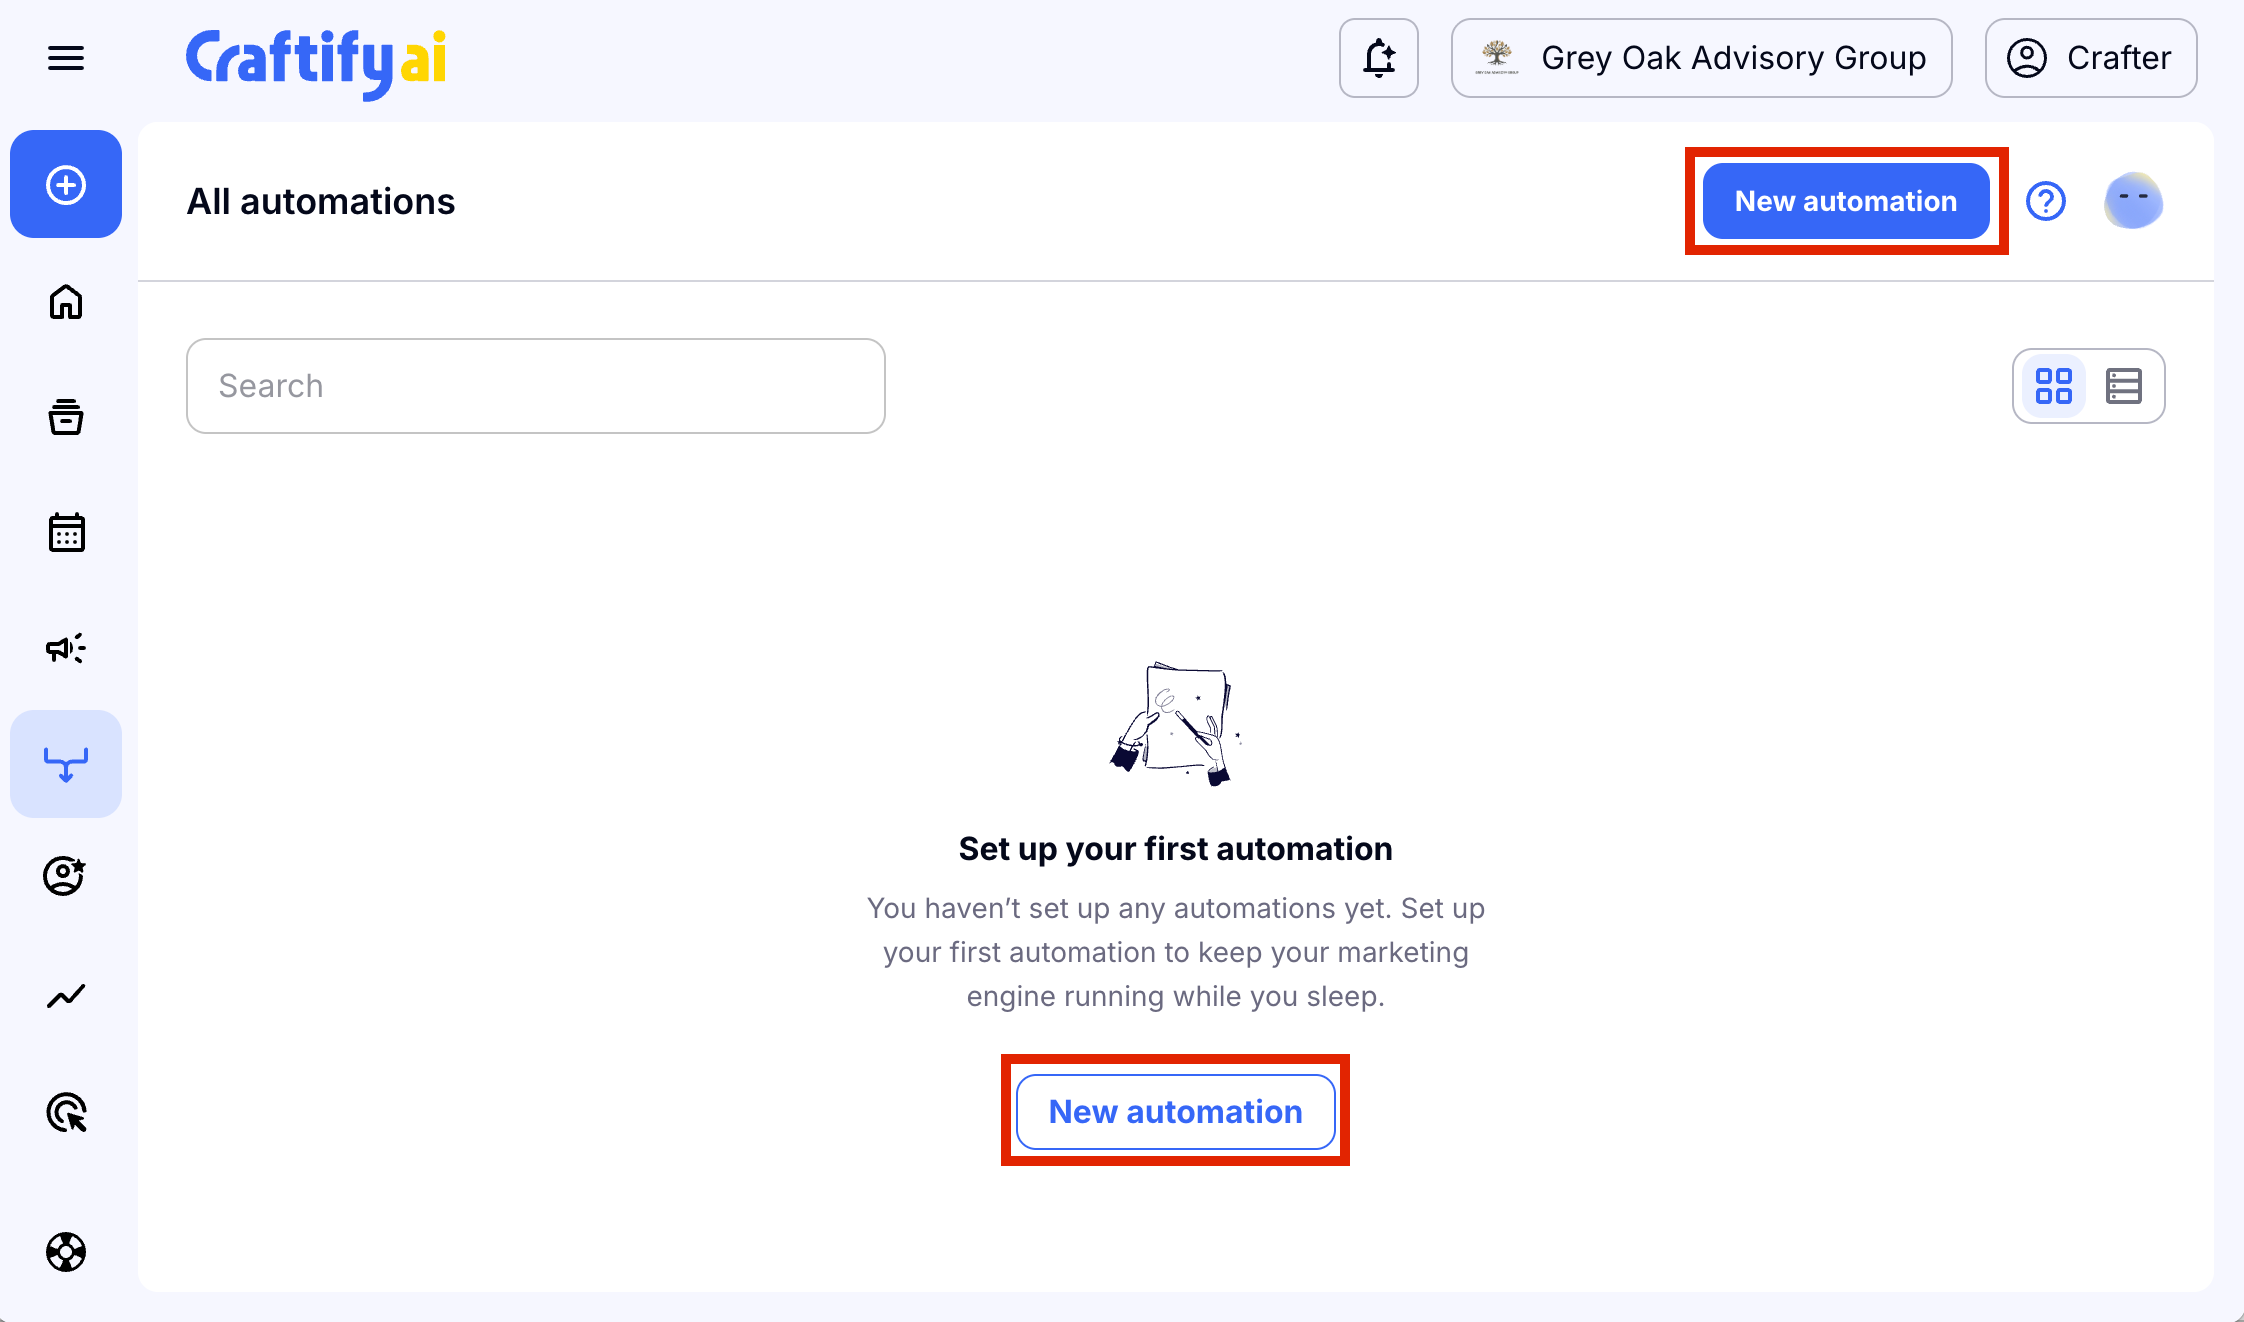
Now choose 'New Automation' to get started.
Step 2: Configure your Automation
Choose which type of Automation you would like to run. At the moment only Email is available, but many more types of Automations are coming soon! Choose 'Next' to continue.
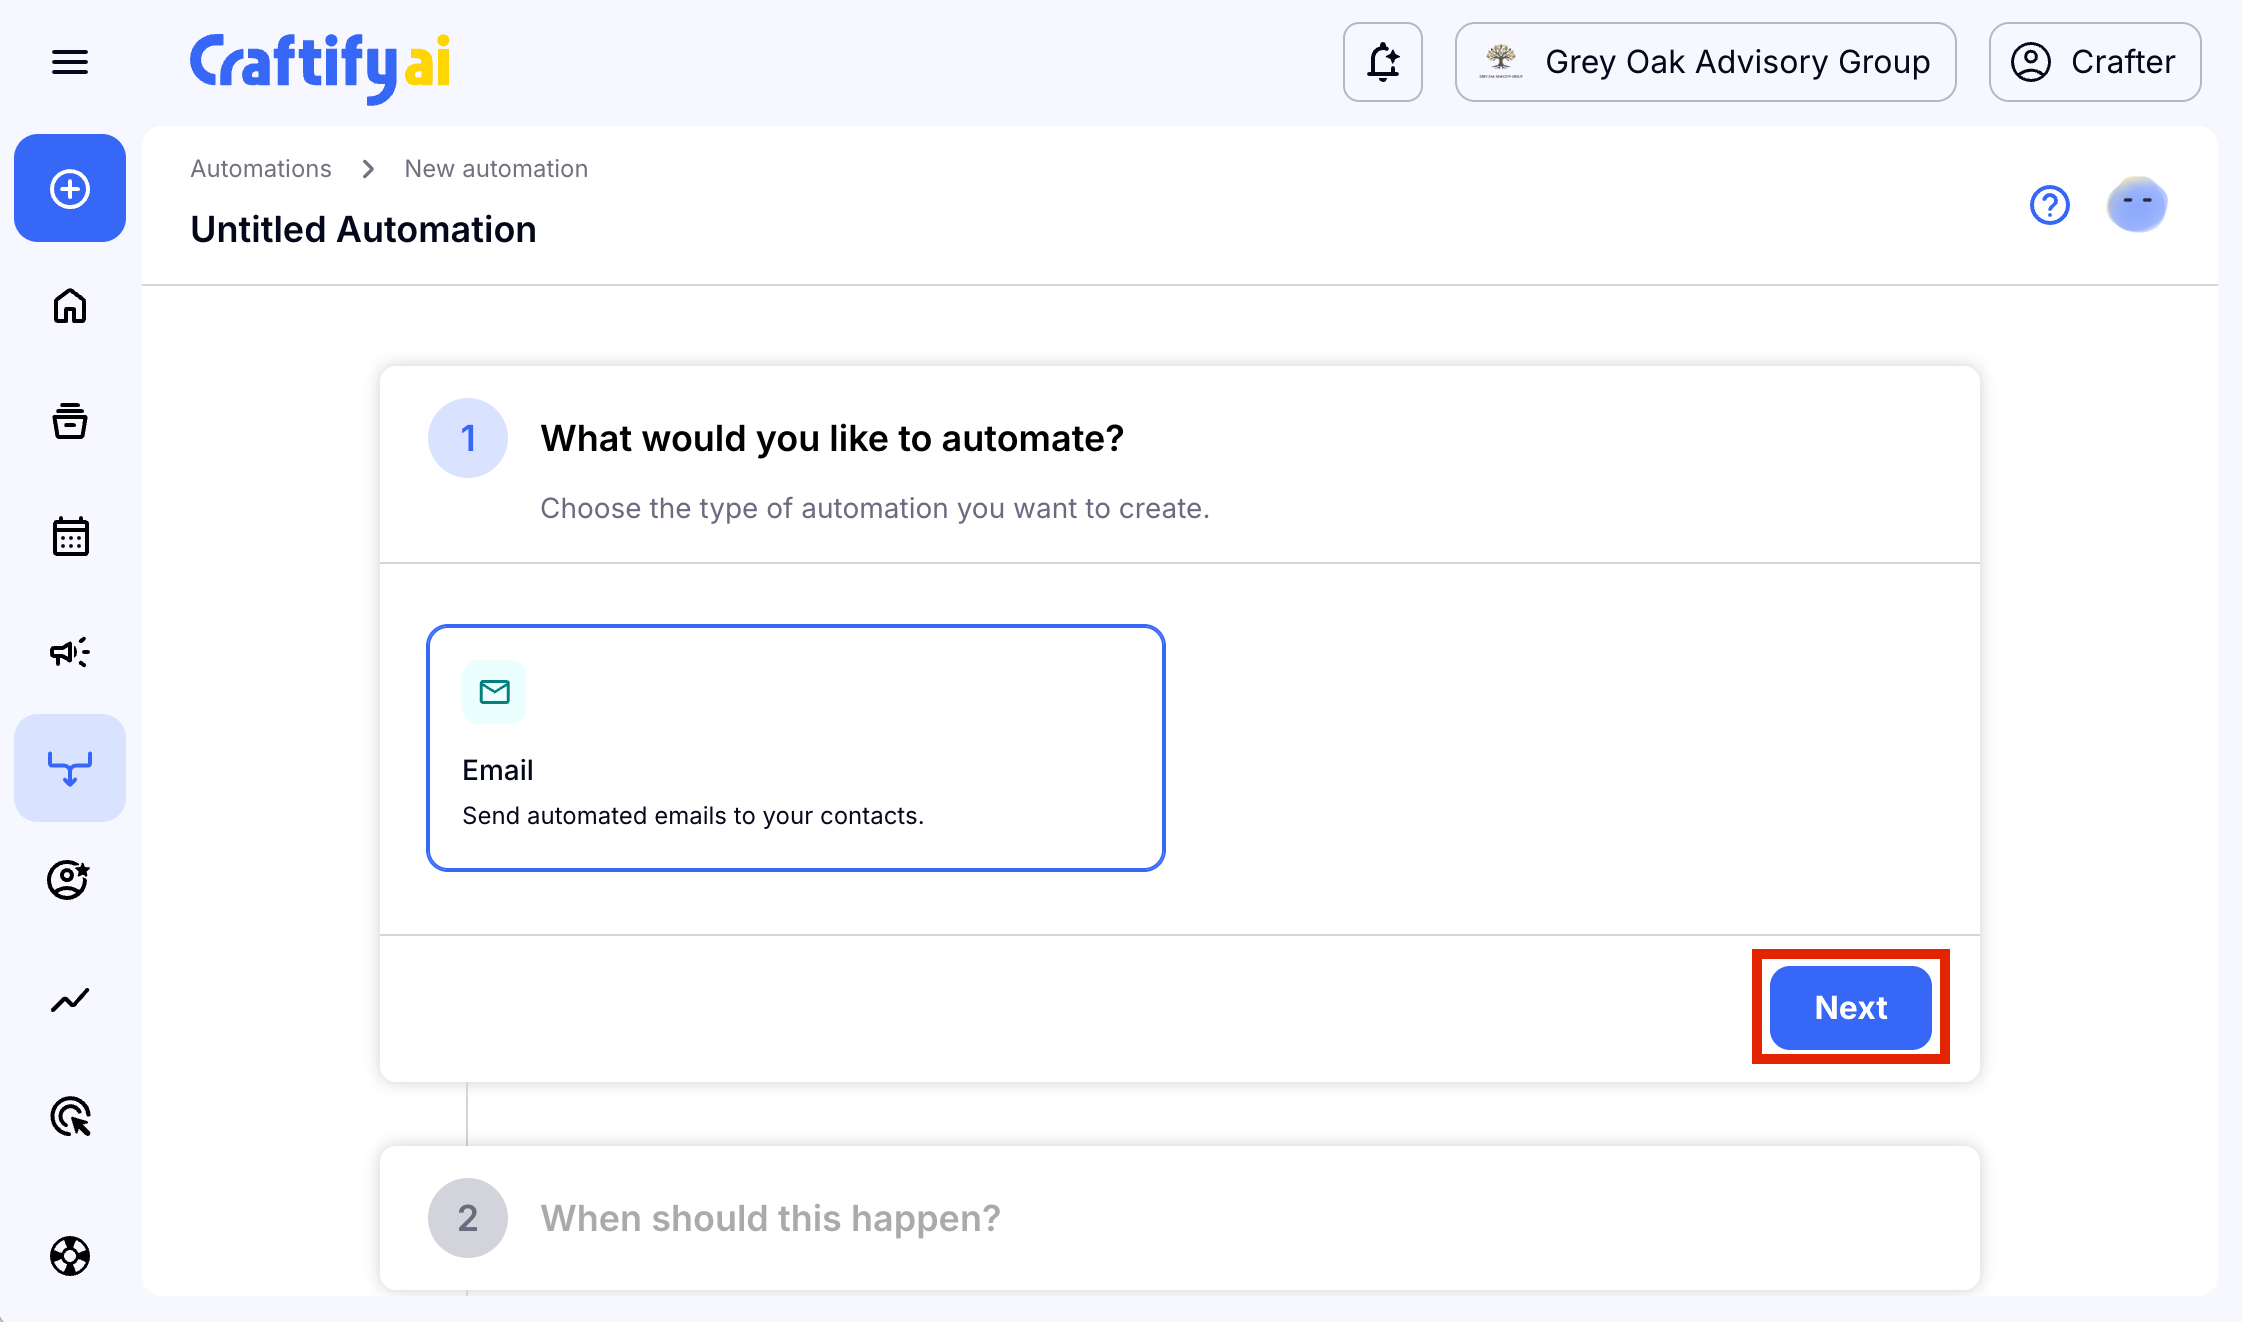
Now you must choose when an Automation should happen.
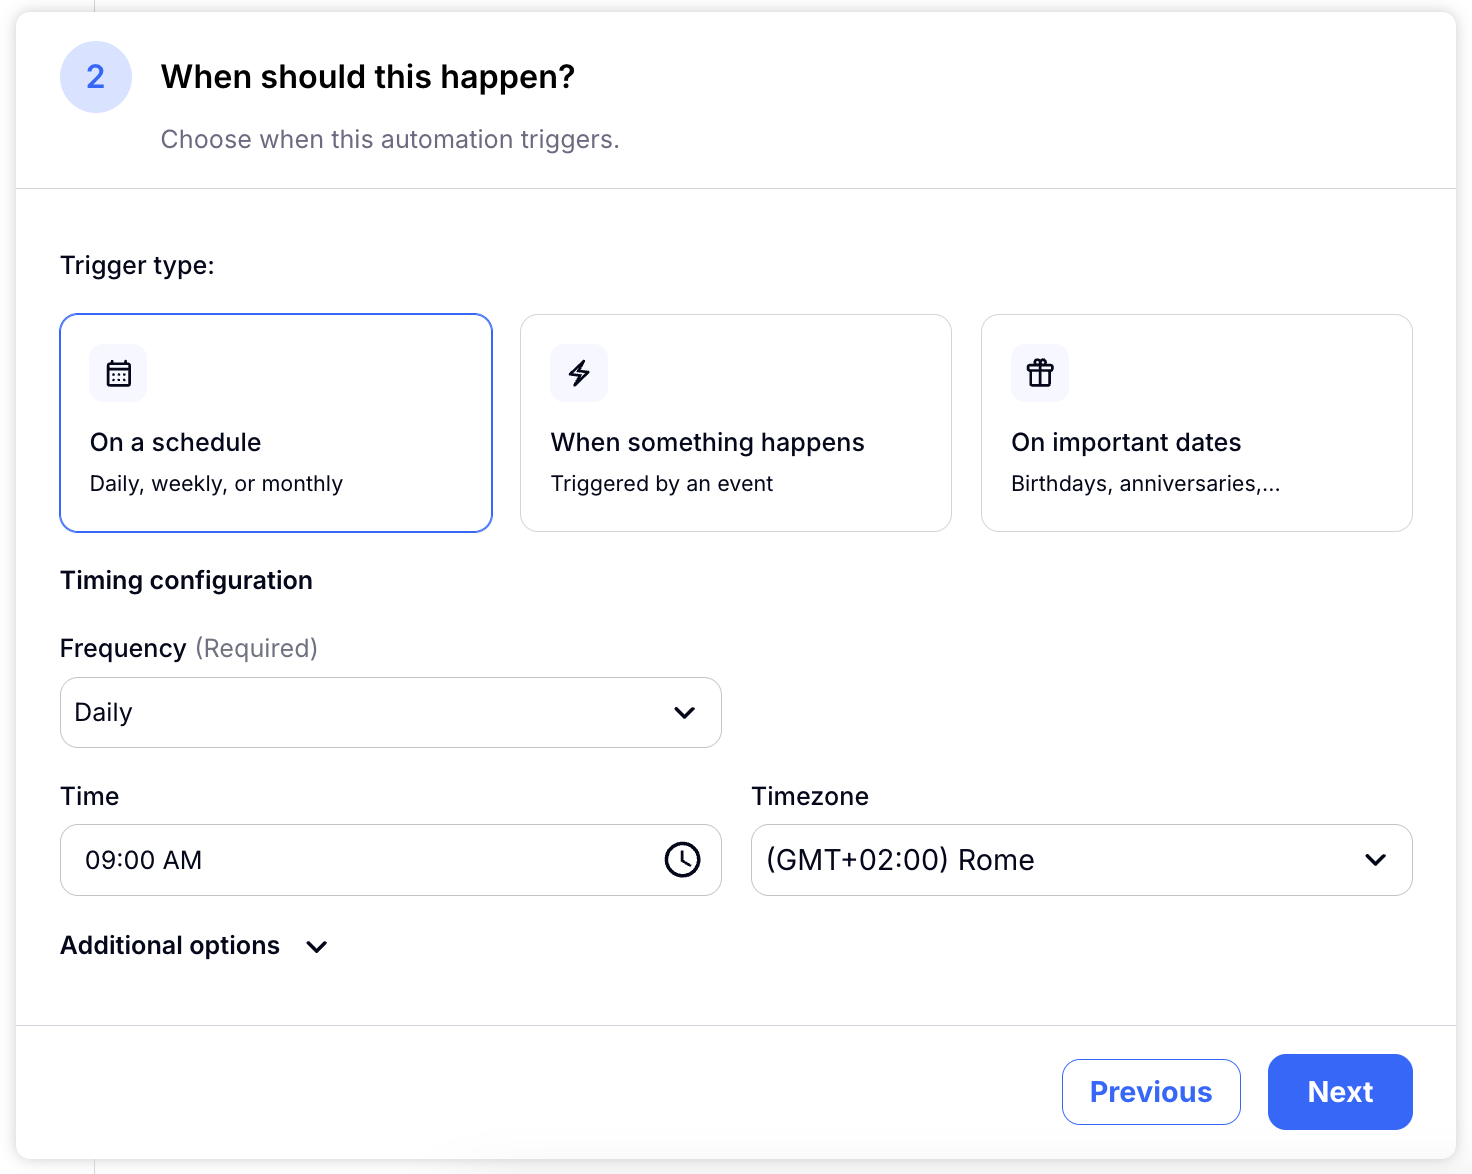
Schedule your Automation
This is what you will see when you choose a schedule for your automation. Do you want to send out a weekly reminder for your opening hours, or maybe you'd like to send out a monthly reminder about a subscription renewal? You can set that up here. Choose the frequency, time, and the time zone for the time chosen.
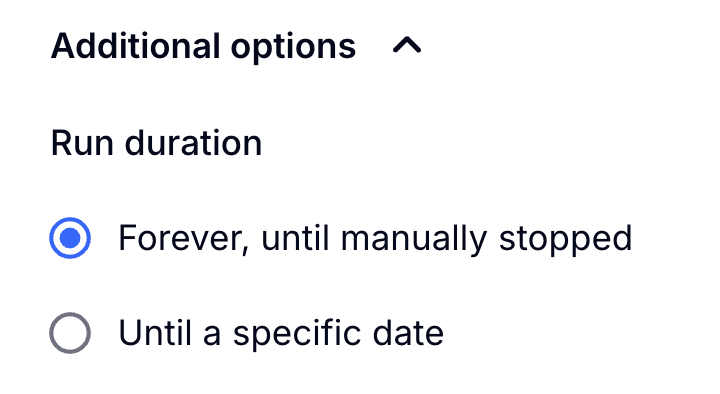
Additional options for your schedule is to choose for how long you would like to run this particular automation. Choose what's best for you.
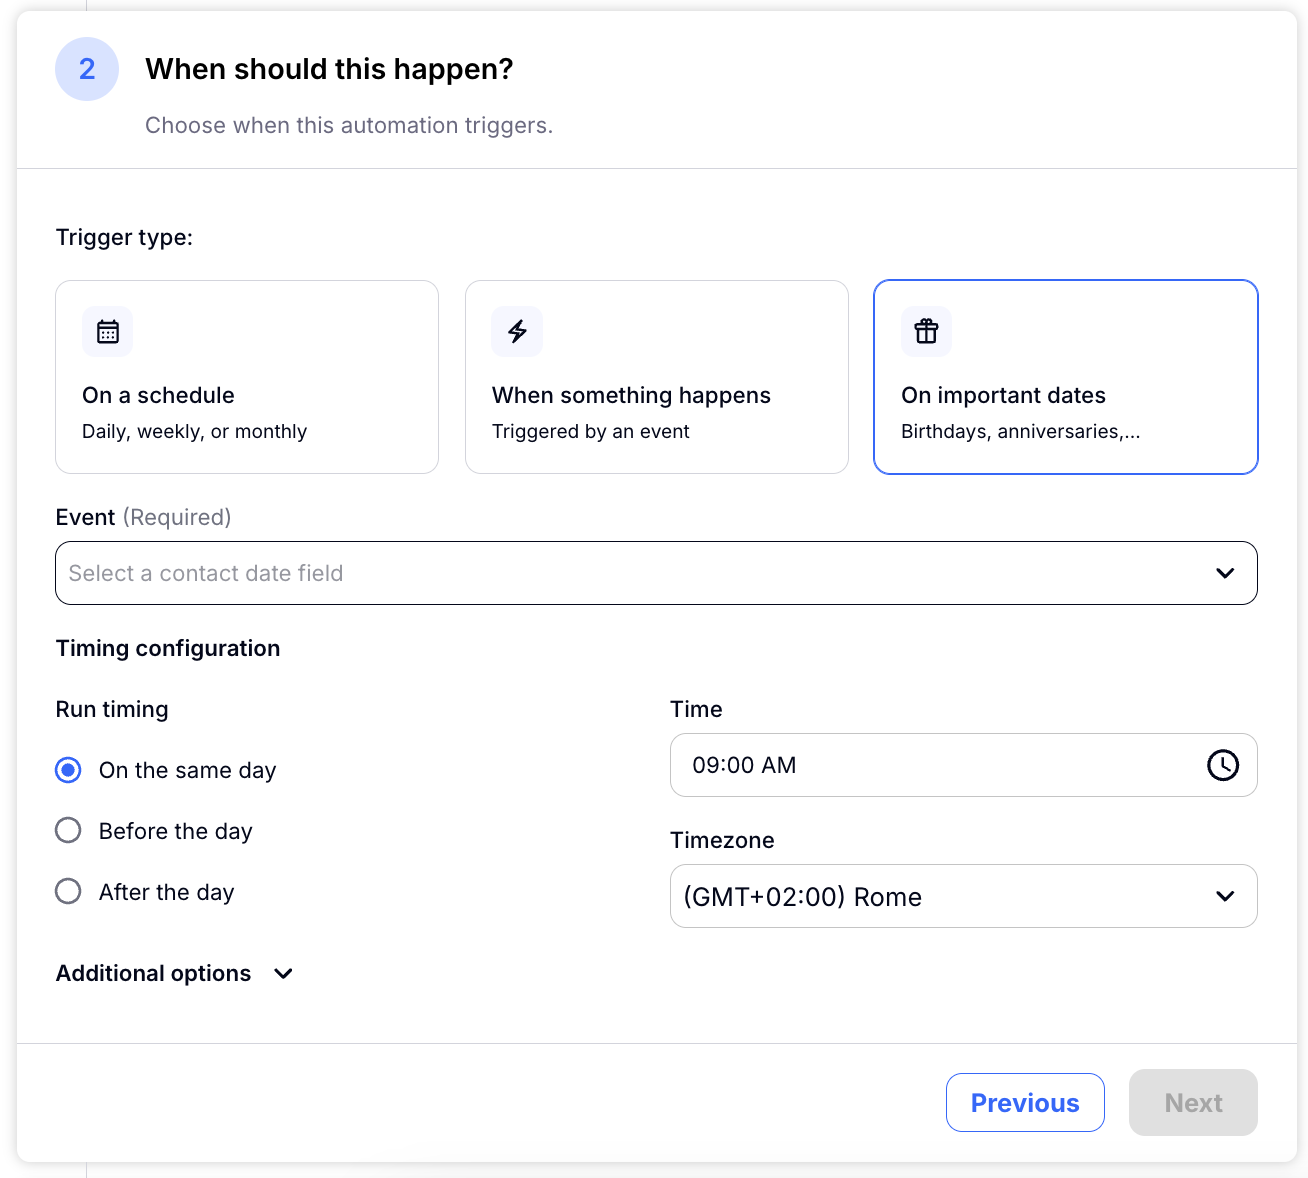
Important Dates triggered Automation
You can choose to send an automation only on important dates. This could be for a client's birthday, or anniversary, or for holidays.
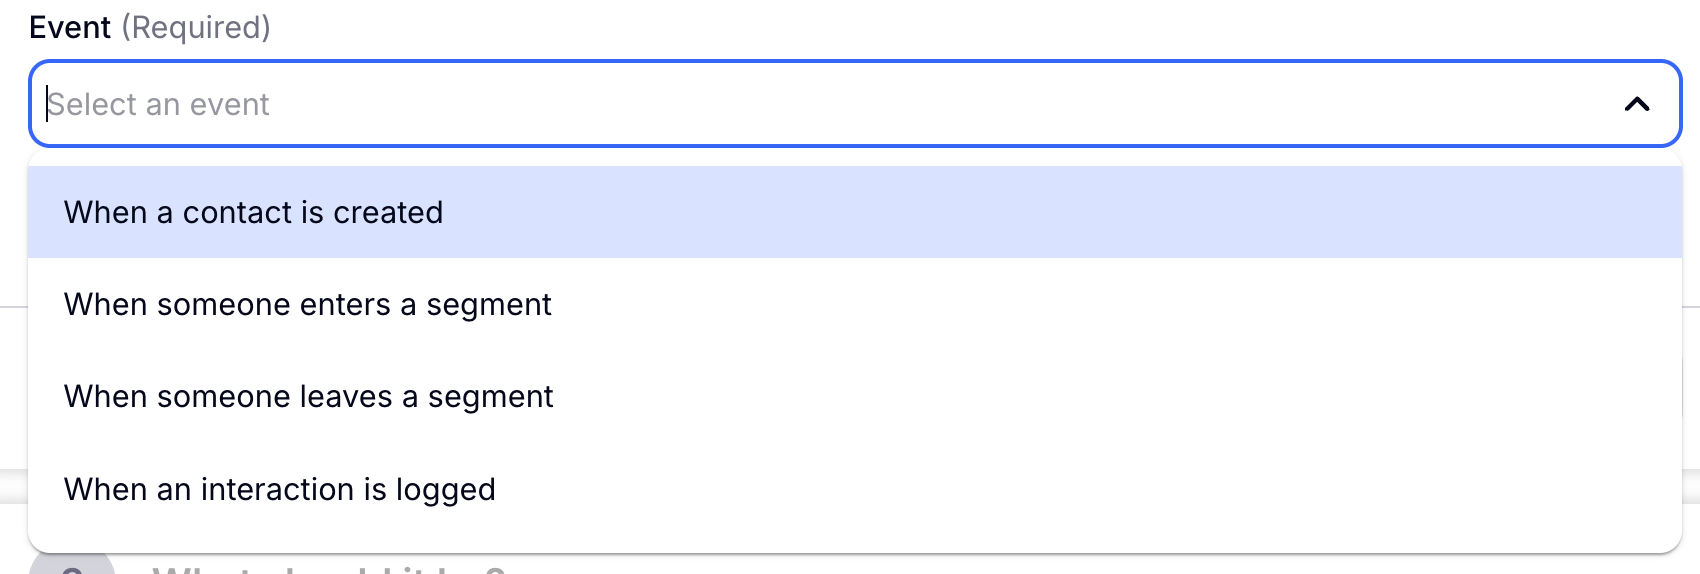
When something happens Automation
When something happens in your CRM, you can trigger specific automations that are very specific to your custom features in your Contacts.
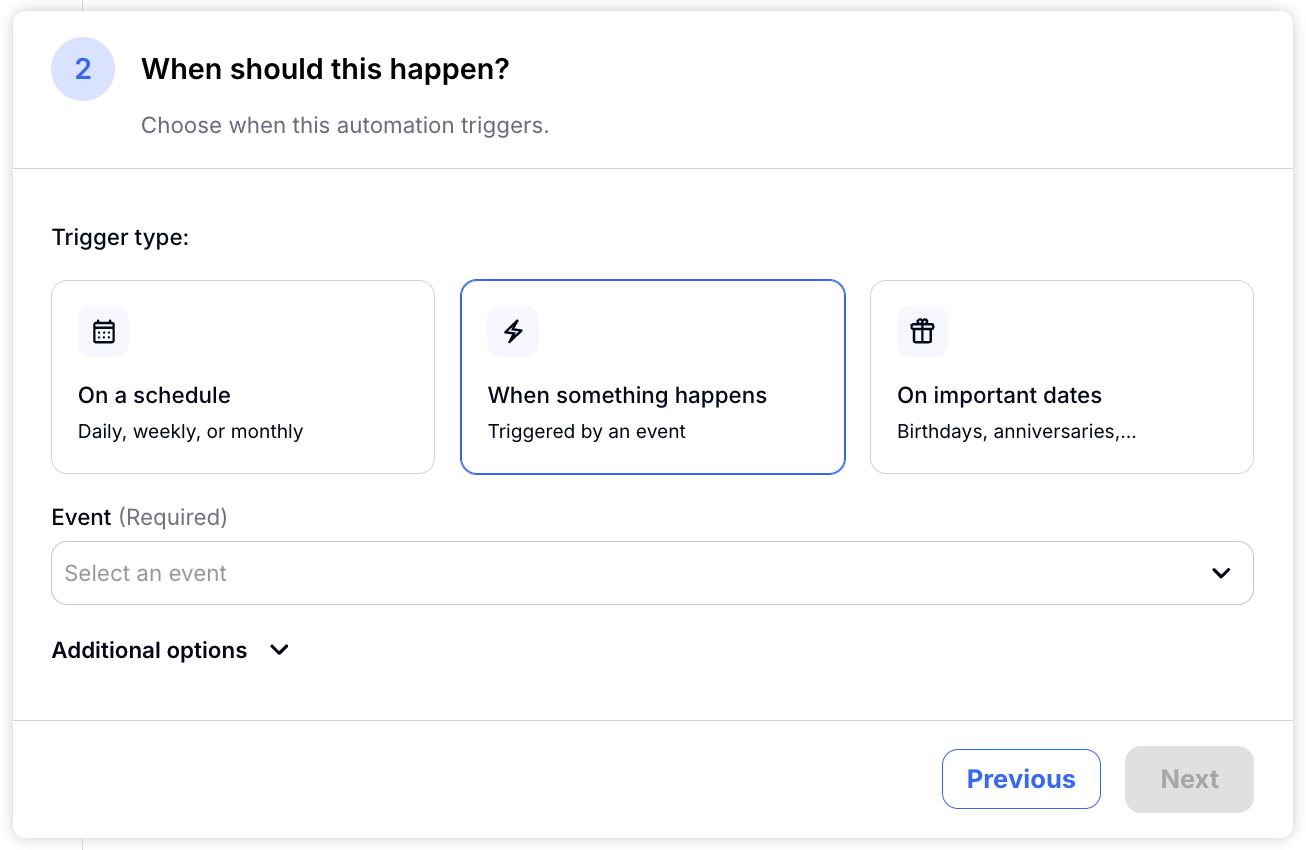
Choose the type of event that you'd like to base your Automation on. For this tutorial we will show you how to set up one for an Interaction Log. Choose 'Next' to continue.
Now you need to choose the Contact Type and Interaction Type to specify how you would like your Automation to run. The Contact Type will specify which types of Contacts in your system are eligible to get the automation, and then the type of interaction that happens will trigger when the contact will get the automated email.
Here you will see the automatic Contact Types and Interaction Types as well as the custom types that you may have created. If you would like to now how to create custom types, please see these tutorials:
Contacts Tutorial
Interaction Types Tutorial
Optional: use a filter for the note section of the Interaction Type. Every time you enter an Interaction Log on a specific contact, you can leave a note. Here you can enter keywords to always include or always exclude when creating your automation.
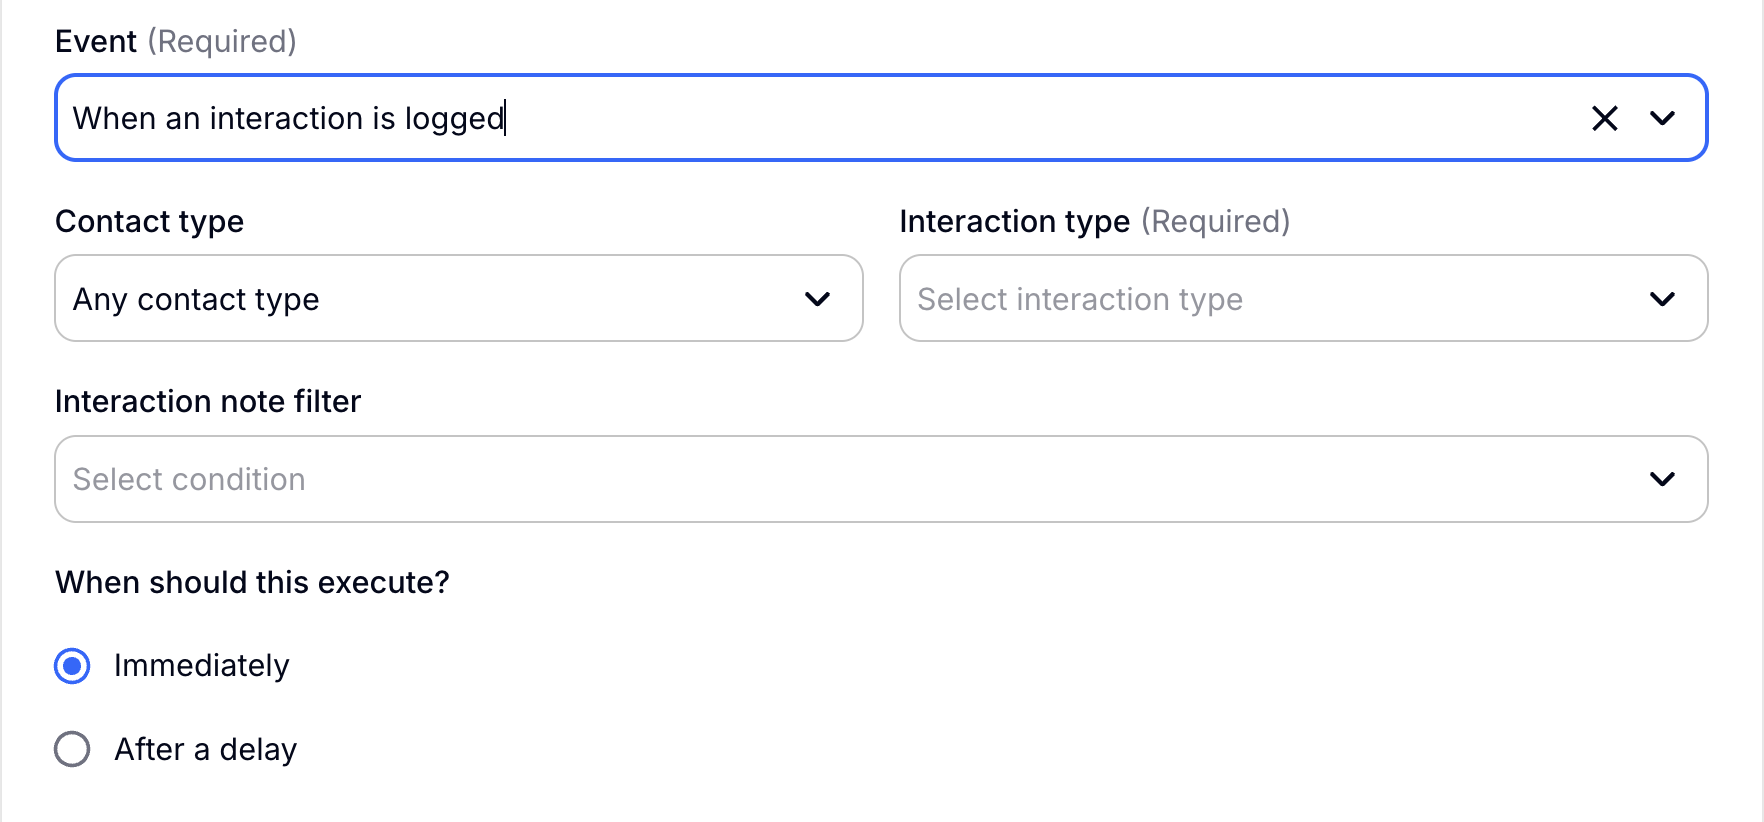
Once you have configured all of this, choose 'Next' to continue.
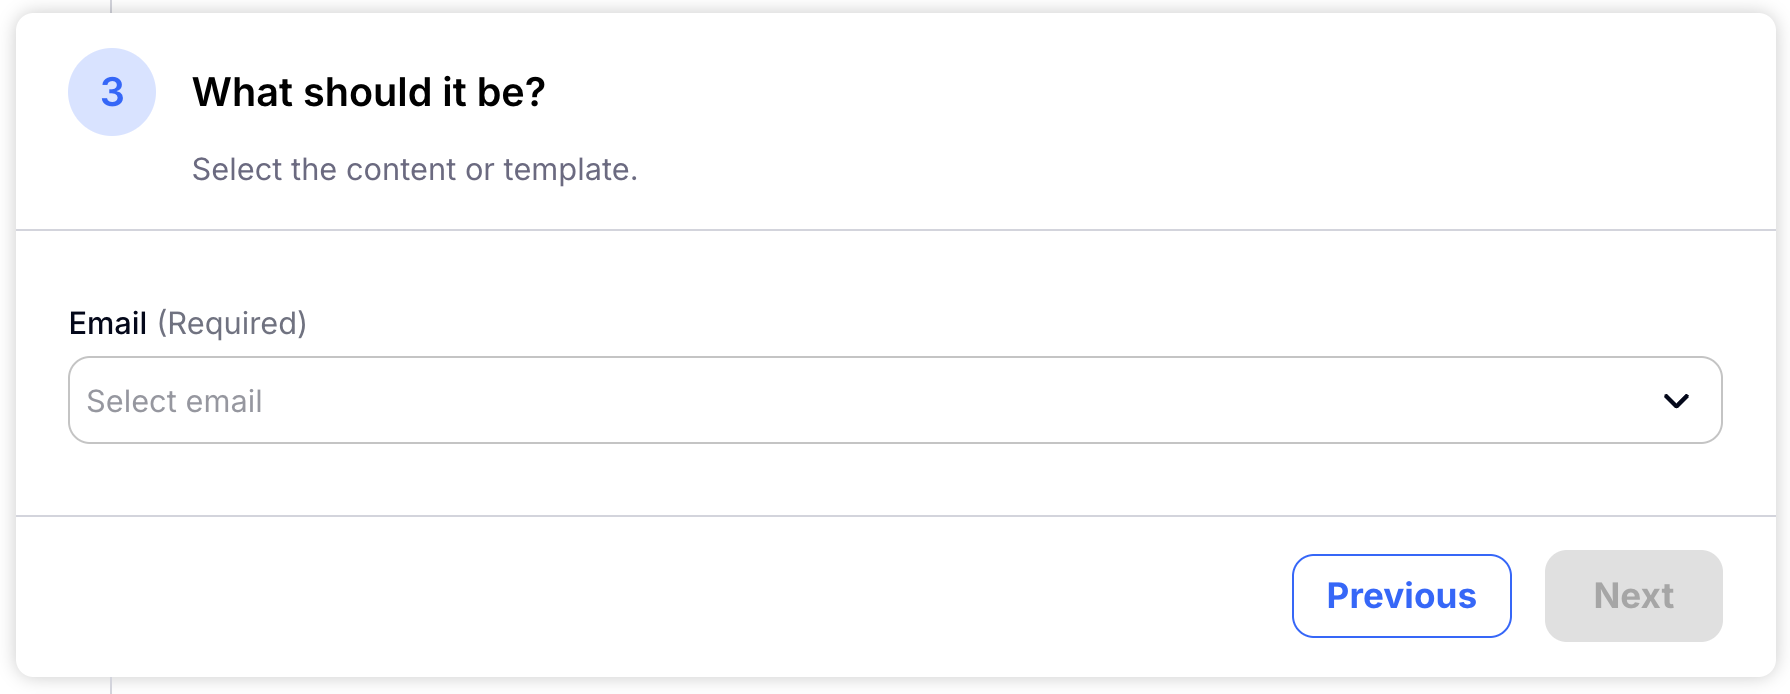
Step 3: Choose an email to send
For this next step you will choose an email that you have already created to send when the Automation is triggered. If you haven't already set up that email, you should do so before completing this step. If you'd like to learn more about how to create an email in Craftify AI, you can see our Email Writer Tutorial.
Choose 'Next' to continue.
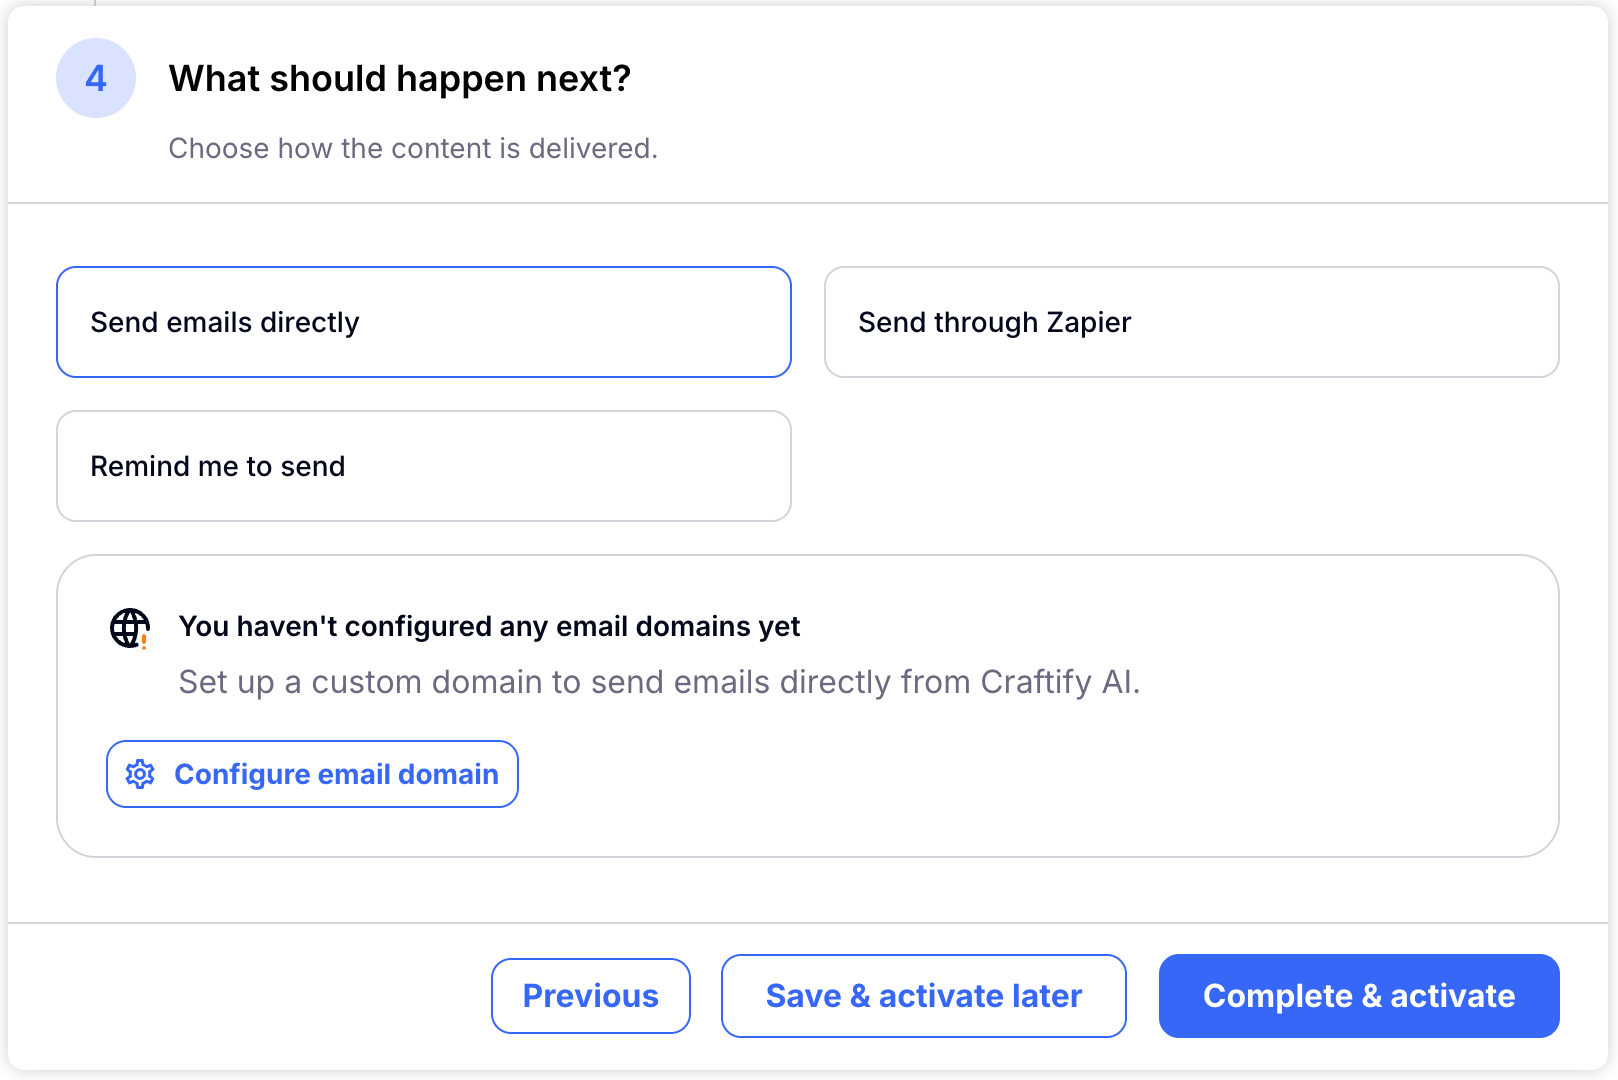
Step 4: Configure when and how to send the email
If you have already set up your email domain with Craftify AI, you can choose to send the email directly. If you haven't set that up yet (like you see below) you can learn how to configure your domain here: Domain Verification and Email Settings Tutorial.
If you have set up Zapier, you can use that configuration as well. If you would like to know how to connect Zapier to your Craftify AI account, you can learn how to do that on this tutorial: Zapier Integration.
Or you can have Craftify AI remind you to send the email manually.
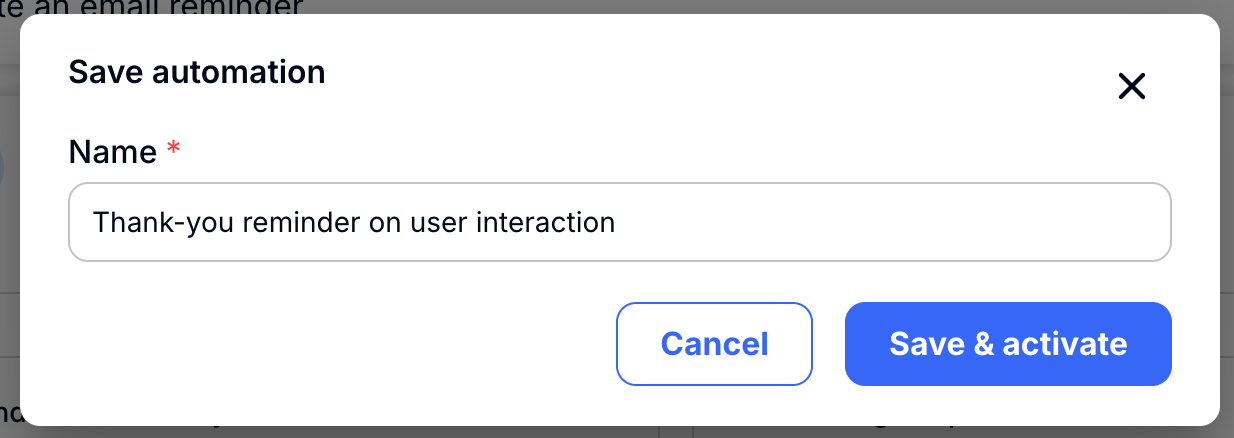
To finish your automation you can either choose to 'Save & activate later' or you can 'Complete & activate' to finish your Automation.
A pop up will appear for you to save a name for your Automation. Based on the type of automation that you have created, Craftify AI will automatically give you a name. Feel free to customize this and then choose 'Save & activate' to save your Automation.
Step 5: Deactivate, or edit your Automation
At any time you can choose to deactivate or edit your Automation.
Just head back to the Automations tab on the left-hand menu.
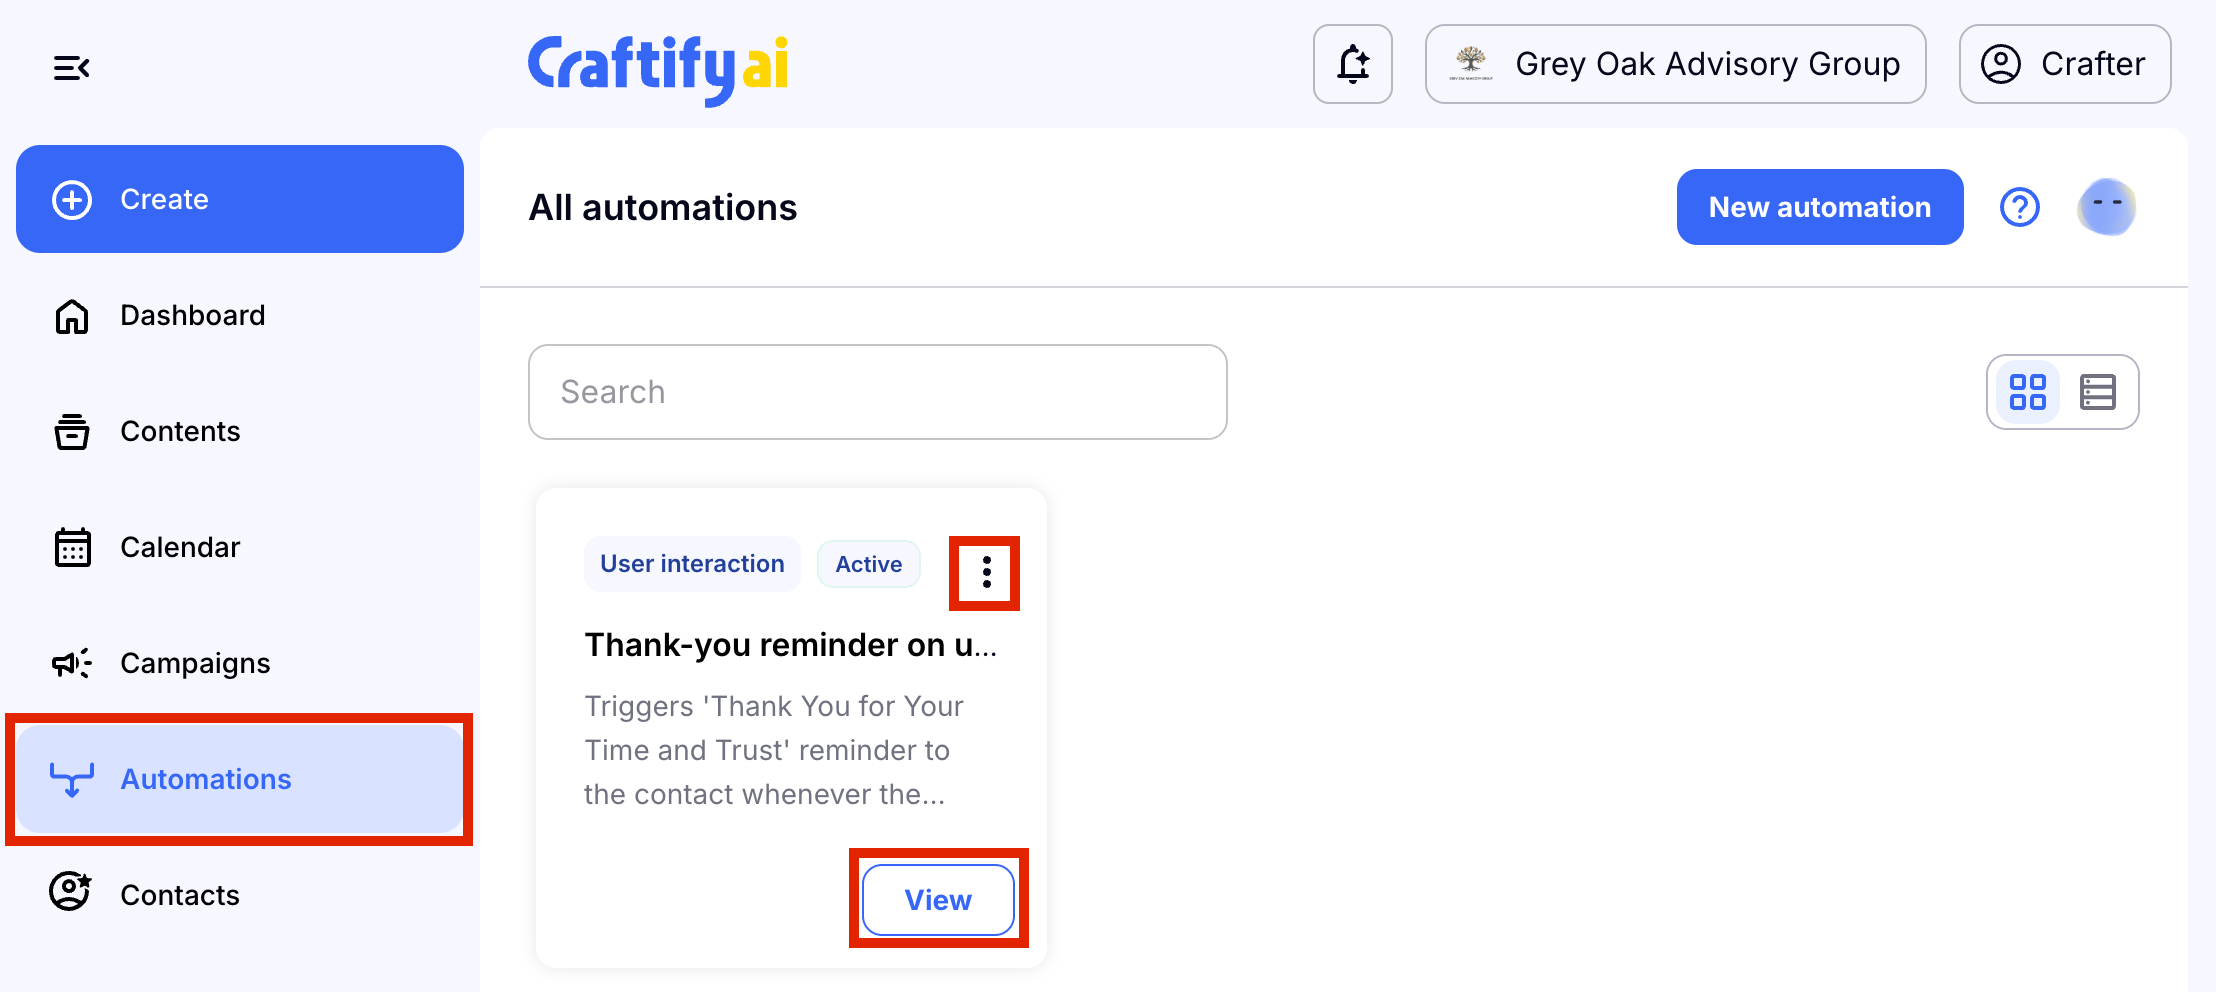
You will see your Automations that you have created and at the top of the box, you can see what type of Automation it is and if it is active or not.
Choose the View button if you'd like to edit the Automation.
By choosing the three dots icon, you can easily deactivate or delete the Automation.