Contacts Tutorial
Contacts Tutorial
In this tutorial we show you how easy it is to import and add contacts to your Craftify AI database.
Utilizing the Contacts area of your profile will allow you to send emails, updates, and more, directly to your contacts without ever having to leave Craftify AI. Yep! It's an all in one tool!
Step 1: Log in and go to 'Contacts'
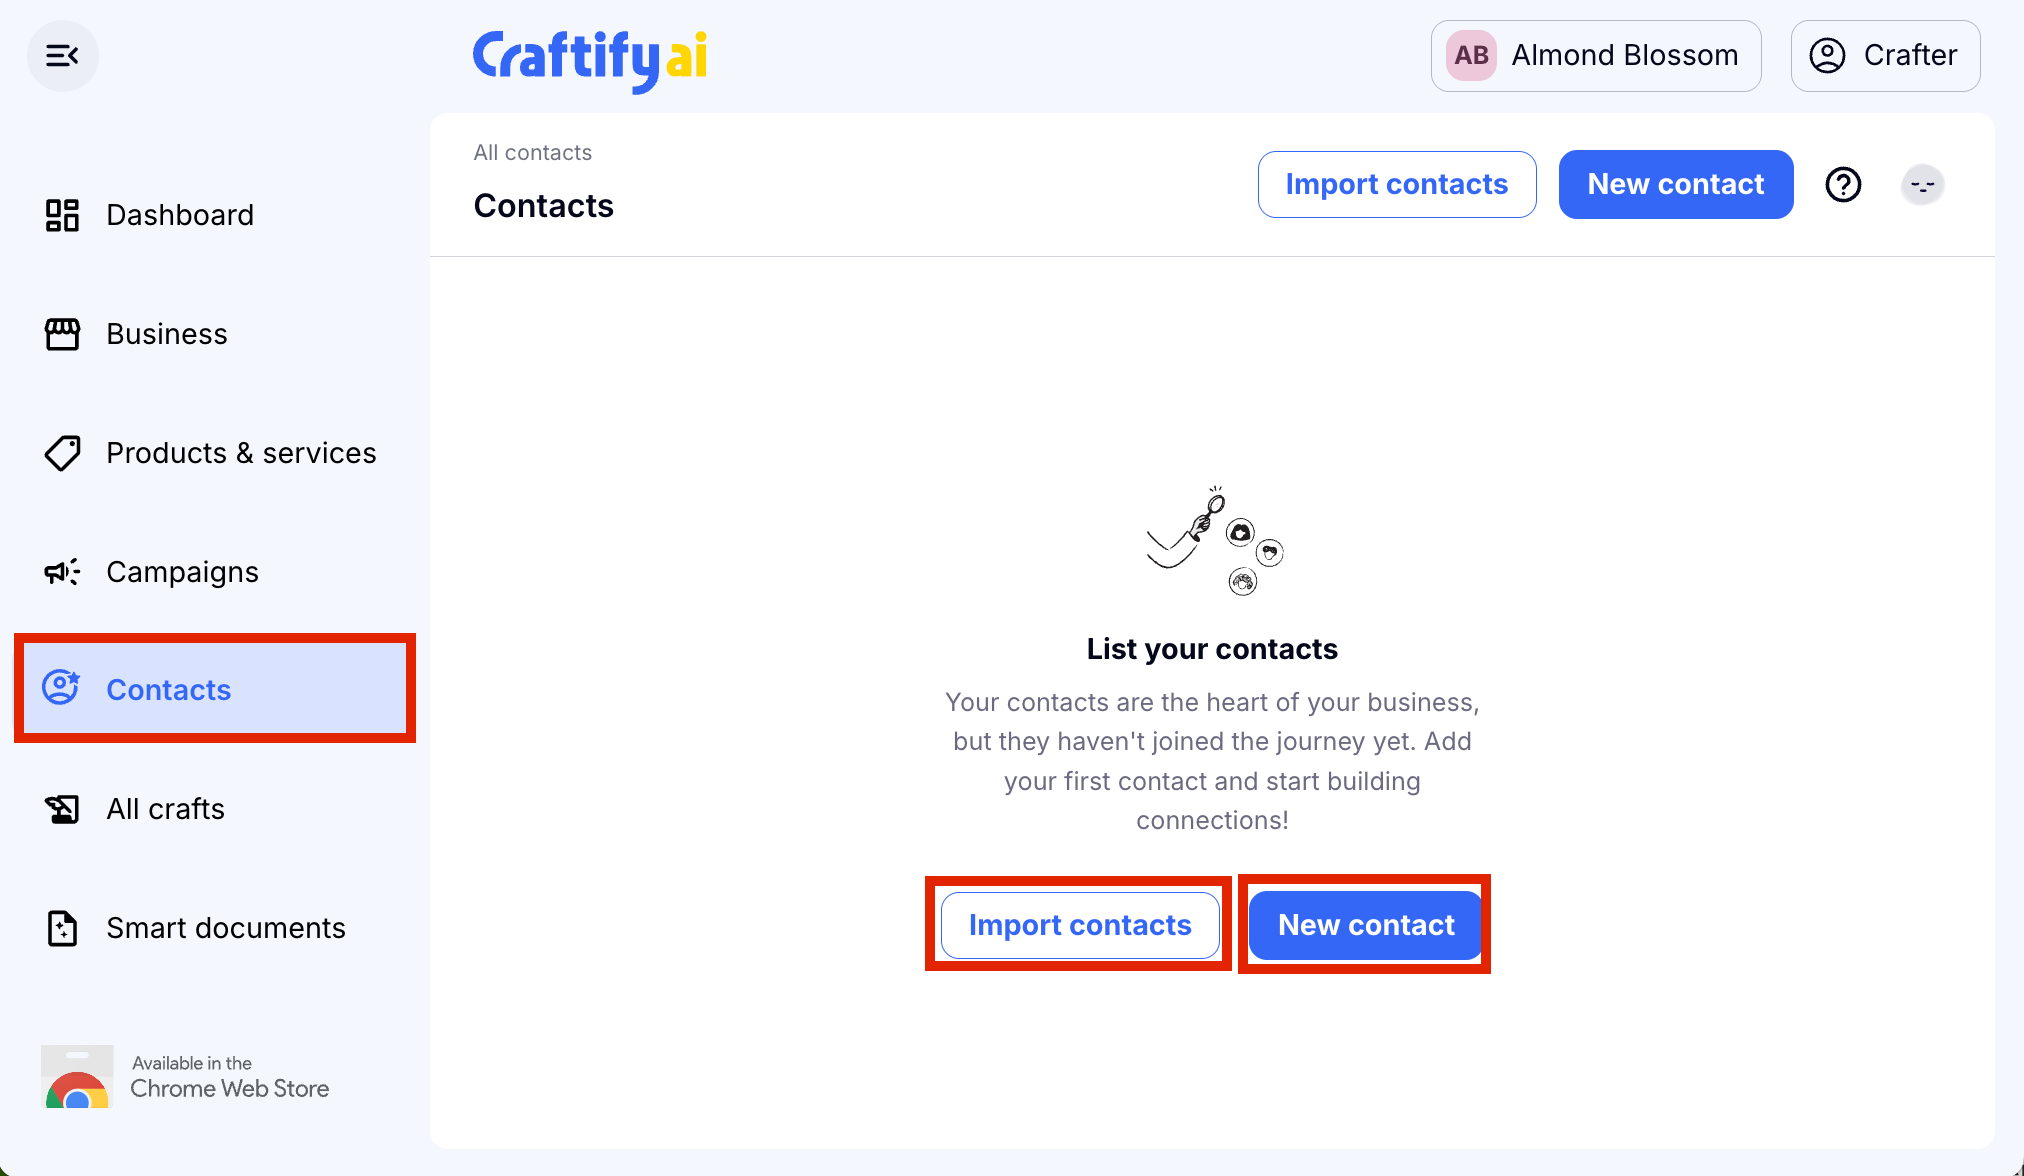
- Log in to your Craftify AI account, then choose the 'Contacts' tab to open your Contacts.
- Once in you can choose to 'Import contacts' or add a New contact.'
Step 2: Import Contacts
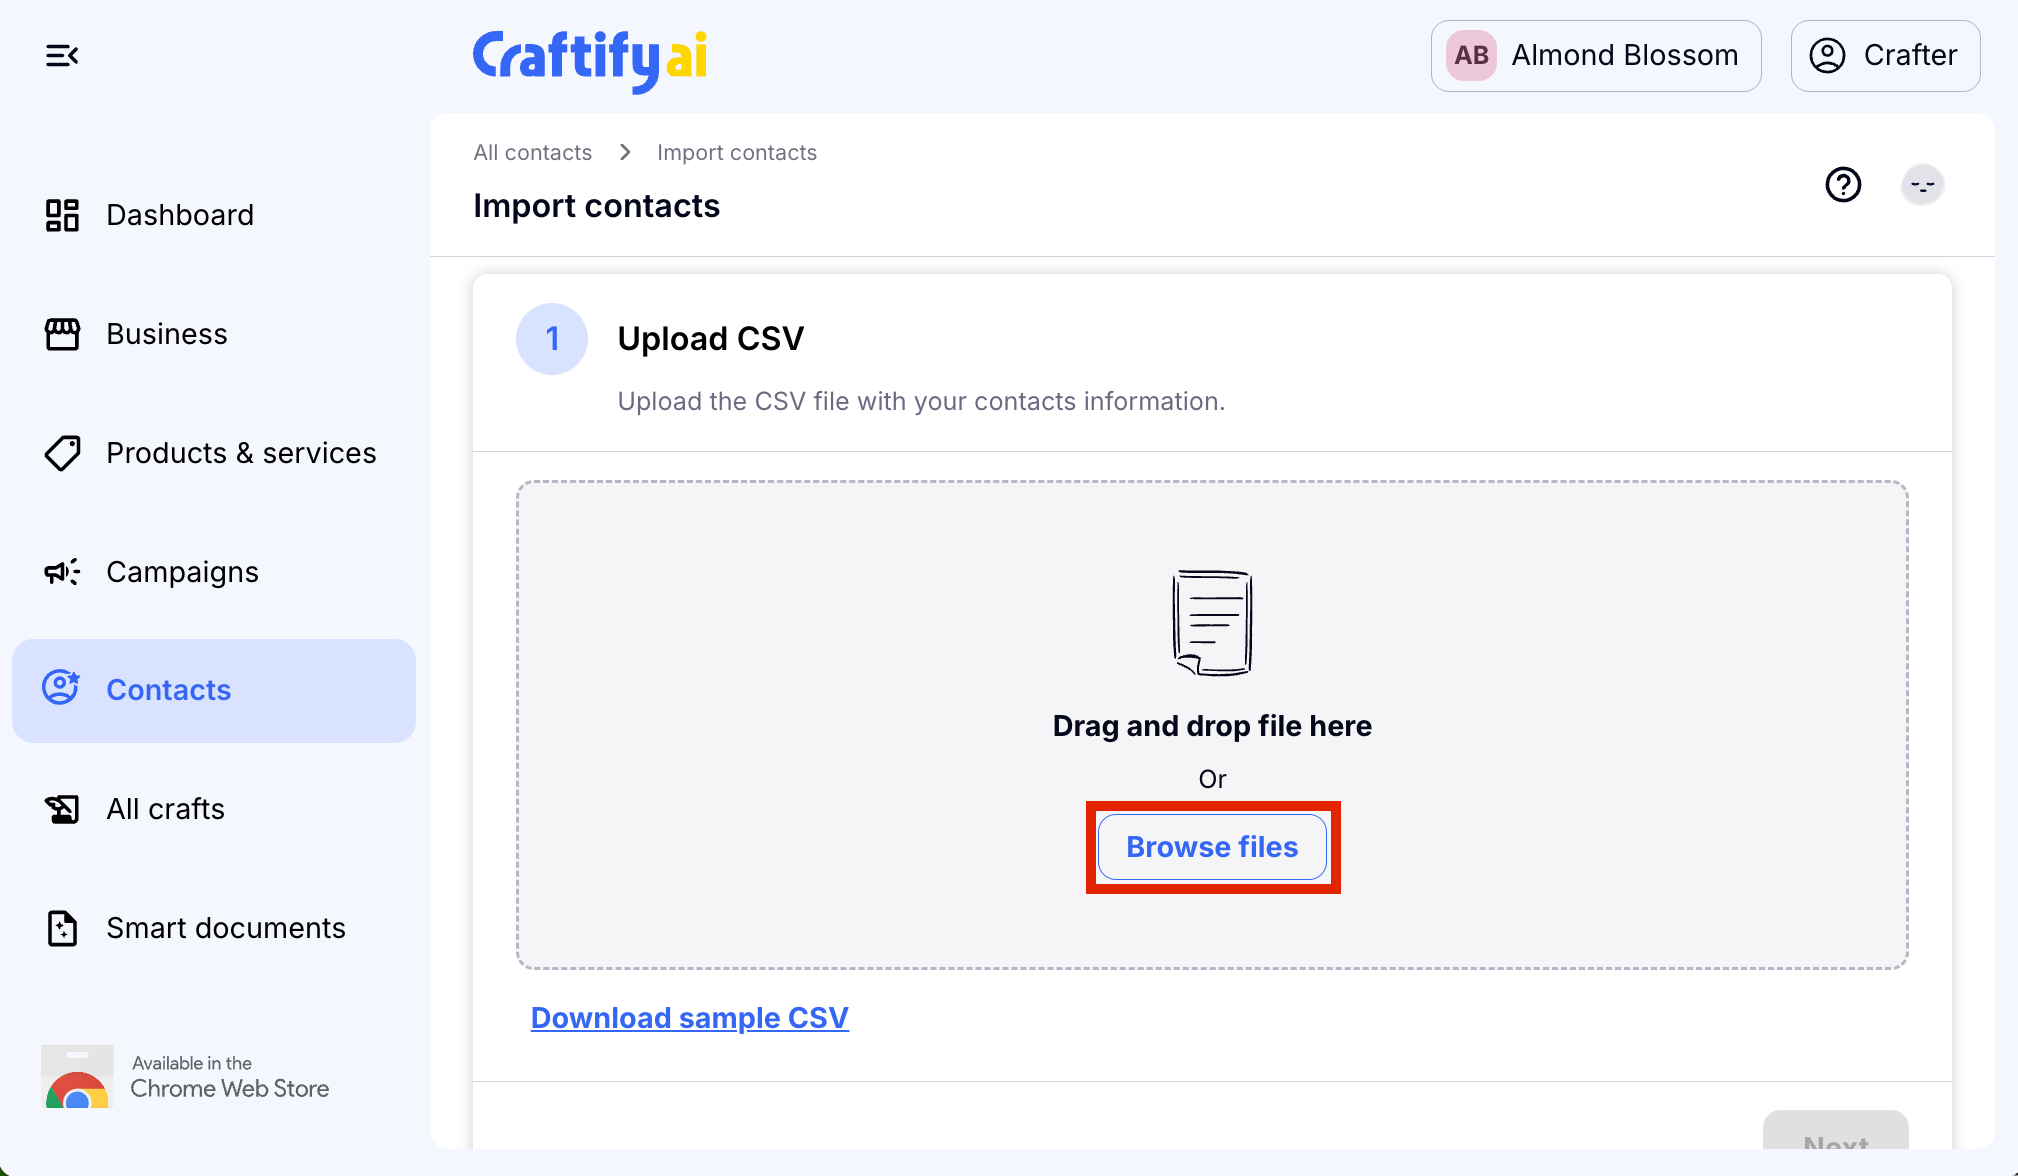
- If you have a mailing list from another email service provider, or if you have a spreadsheet with all of your contacts in it, you can upload the CSV file to add all of your contacts to Craftify AI in one step.
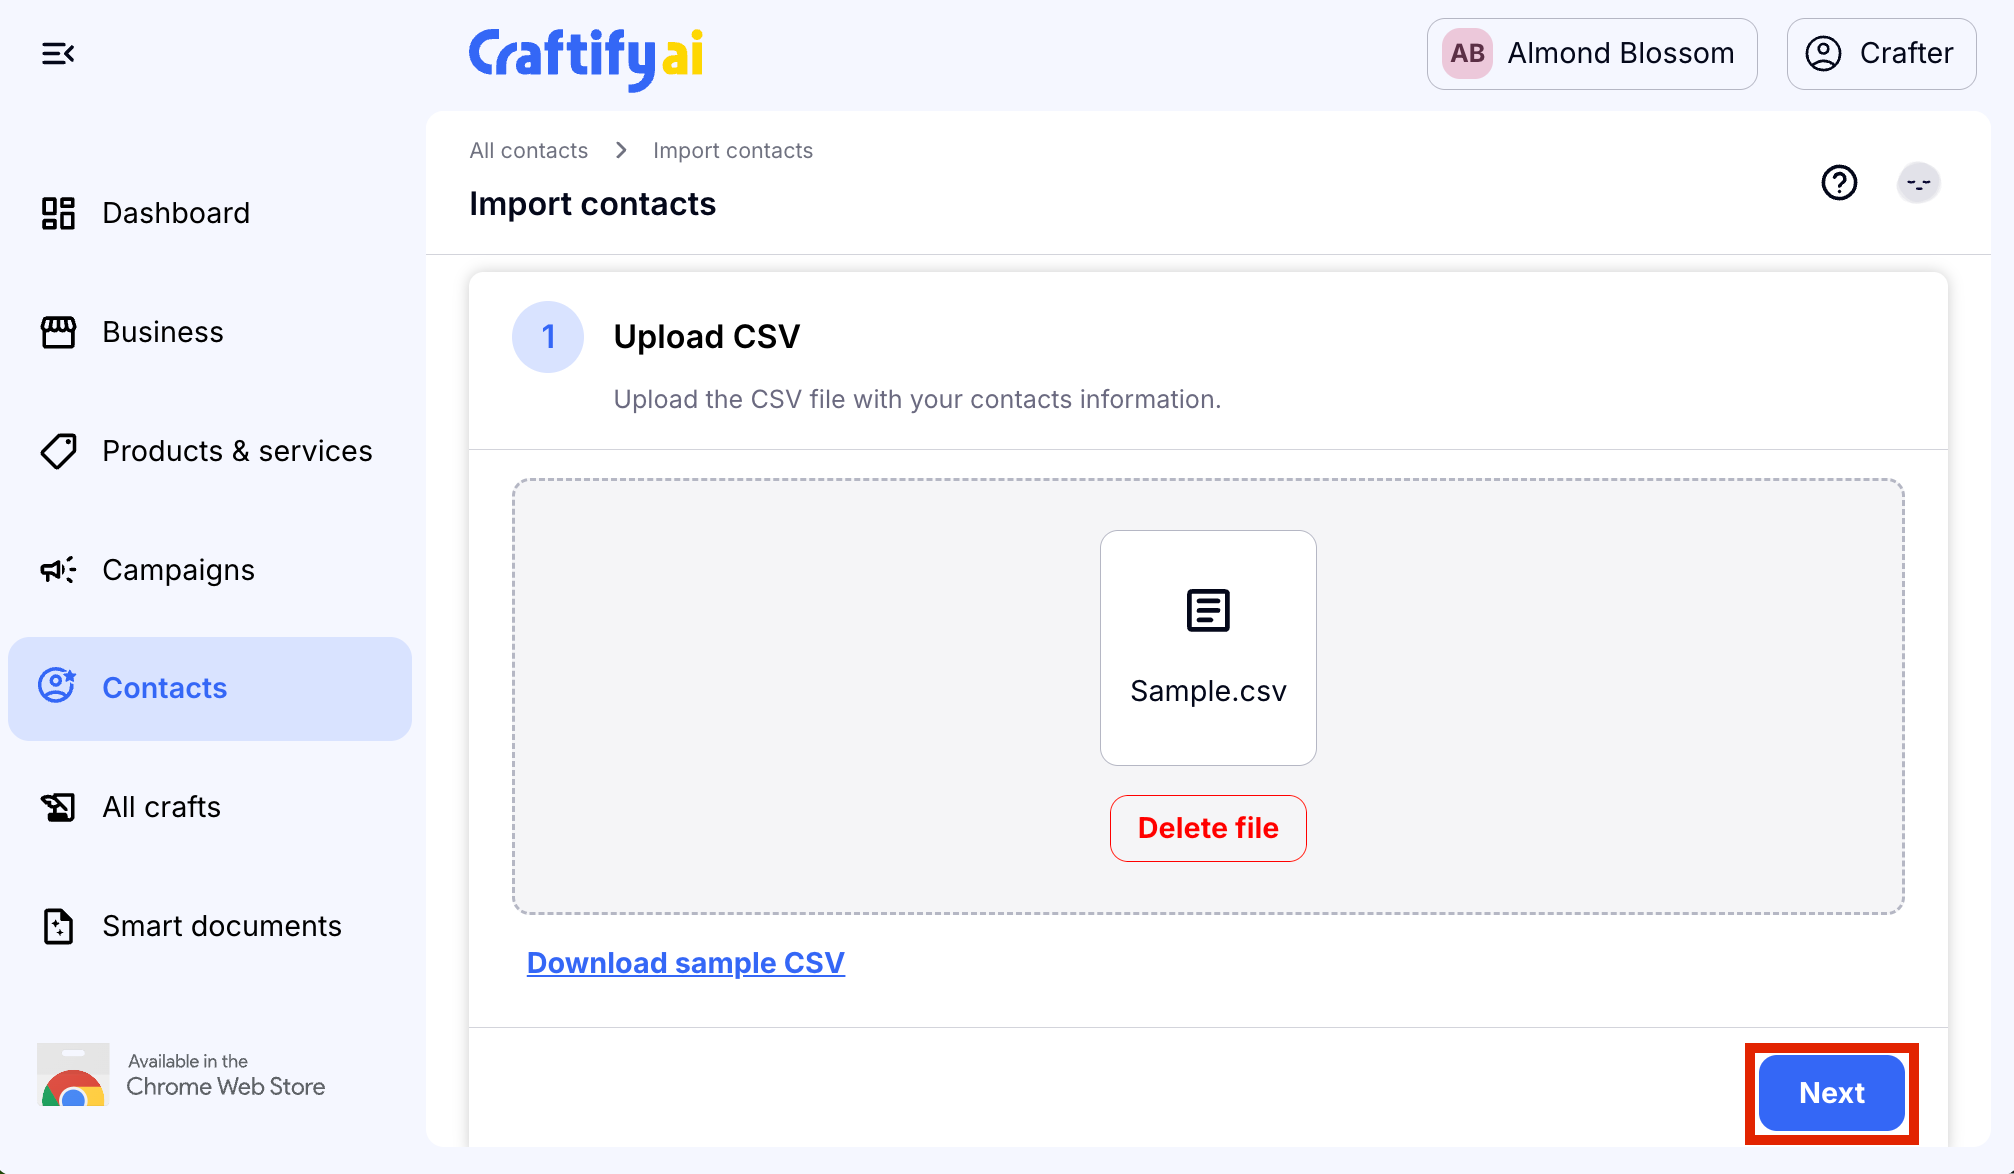
- Once uploaded, choose 'Next.'
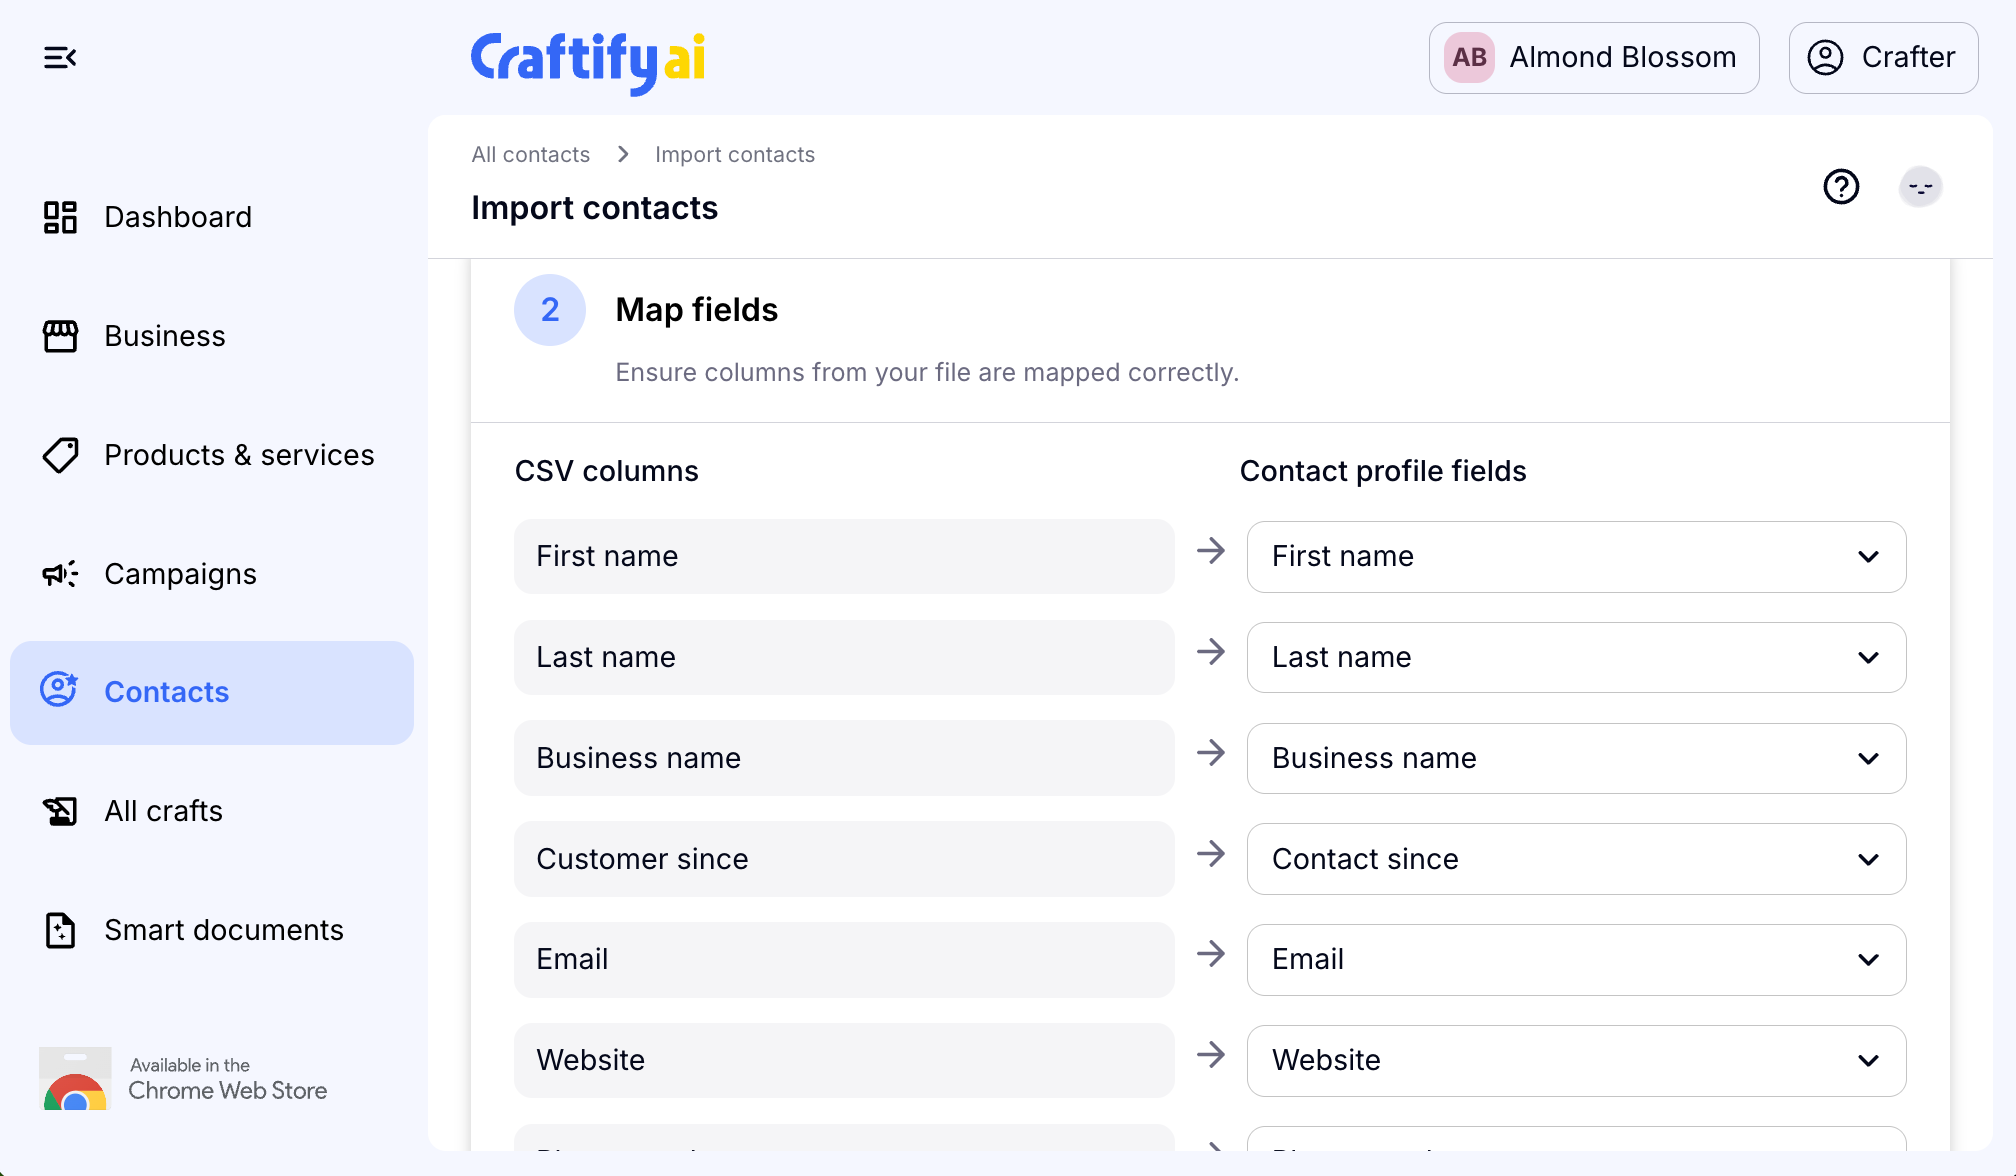
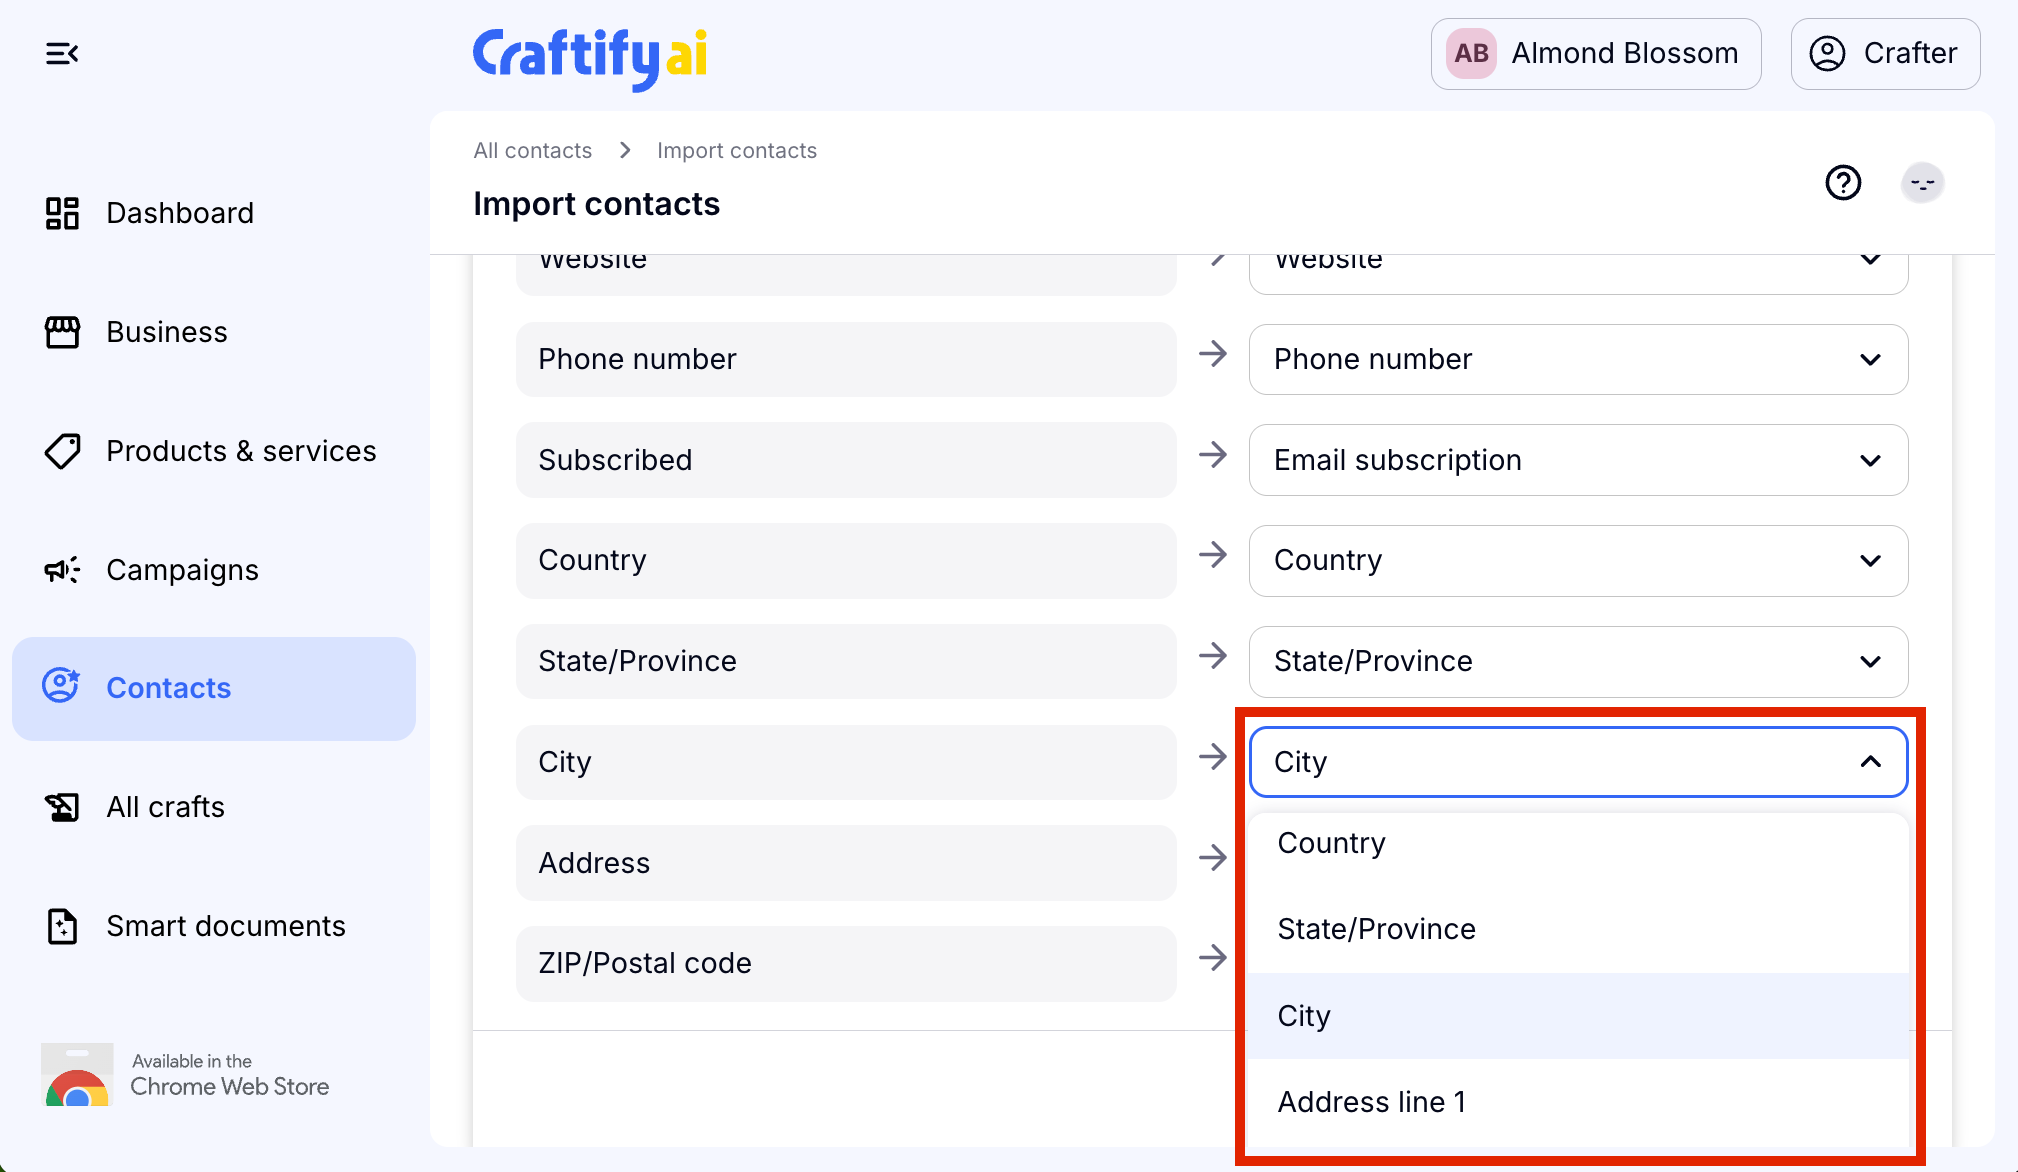
- Once your file has uploaded, you will see a roadmap on what the columns in your CSV file will relate to in the Craftify AI Contacts area. You can click on the types and change them to correspond correctly to your file.
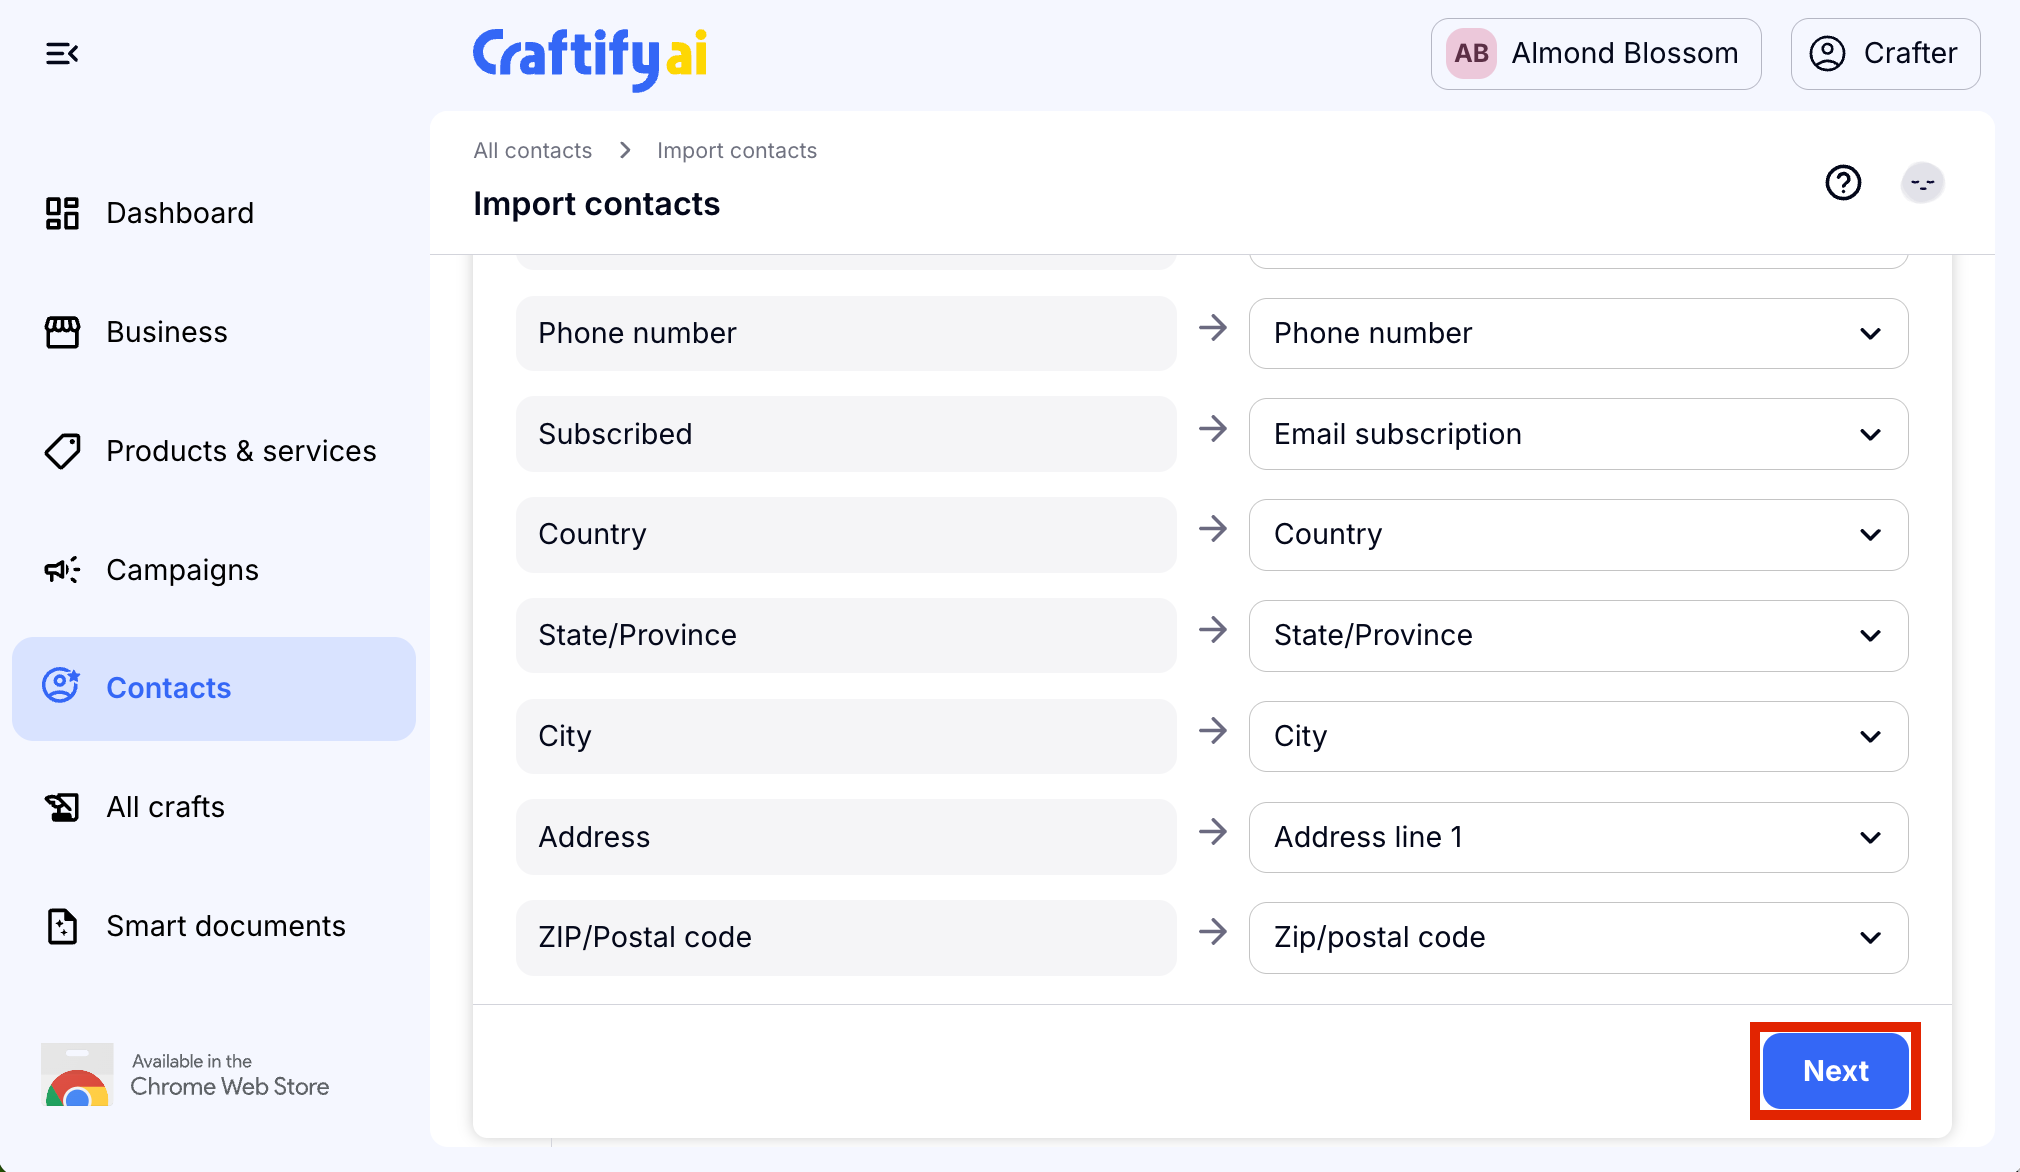
- Choose 'Next' to move on to the next step.
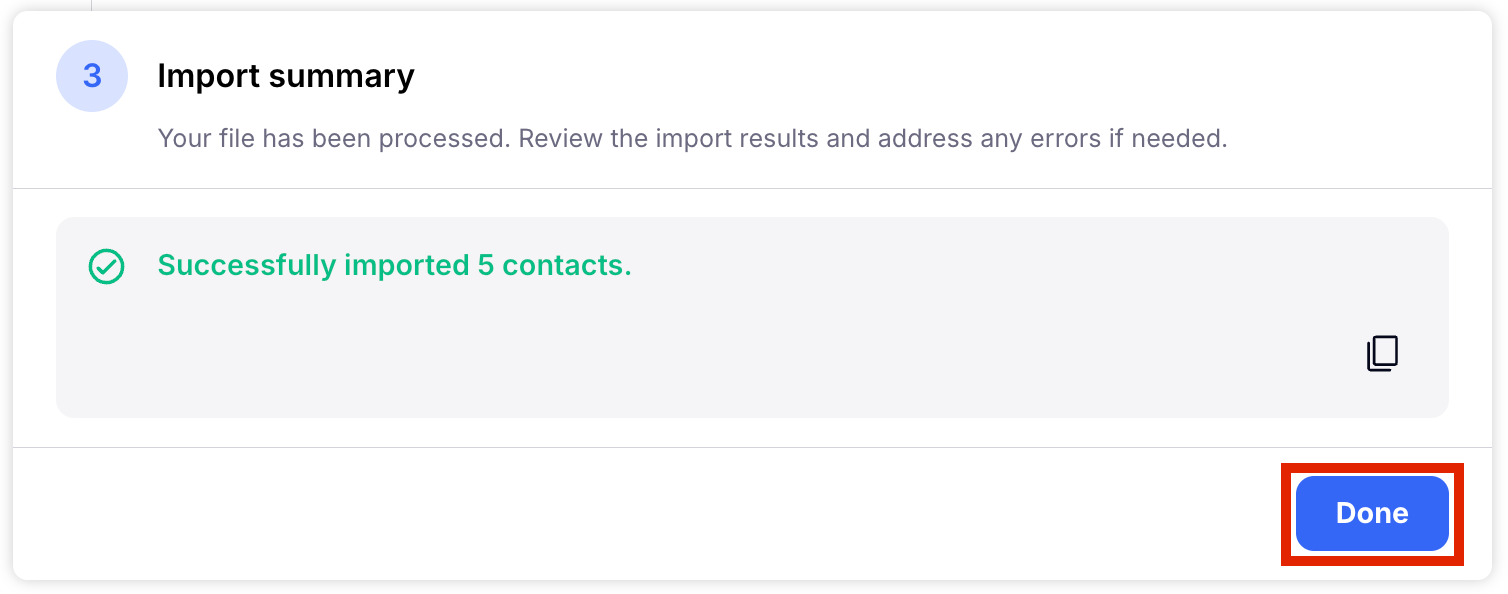
- You will then see a summary of how many contacts have been added to your database. Click 'Done' to move to the next step.
Step 3: Edit your Contacts
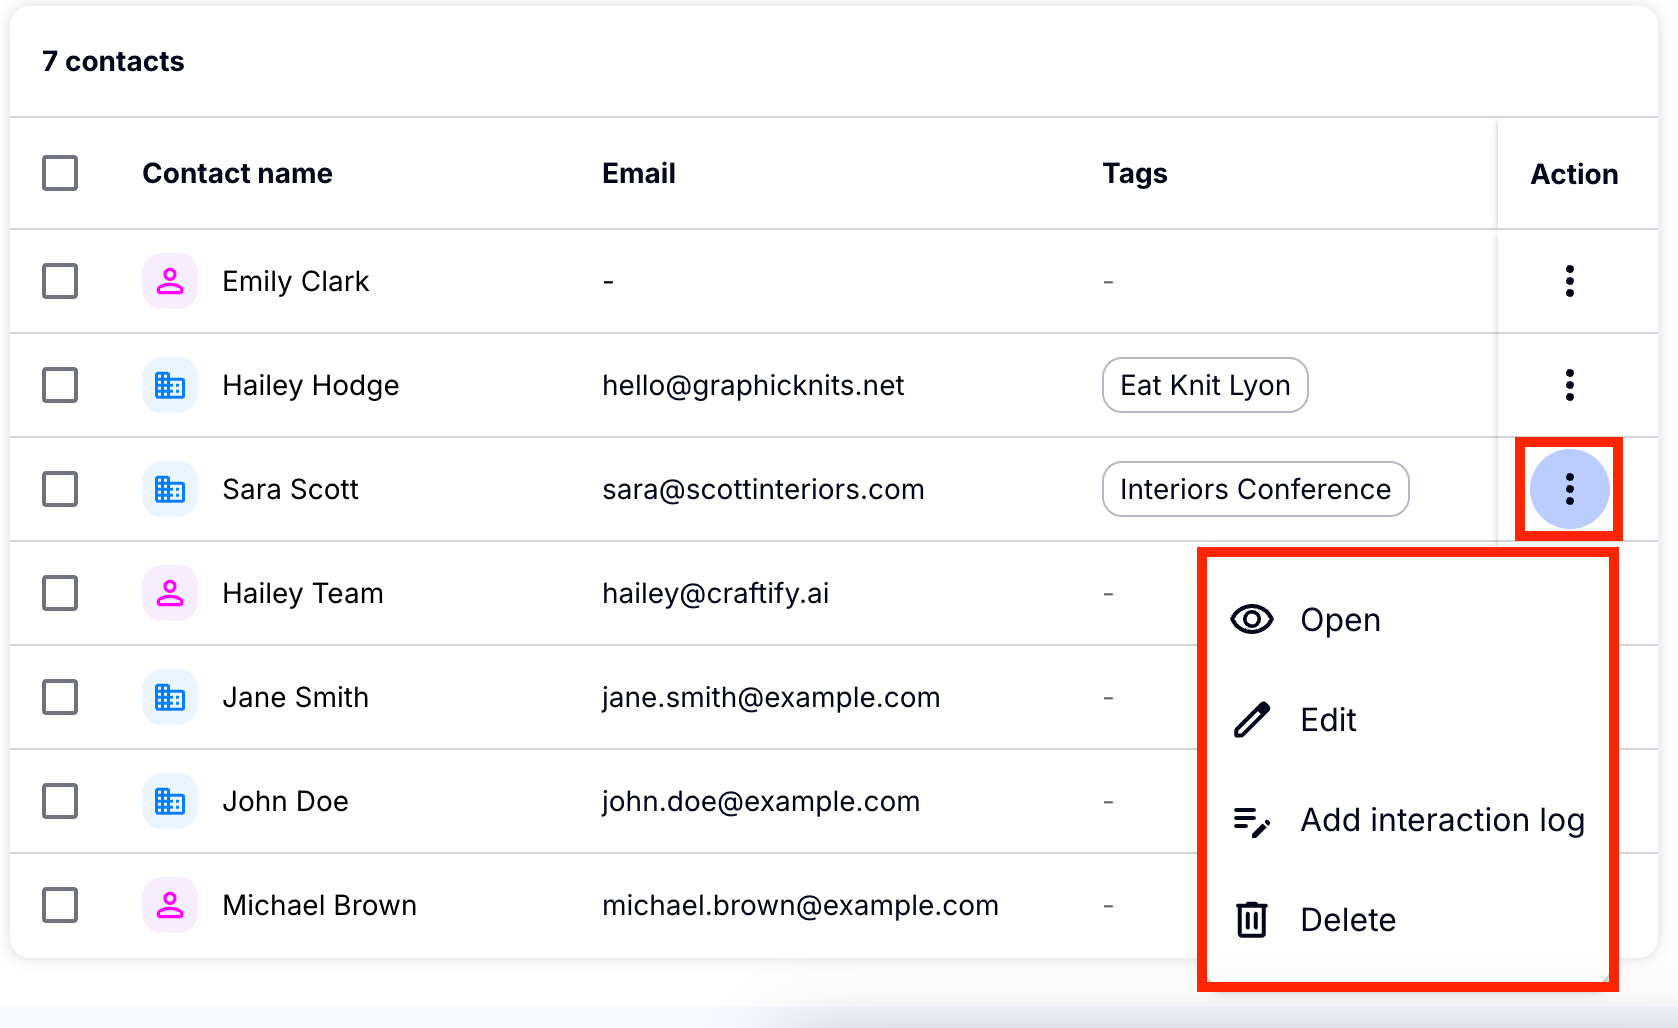
- You can edit your contacts easily by clicking the 3 dots on the right hand side of a contact file, and then choose 'Edit.' You can also choose to view the contact card or delete a contact file from here.
- You can also choose to add an interaction log directly from the Actions list!
- While editing, you can change or update any information on your contact.
- You can add a photo to your contact by clicking the Initials or photo area on the top left-hand corner. You can simply drag and drop a logo or a photo of your contact for easy reference.

- Be sure to make sure the Contact Type for each contact is correct. When you choose the Contact Type, other features will be adapted universally for those specific types to make it easier to segment and automate content that gets sent to these contacts. You will also find that the Interaction Log options will be different depending on the Contact Type.
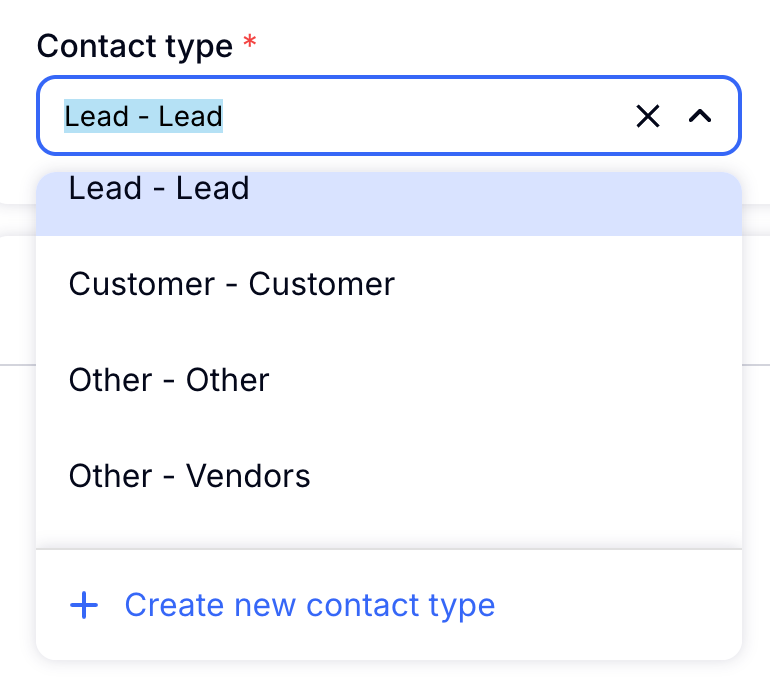
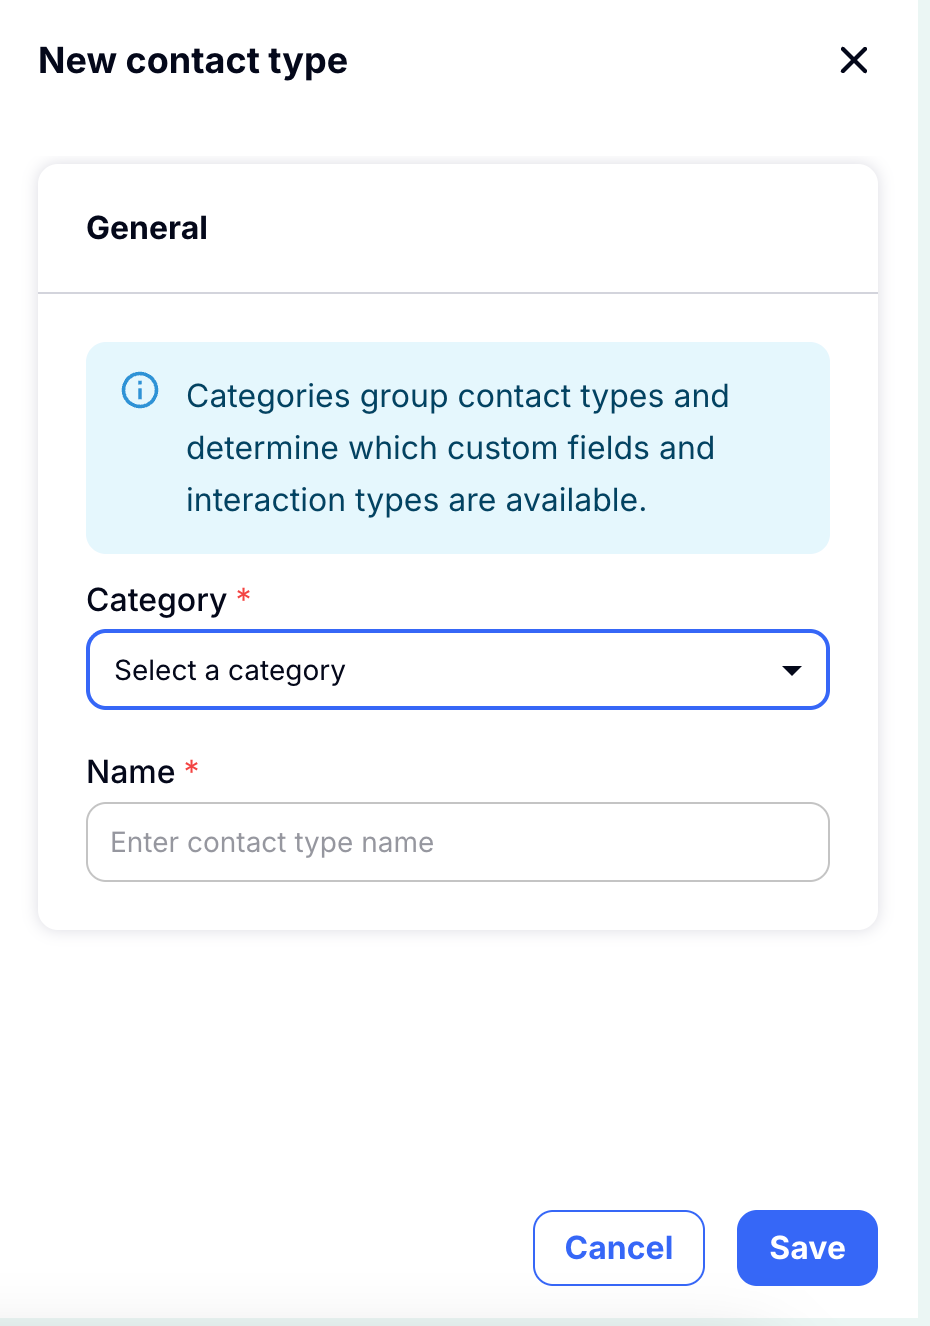
- Create a new Contact Type if you don't find what you're looking for! Choose the category, type in the name and choose 'Save' when you're done. You'll see this Contact Type saved in the future as an option to add to any other contacts.
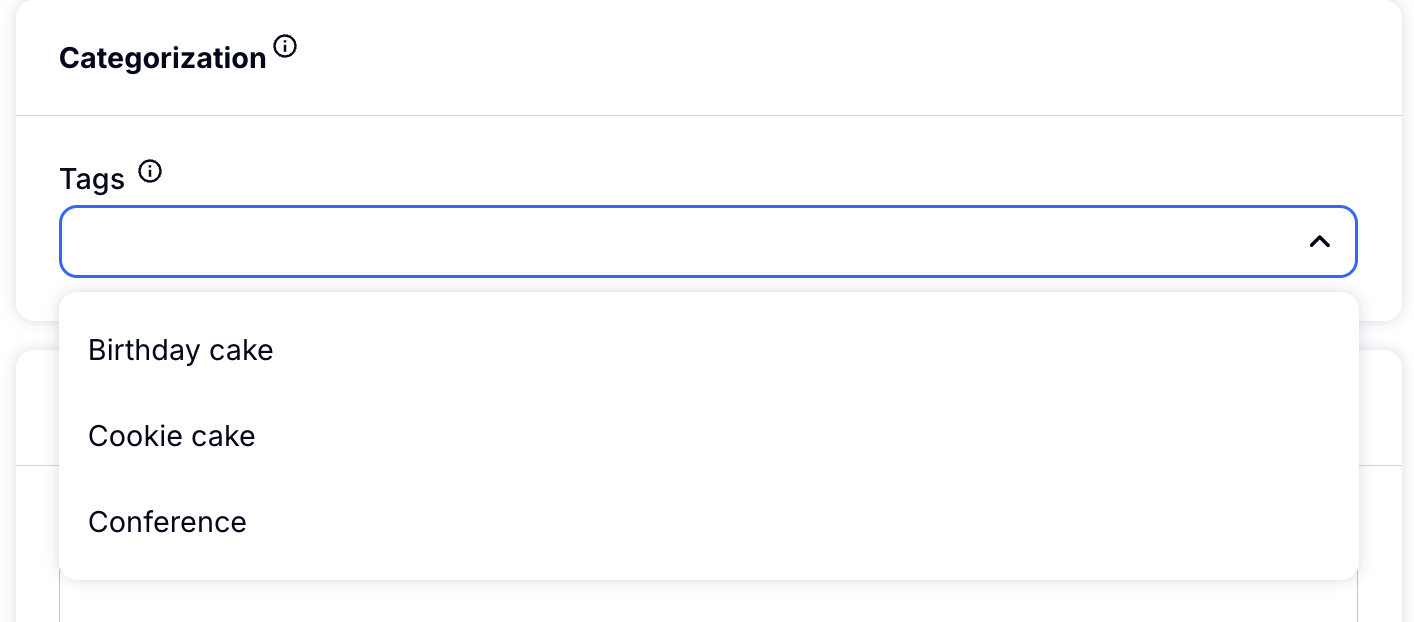
- Categorize your Contact with tags. You can add a tag to make it easier to find your contact later! Tag your contact with a recent purchase category, or note of where you met them. This is a great way to keep your contacts organized.
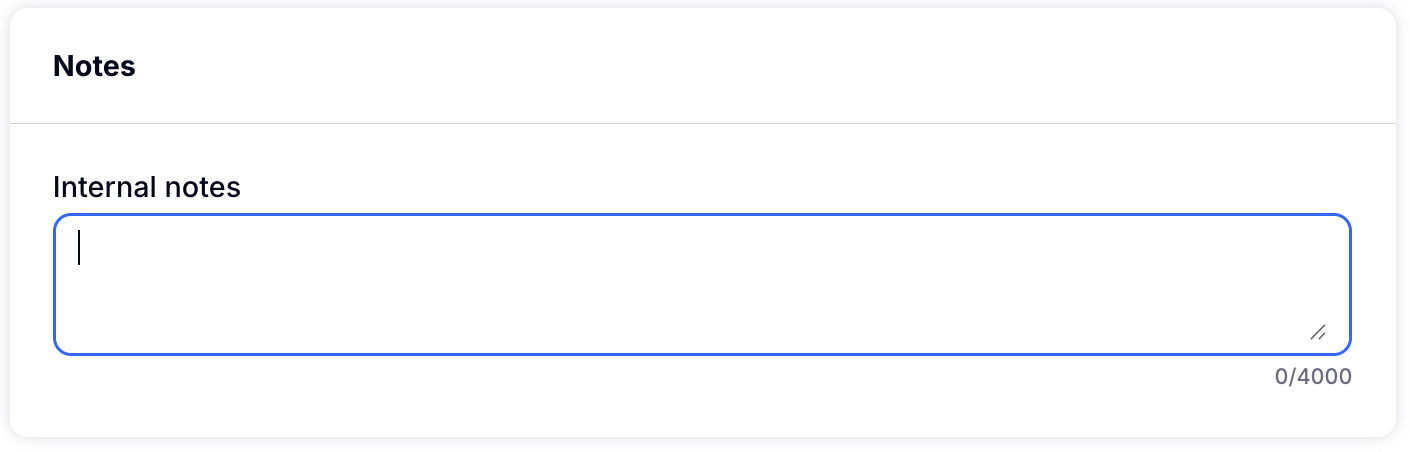
- Another great way to keep your Contacts organised and remembering who your contact is, is to add a Note! Here you can remind yourself of how you met this client, or what they're interested in.
Step 4: Add an Interaction Log
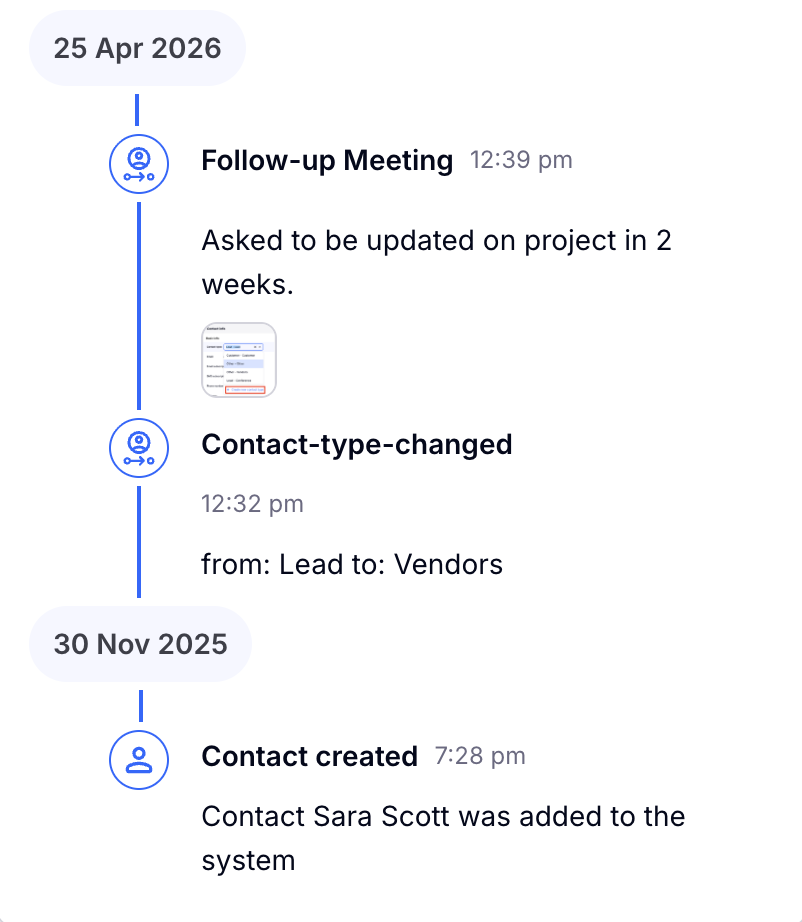
- On the right-hand side you will find the Interaction Log. Here you can add information on each interaction. By using this part for your contacts you can send automations for emails and marketing based on the interactions that you log here.
- The attachment file can be useful to add attachments that are relevant to that particular interaction log. You can drag and drop attachments here, or simply click the icon and a pop up to search your computer for the attachment will come up. Attachments that many users add here are pictures of the work in progress, or invoices!
- When you're done adding your Interaction, choose 'Add interaction' to save it to the contact's profile.
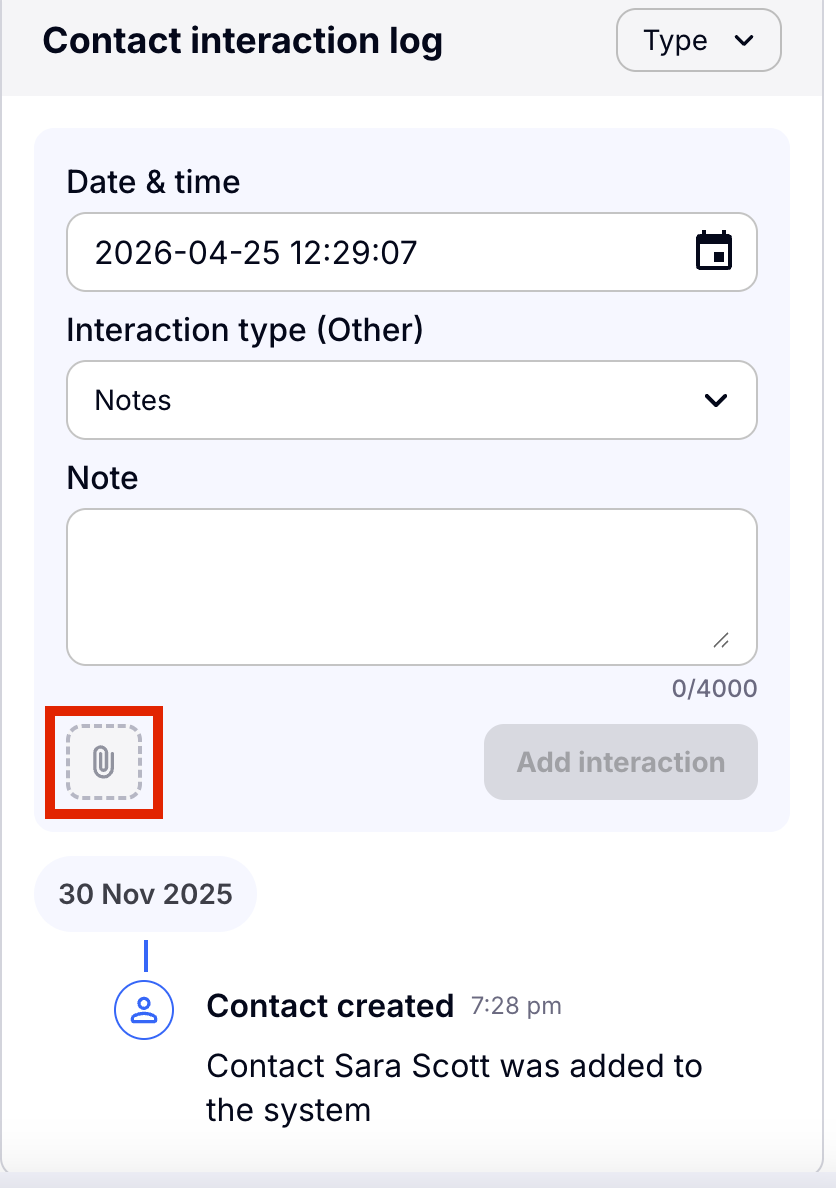
- You can see the history of all of your interaction logs on this contact below.