Email Writer Tutorial
Let's learn how to create dynamic Emails to send to your Contacts in minutes!
Here's an in depth look at our surprisingly simple tool for writing emails for your business in a jiffy!
Step 1: Log in, head to All Crafts, Choose Email Writer
Once you have found the Email Writer, you will see this screen here.

Step 2: Start filling out the basic and necessary information
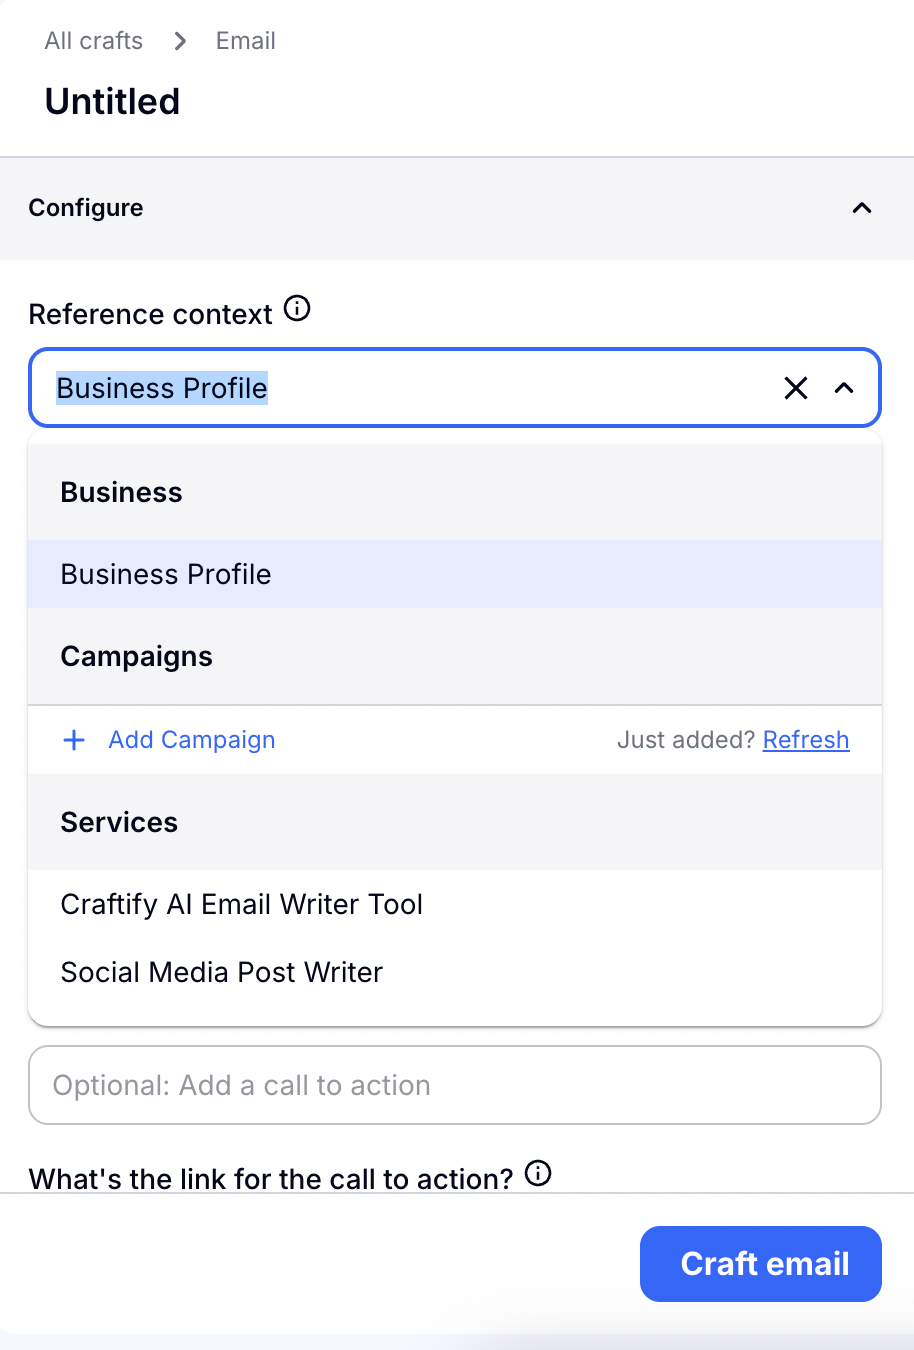
You will first be prompted to choose a focus for your post and whether or not you would like to have Craftify AI use your Business profile or a product or service as reference.
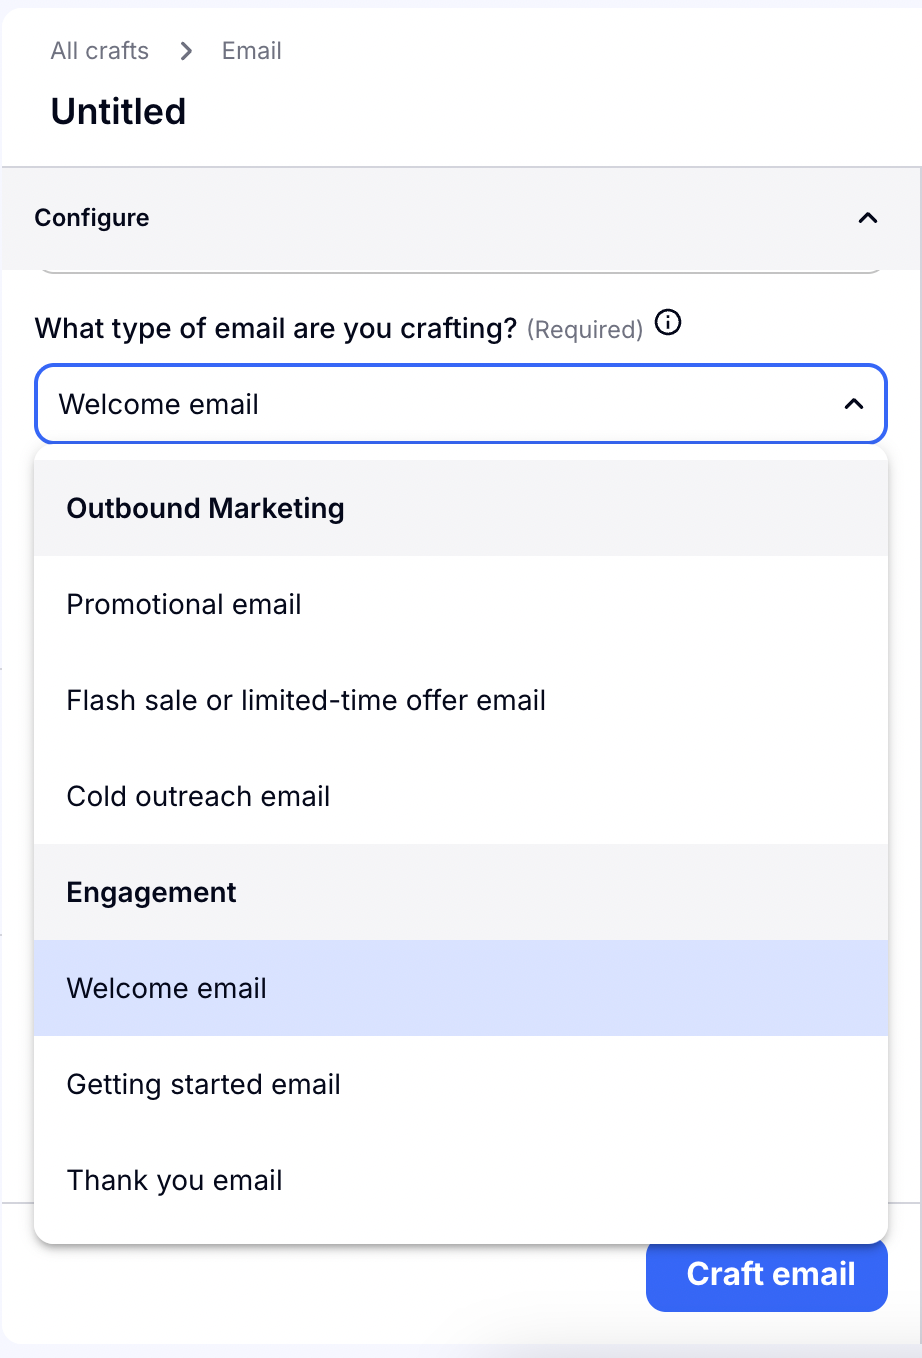
You will then be asked to imput which type of email this is. Craftify AI has an extensive list of options for this, so just click the button and choose which one works best for your craft.
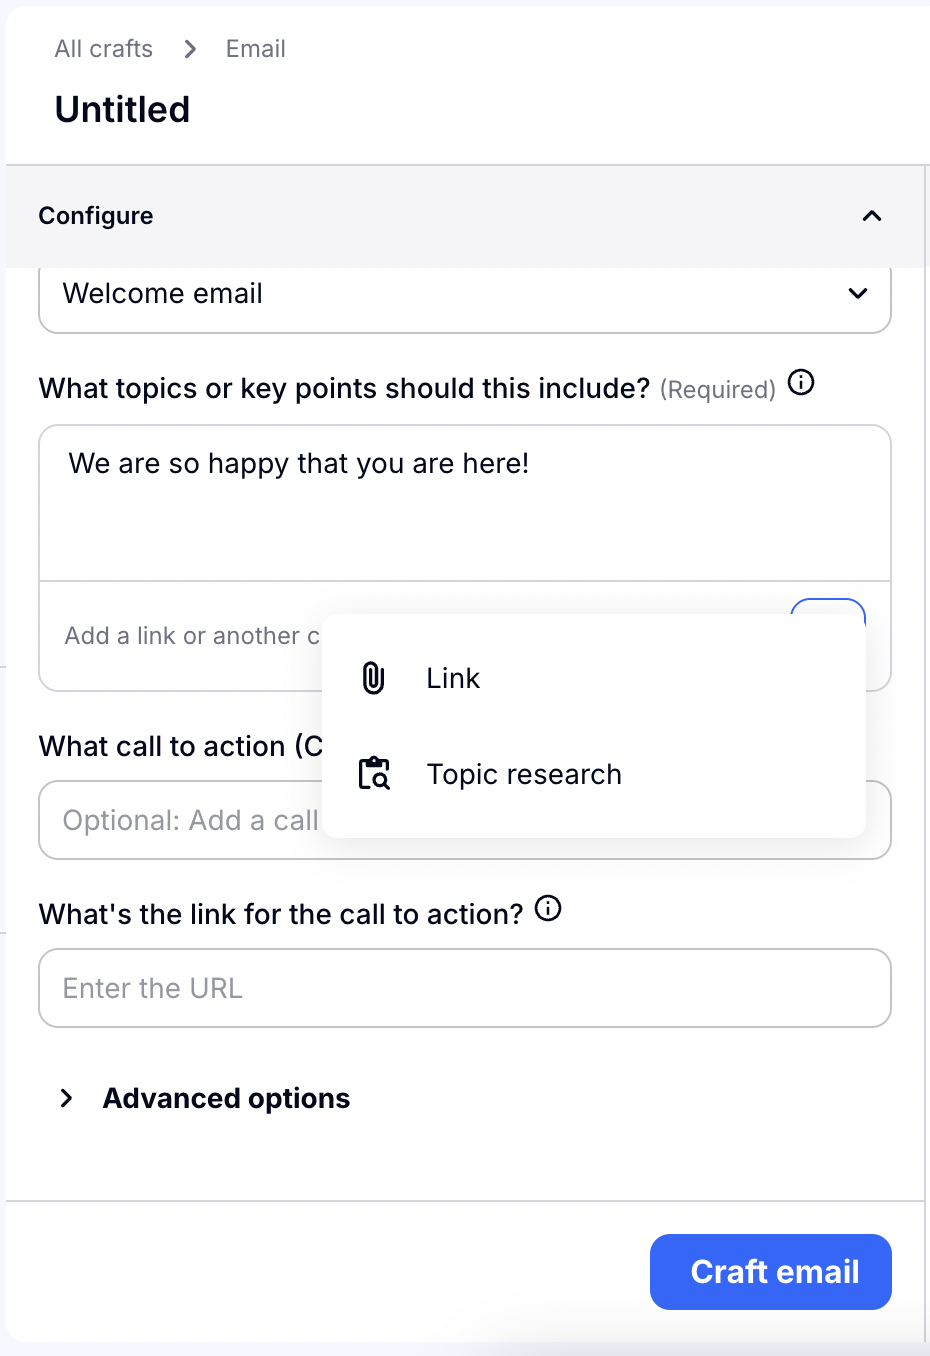
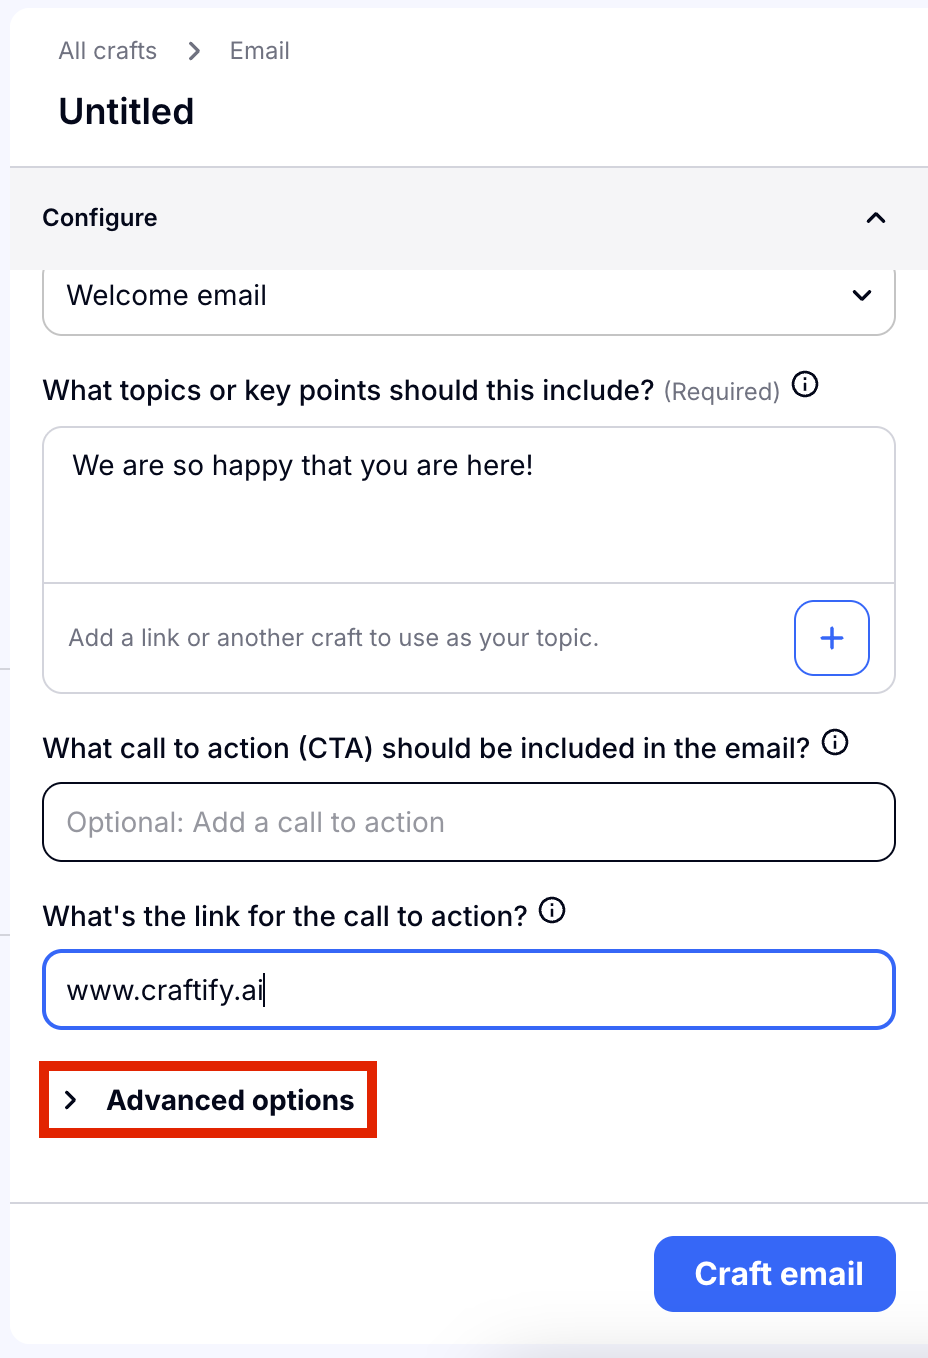
You will then give the specific information necessary to write the email. Tell Craftify AI a little about what this email should be about. If you're short on words and want to bring in some exterior inspiration, you can click the plus sign and add a link! Craftify AI will read this link and include relevant information in your email.
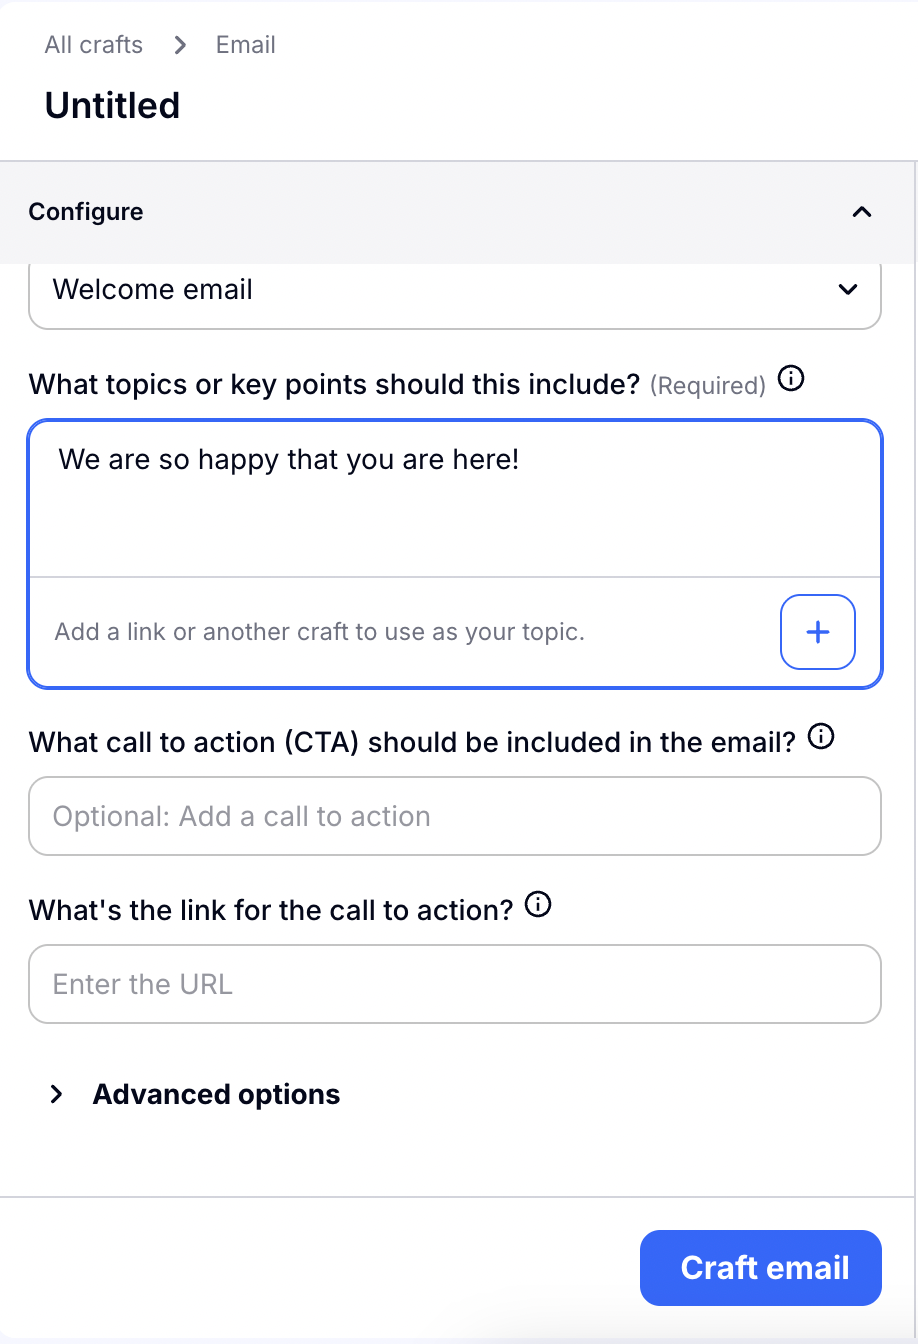
The Call to Action section is just after this. Because it's position on the page, the menu will pop above it instead of below it. Choose the Call to Action that works best for your topic.
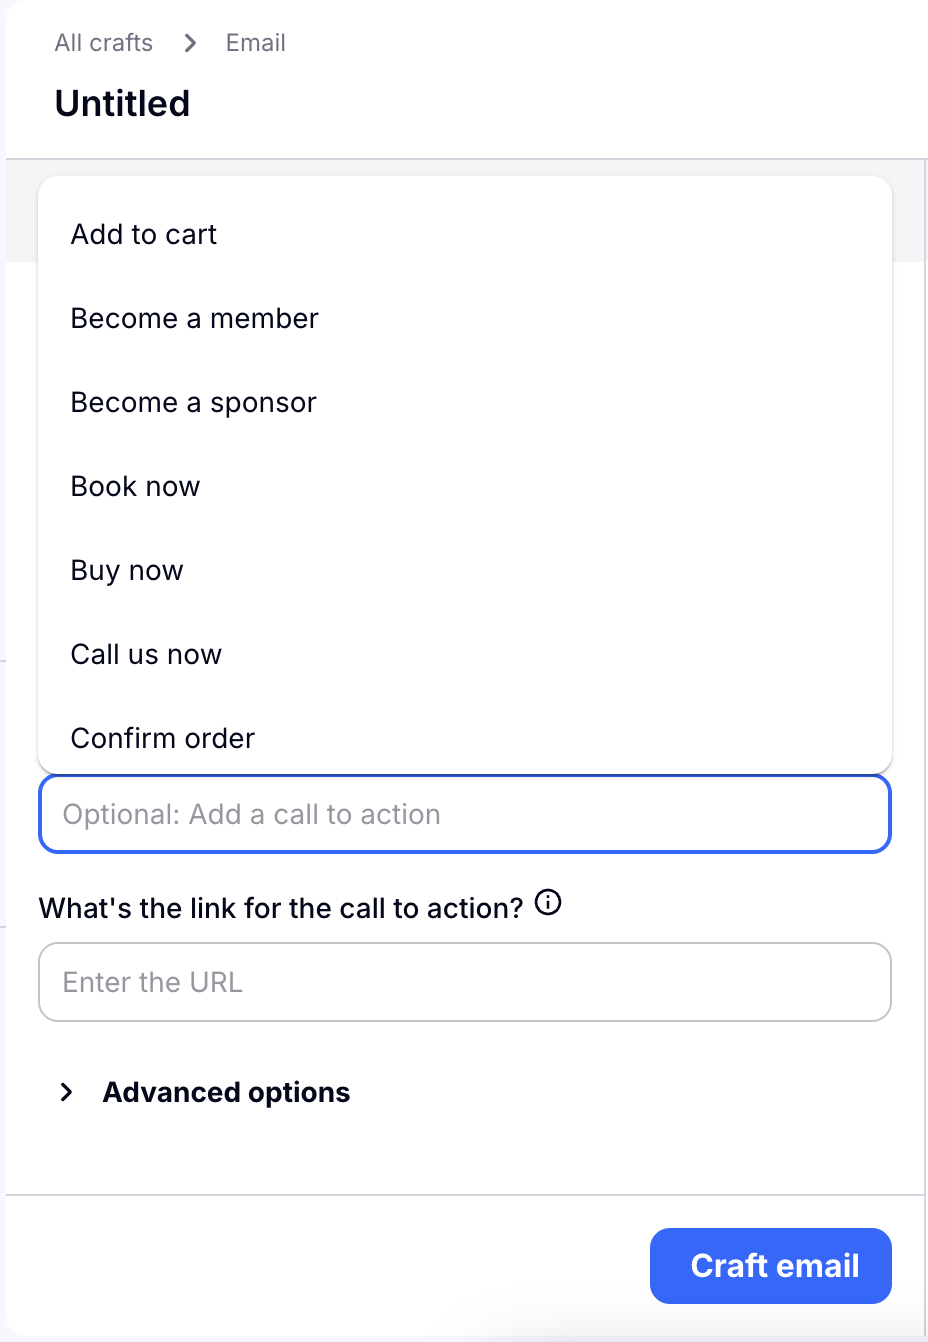
You can also add a link to your Call to Action! Craftify AI can imbed a link directly in the email for you. Just tell it where to take you!
Step 3: Optional Advanced Options
Choose the Advanced Options section to open up all of the extra settings you can add to your email.
You can choose your audience that this email is for! Maybe you have created an audience before, you can choose one of those by choosing the Select Audience button, or you can write in one yourself. Automatically the main audience that is associated with your Business Profile will be found here.
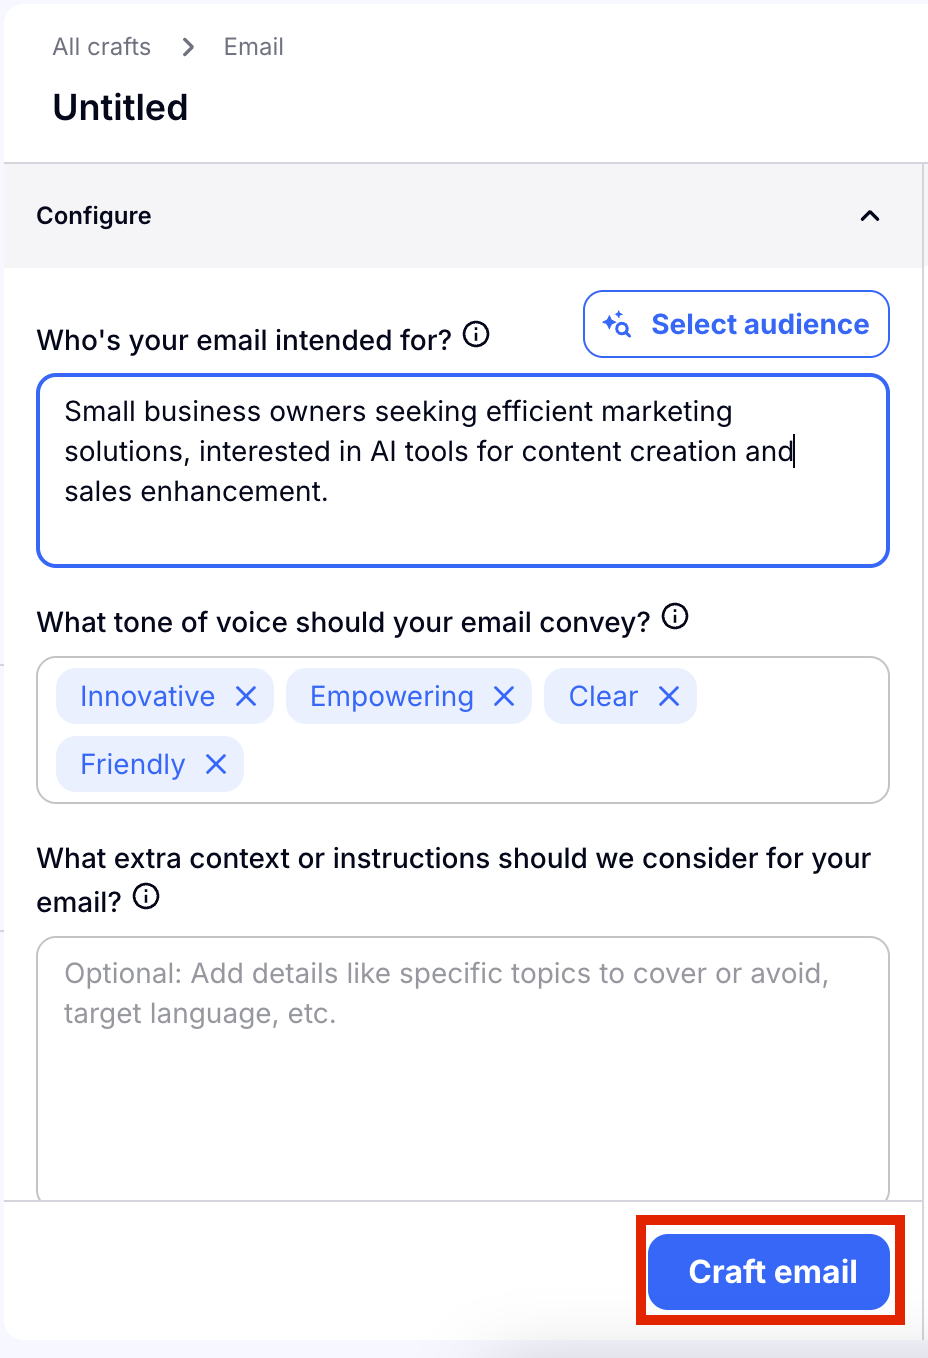
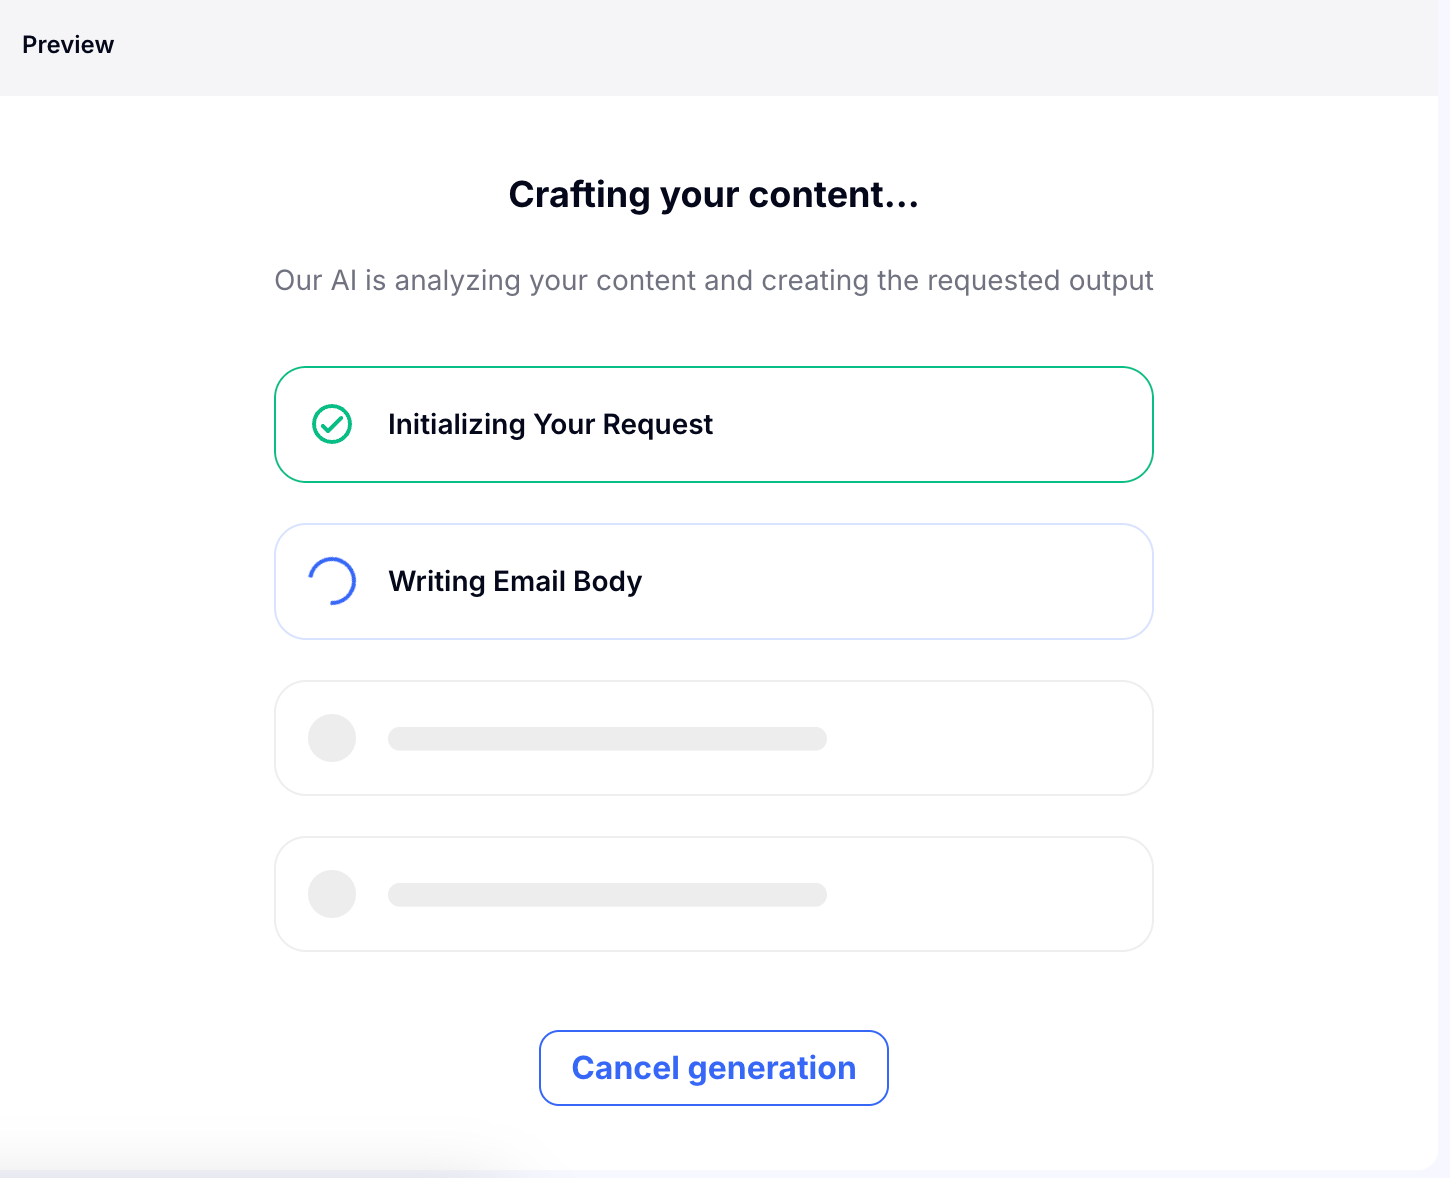
Once you've added all of the details, choose Craft Email and you'll see this pop up on the right hand side as Craftify AI works to craft your email. This should only take a few seconds. If you wish to change something in your settings, then you can choose Cancel Generation.
Step 4: Review and edit your new email
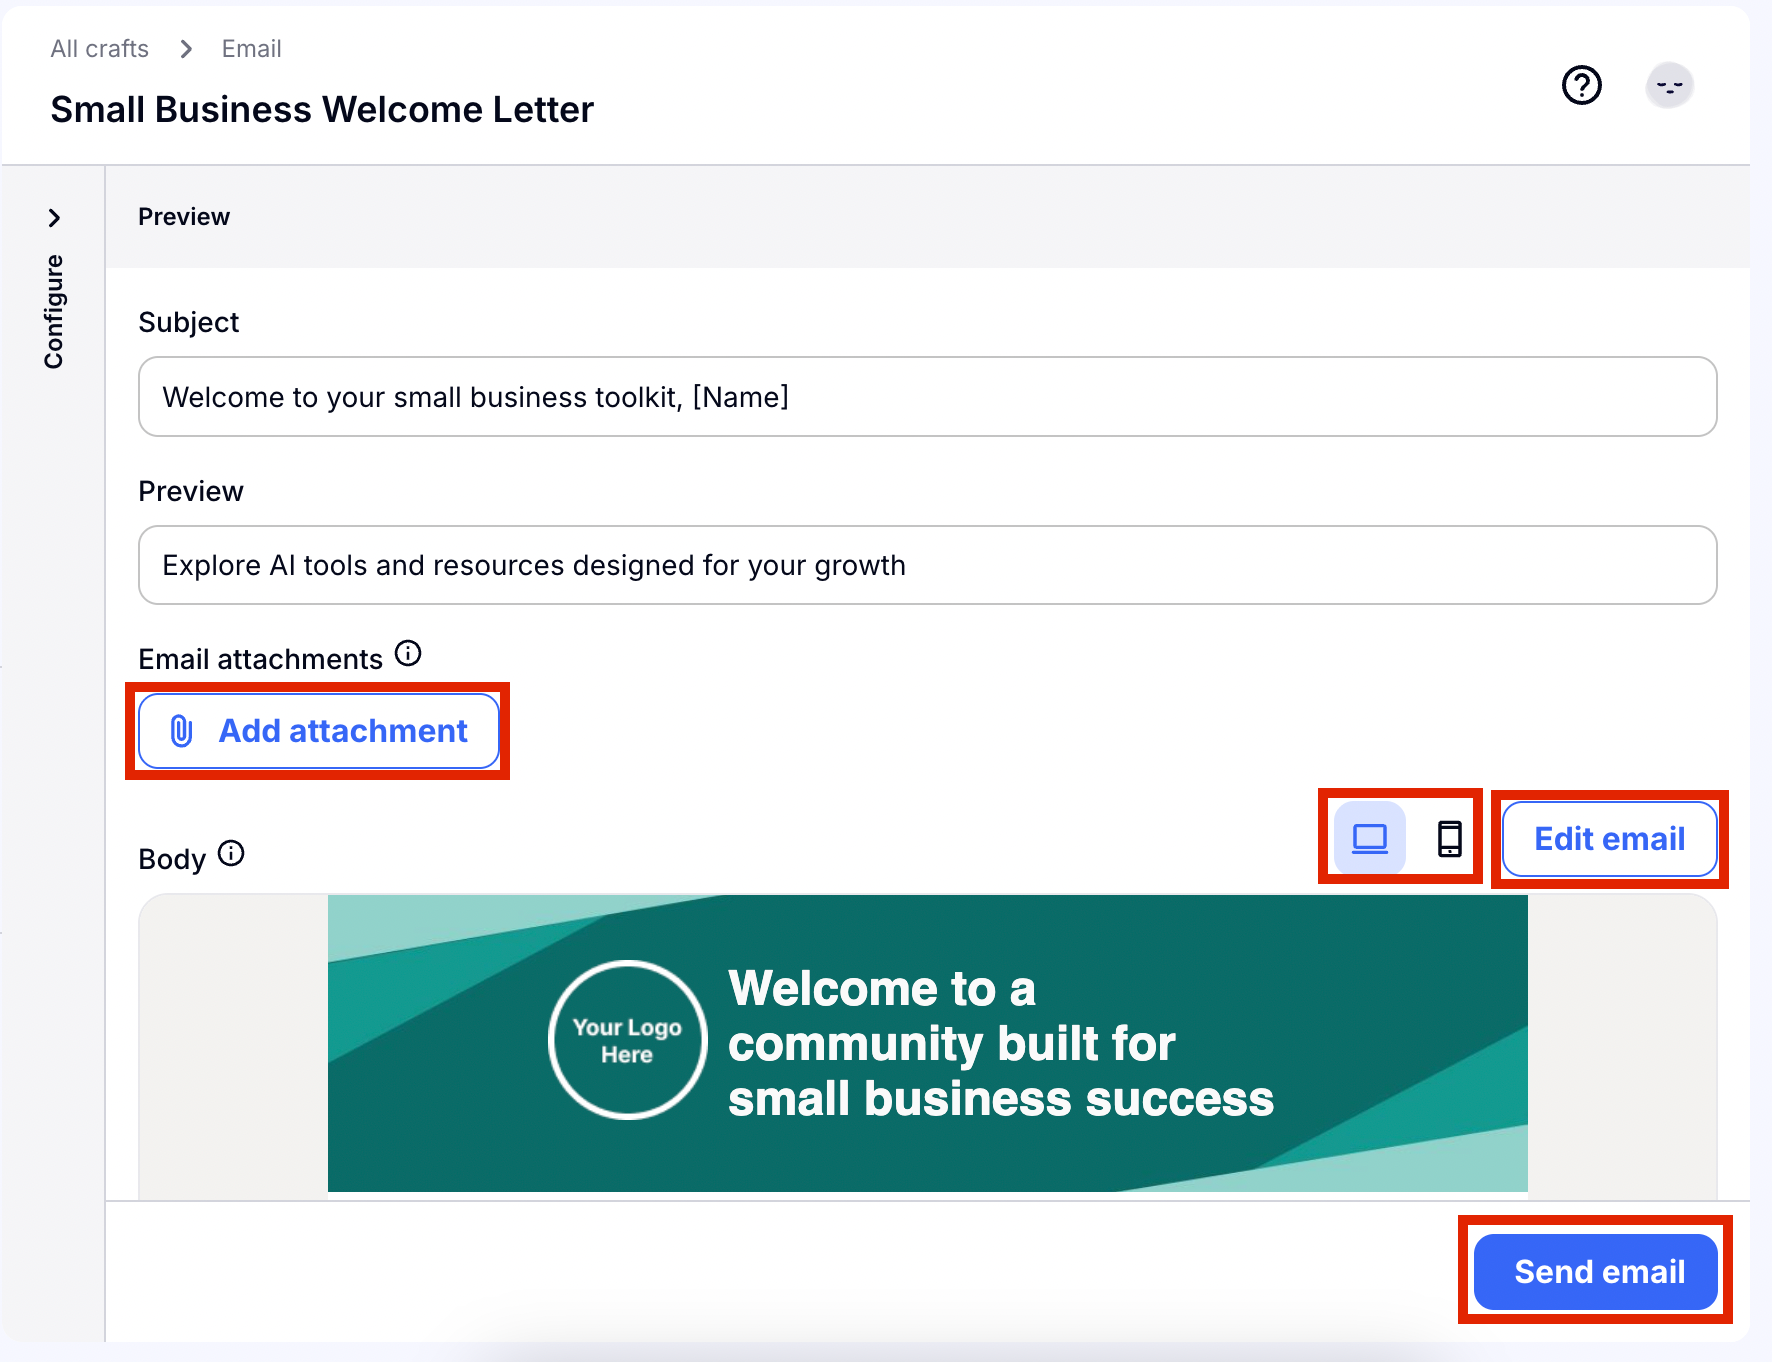
Read through your Subject, Preview, and Email. Craftify AI already did some of the hard work and designed your email for you too. If you don't like it, don't worry, we can edit it!
Choose Edit Email to get started editing the content and design. To learn about how to use the Email Design Tool, click HERE!
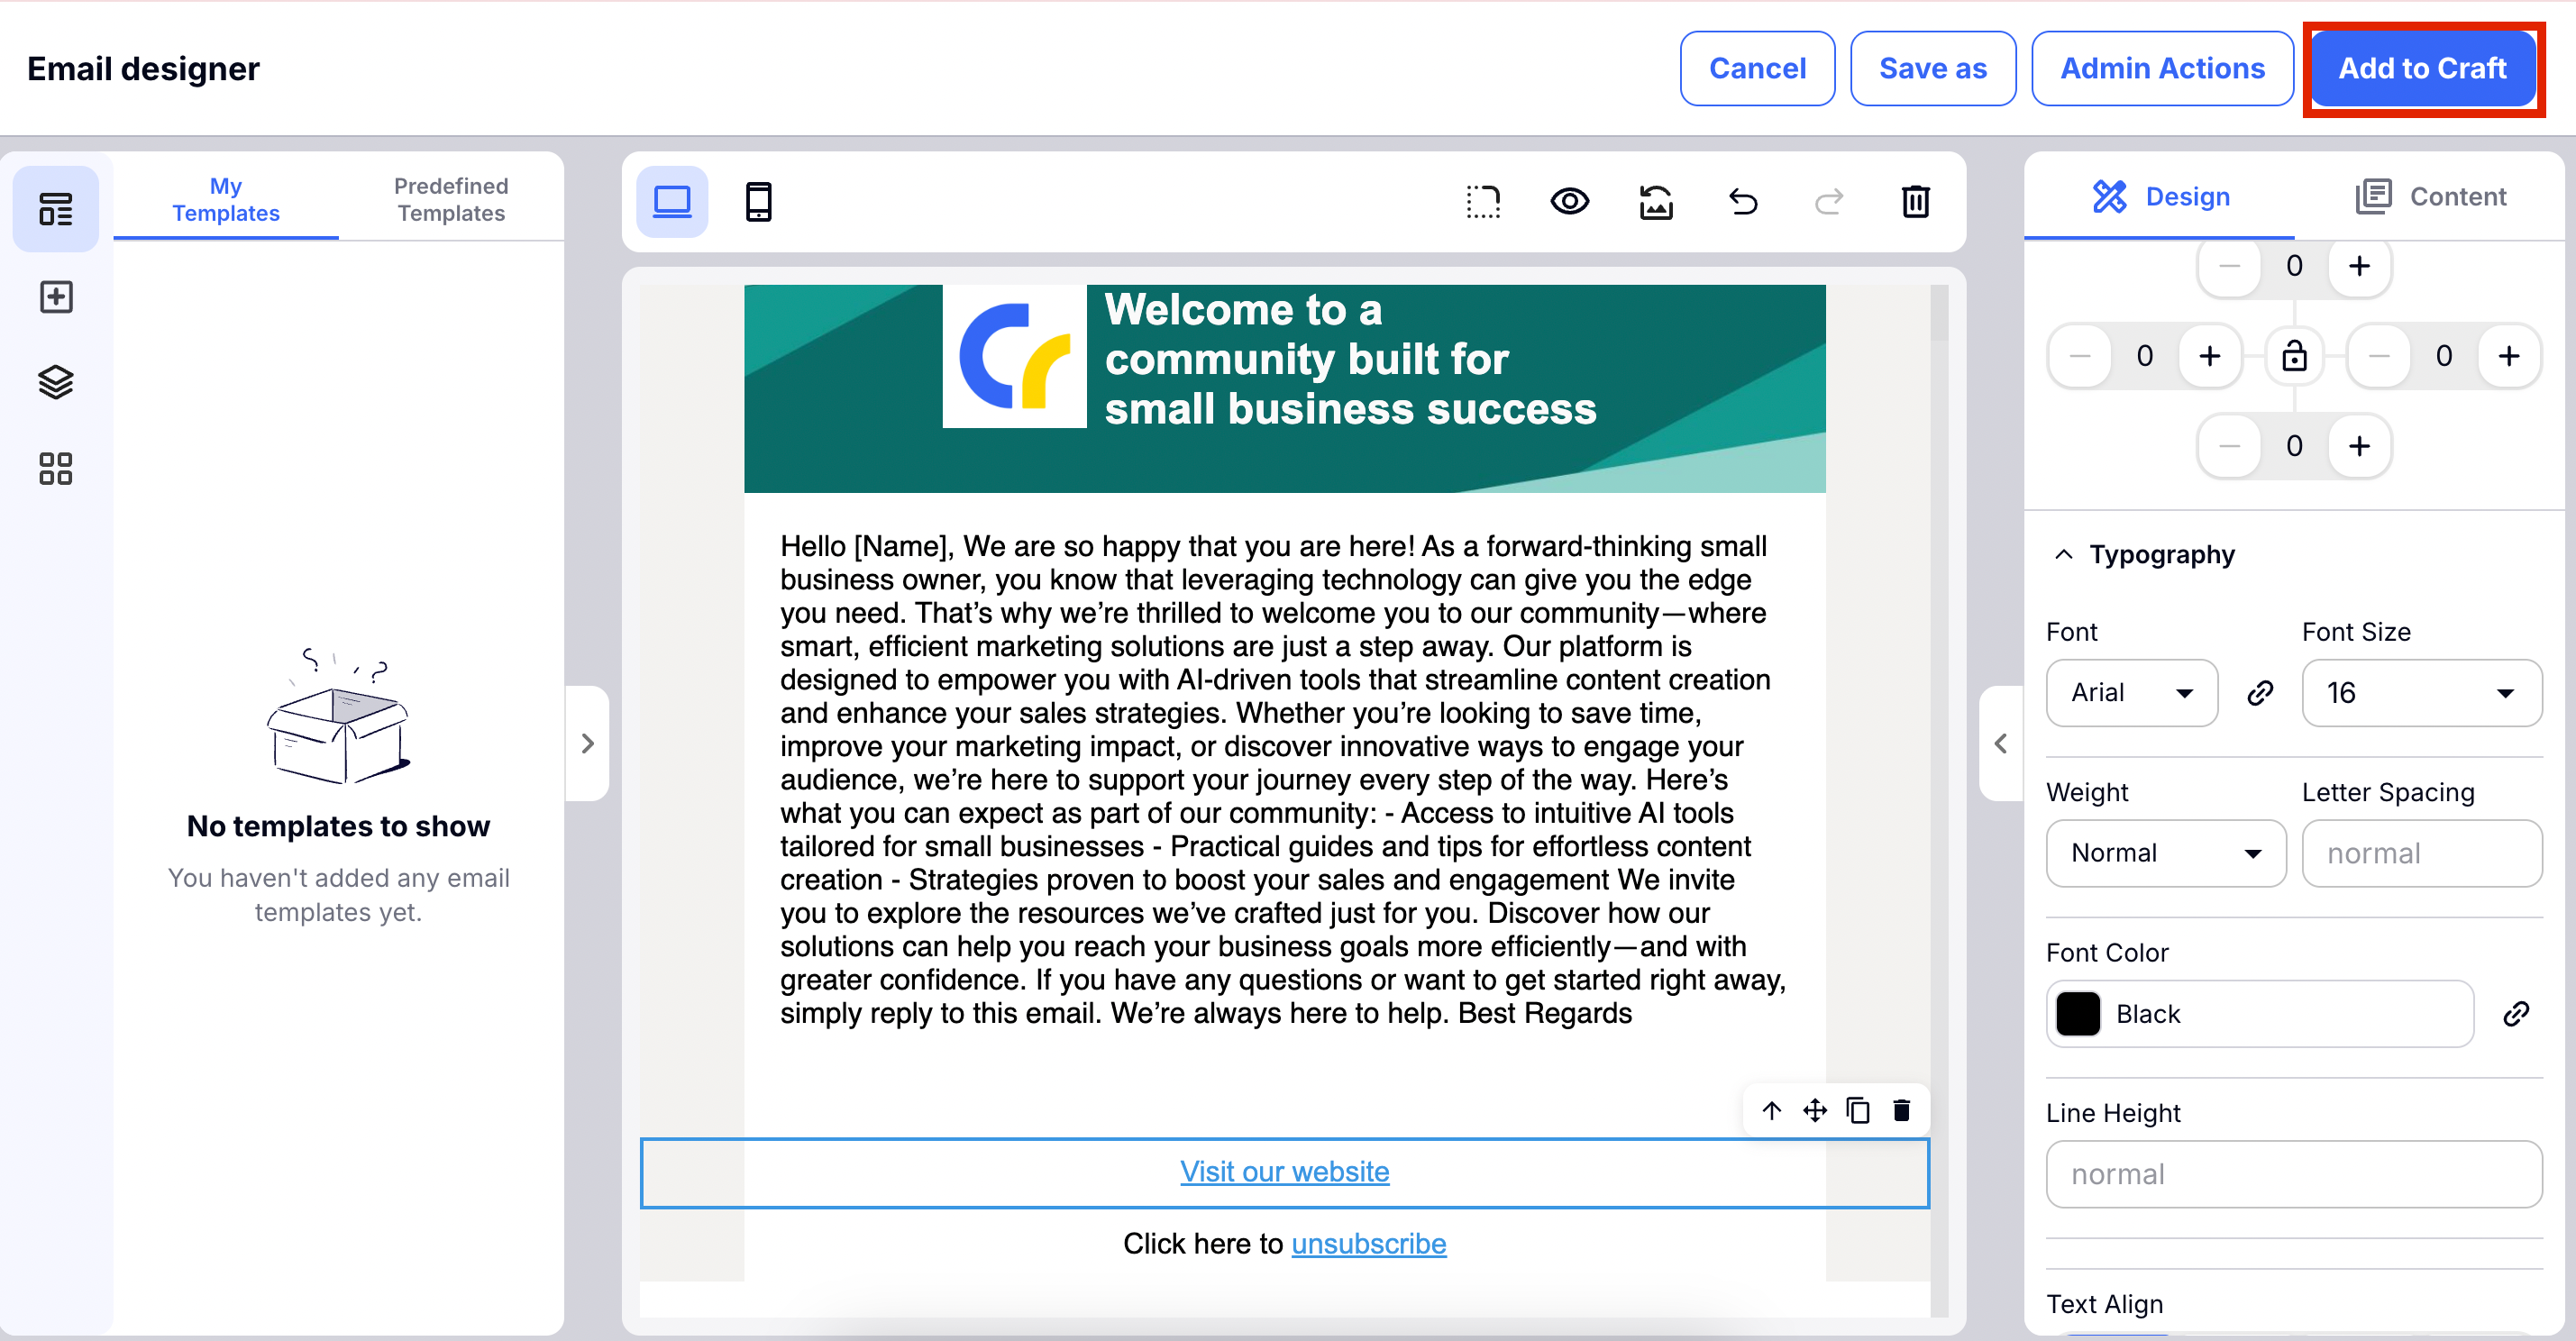
The Email Editer will open up and you will have so many options to change and edit your email! In this tutorial we will highlight only a few.
If you want to change anything about the content of the email, you can also do so by clicking on the text to edit it directly.
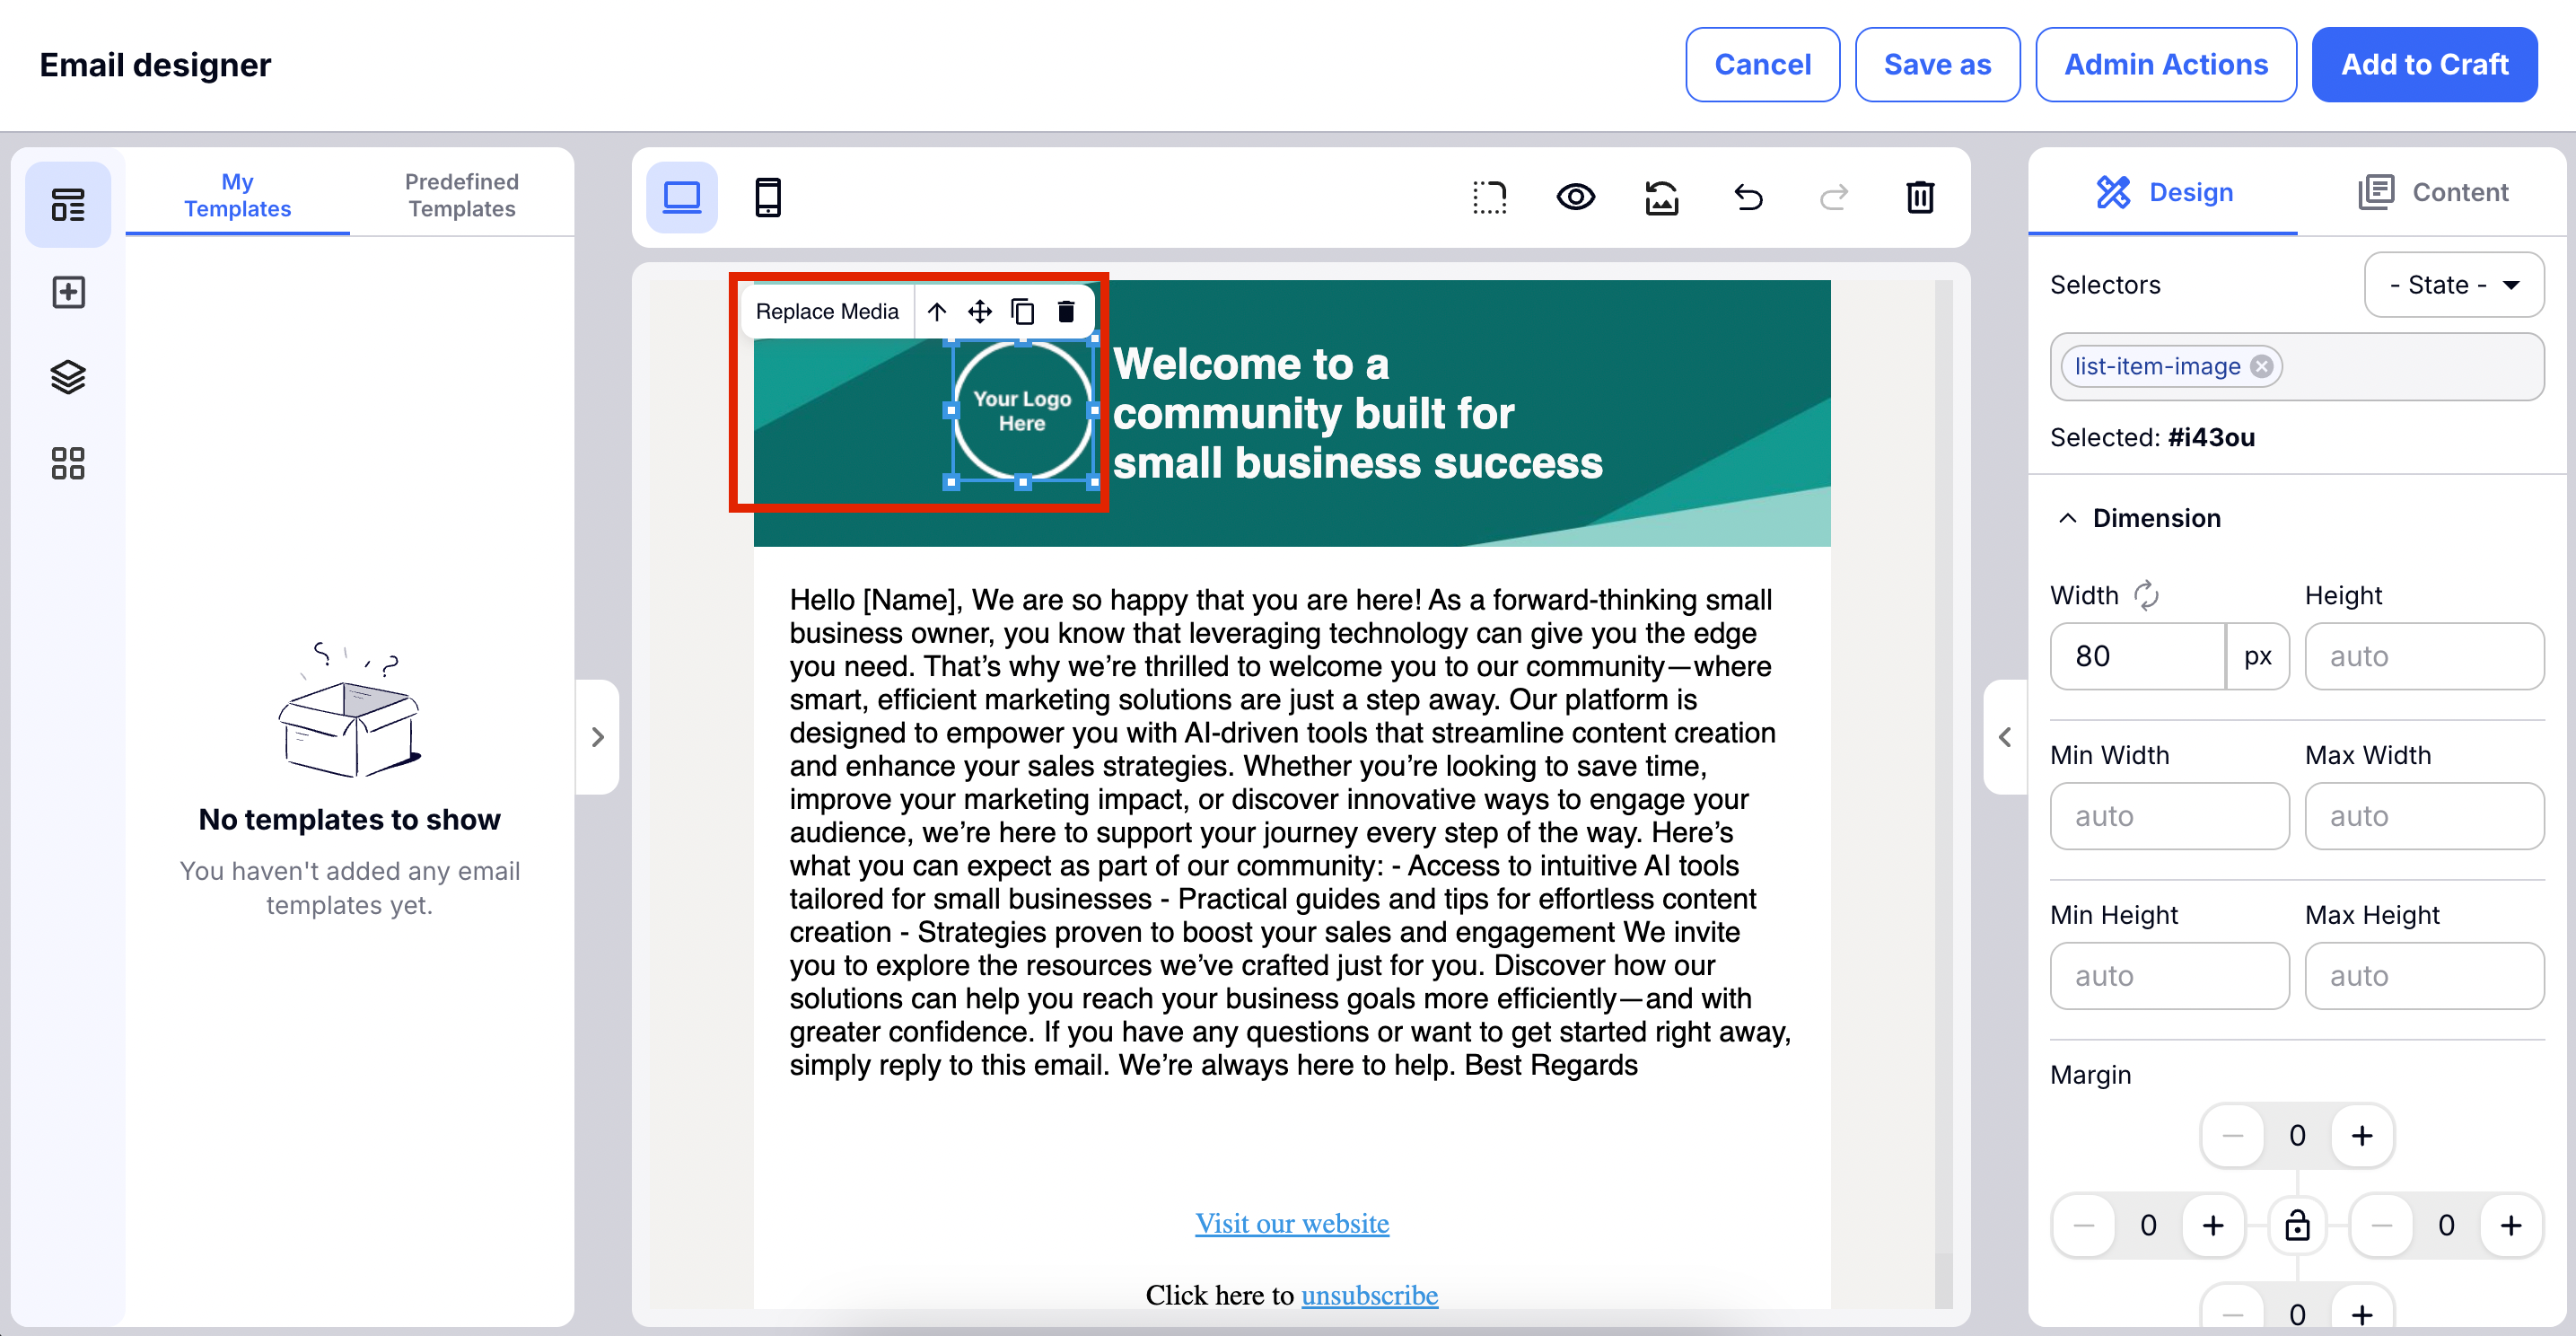
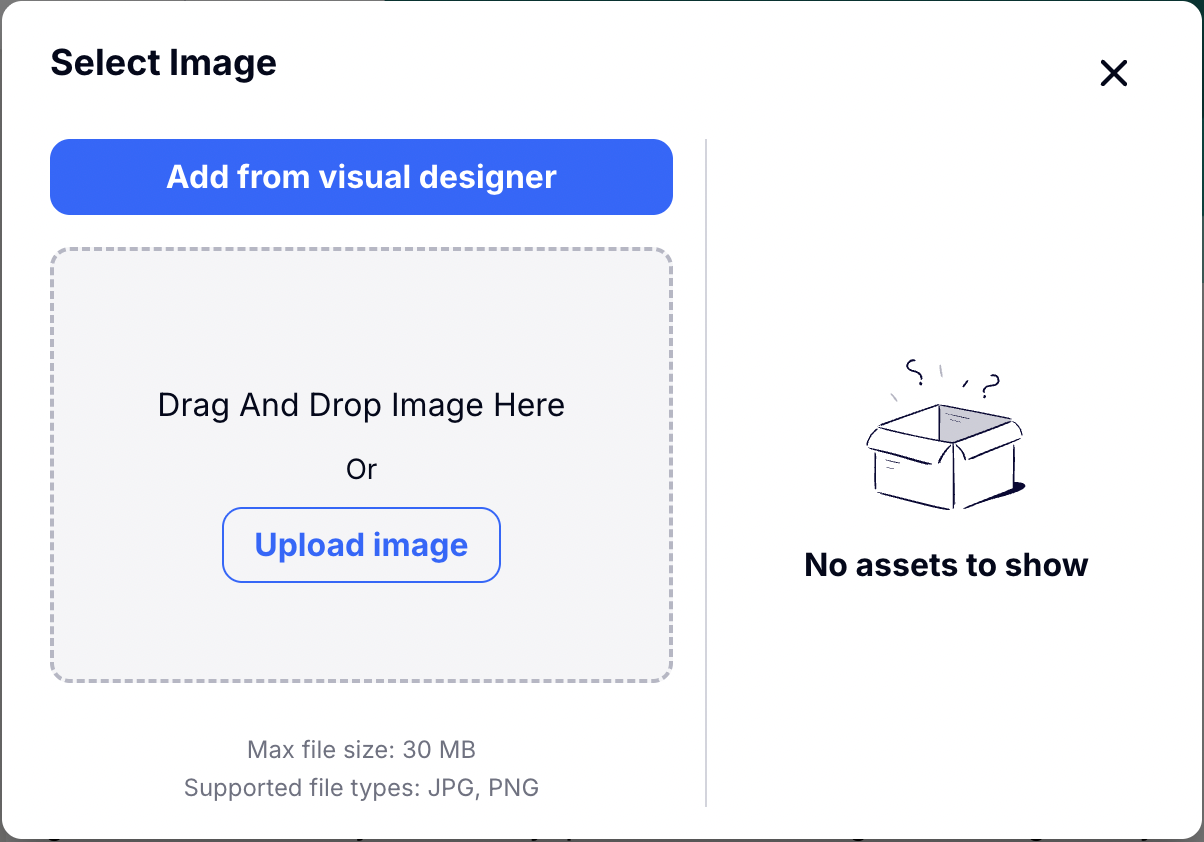
If you don't already have your logo added to Craftify AI, you can add it in place of the logo in the design. If you do already have your logo uploaded to your business profile, then if should automatically show up in the email's design header.
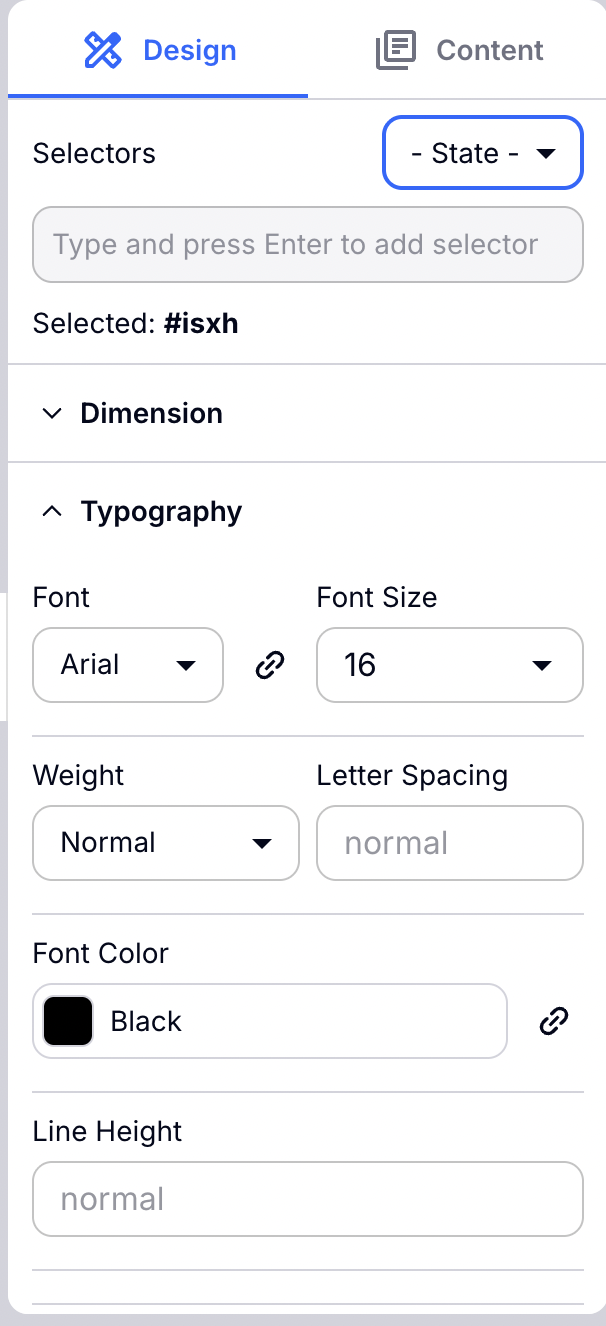
On the right-hand side you will find all of the tools you will need for editing. You can find how to change the font, add borders, edit the position of the margins, and much, much more!
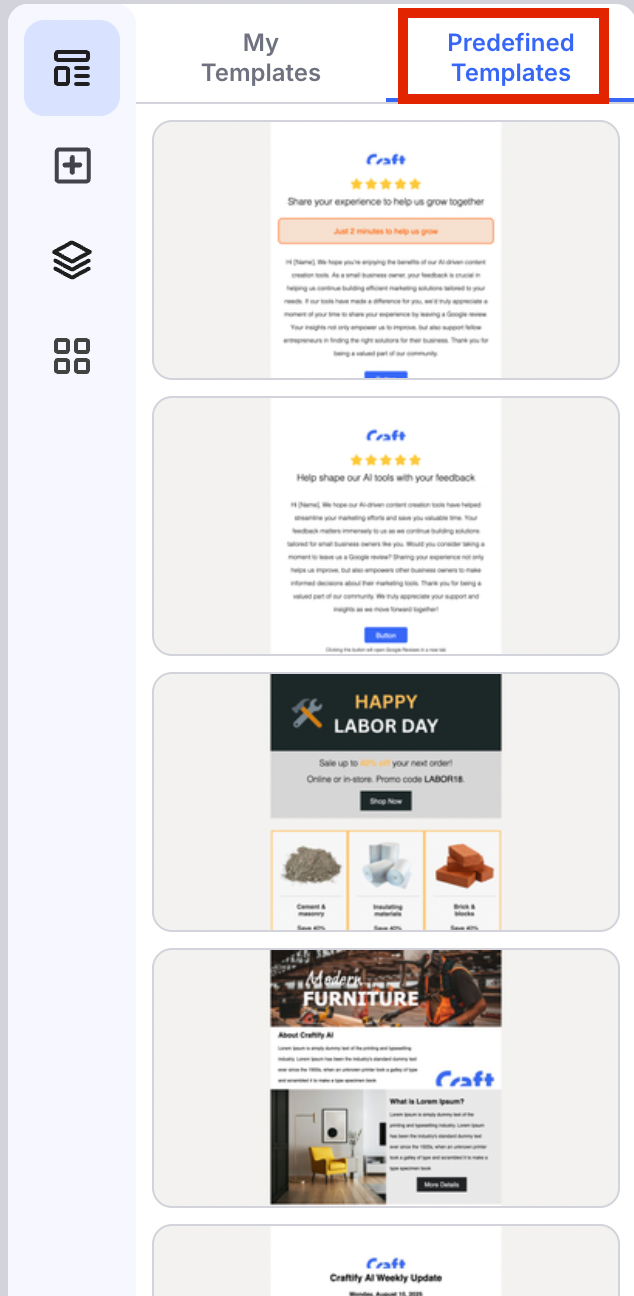
On the left-hand side you will find templates. If you haven't already created any templates for your email, that's fine, choose the right tab here for Predefined Templates, and you can choose from some of our pre-made templates for your email.
Once you are done, choose Add to Craft, and your new and improved email and design will be added to your Craft.
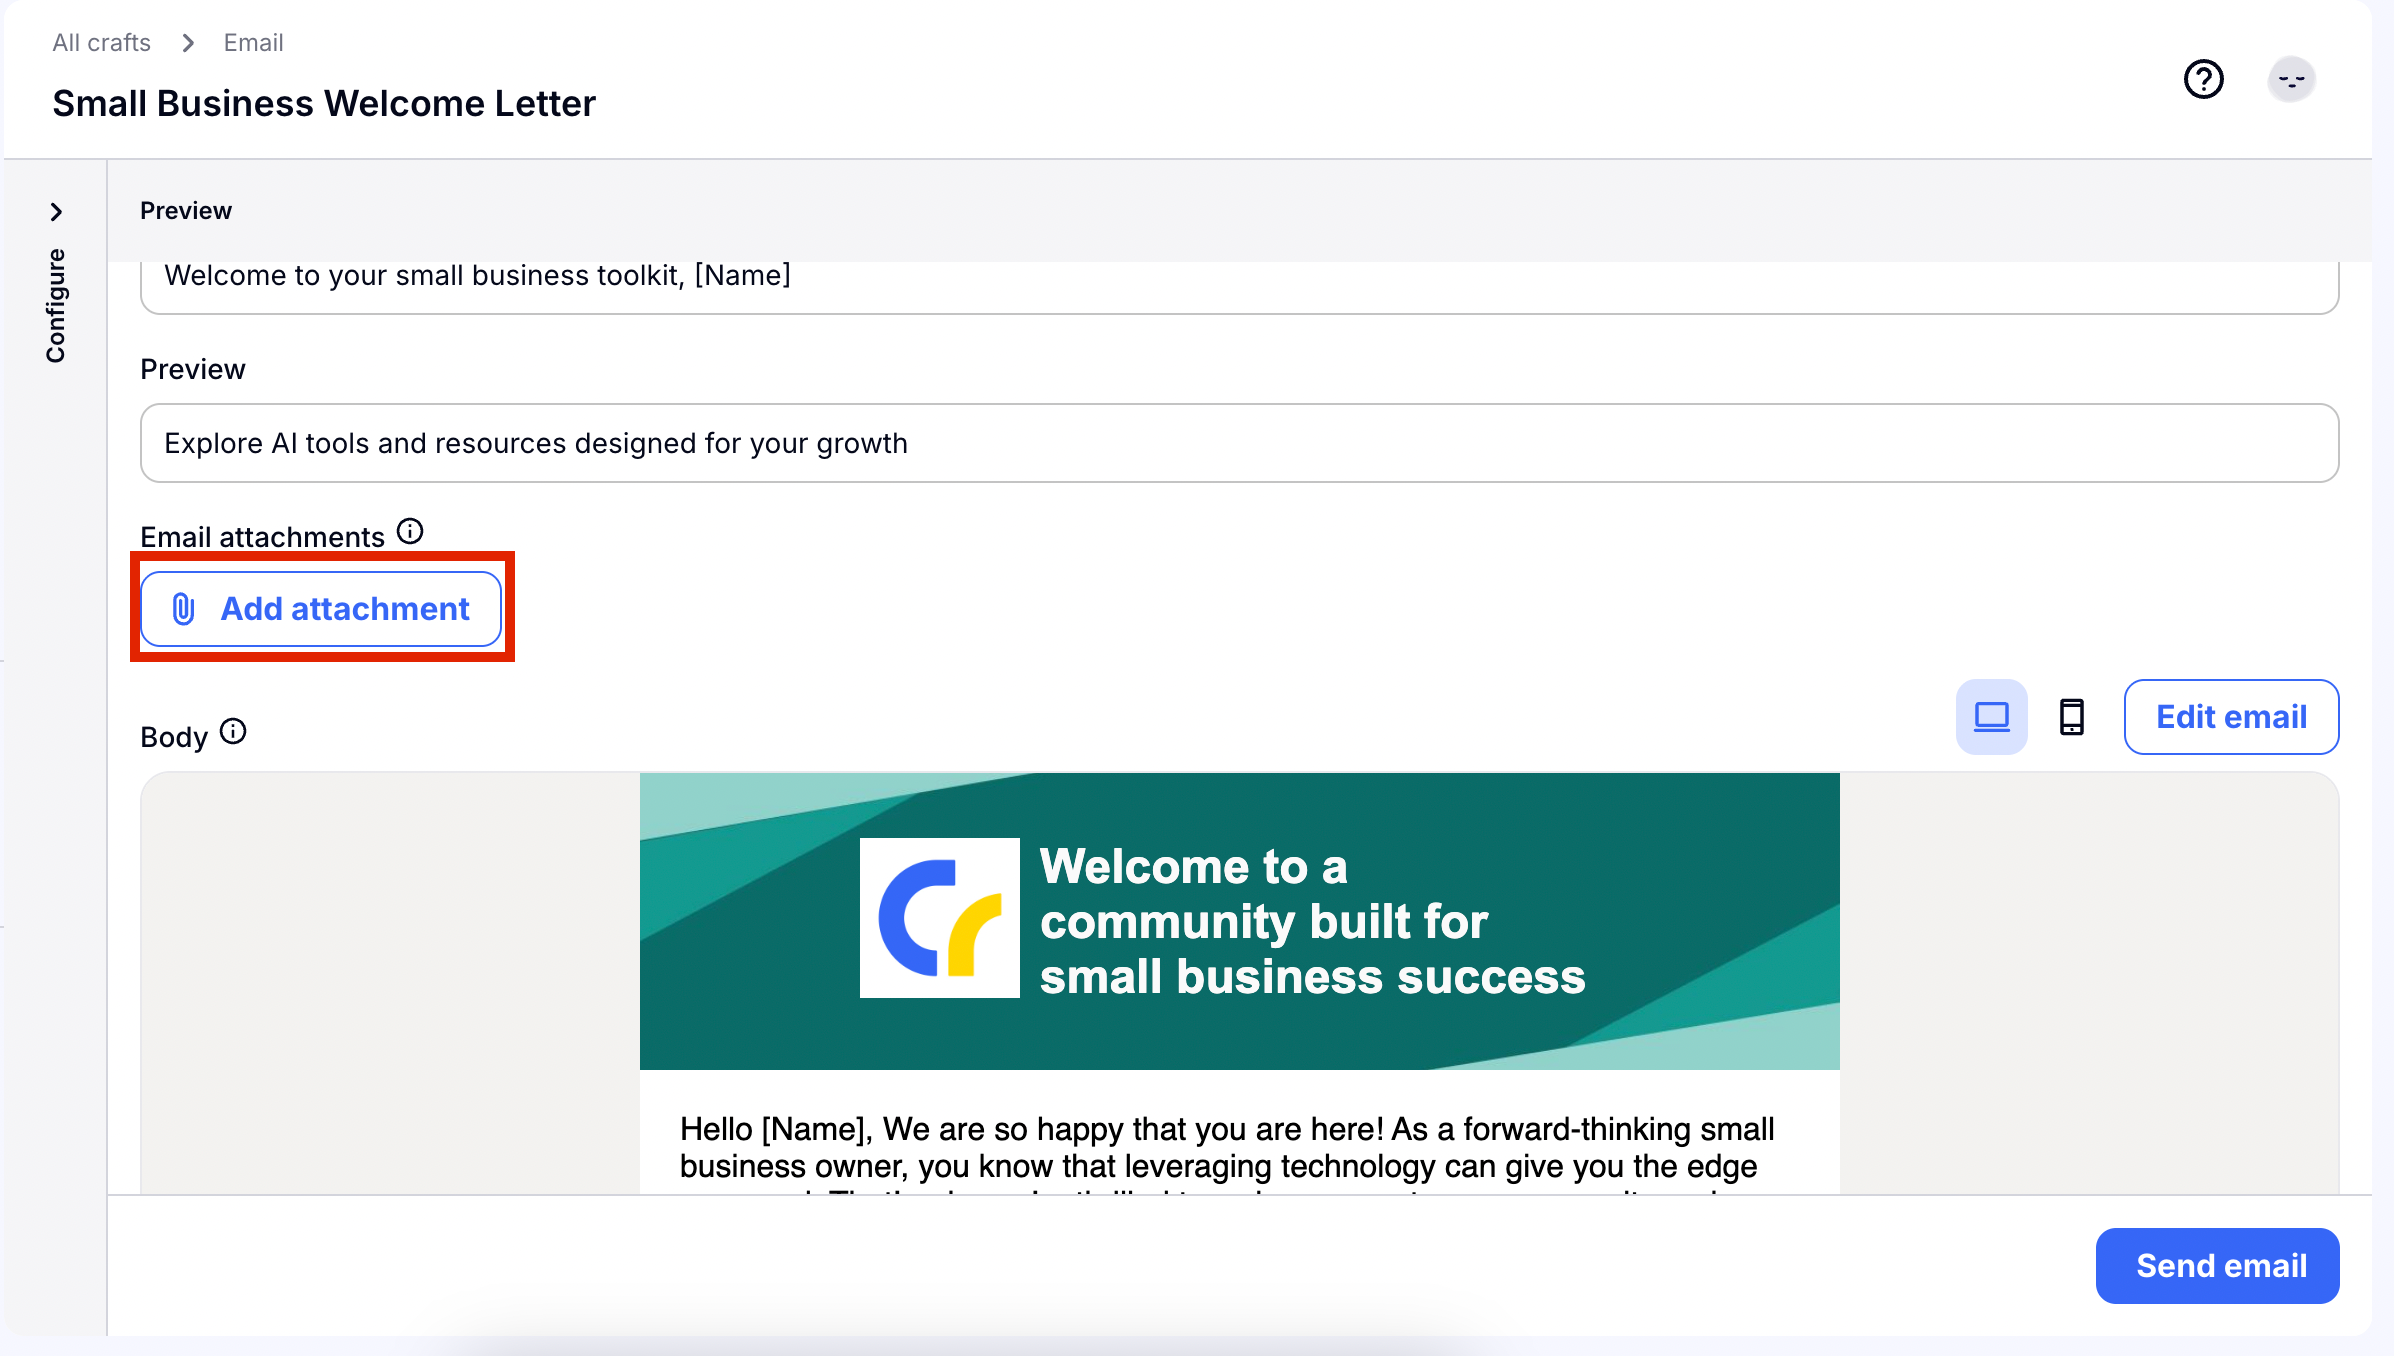
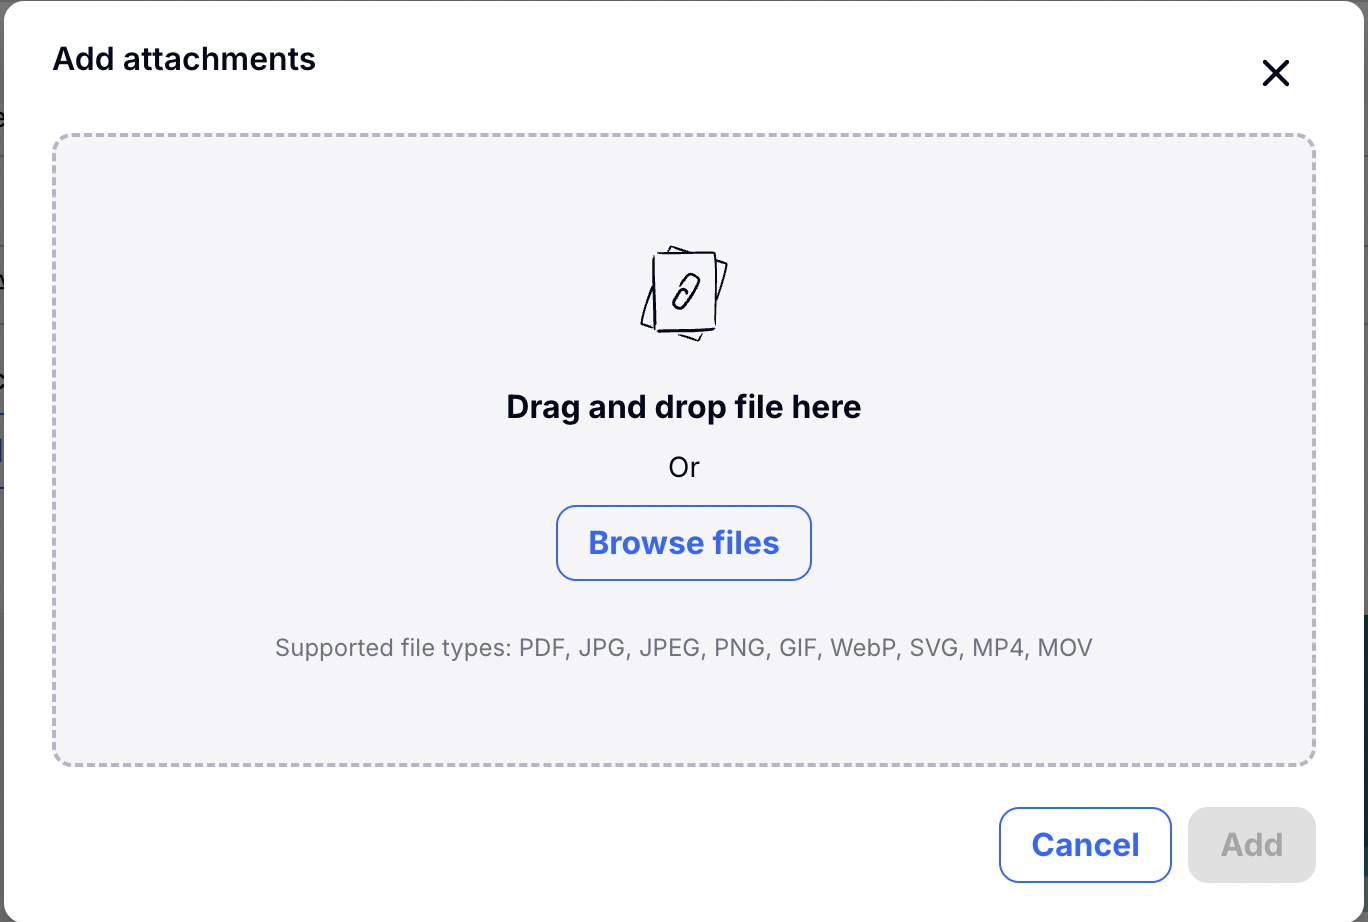
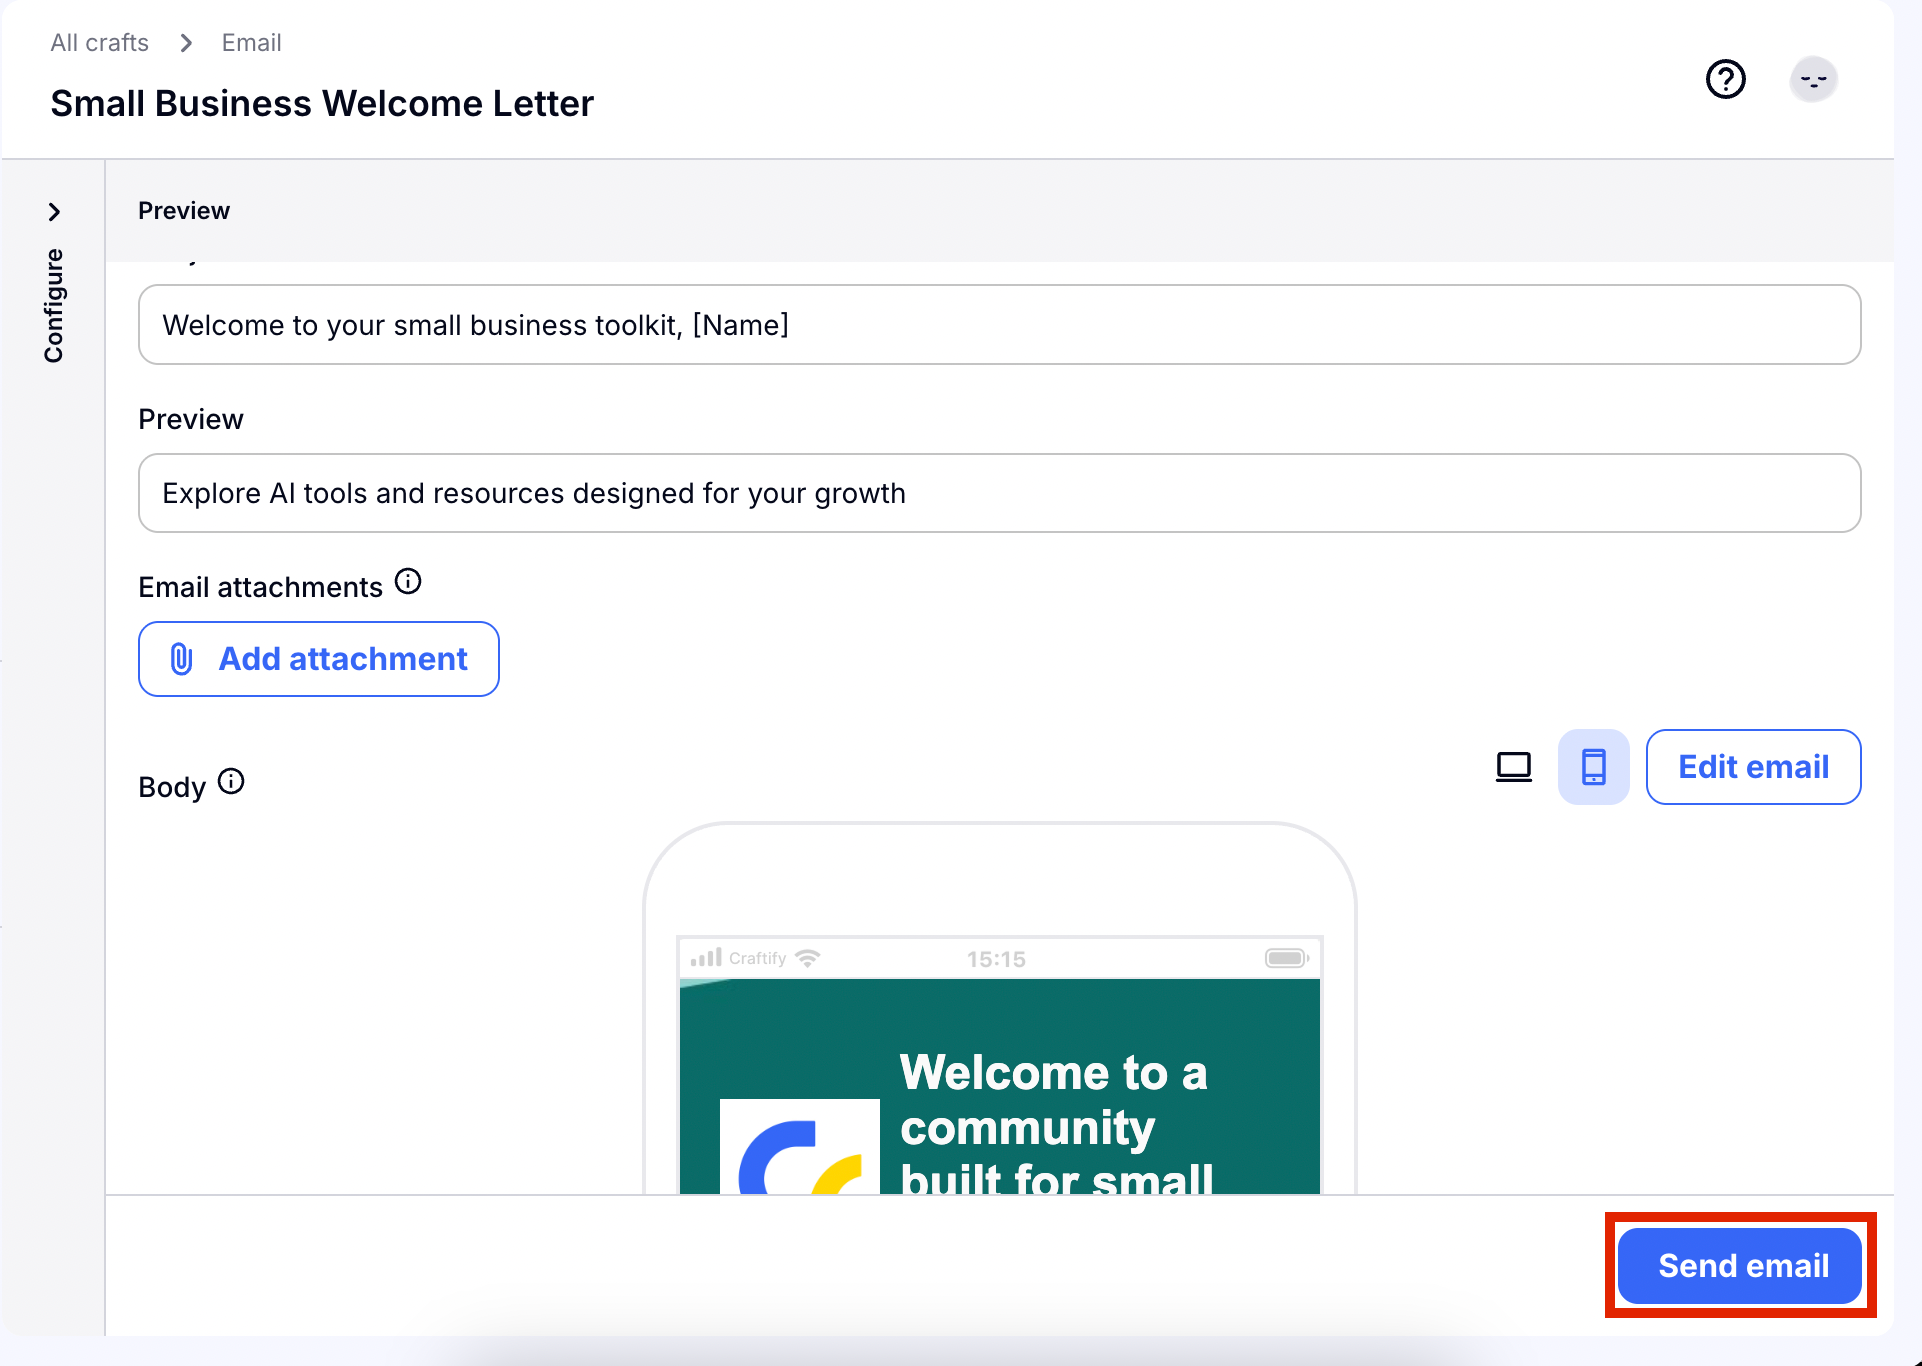
Back inside the main Craft section you can add extras to your email like attachments. If you're like me and always forget to attach to your files, this remembers for you!
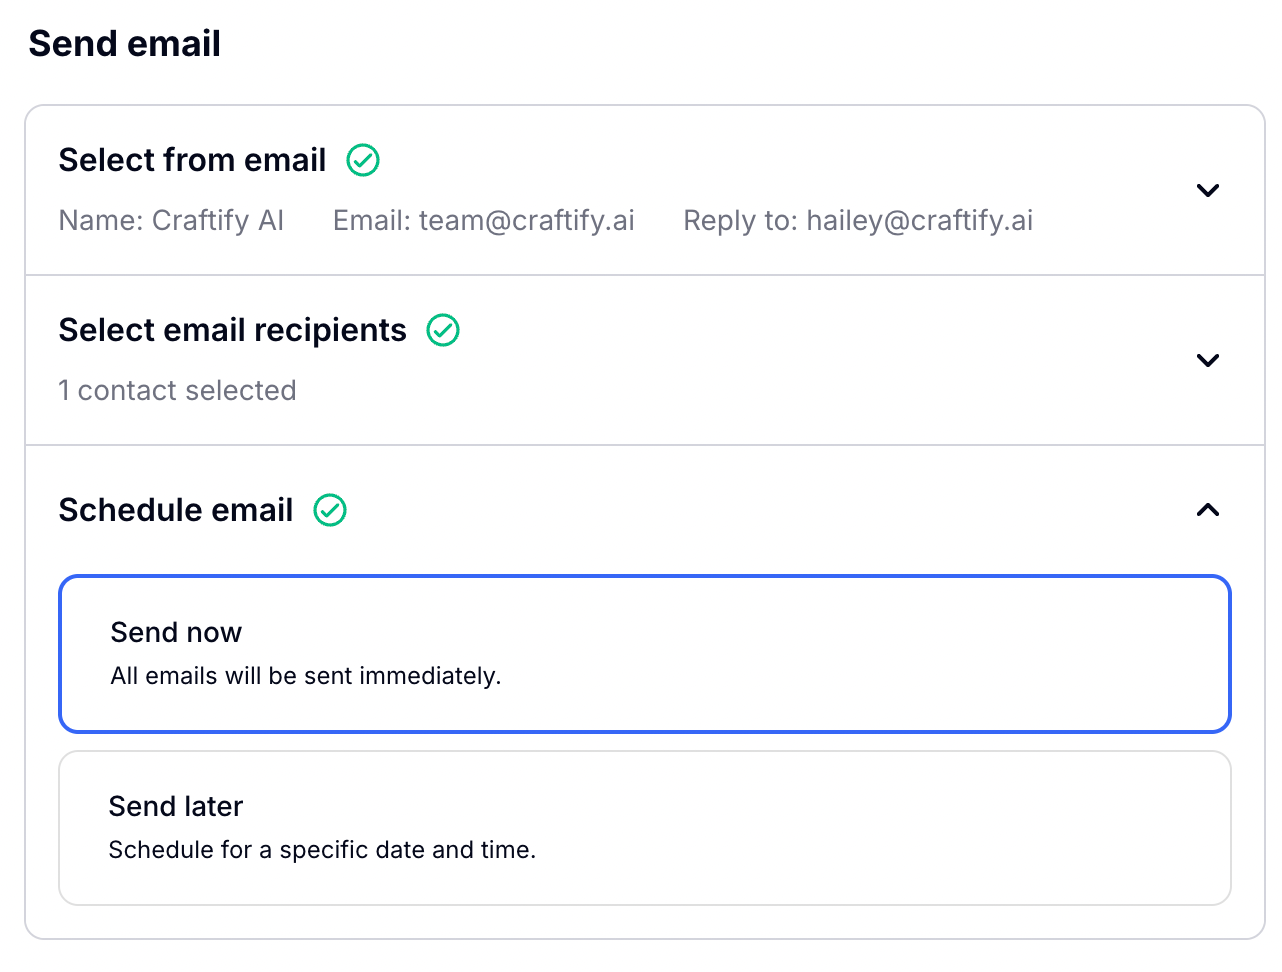
Step 5: Send Your Email
Choose 'Send Email' to move on to the final step for sending off your email!
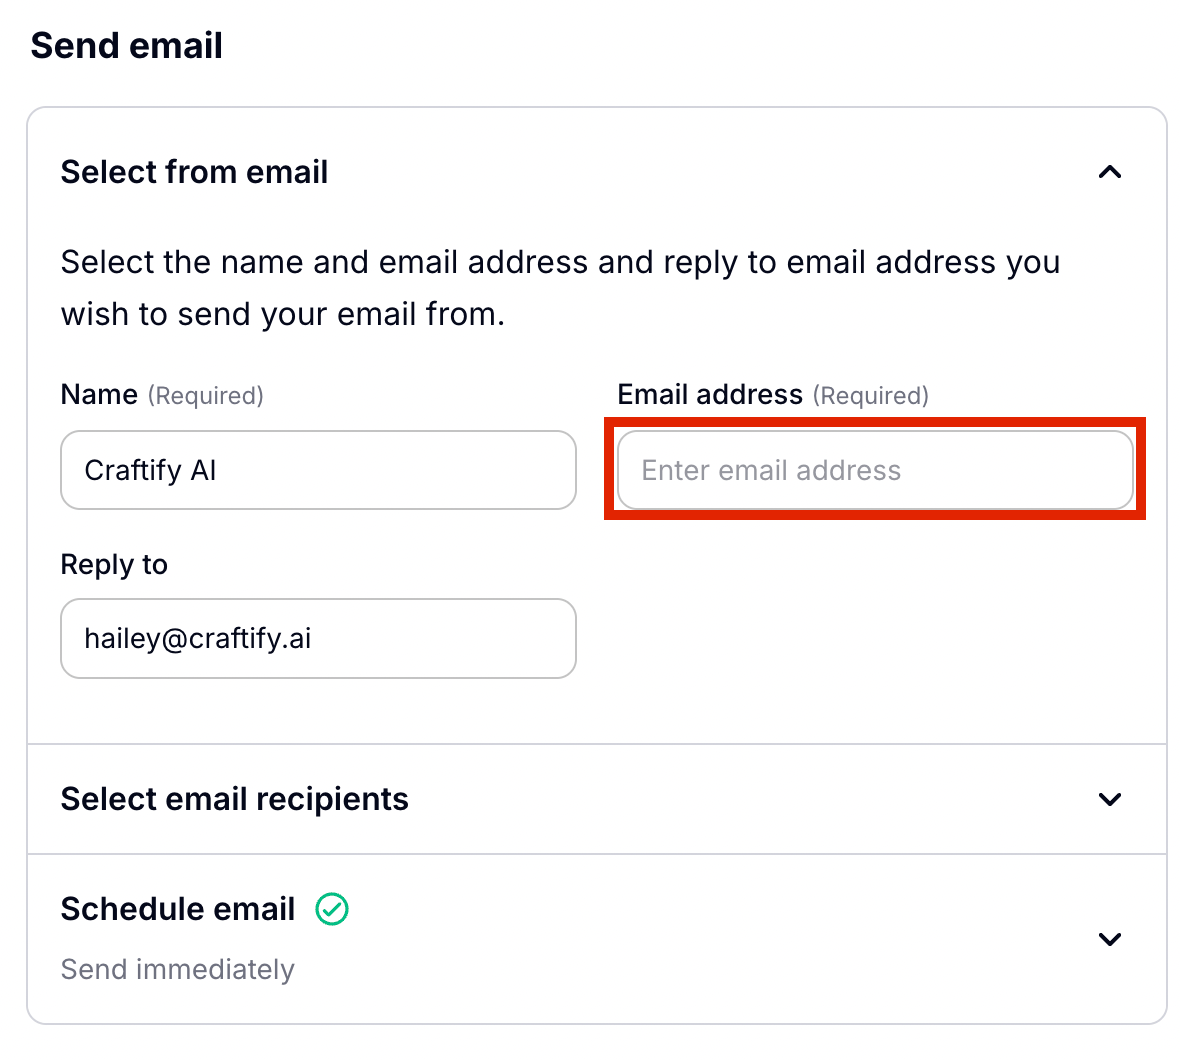
Before you can send, you'll need to fill in a few things to get your email to the right place. First you will enter the email address that the email will be sent from. This doesn't have to be the same as the 'Reply To' email that will be automatically added based on your Business Profile information.
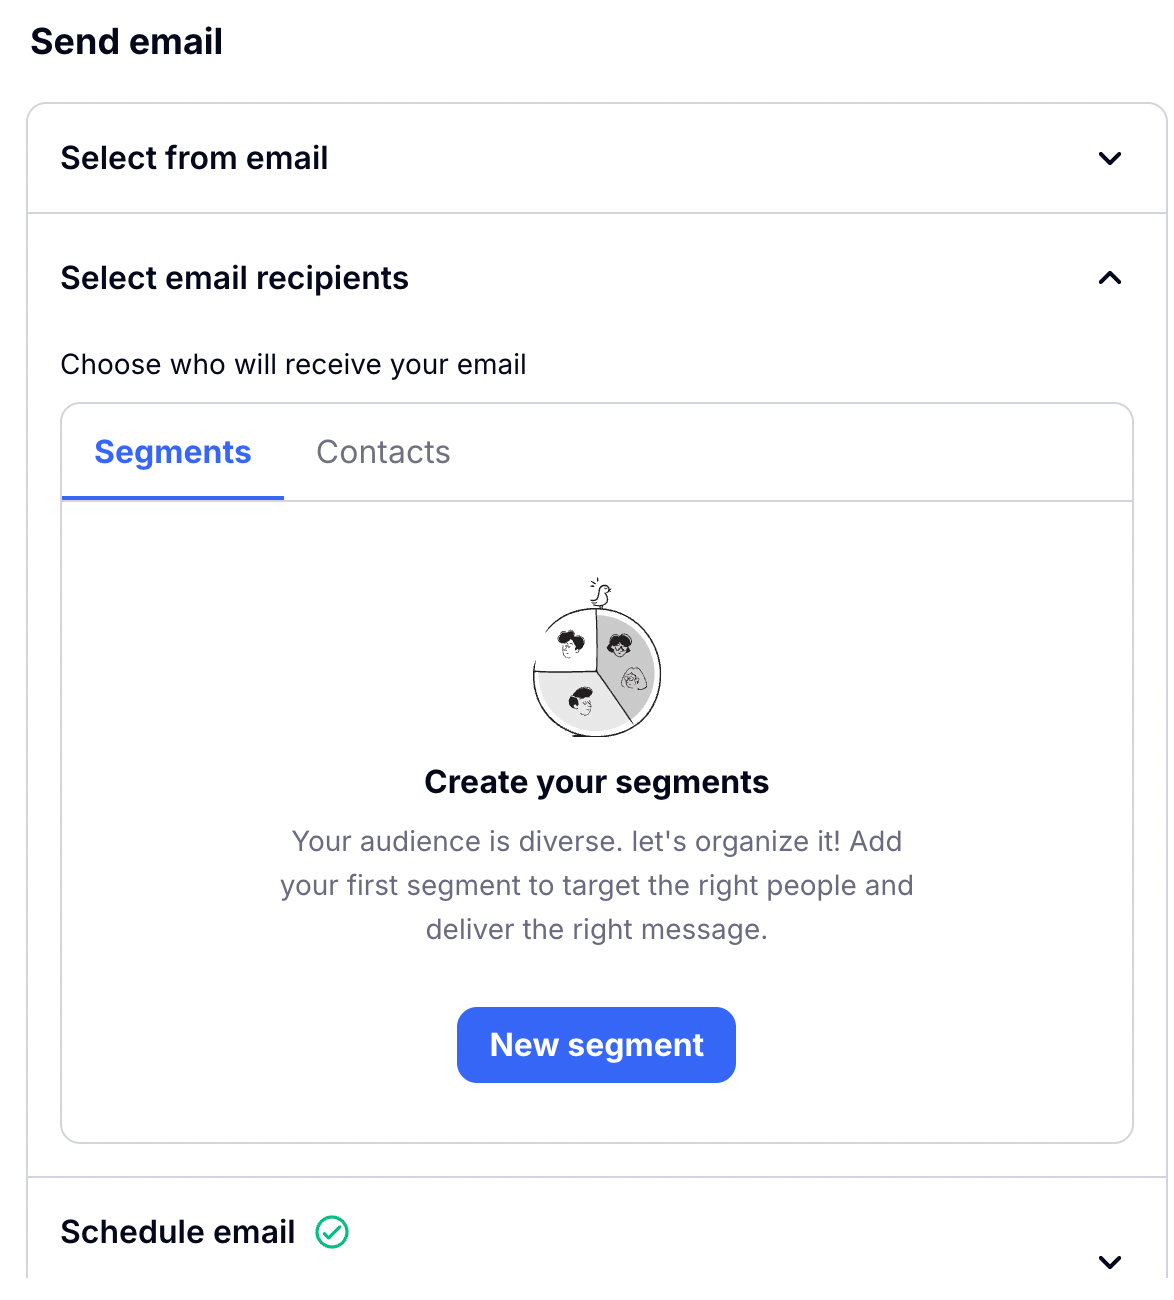
Next you can choose who you are sending this email to. If you have set up Segments, you can choose one of those here.
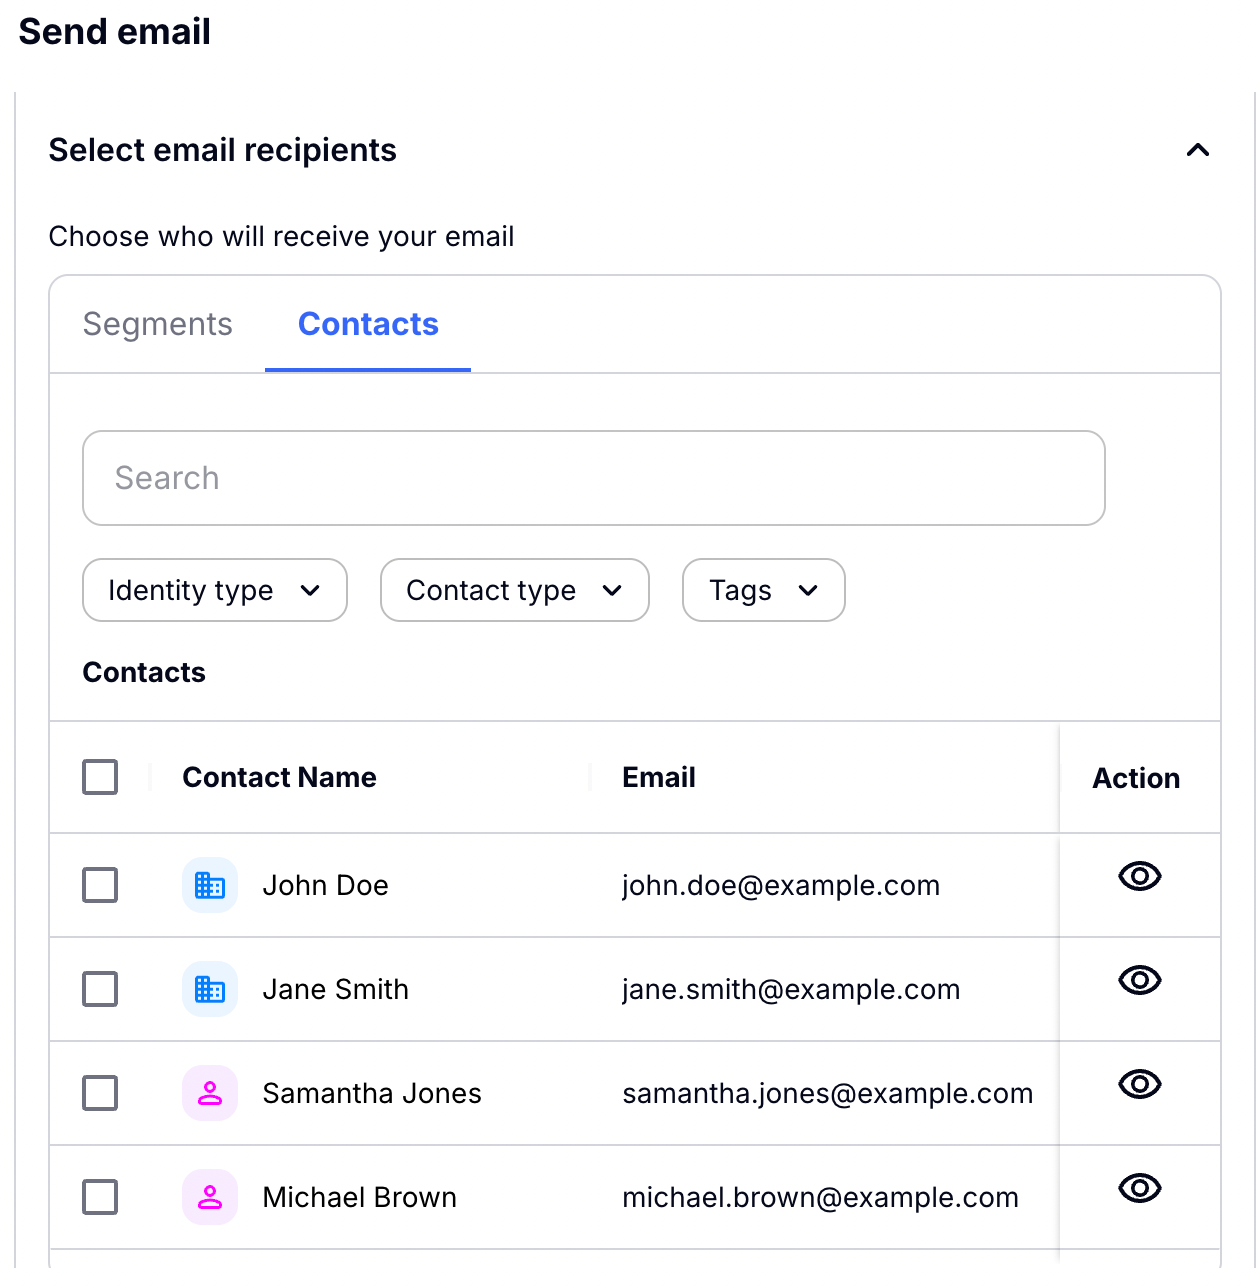
Or you can choose to individually choose which of your contacts to send the email to. Just check the box for which contacts you would like to send to.
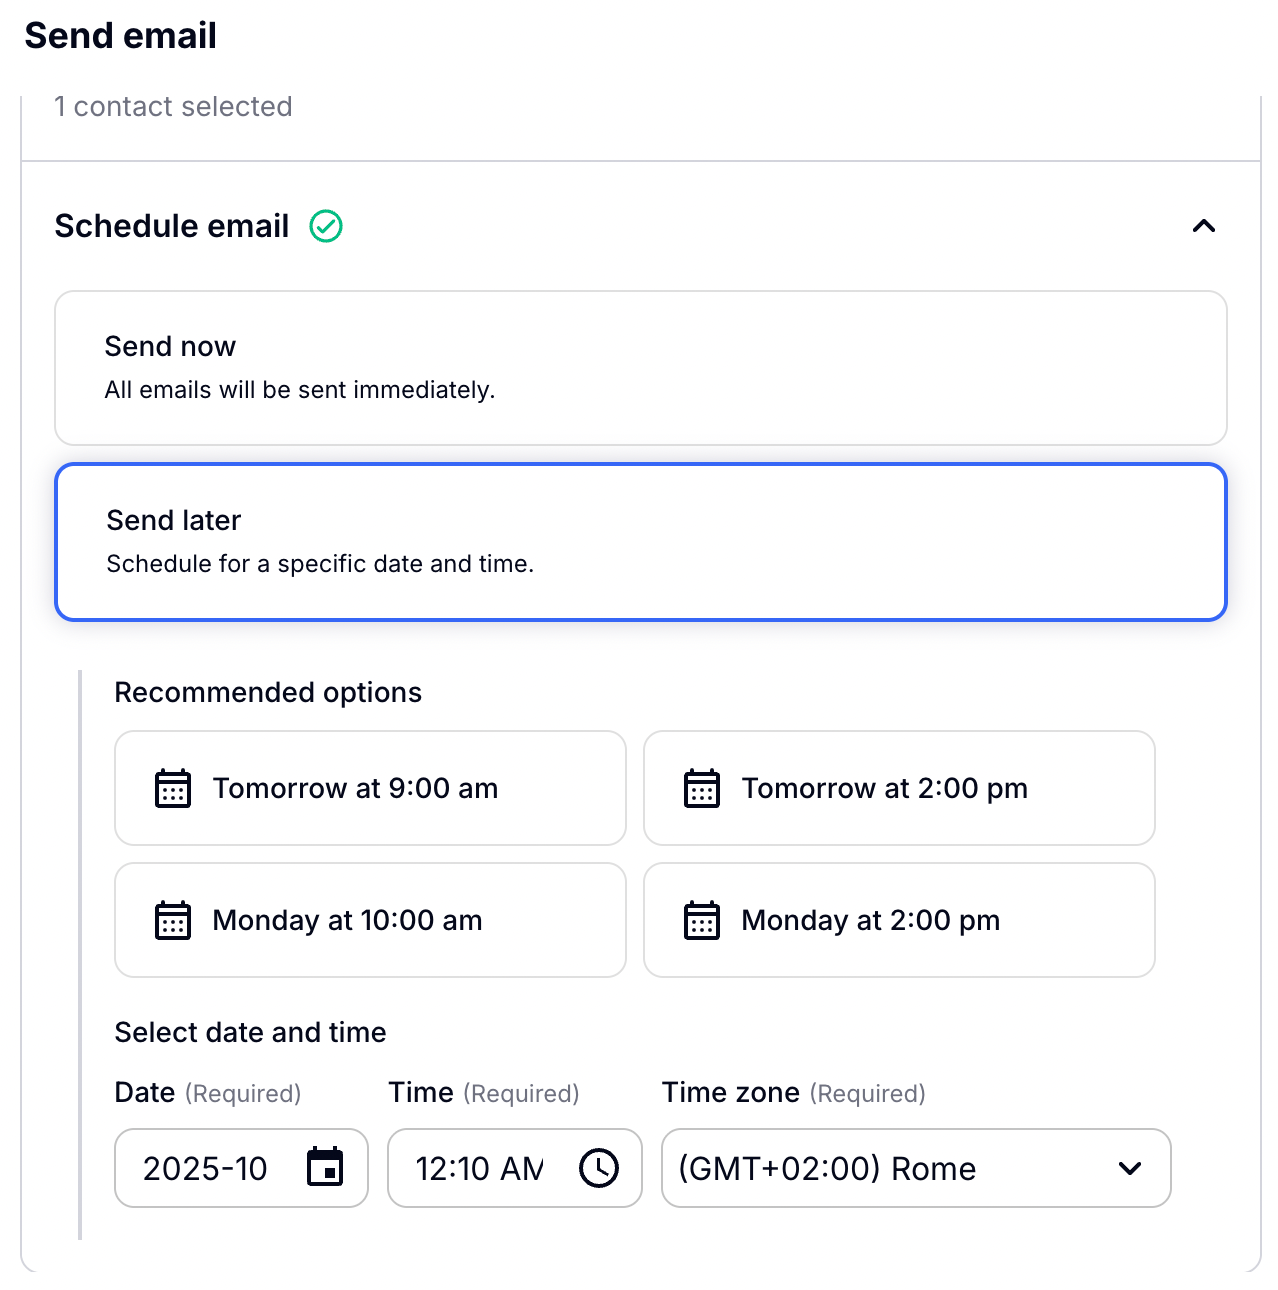
Now you can choose to schedule your email or to send it now!
By choosing to schedule you will see here all of the details to imput for when you want your email sent out. You will be able to track this scheduling in the Content Calendar section of Craftify AI after you set this up.
Before sending your email, you may choose to Optimize your delivery timing. This is totally optional.
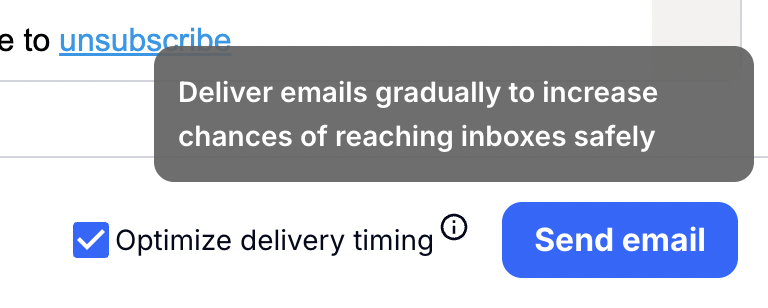
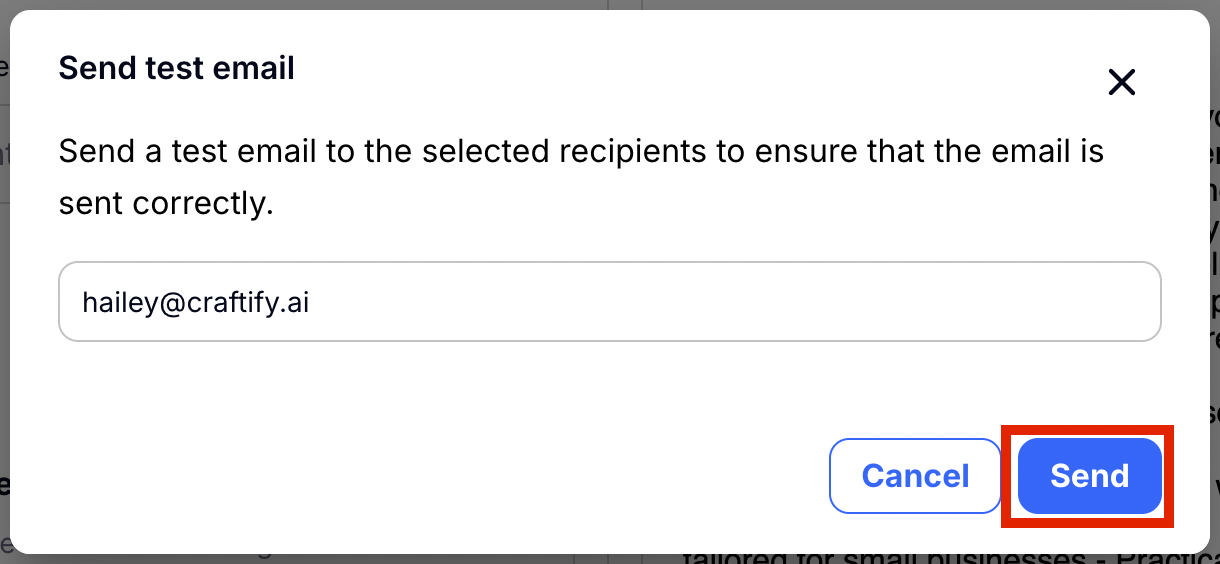
Last step is to choose to send a test email to see if your email looks perfect live before sending it out to your contacts. If you choose to just send, you will get a confirmation that your email has been sent.
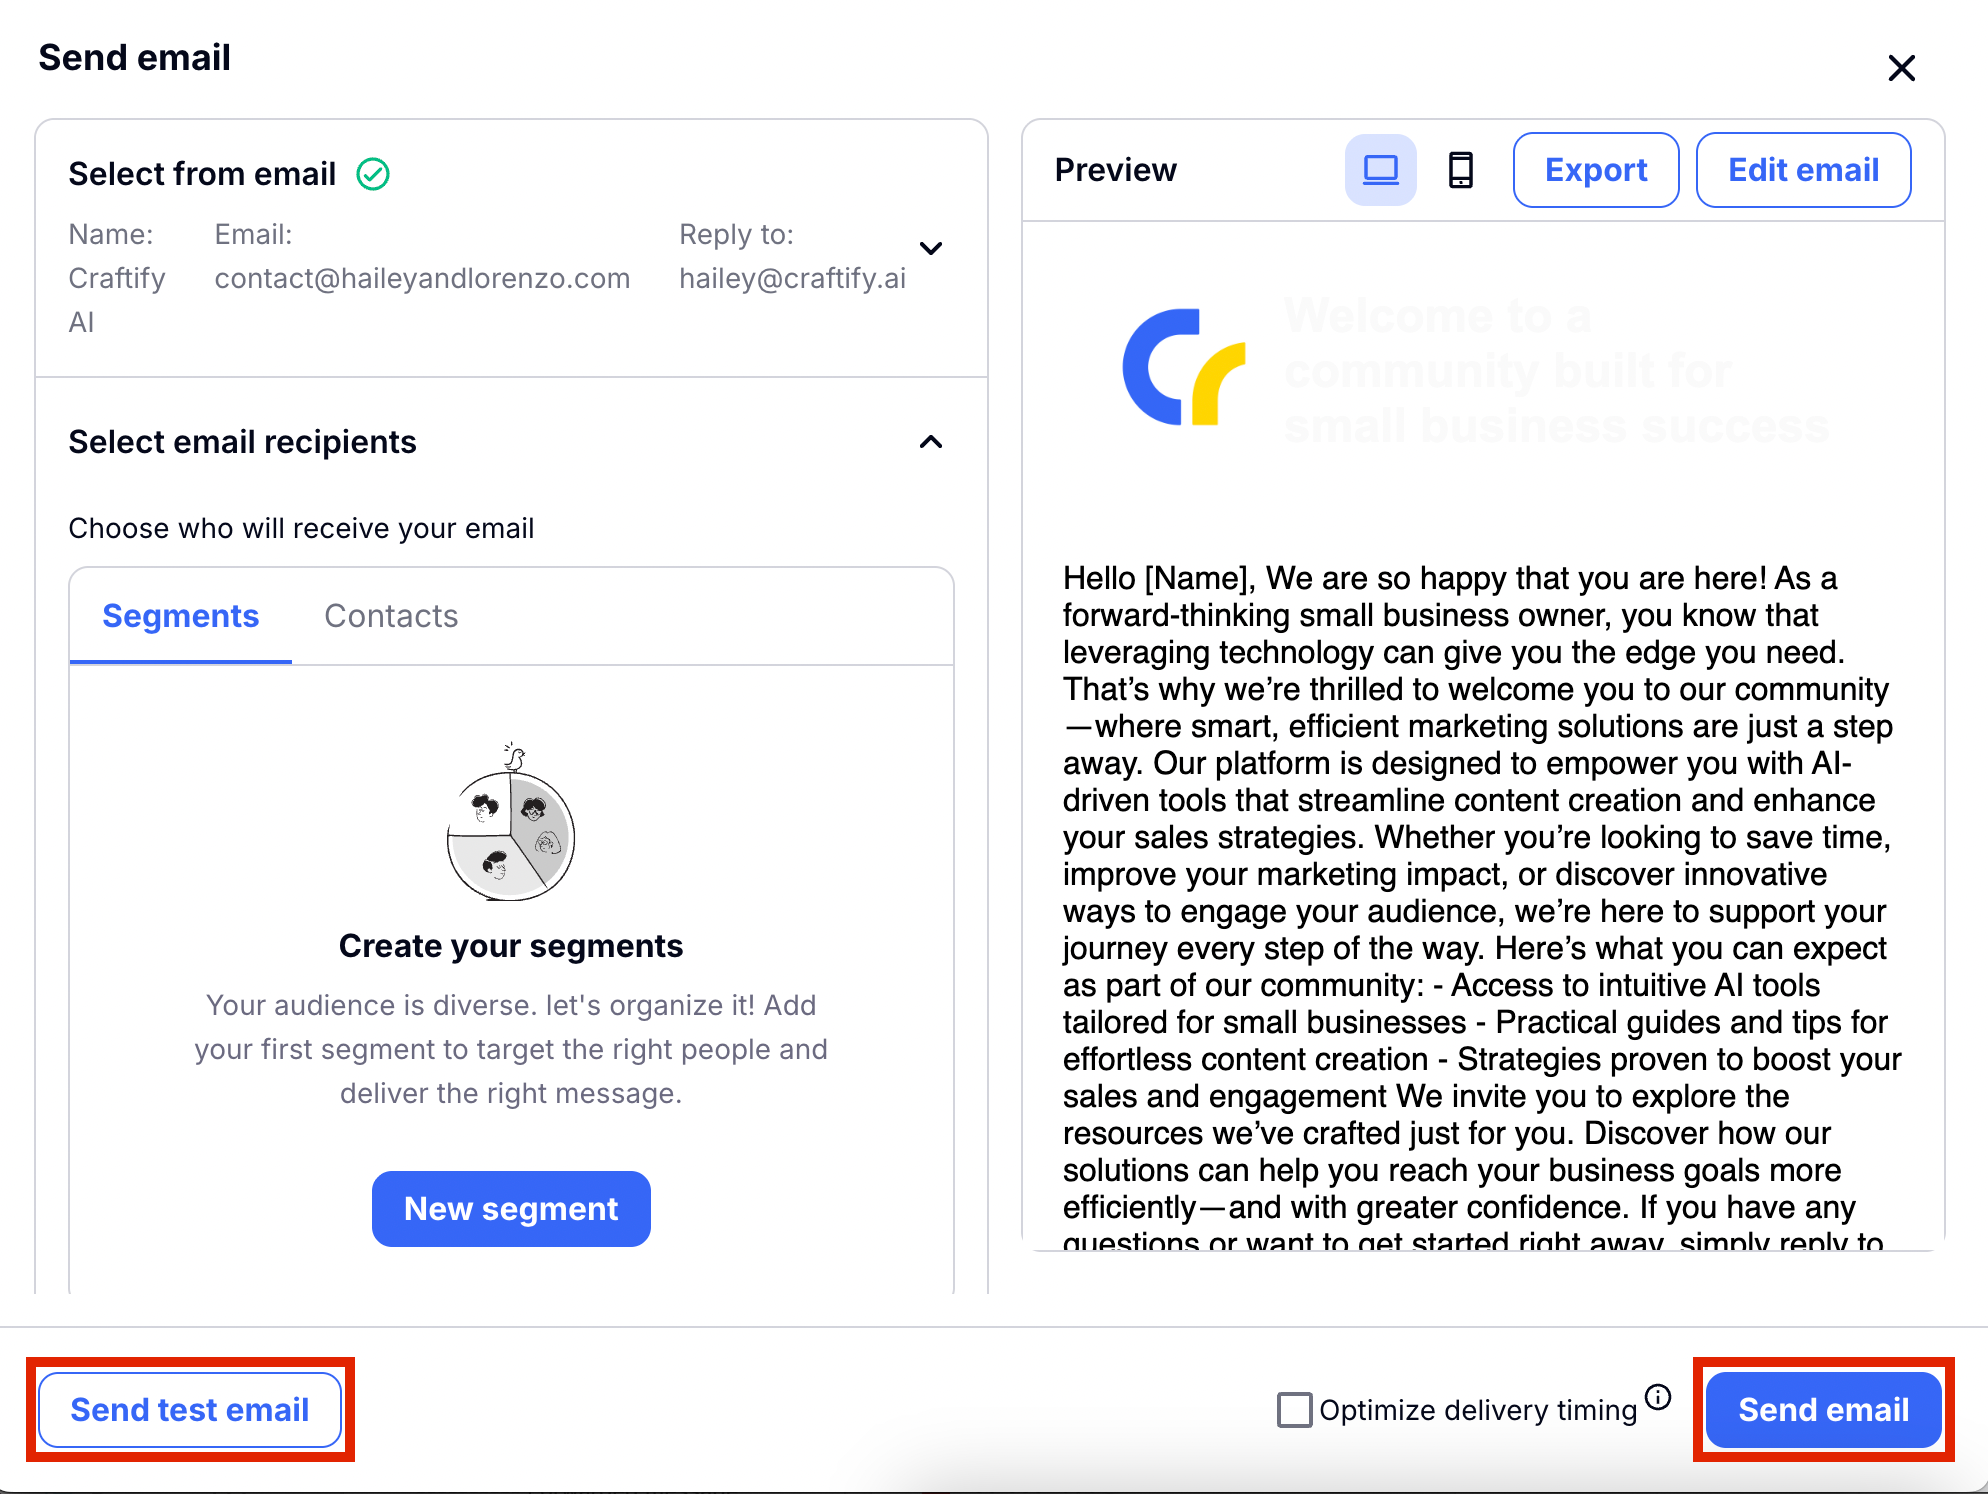
If you choose to send a test email, this will pop up. Automatically the same email for your account will be found here, however you can imput any email address you like.
That's it! It's a much more powerful tool and is much easier to use!
Need to set up your Segments? You can learn how to do that HERE.
Already set those up? Then go HERE for the tutorial on sending emails to segments.