Segments Tutorial
Segment your Contacts Easily with Craftify AI
Craftify AI's Segments feature is an essential organizing tool that helps businesses efficiently manage their contacts by dividing them into distinct groups based on similarities or specific criteria. This segmentation allows for the delivery of tailored marketing content, ensuring each group receives messages that resonate with their unique characteristics and needs. By leveraging Segments, businesses can enhance their marketing precision, improve engagement, and ensure that their communication strategies are both targeted and effective.
It's very easy to get set up, just follow the steps here.
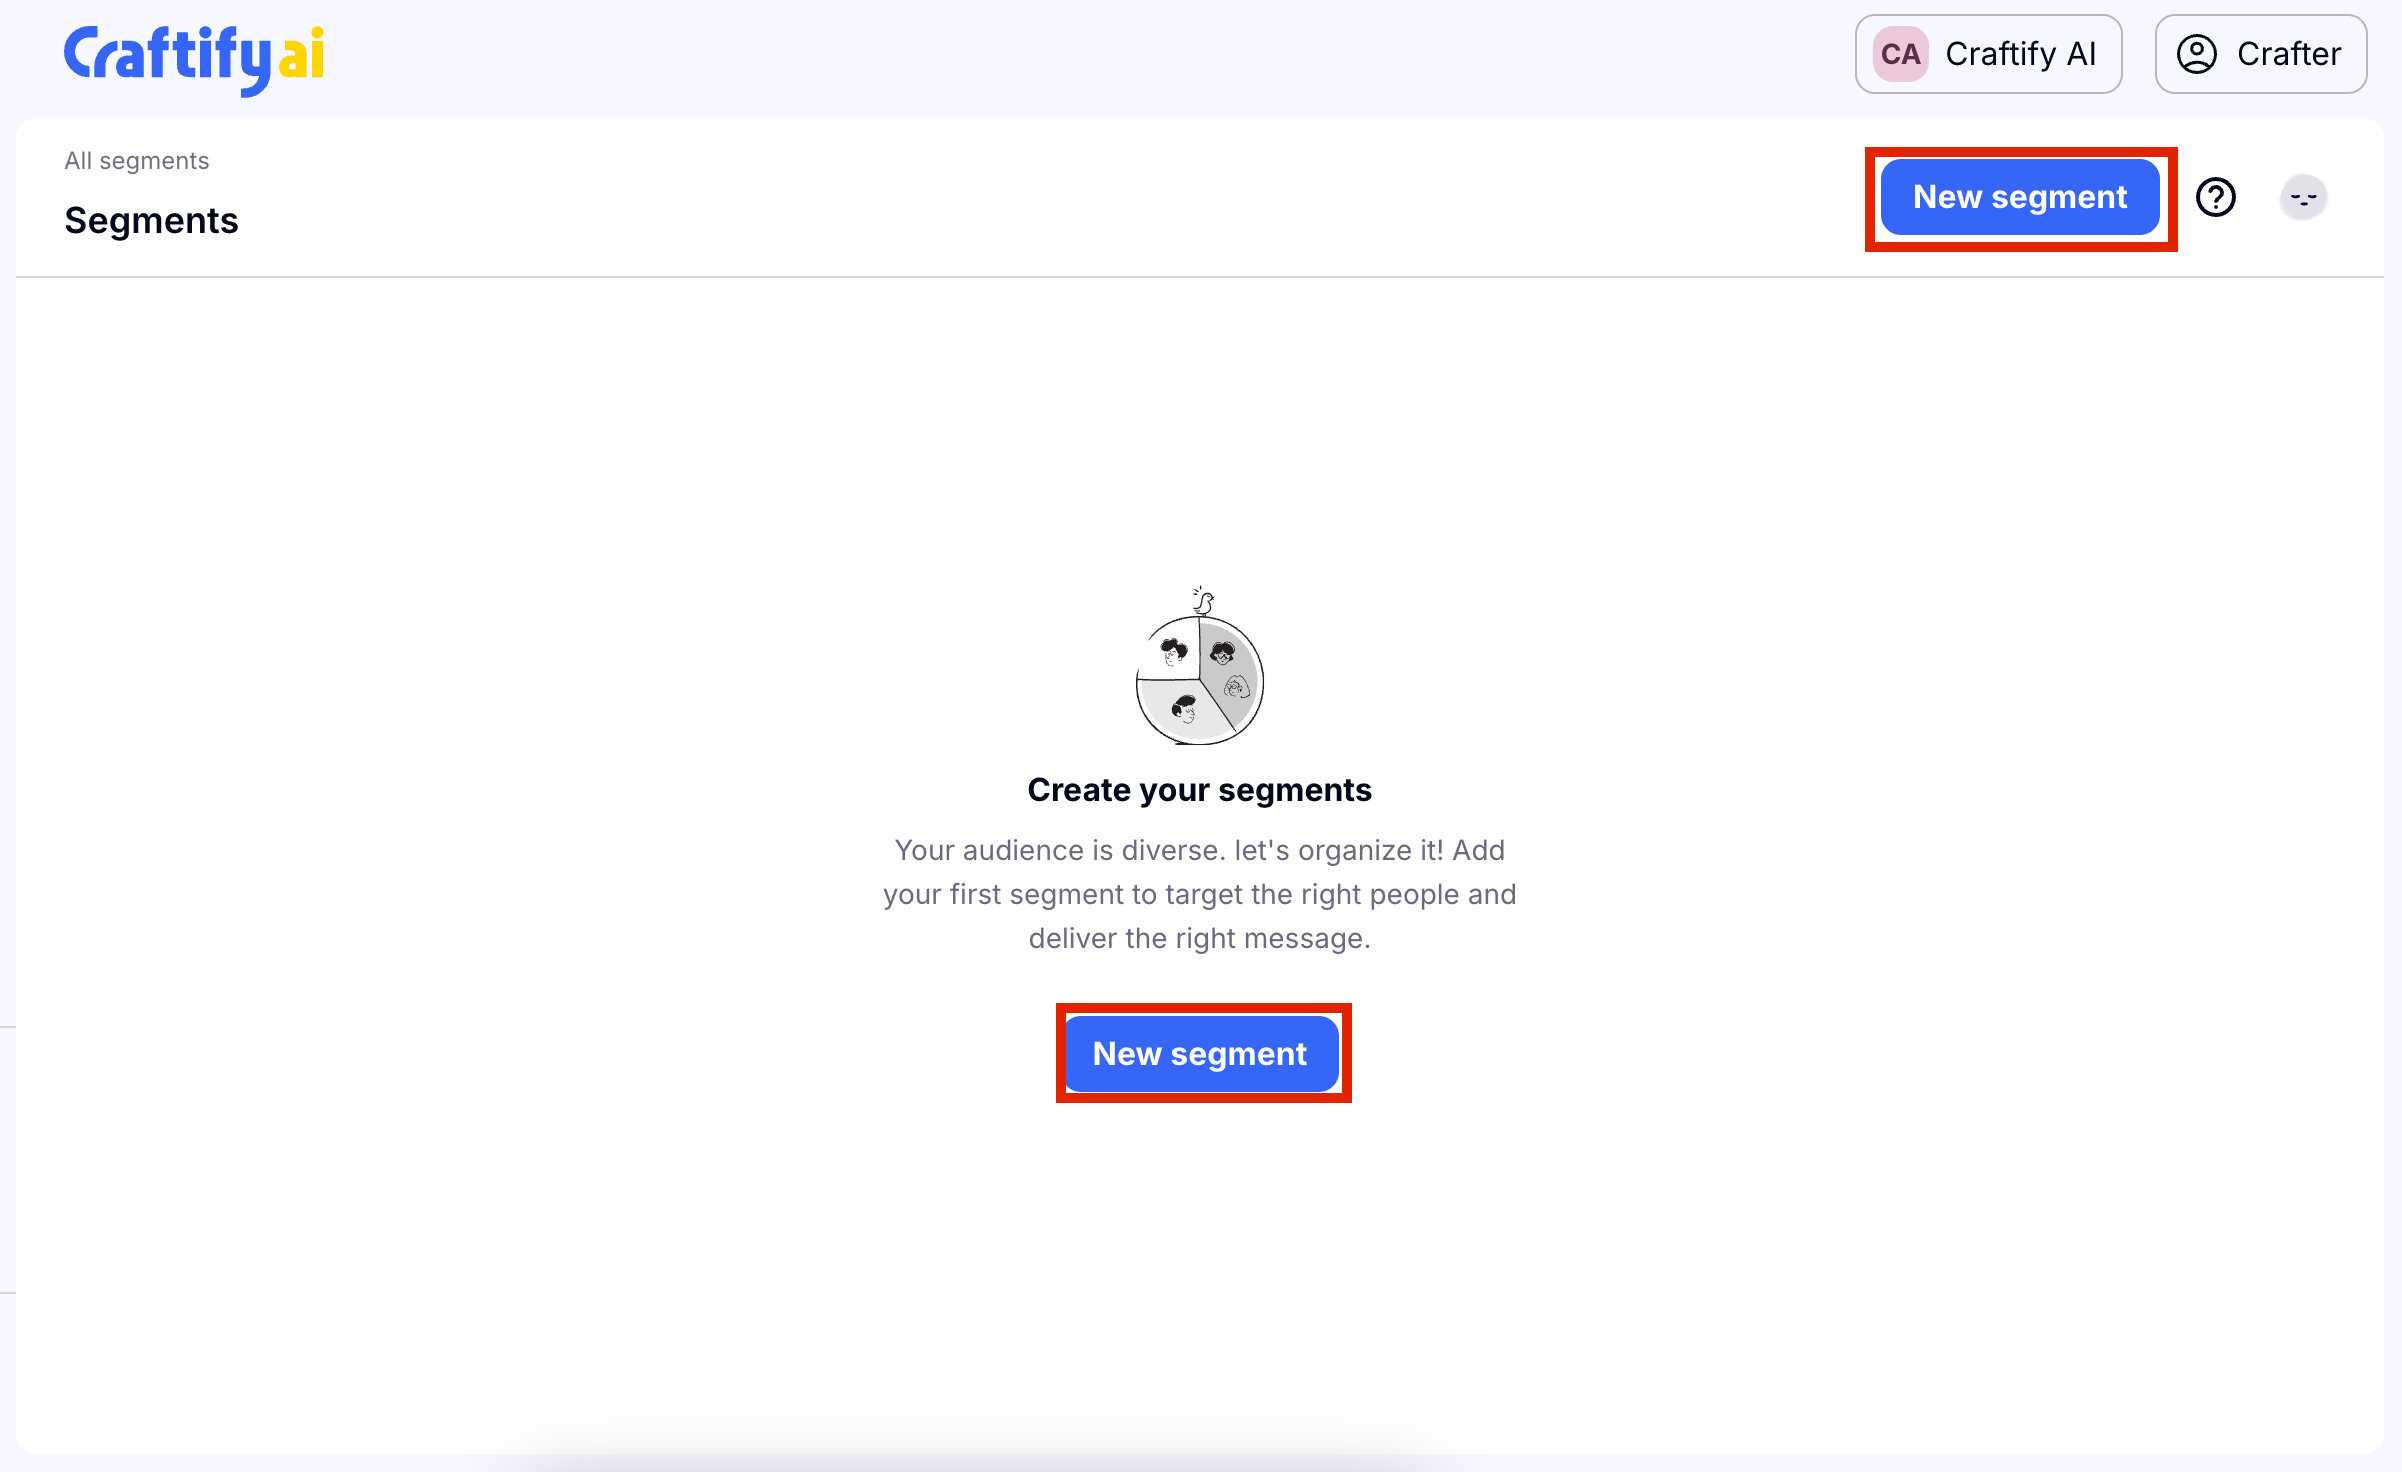
Step 1: Choose Contacts, then choose Segments
Once you've opened up the Segments section, you can choose the blue button that says New Segment.
Step 2: Set up Rules for your Segment
You can choose first if you want the rules that you set to apply to All or Any, then you will choose the property for your first rule.
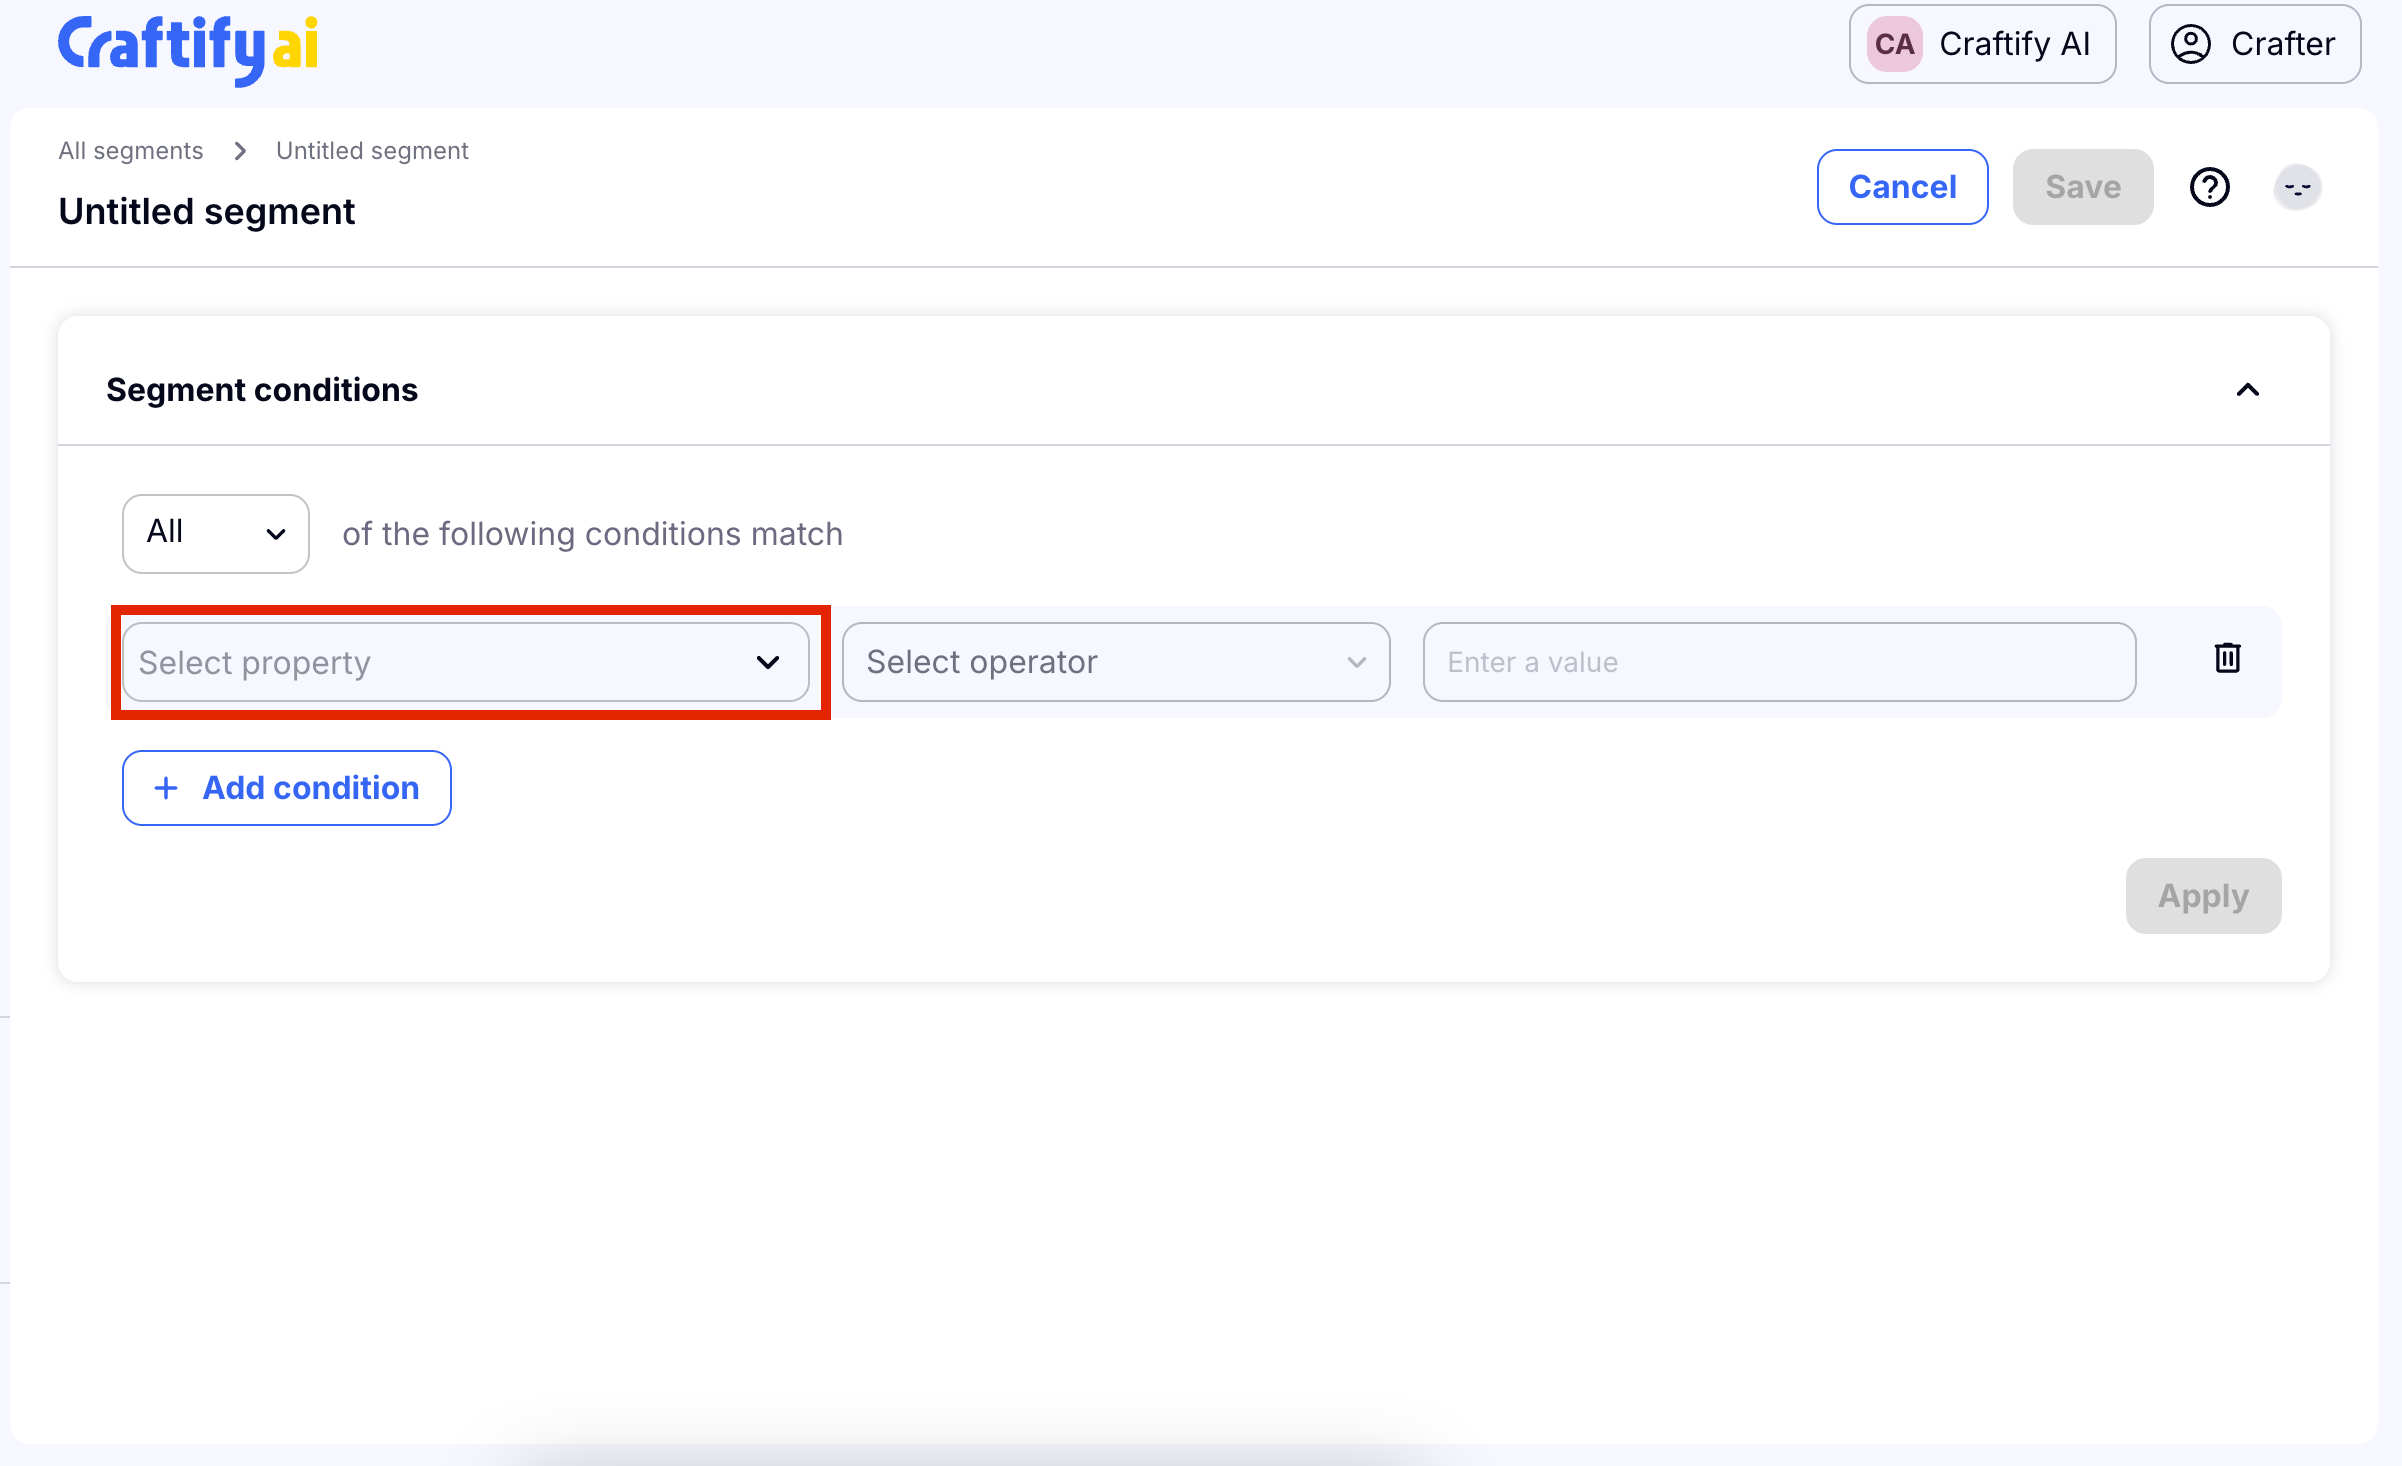
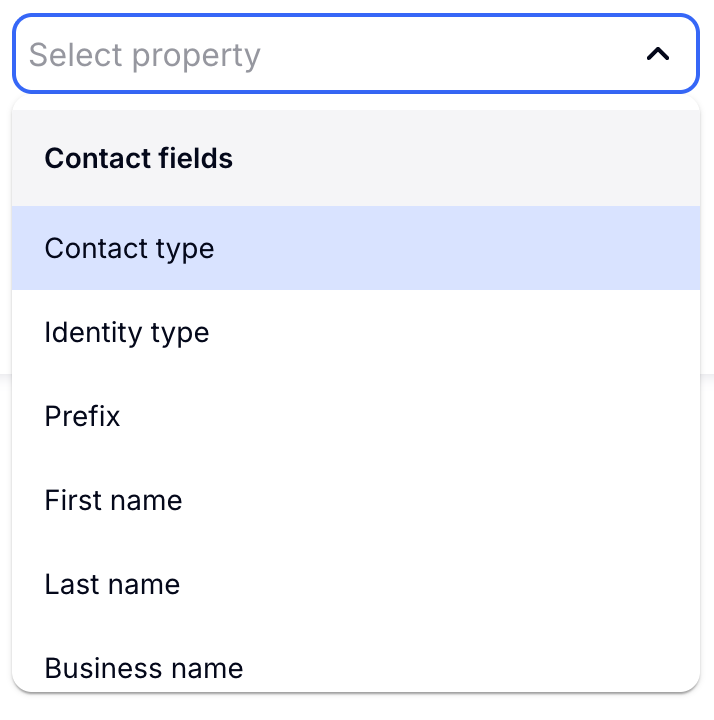
When you click Property you will see a drop down menu pop up. You can scroll down to find the property that works best for your intended search.
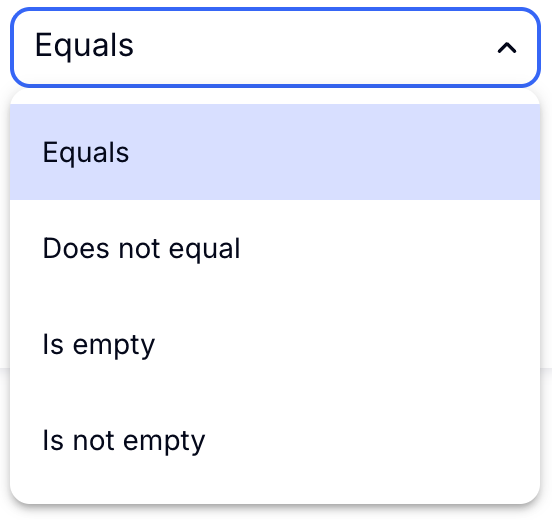
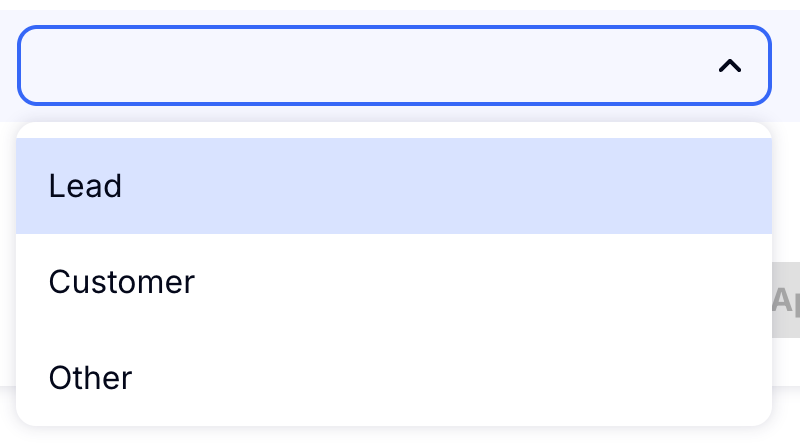
If you choose Customer, then the drop down for the Select Operator section will look like this. Depending on your property needs, there are differnet values here.
Then for the last selection, you will choose a value. Like the one above, these values differ depending on the initial property chosen for the segment.
Step 3: Add a Condition if you wish
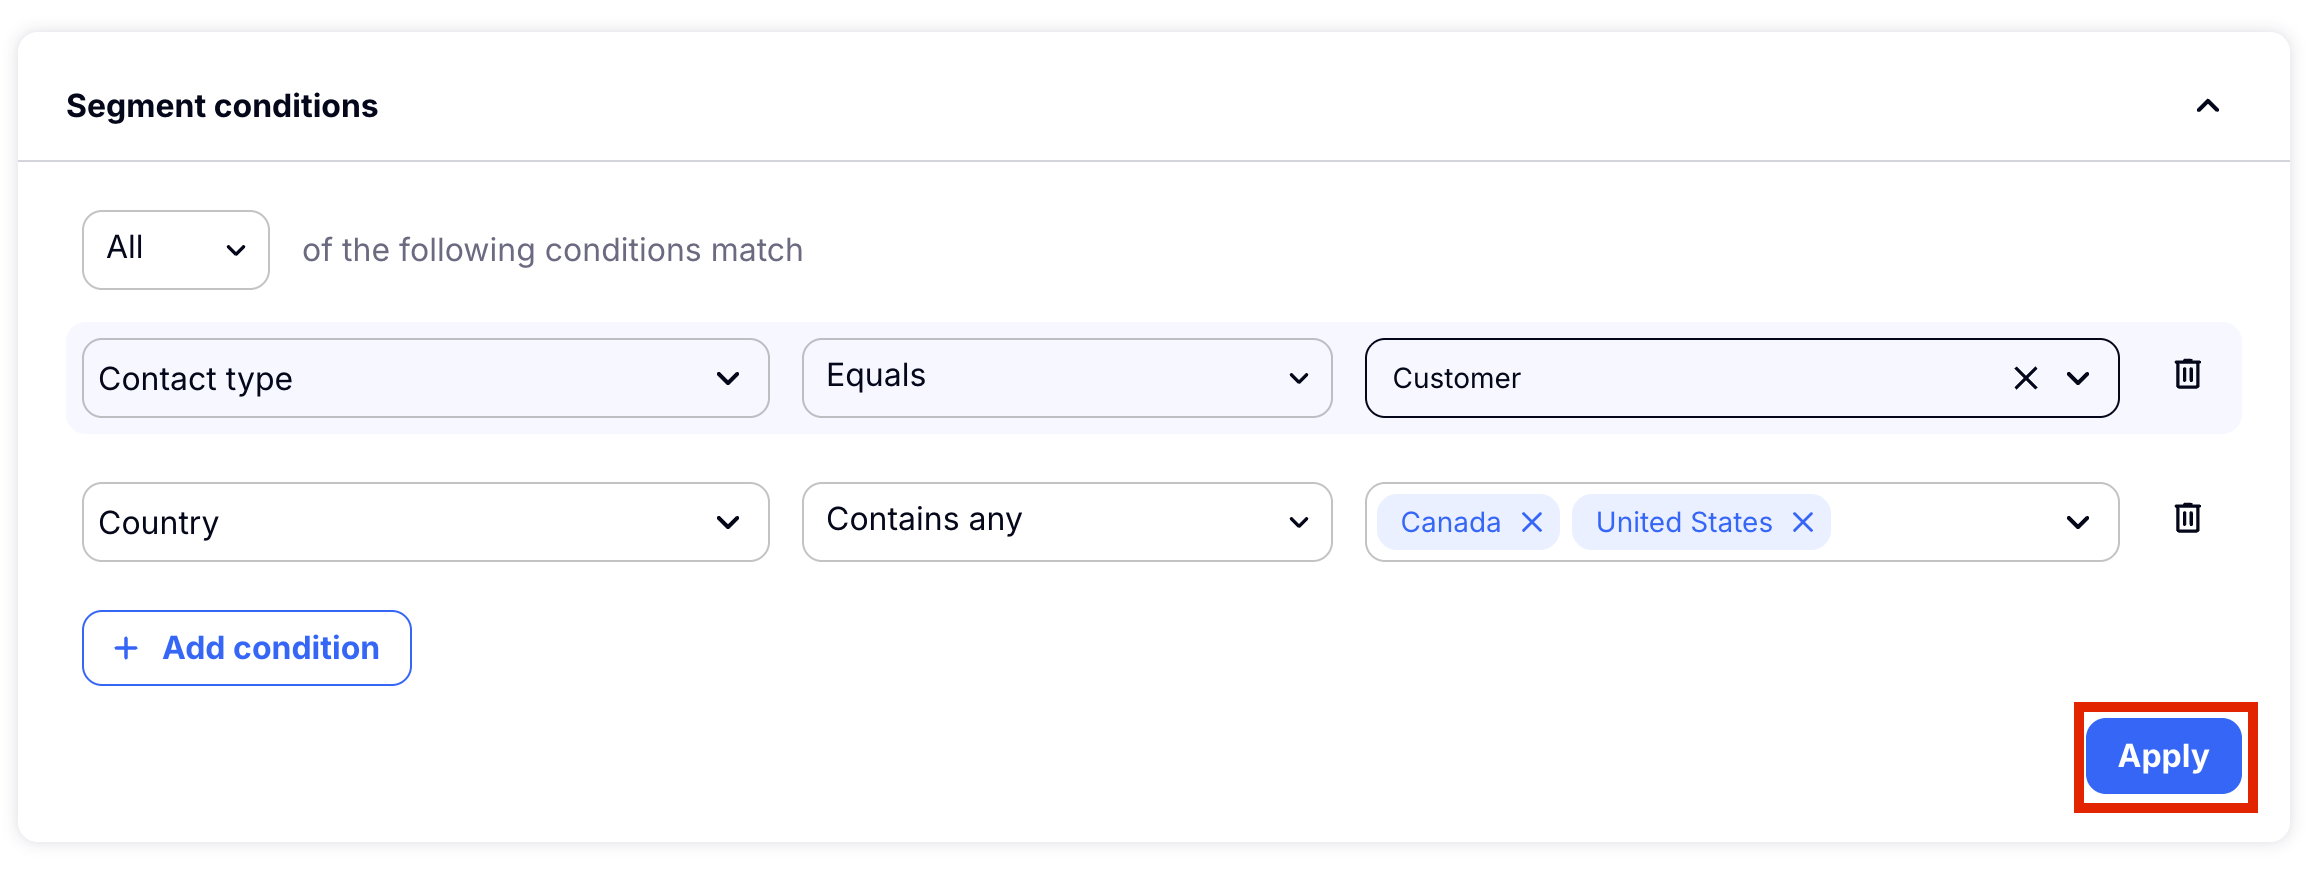
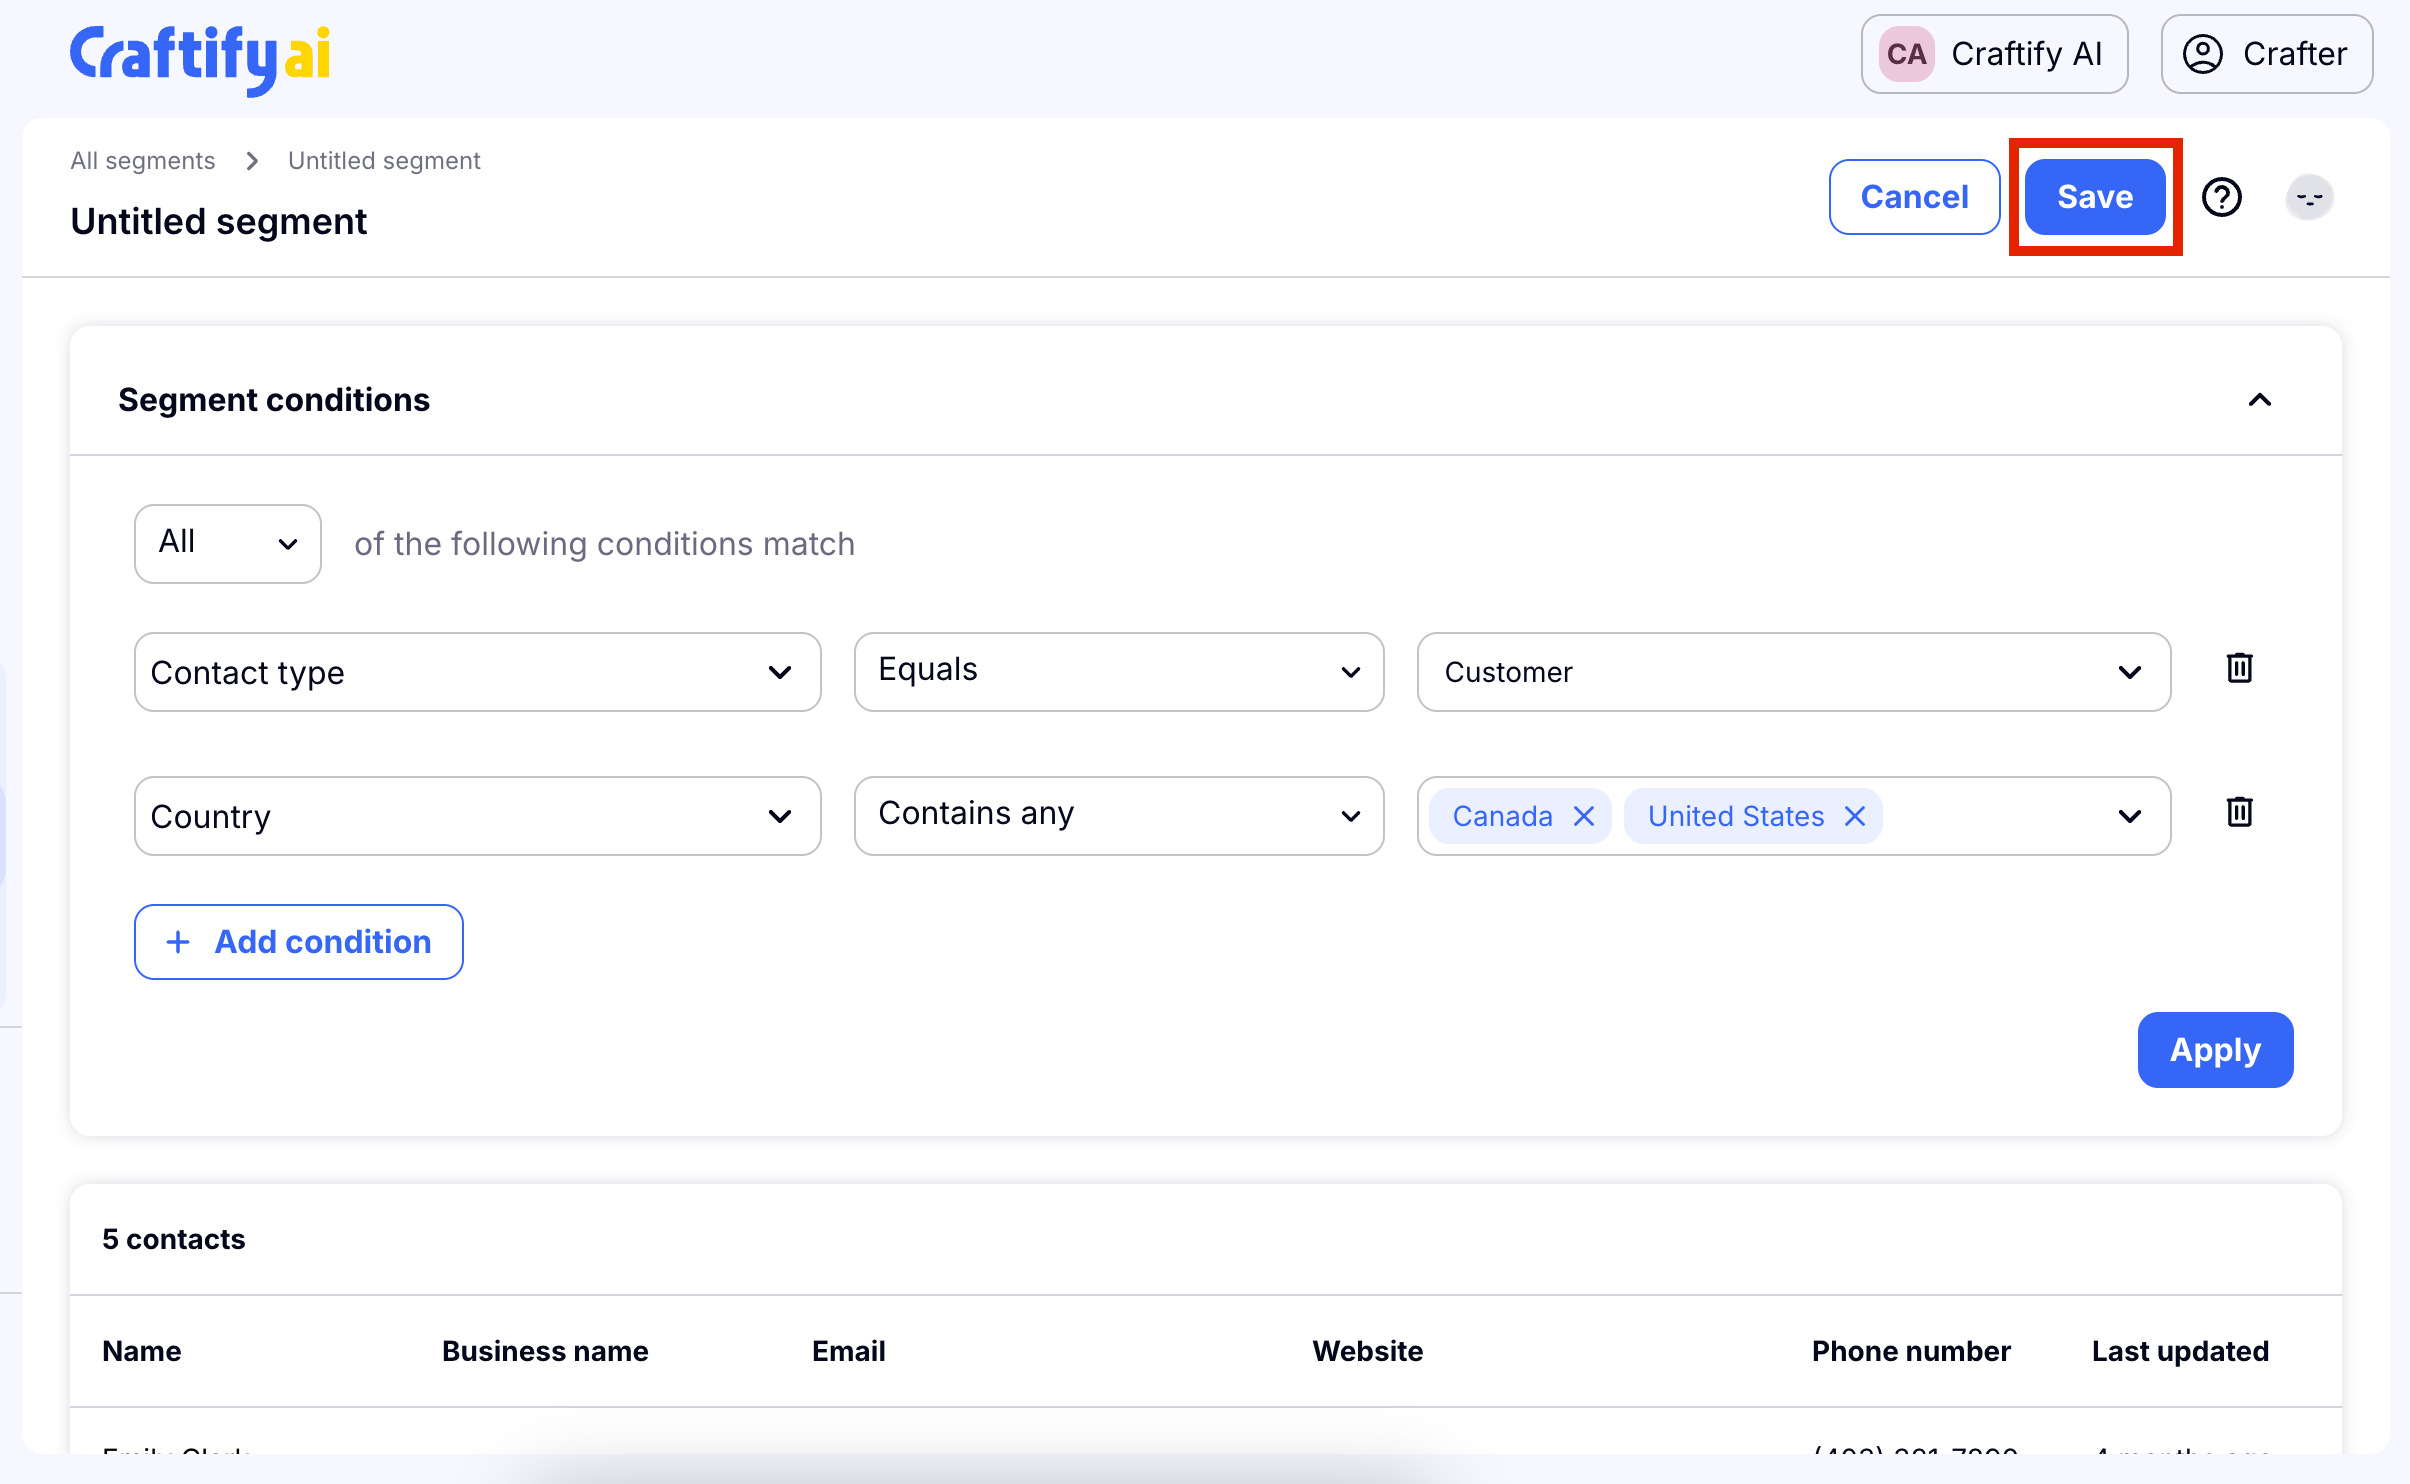
You can make your segment more detailed by giving it more conditions to narrow down your contact list.
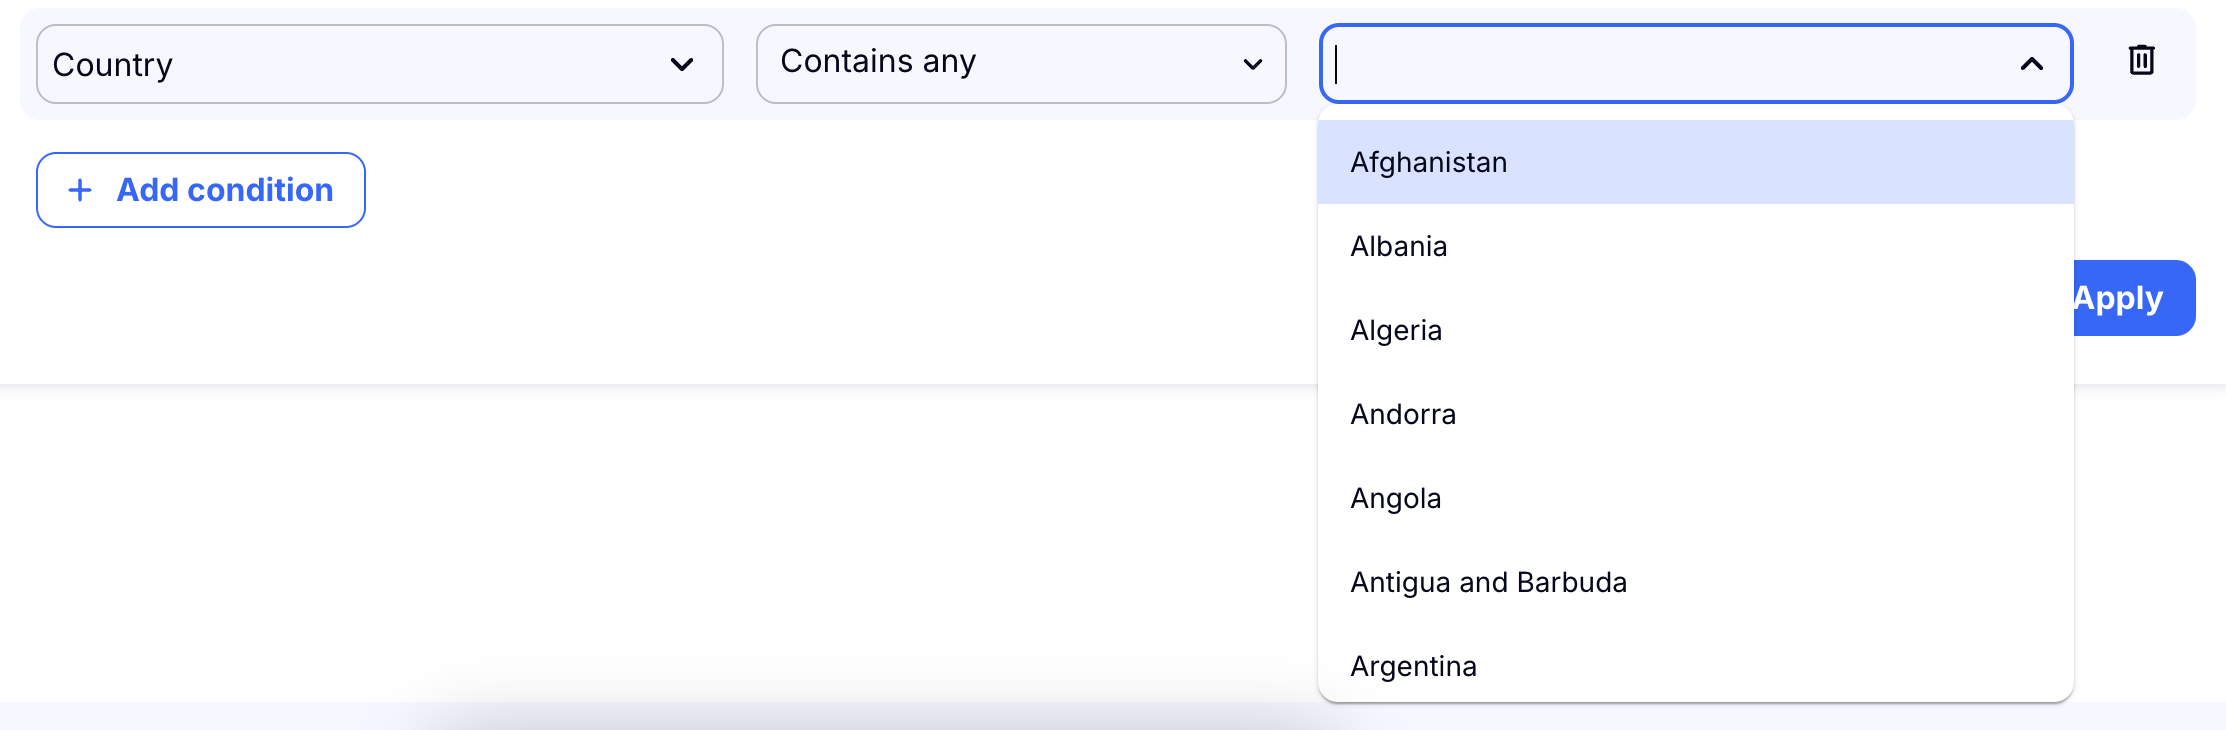
For example, you can condition the search to any contacts that are located in certain countries.
Once you have entered all of the conditions and rules, choose Apply to get your results.
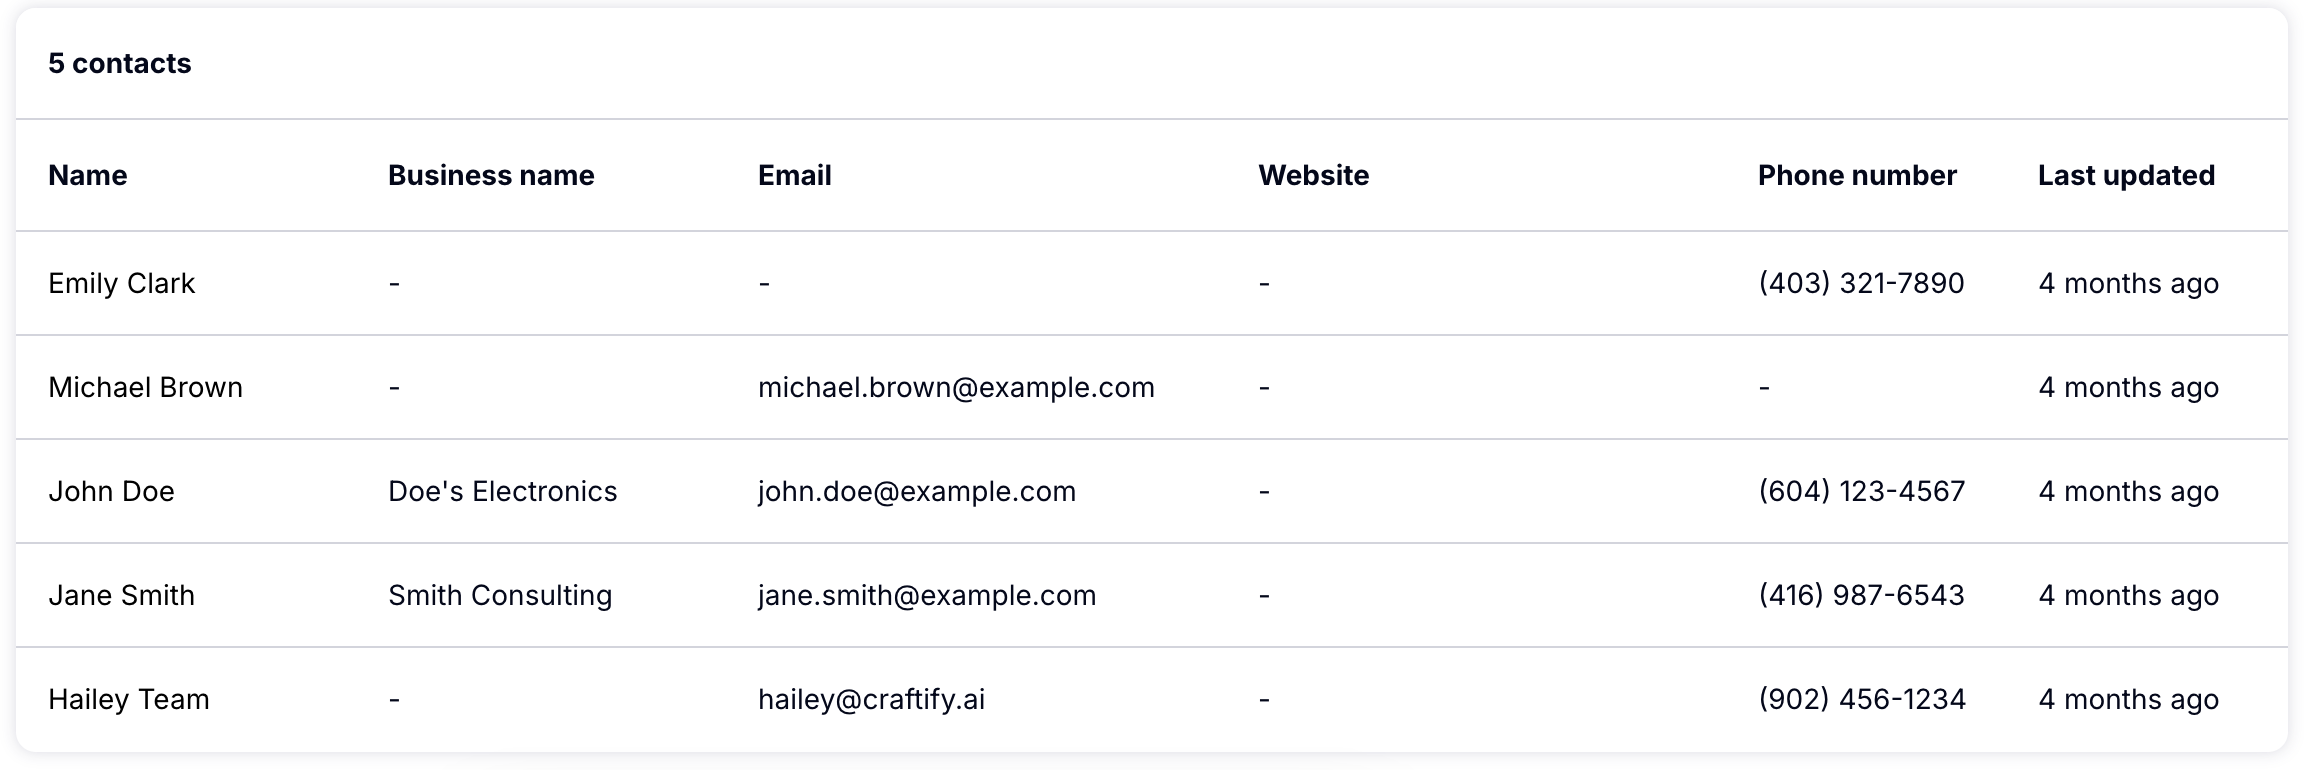
Step 4: Review the results of your segment search
Be sure to review the segment search of your contacts before saving.
Step 5: Save your Segment
At the top right hand side you can see the Save button. Choose that to save your segment.
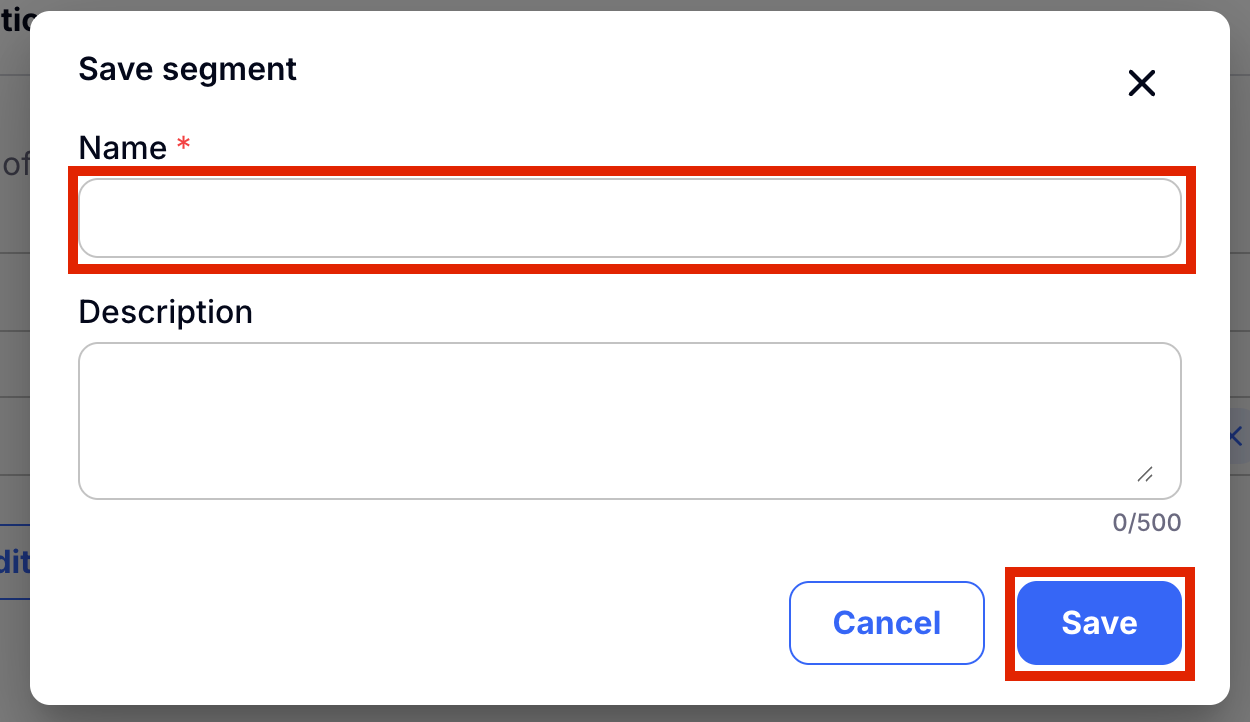
A pop up will appear. Enter a name for your segment. Optionally you can also add a description.
And that's it! You can create as many segments as needed to narrow down your marketing efforts and reach the right Customers every time!
Now it's time to send an email to your segments! HERE you can learn how to use the Email Writer!

