How to Set Up a Google Business Profile Tutorial
- Tutorial: How to Set Up a Google Business Profile
- Step-by-Step Instructions
- Step 1: Go to the Google Business Profile Site
- Step 2: Sign In with Your Google Account
- Step 3: Enter Your Business Name
- Step 4: Choose Your Business Type
- Step 5: Choose Your Business Category
- Step 6: Add Your Business Location
- Step 7: Enter Contact Details
- Step 8: Finish and Verify Your Profile
- Step 9: Optimize Your Profile
- Bonus Tips
Tutorial: How to Set Up a Google Business Profile
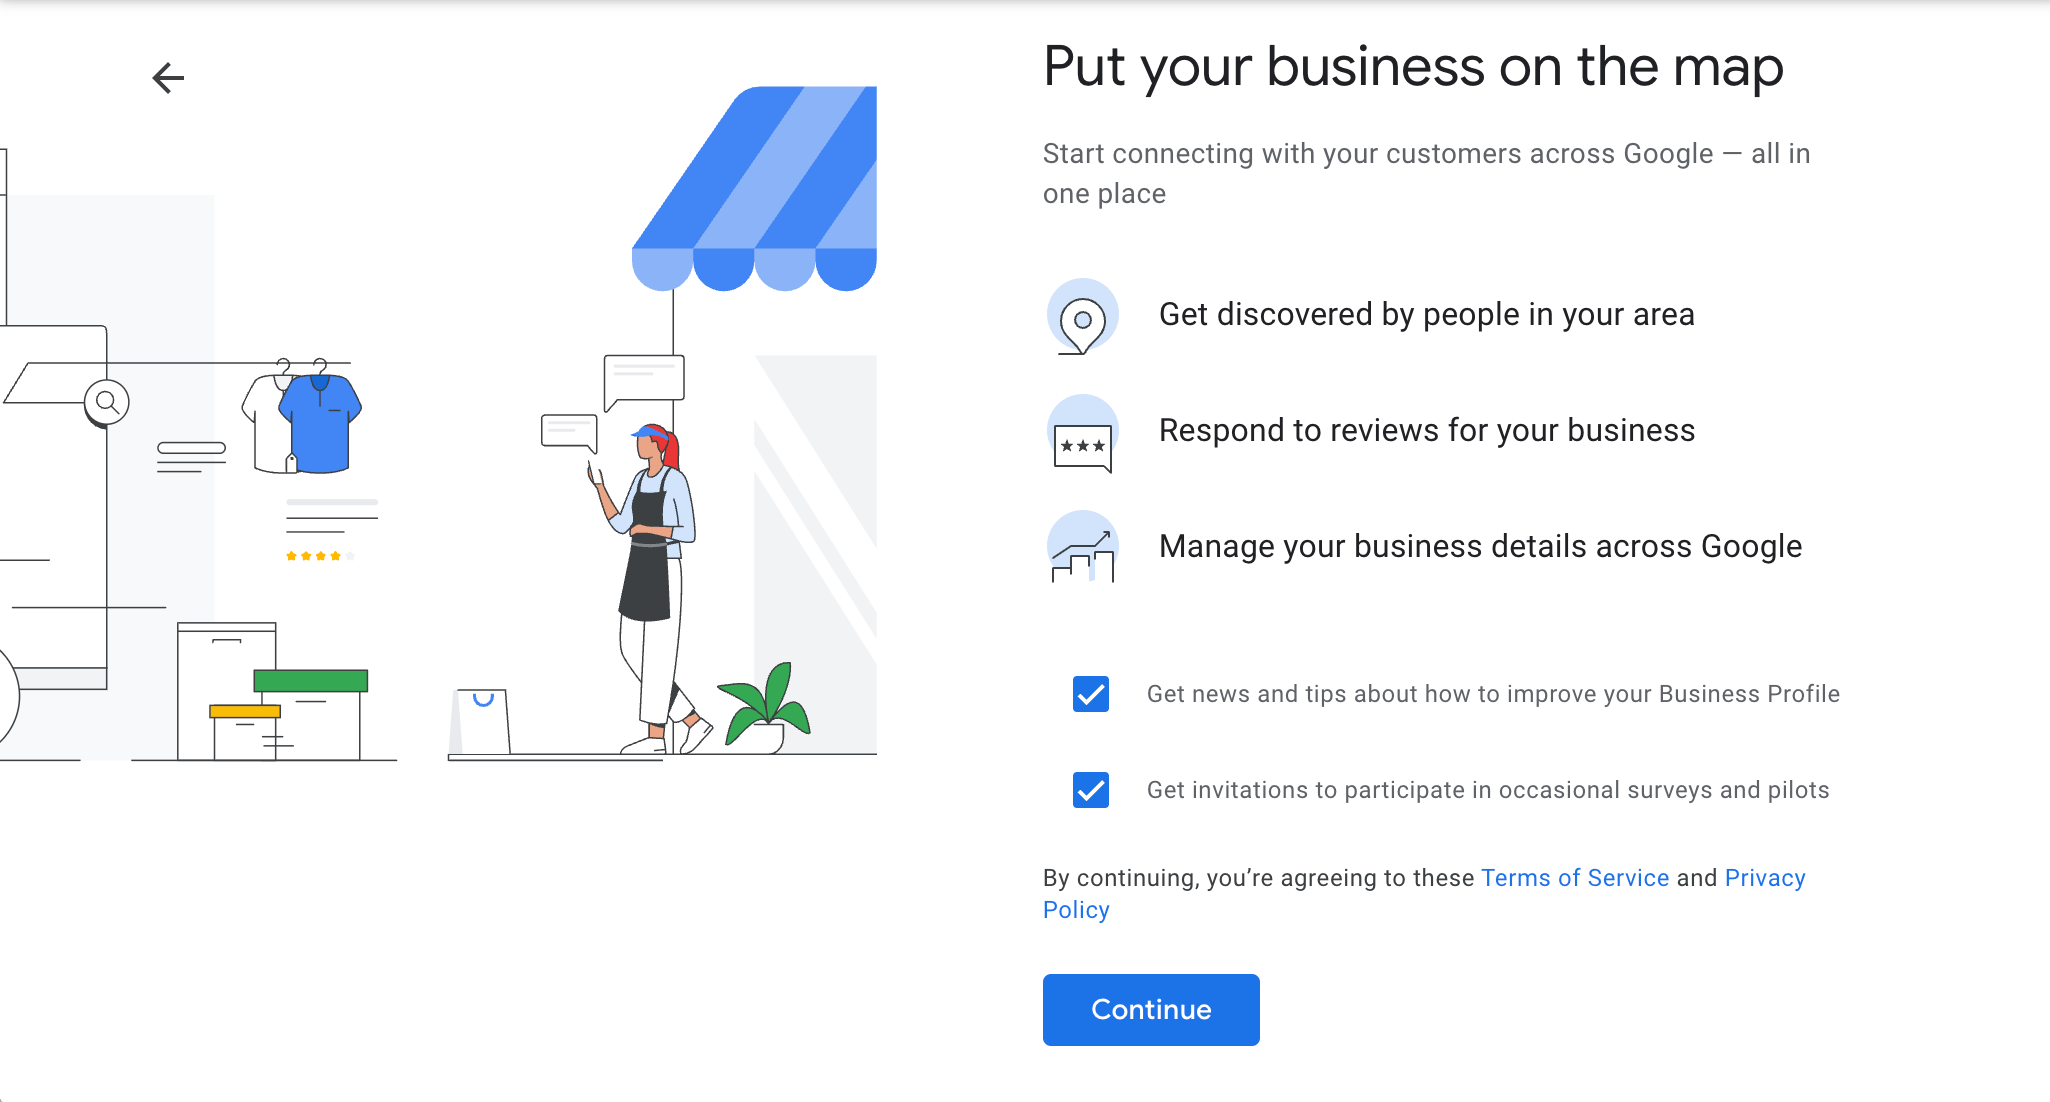
Setting up a Google Business Profile is essential for helping customers find your business online through Google Search and Maps. In this tutorial, you'll learn how to create and verify your profile in just a few easy steps.
Step-by-Step Instructions
Step 1: Go to the Google Business Profile Site
- Visit https://www.google.com/business/
- Click on “Manage Now”.
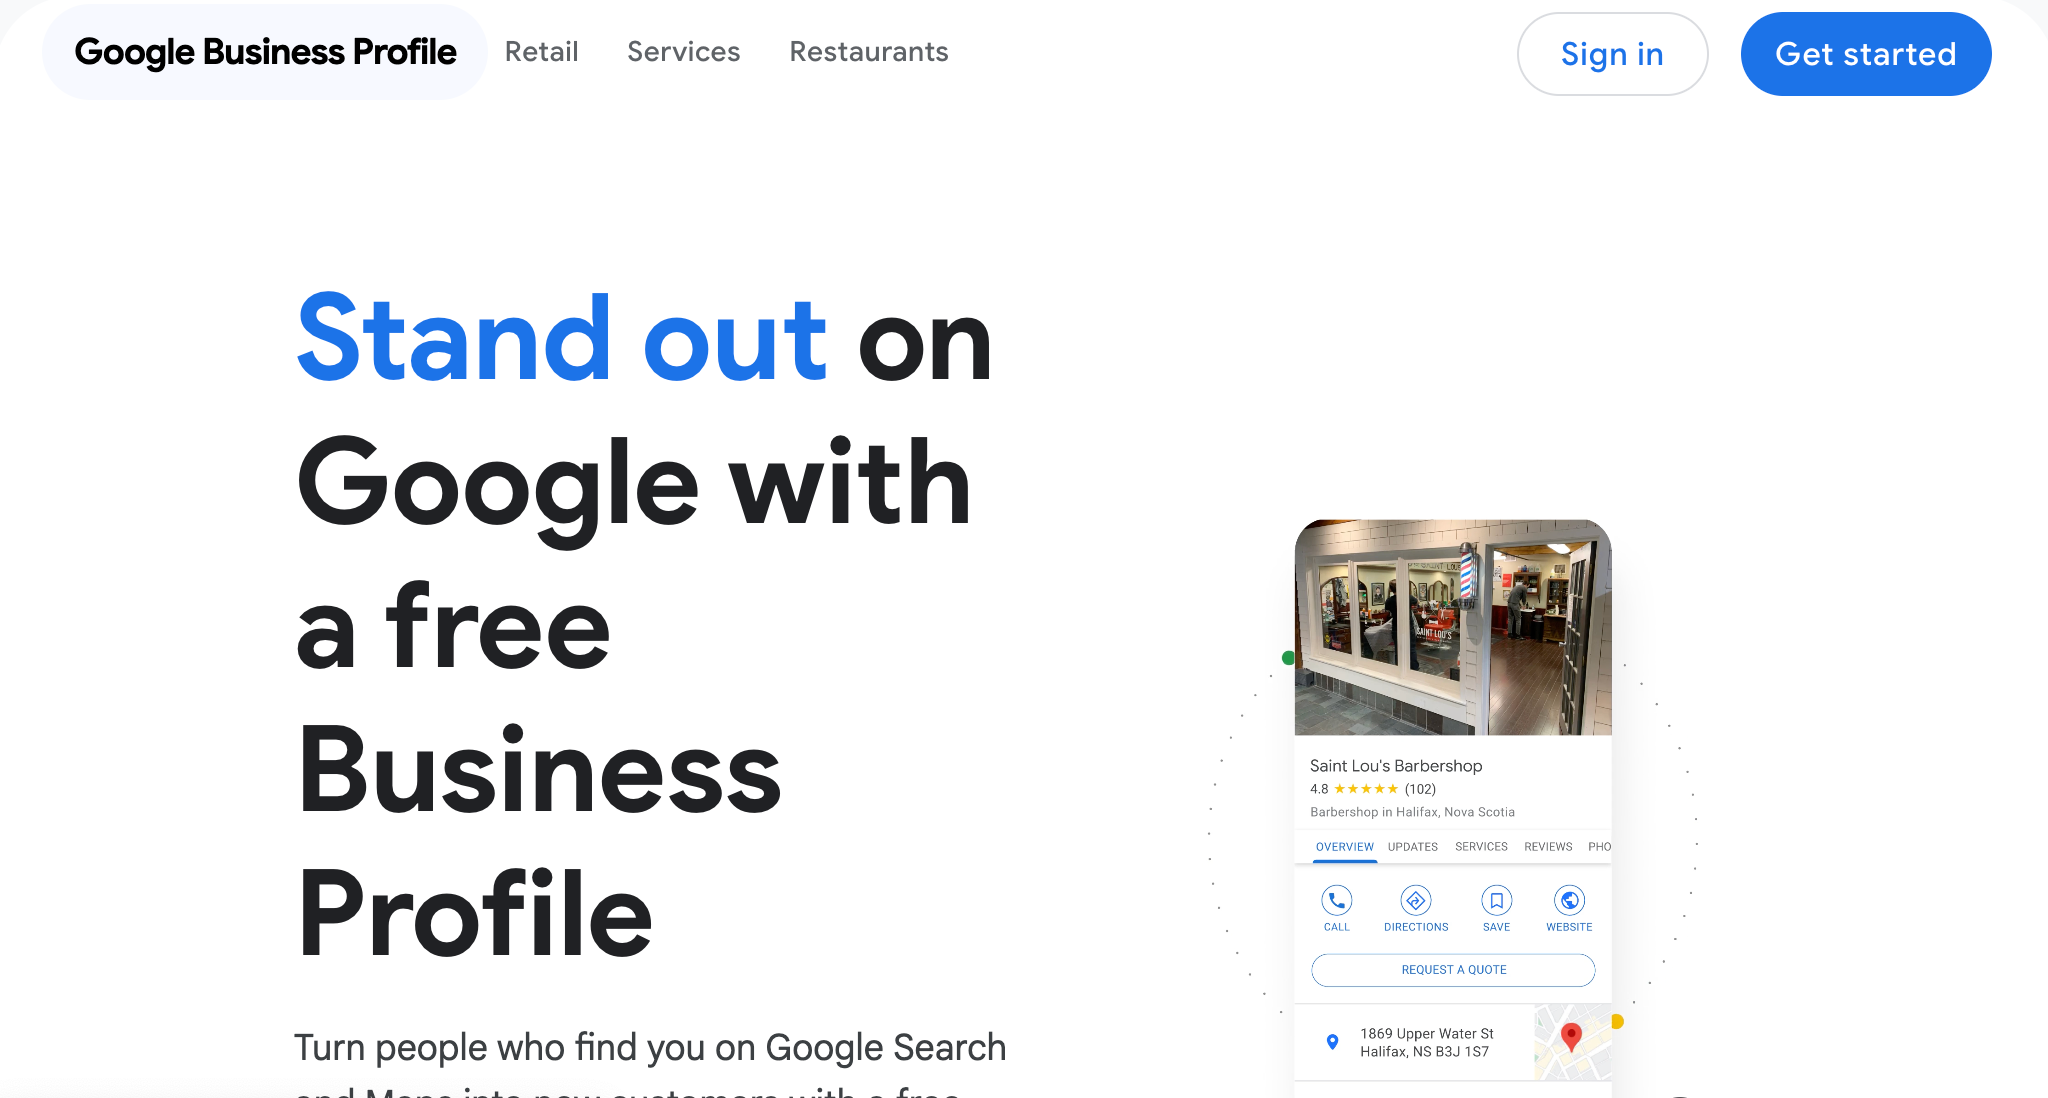
To get started, head over to google.com/business. Click the ‘Manage Now’ button to begin setting up your profile.
Step 2: Sign In with Your Google Account
- Use the Google account you want to associate with your business.
- If you don’t have a Google account, create one first at https://accounts.google.com/signup
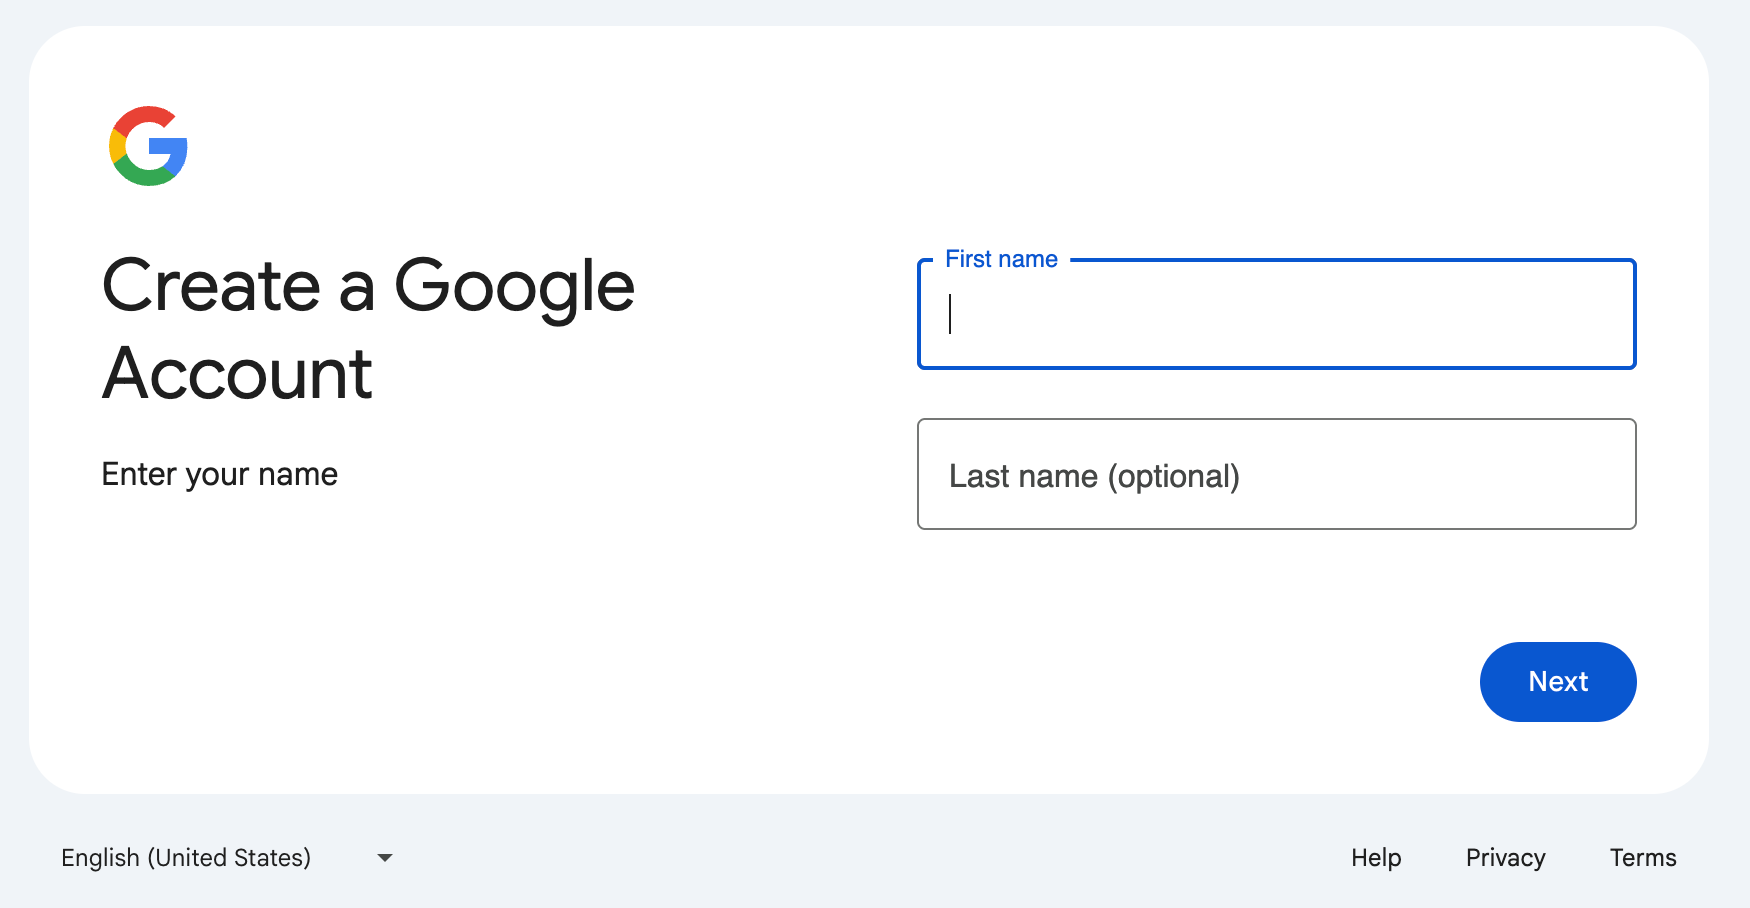
Make sure you’re signed in to the Google account you want linked to your business. If you don’t have one, click ‘Create account’ and follow the prompts. It's advised to create an email account specifically for your business and not use your personal gmail account here. That way all of your business emails and notifications are not missed or confused for personal emails.
Step 3: Enter Your Business Name
- Type your business name exactly as you want it to appear on Google.
- If your business appears in the suggestions, you may already have a listing—choose it to claim.
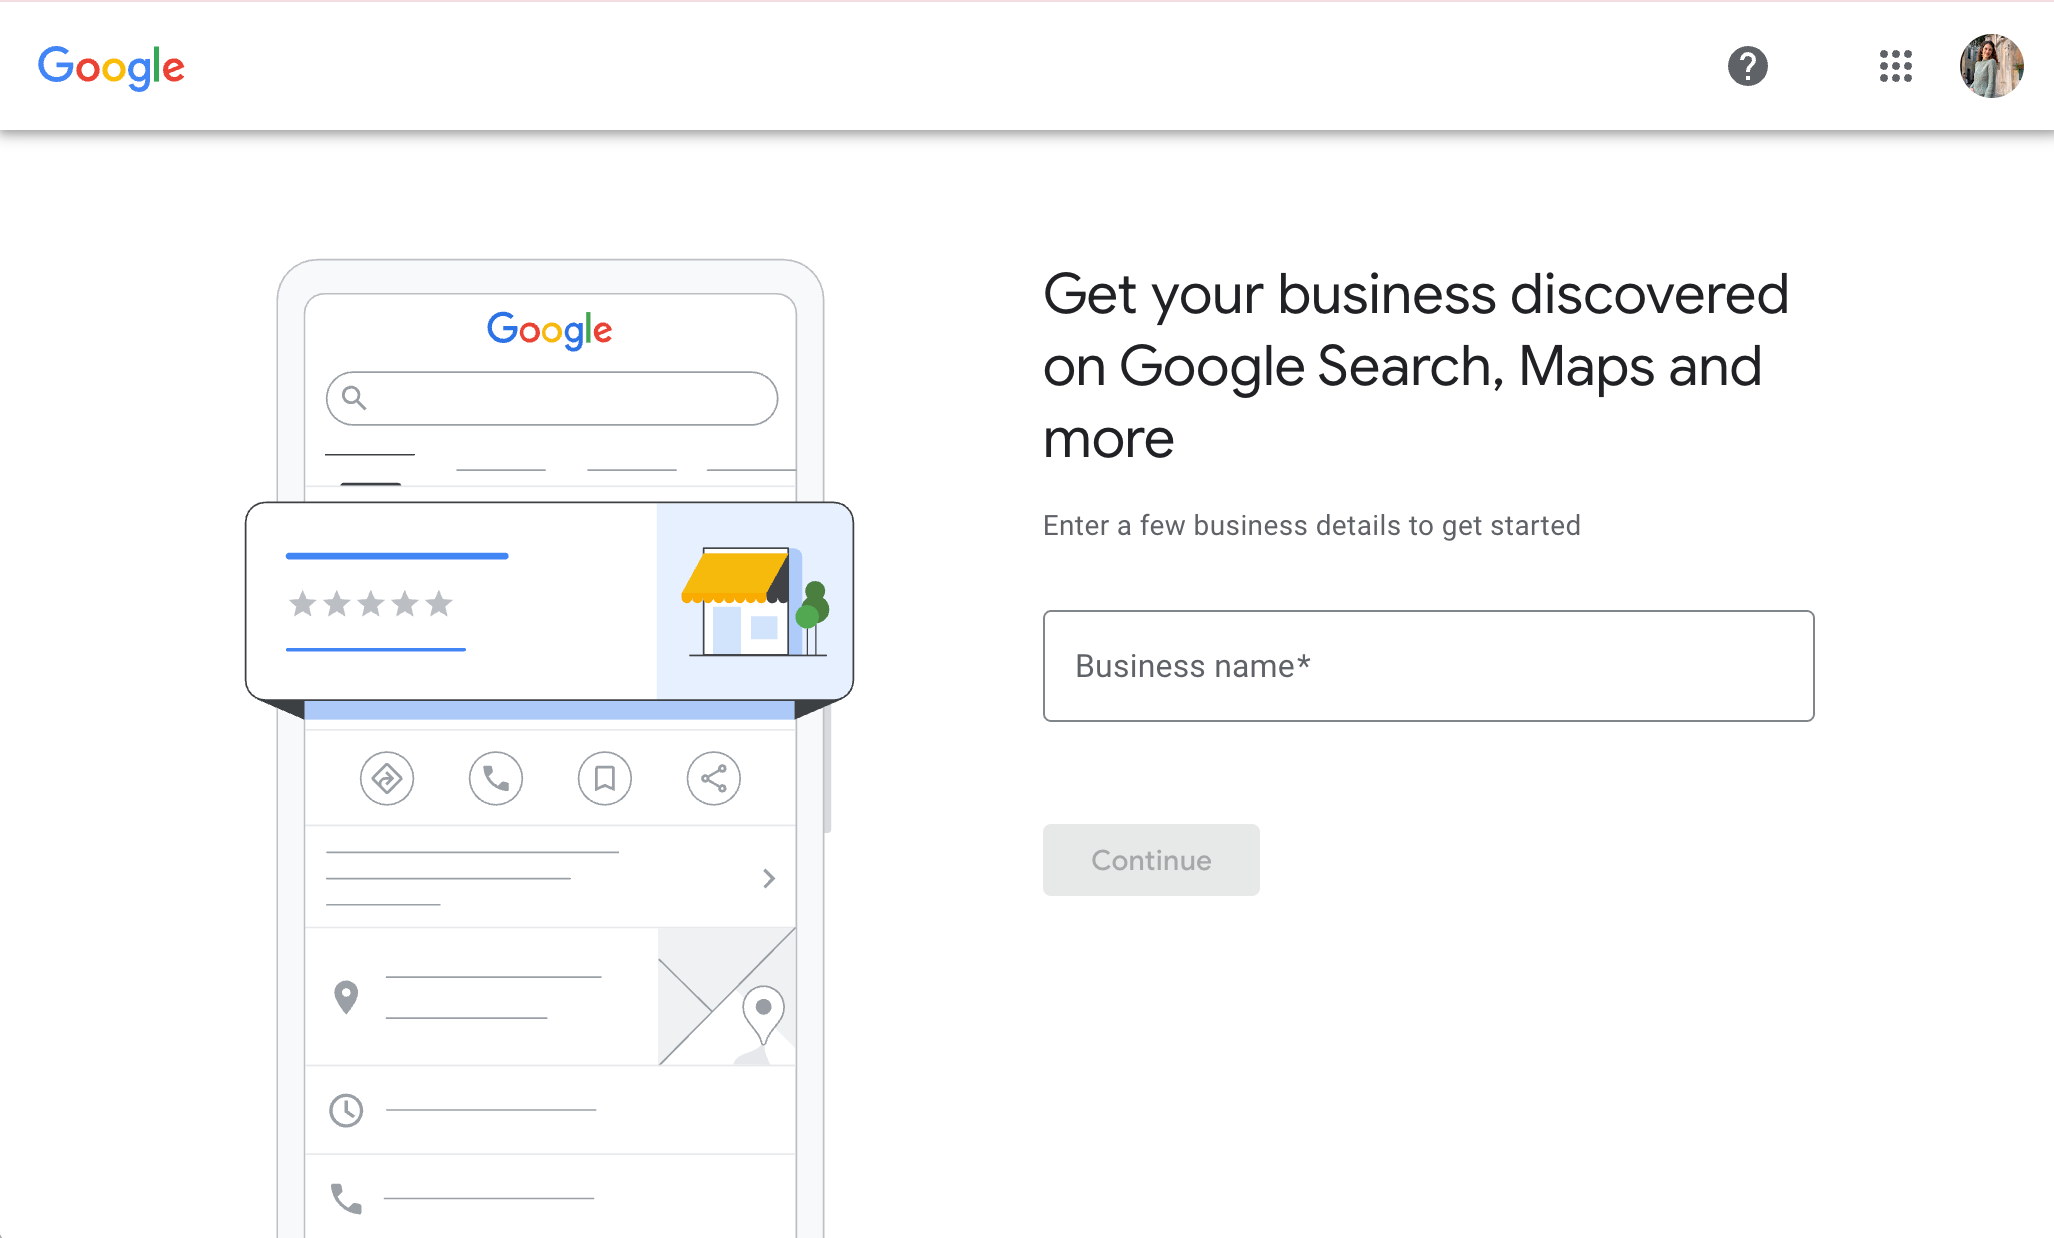
Next, enter your business name. If it shows up in the list, that means there’s already a profile, and you can claim it instead of creating a new one.
Step 4: Choose Your Business Type
- Choose whether you are an Online Retail, Local Store, or Service Business
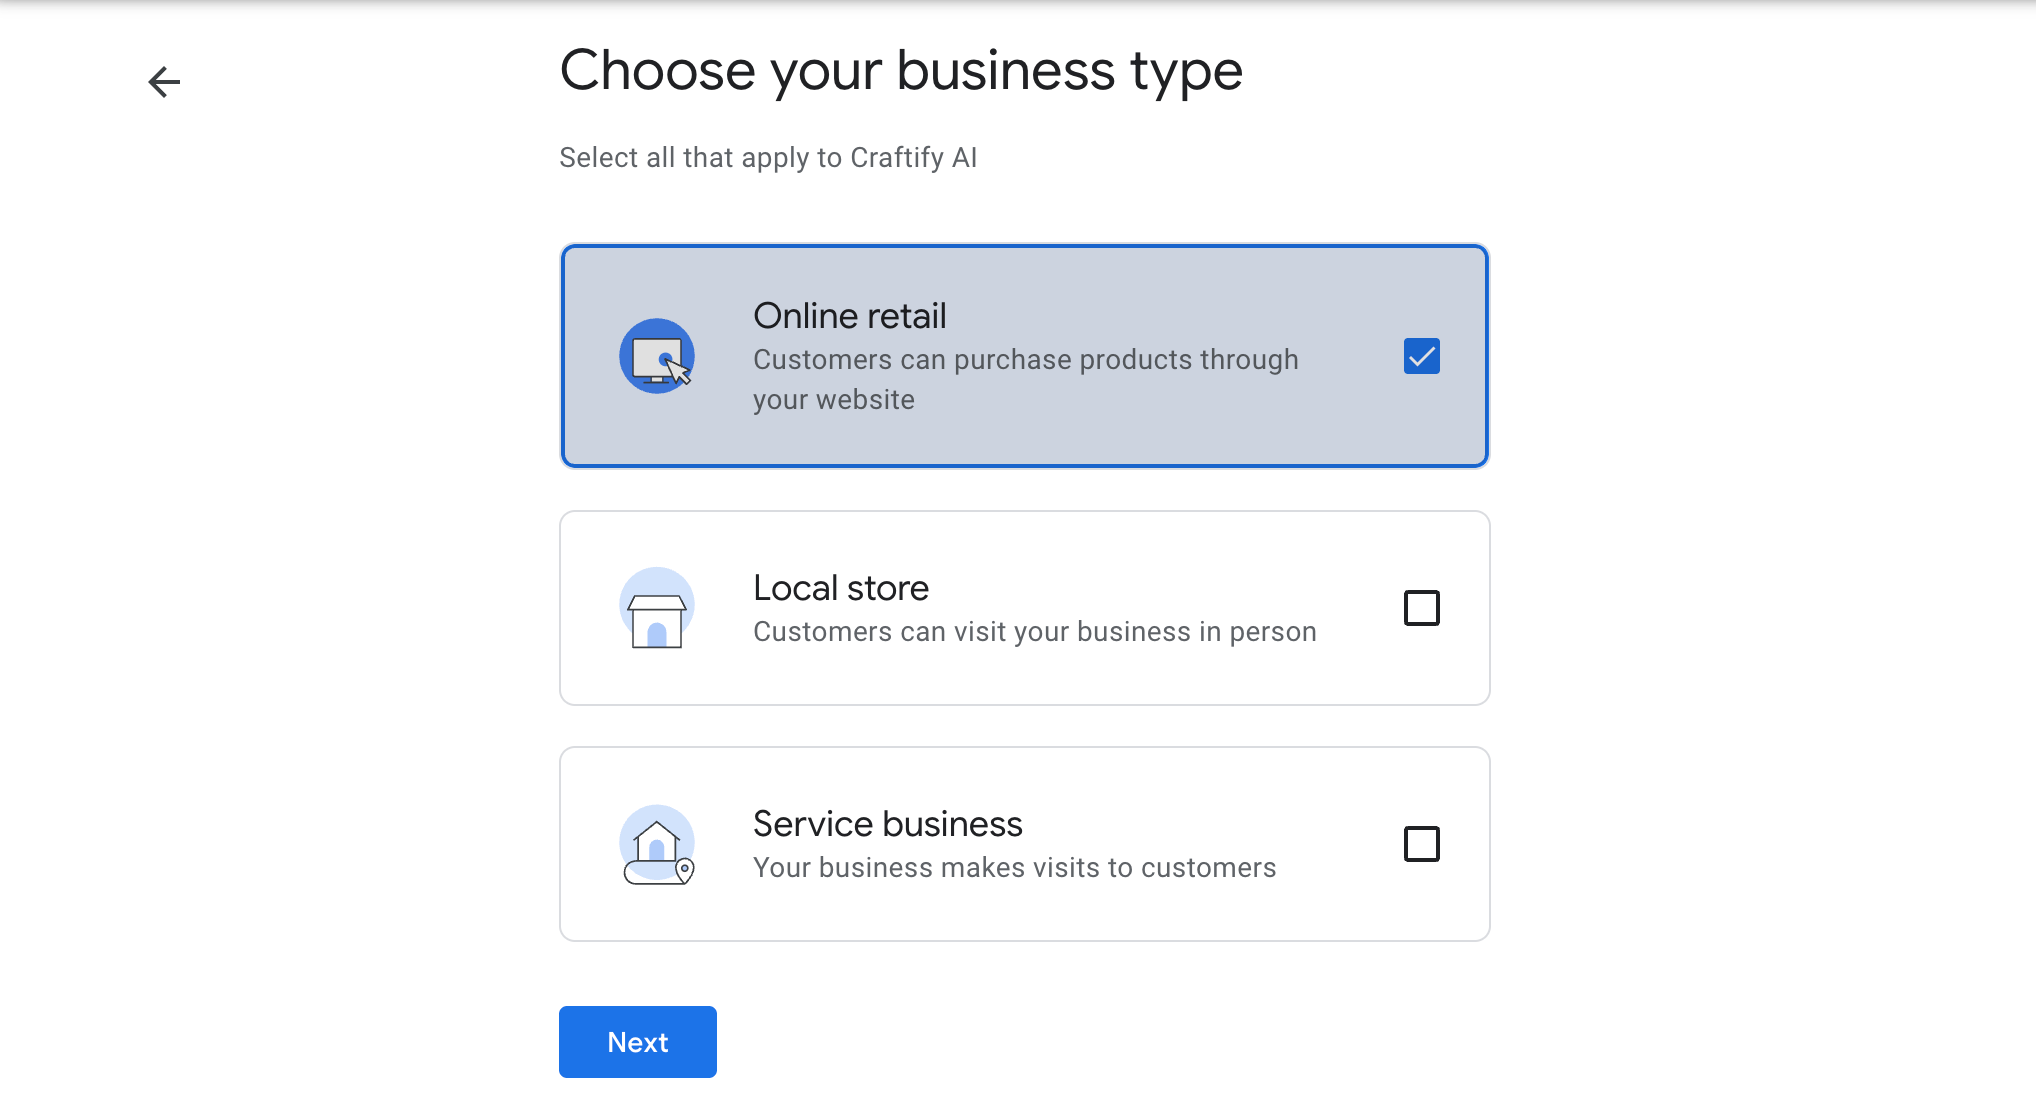
Choosing this correctly is very important! Google will verify this and if they find it to be untrue, you may not get a verified profile.
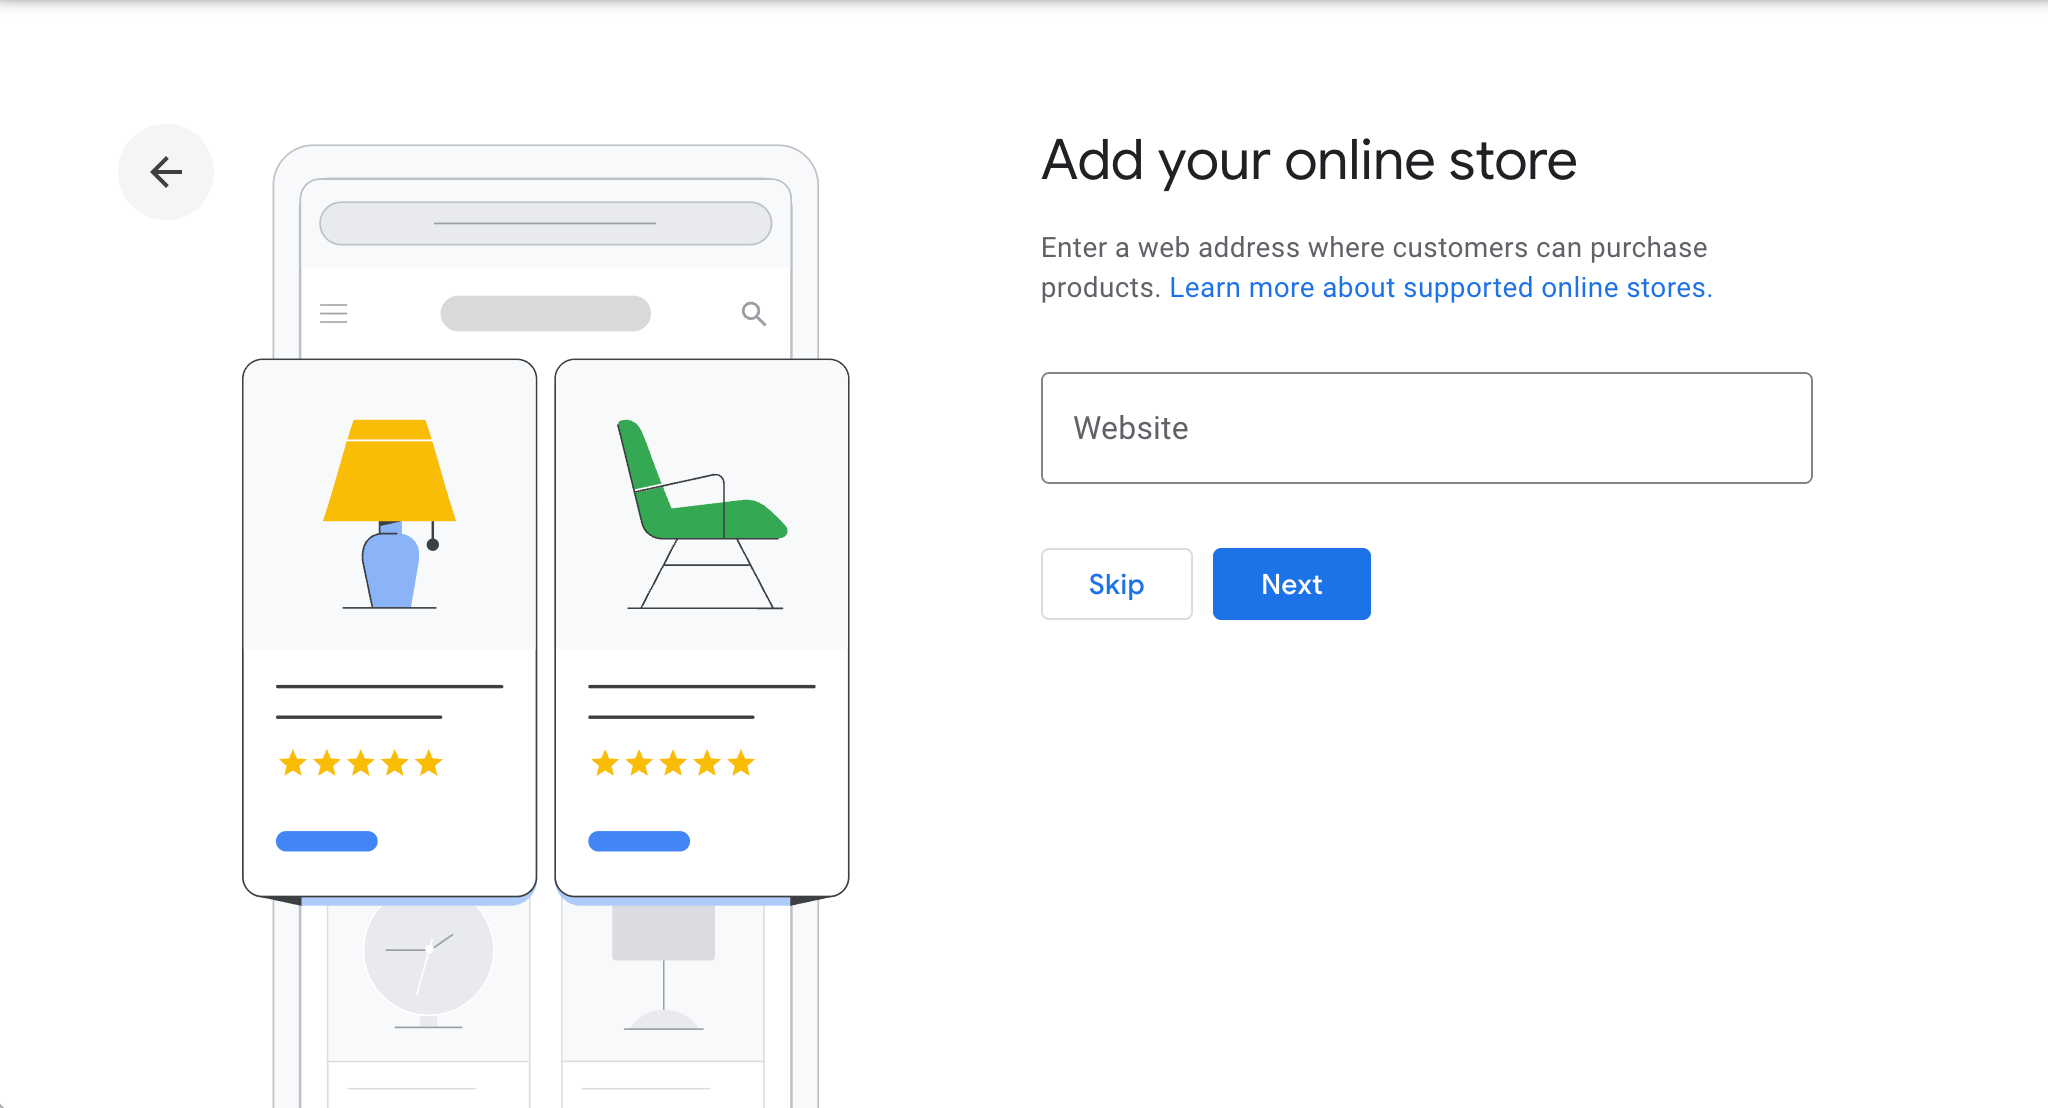
For this tutorial we chose Online Store. When choosing this Google will prompt you to add your website next.
Step 5: Choose Your Business Category
- Select the category that best describes your business.
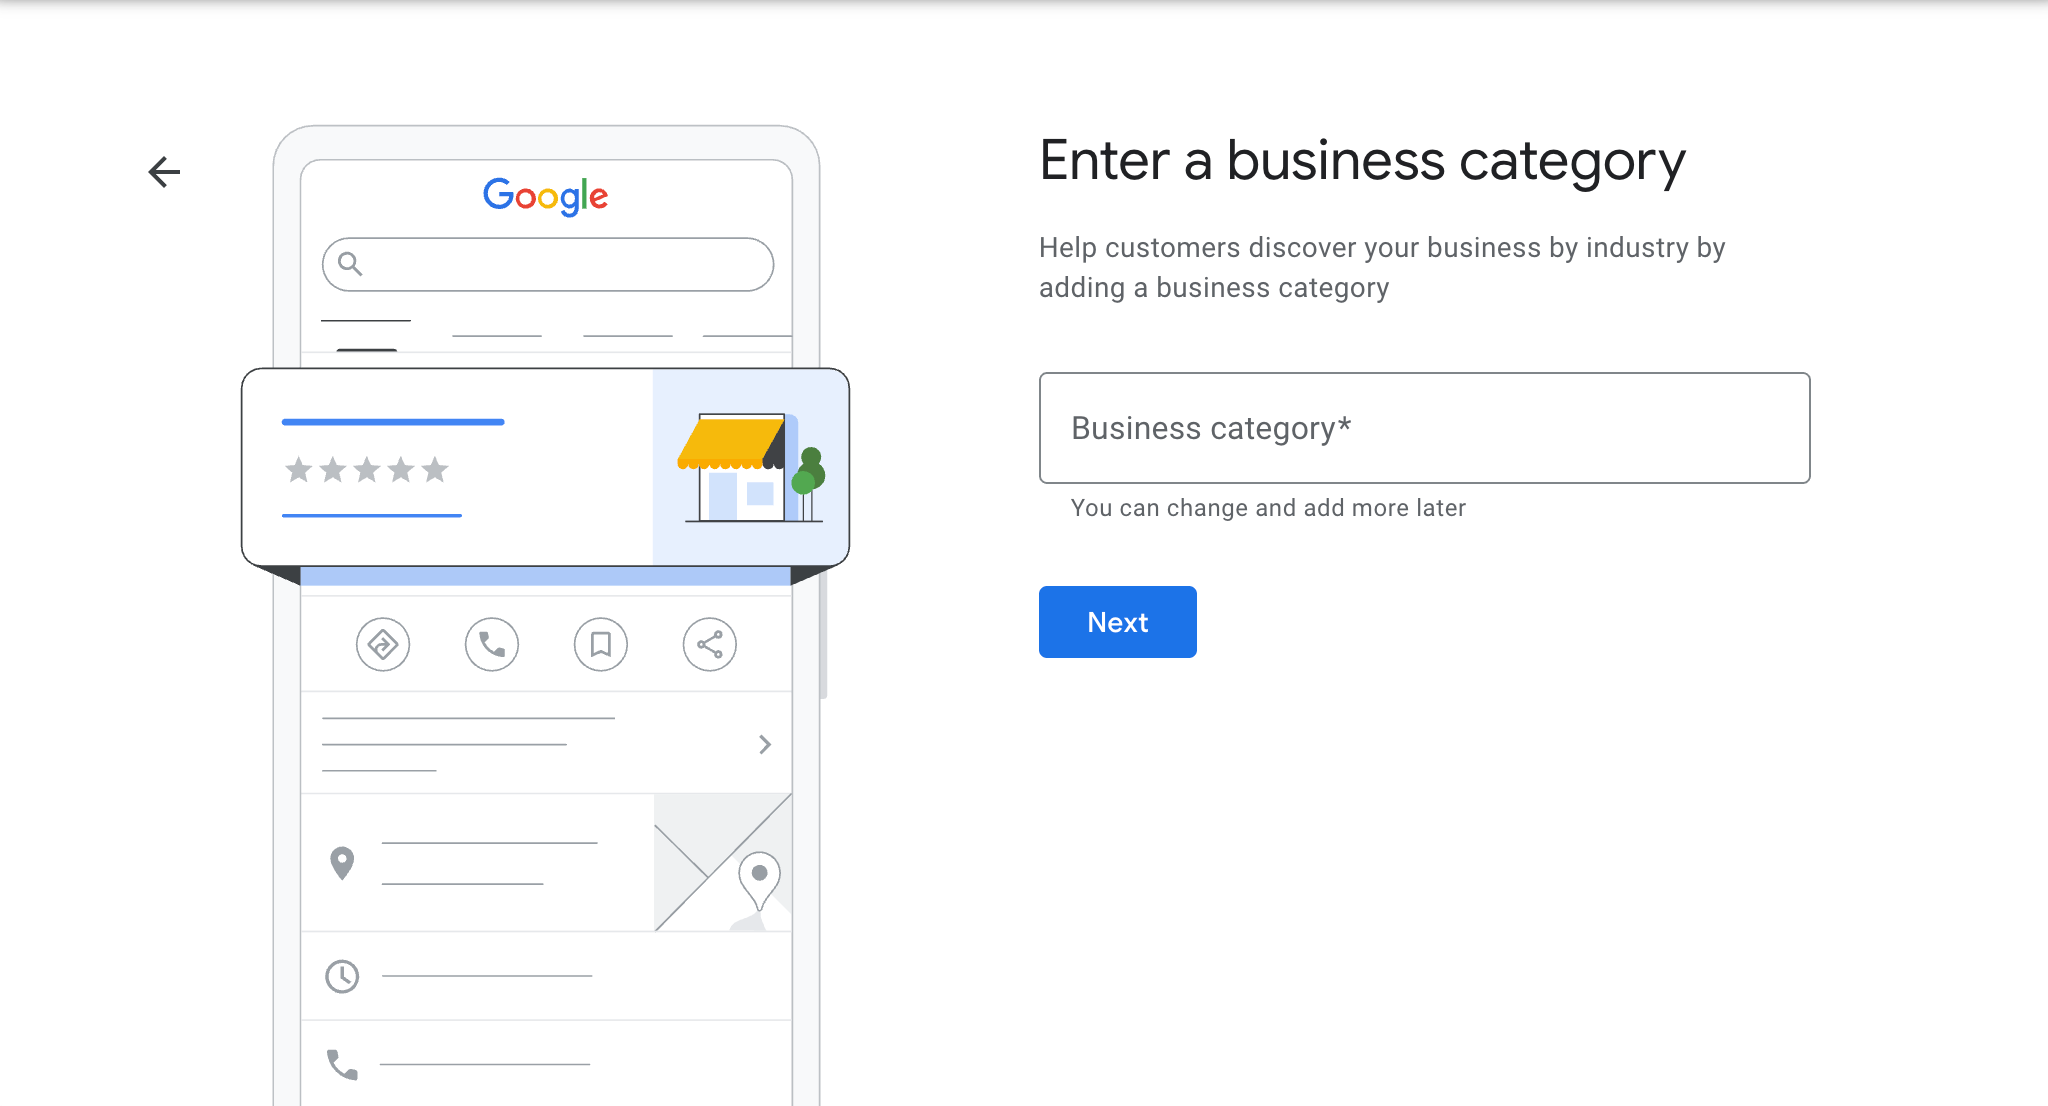
This helps Google show your business to relevant searches. Choose a category that best matches what you do. This helps customers find your business when they search for related services.
Step 6: Add Your Business Location
- If you have a physical location customers can visit, click Yes and enter your address.
- If not, you can skip this and specify the service areas instead.
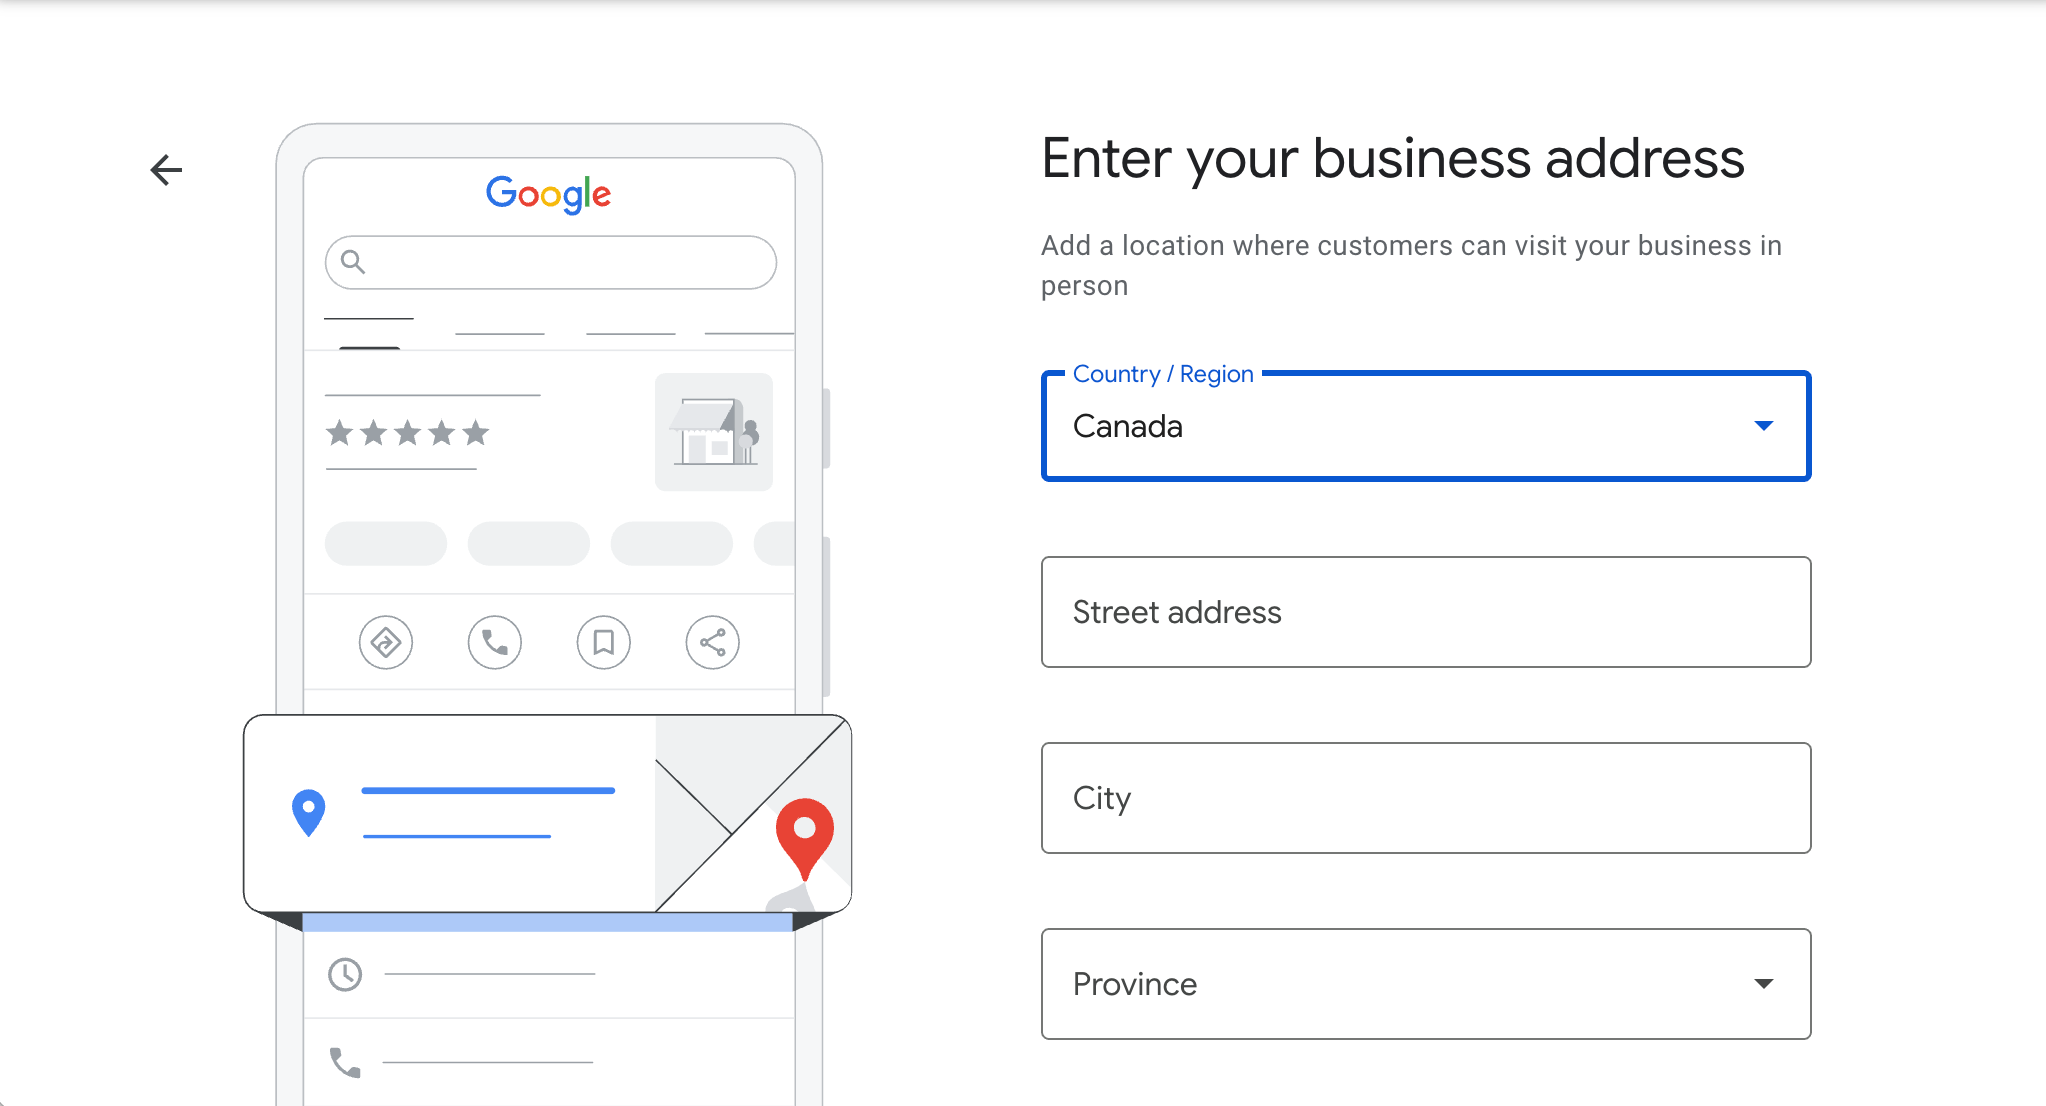
If your business has a storefront or office where customers visit, enter the address. If you offer services at customer locations or online, choose that option instead. If you are a service based business without a physical location, you must enter your range of travel within 2 hours by car. Google will not allow you to specify your business outside of that range.
Step 7: Enter Contact Details
- Add your phone number and website (optional but recommended).
- This makes it easier for customers to reach you.
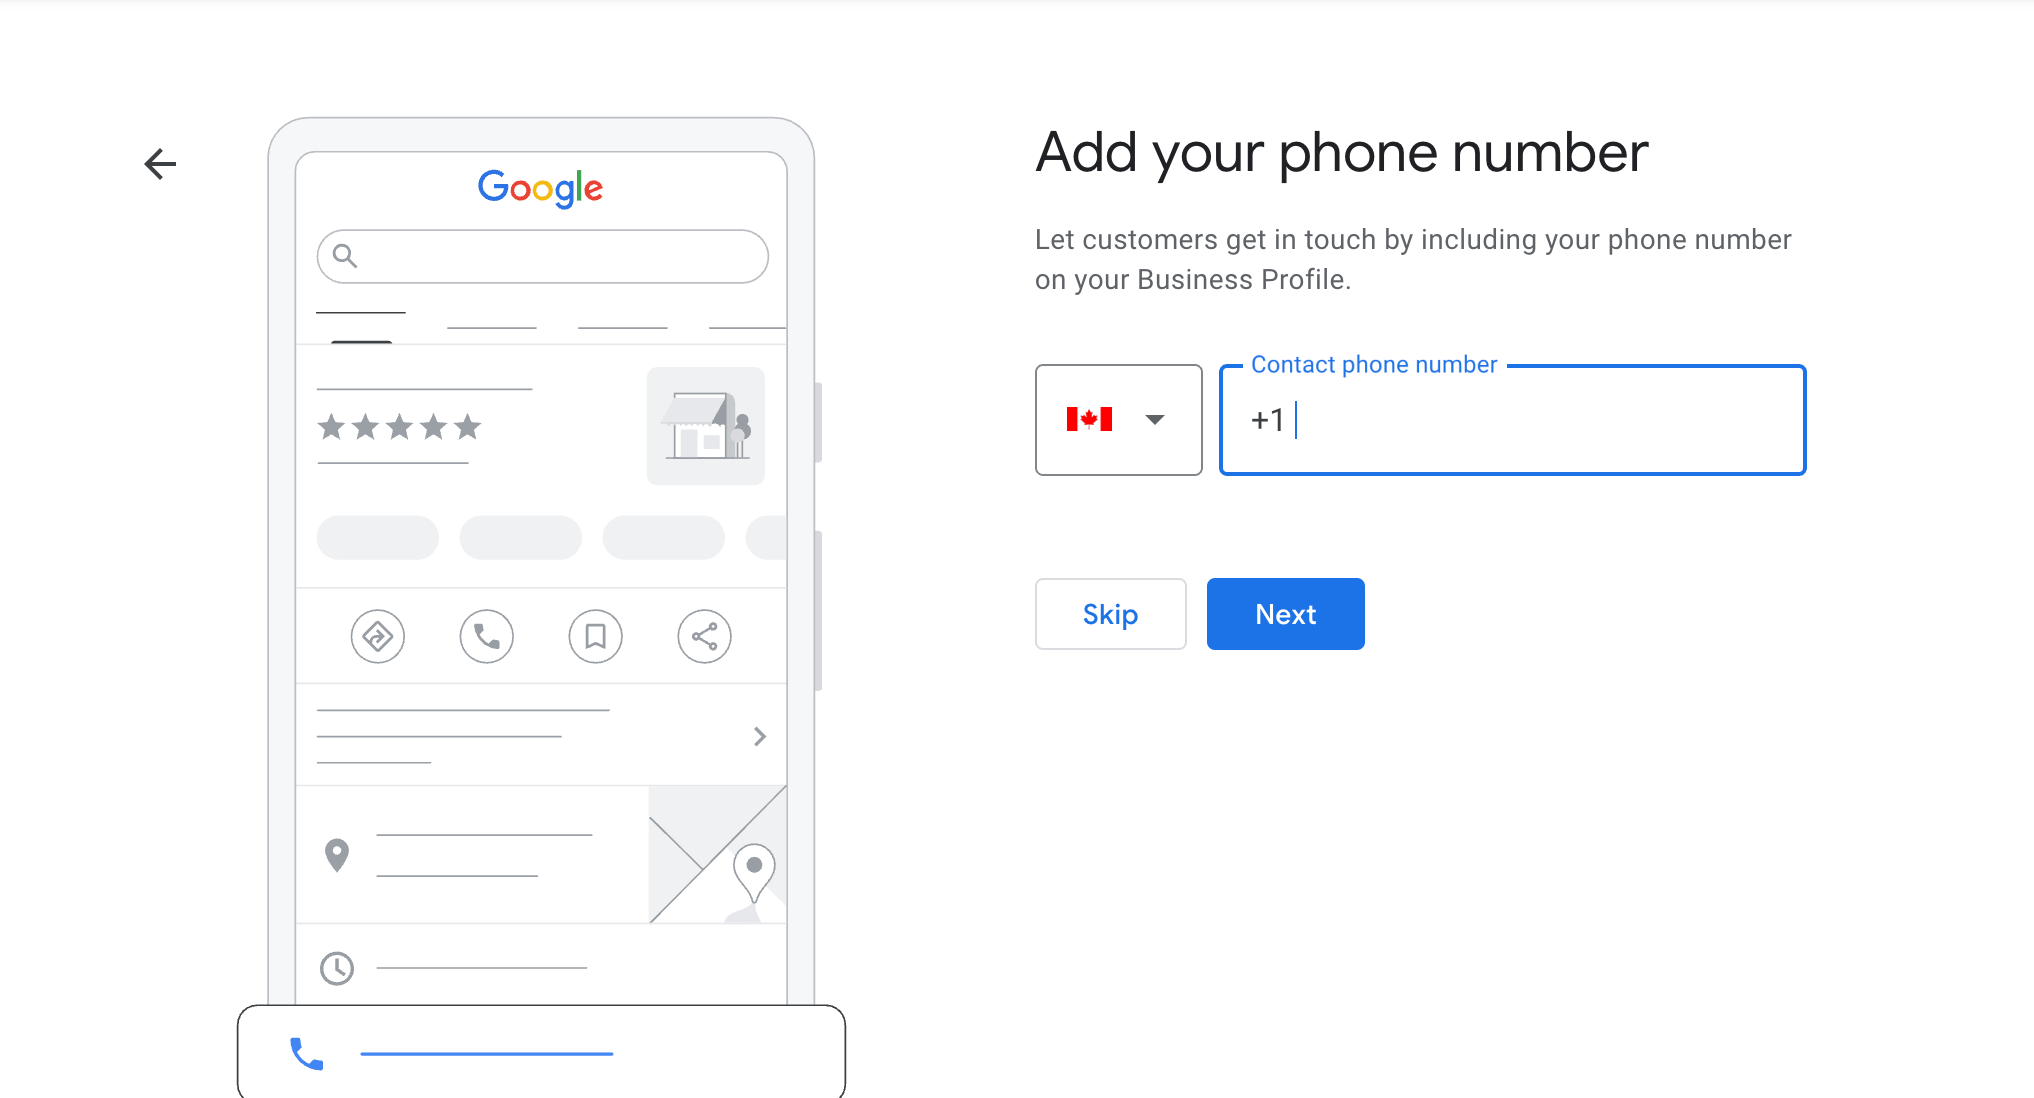
Now that a potential customer has found you on Google, you want to make sure they can find you in person or online! Add your contact info so people can call or visit your website directly from your profile. You'll be happy you added a phone number or website because Google tracks the clicks and will give you data on how many calls or clicks came from your Google profile, helping you understand more about your customer base.
Step 8: Finish and Verify Your Profile
- Google will offer verification options (usually by postcard, phone, or email).
- Choose your preferred method and follow the instructions to verify.
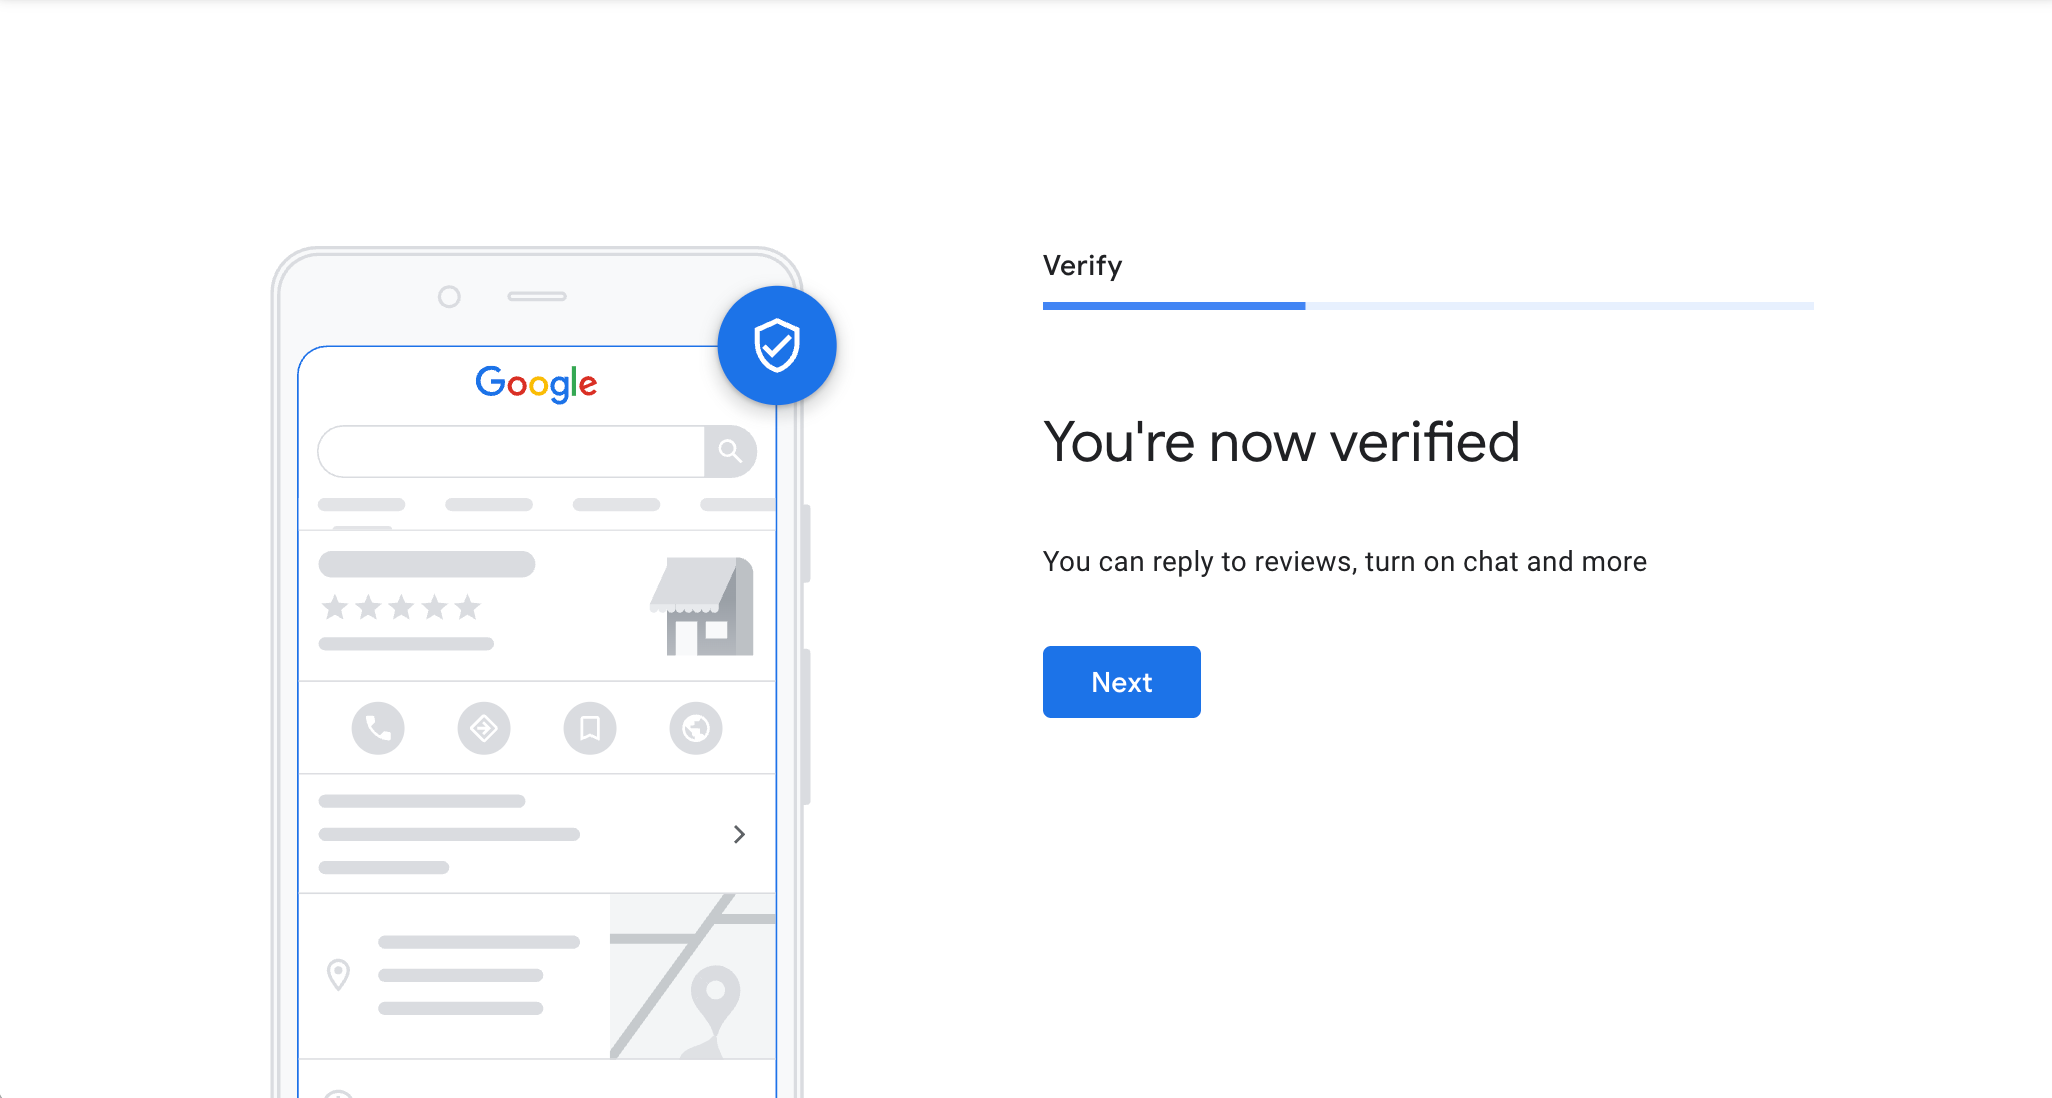
To complete your profile, you’ll need to verify your business. Google typically calls your phone number with a code or sends a postcard by mail with a code to your business address. Just enter that code when it arrives. Alternatively there could be a video verification process, and if Google offers you that option, it will also prompt you with all of the necessary steps.
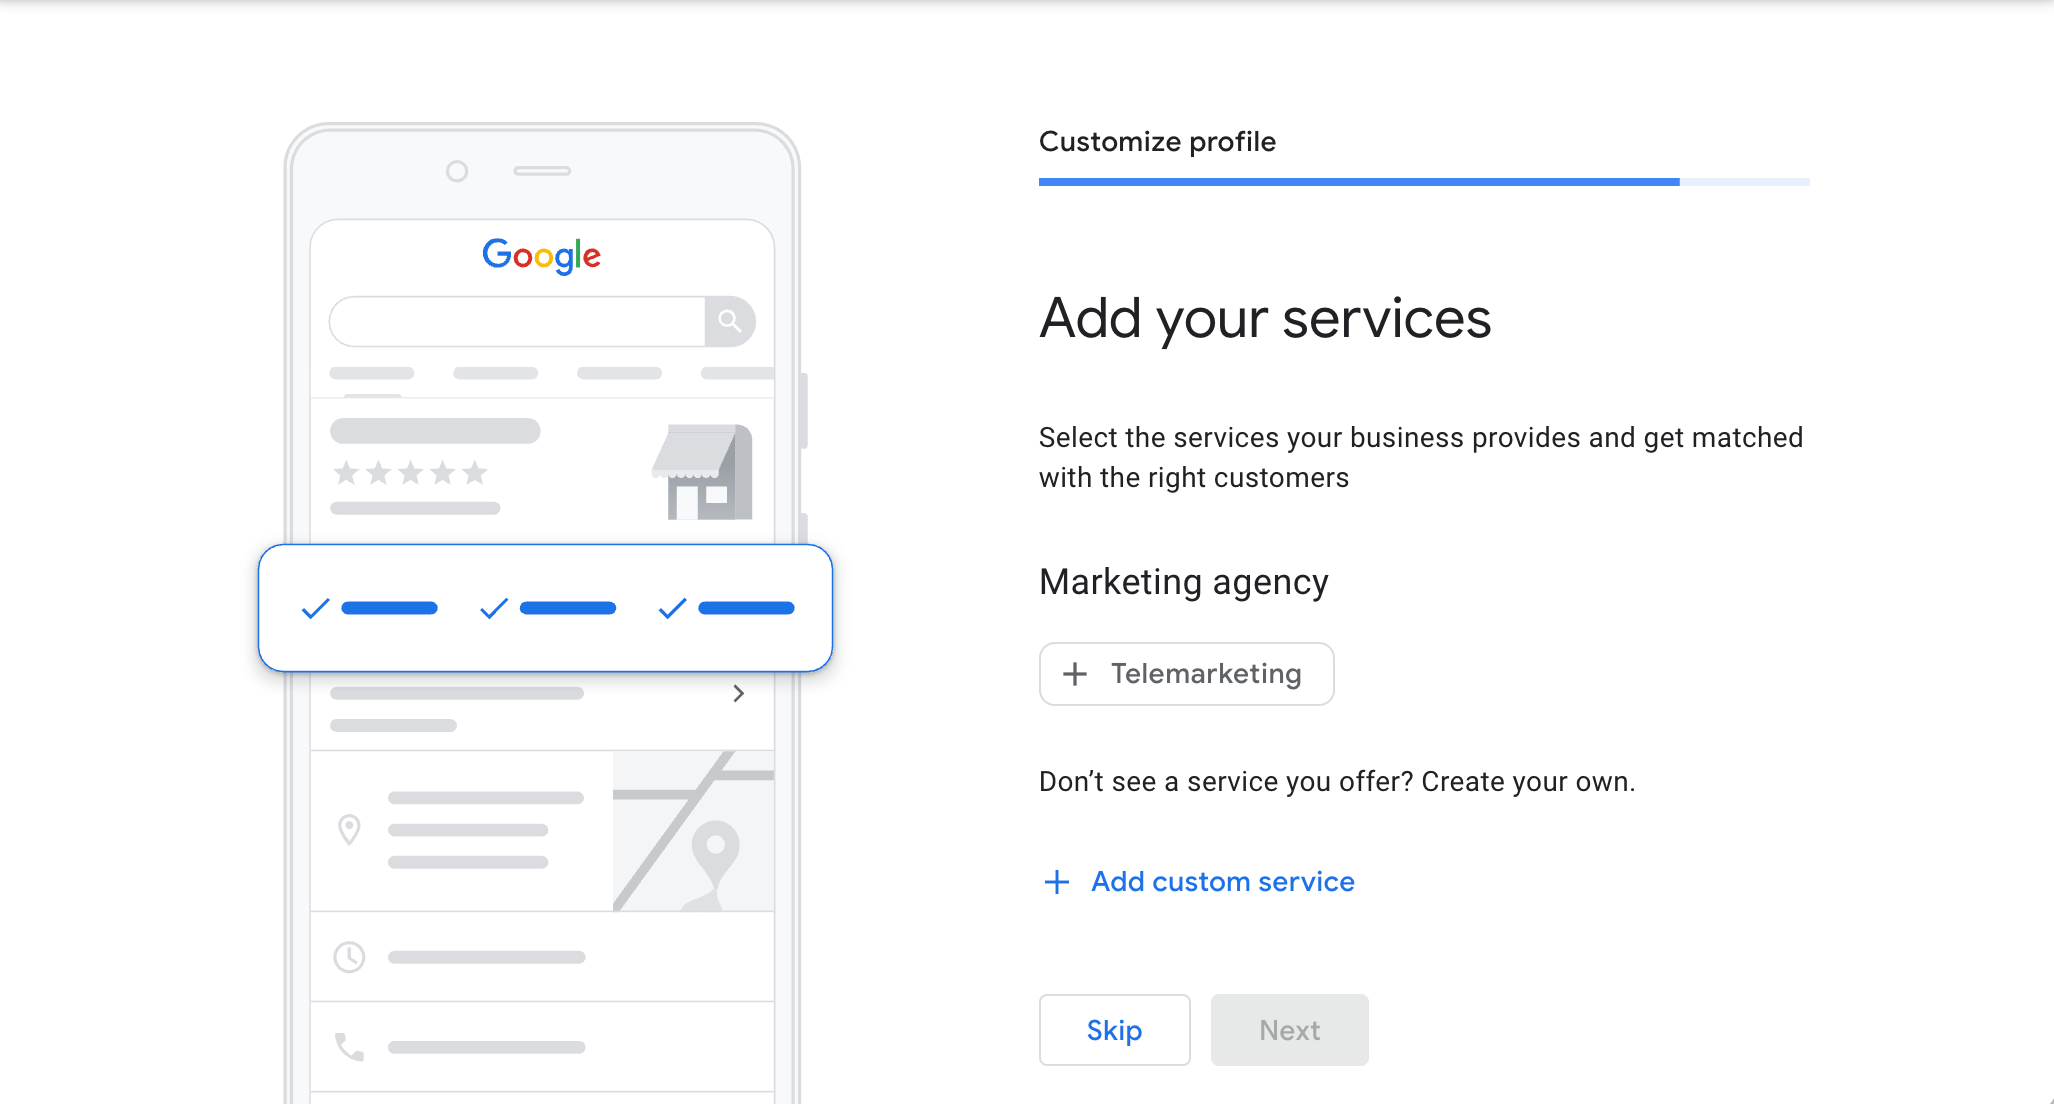
Step 9: Optimize Your Profile
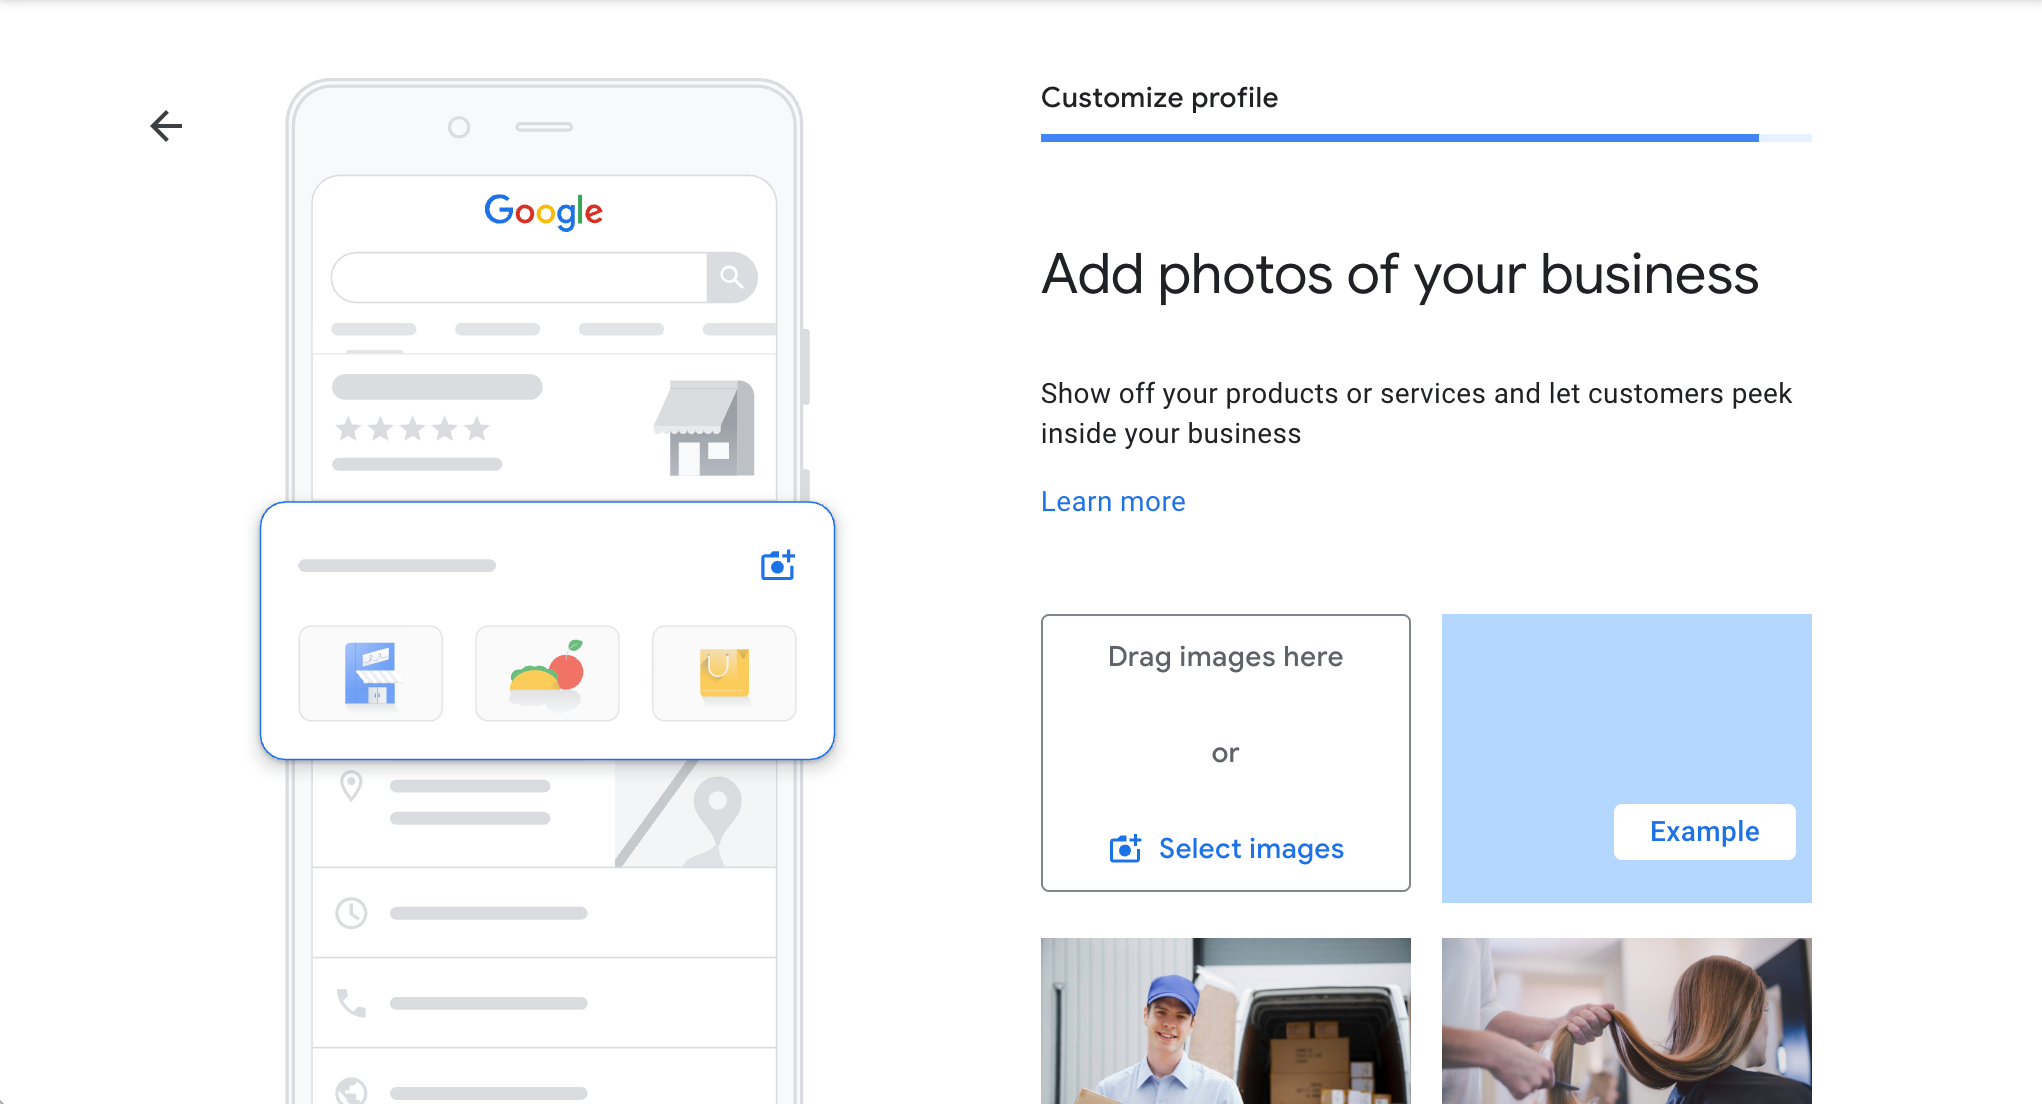
Once you're verified, go back and fill out the details: business hours, photos, and a brief description of what makes your business unique. This helps attract more customers. It's important to add photos that represent your business well and to continue to update photos every once in a while. Google reports that the chances of someone reviewing your profile and clicking on your links is much higher if you have quality photos.
- Add your additional Services. You can be as specific as you like here!
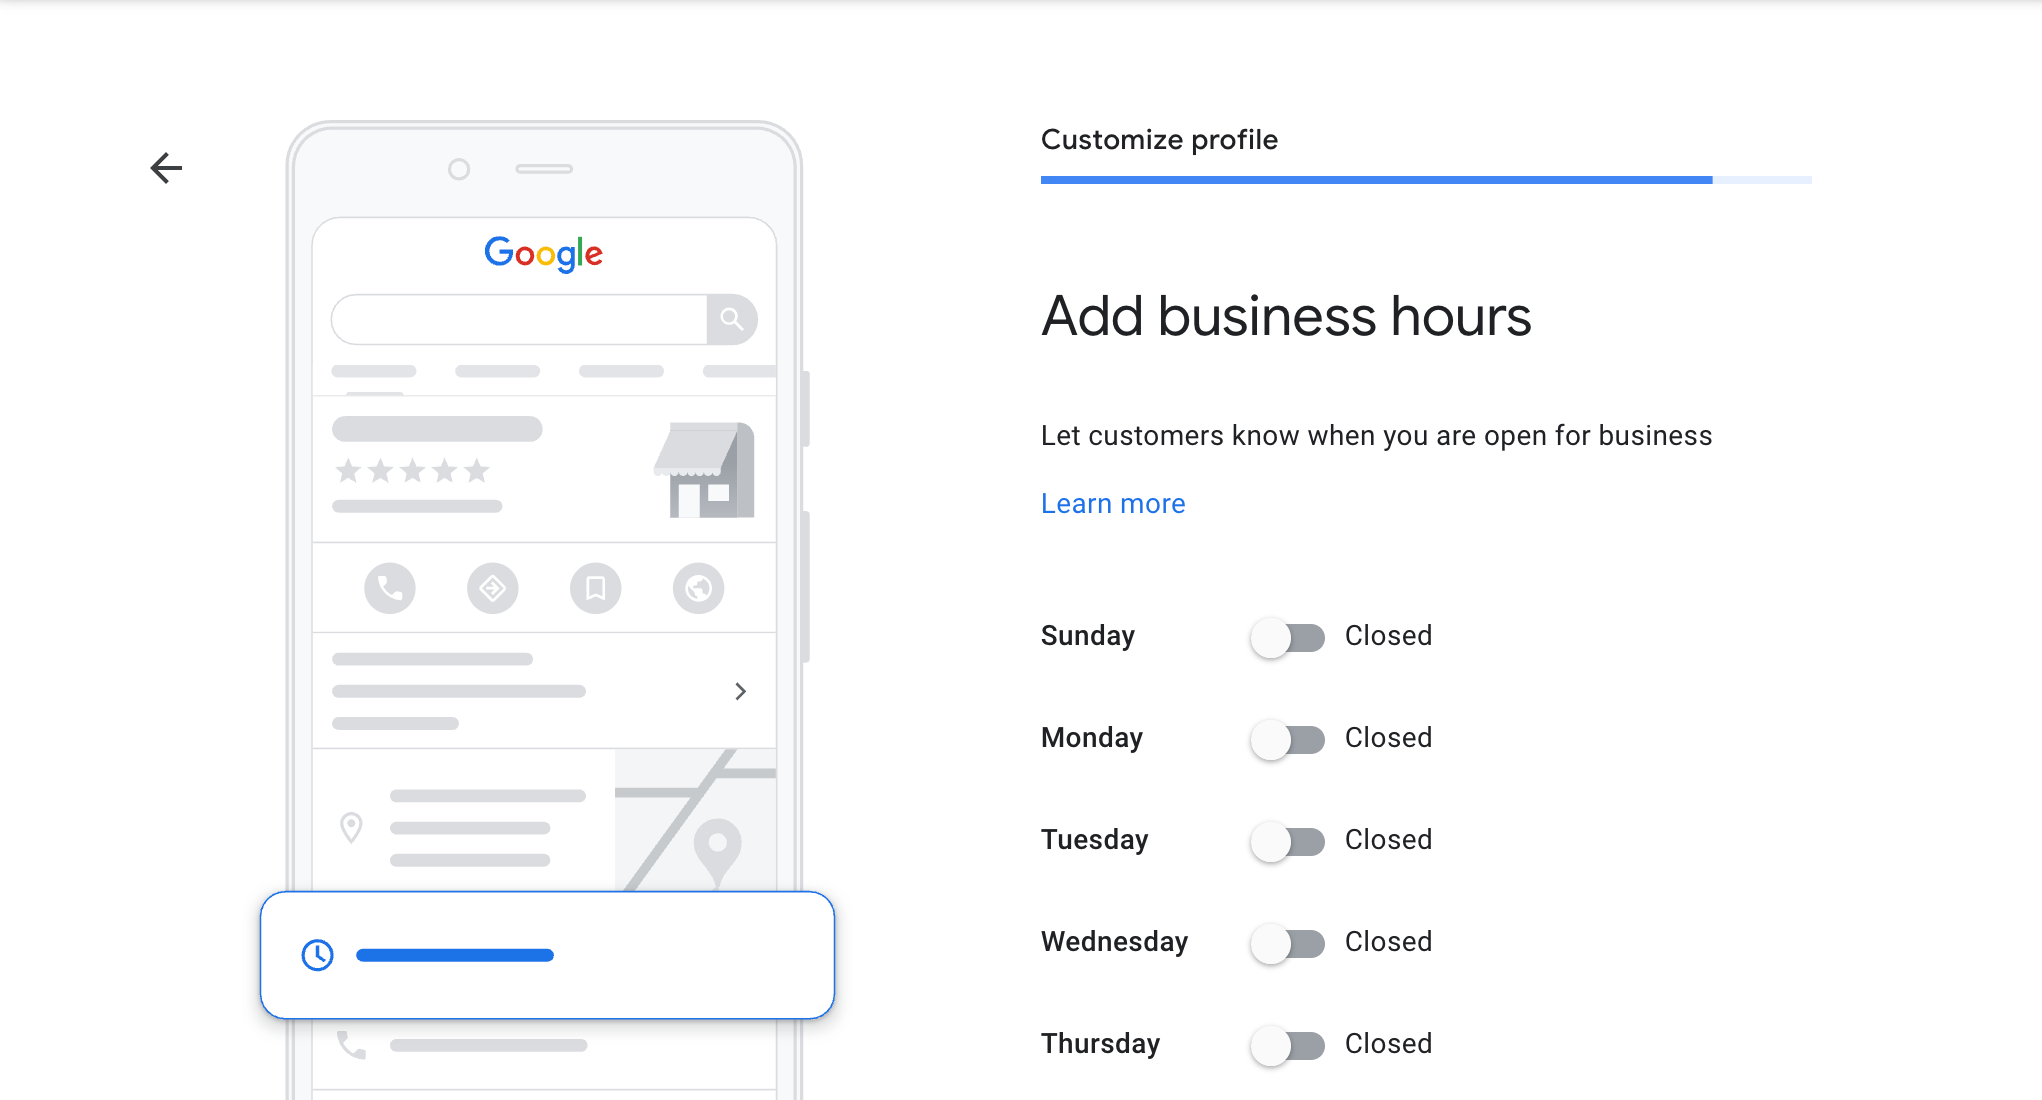
- Add your business hours.
- Update holiday hours regularly.
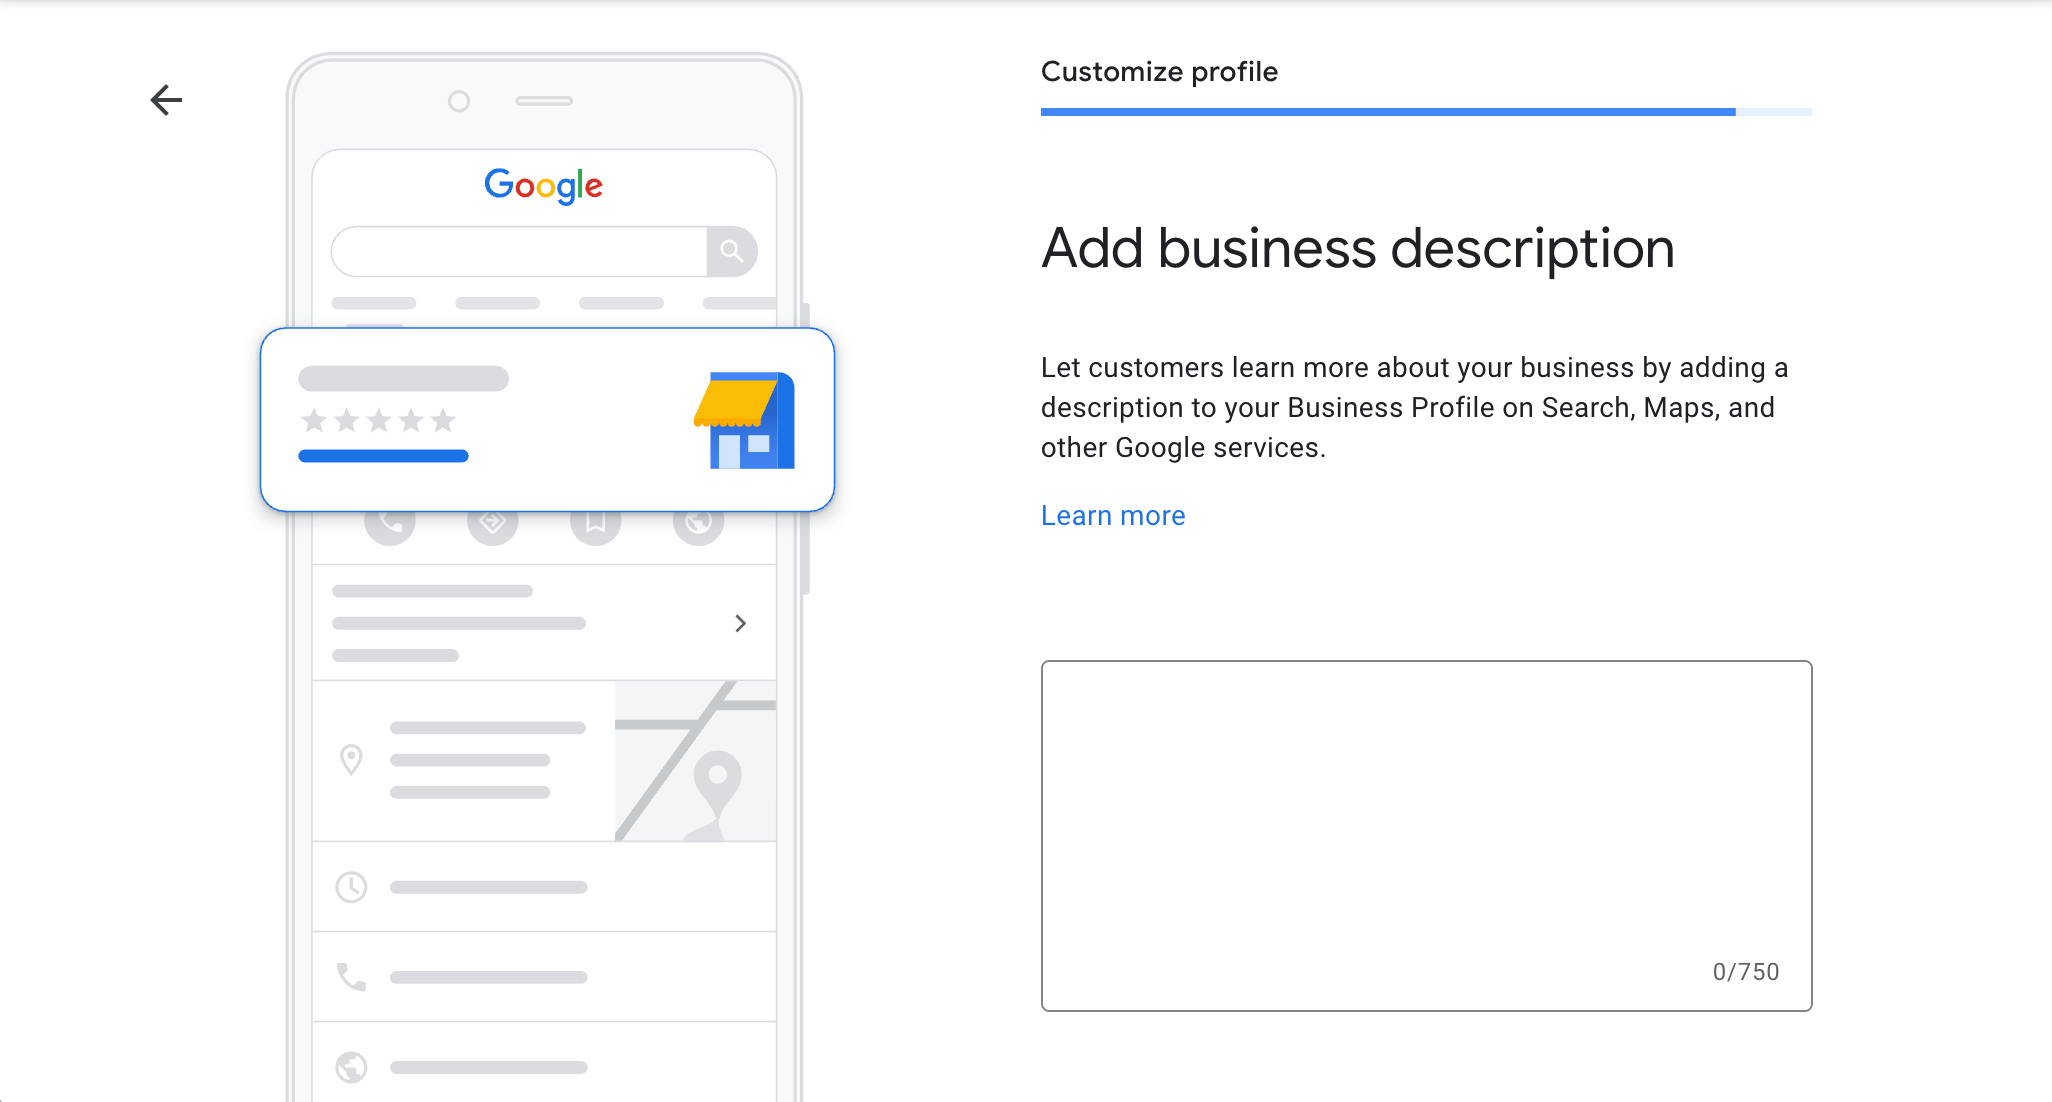
- Add your Business description. It's important to note that here Google does not allow you to add any personal details like phone numbers or promotional info. You must keep it to the basics. But don't worry, this section is not used for SEO and it cannot hurt or help your search results.
- Add your Logo and Photos.
Bonus Tips
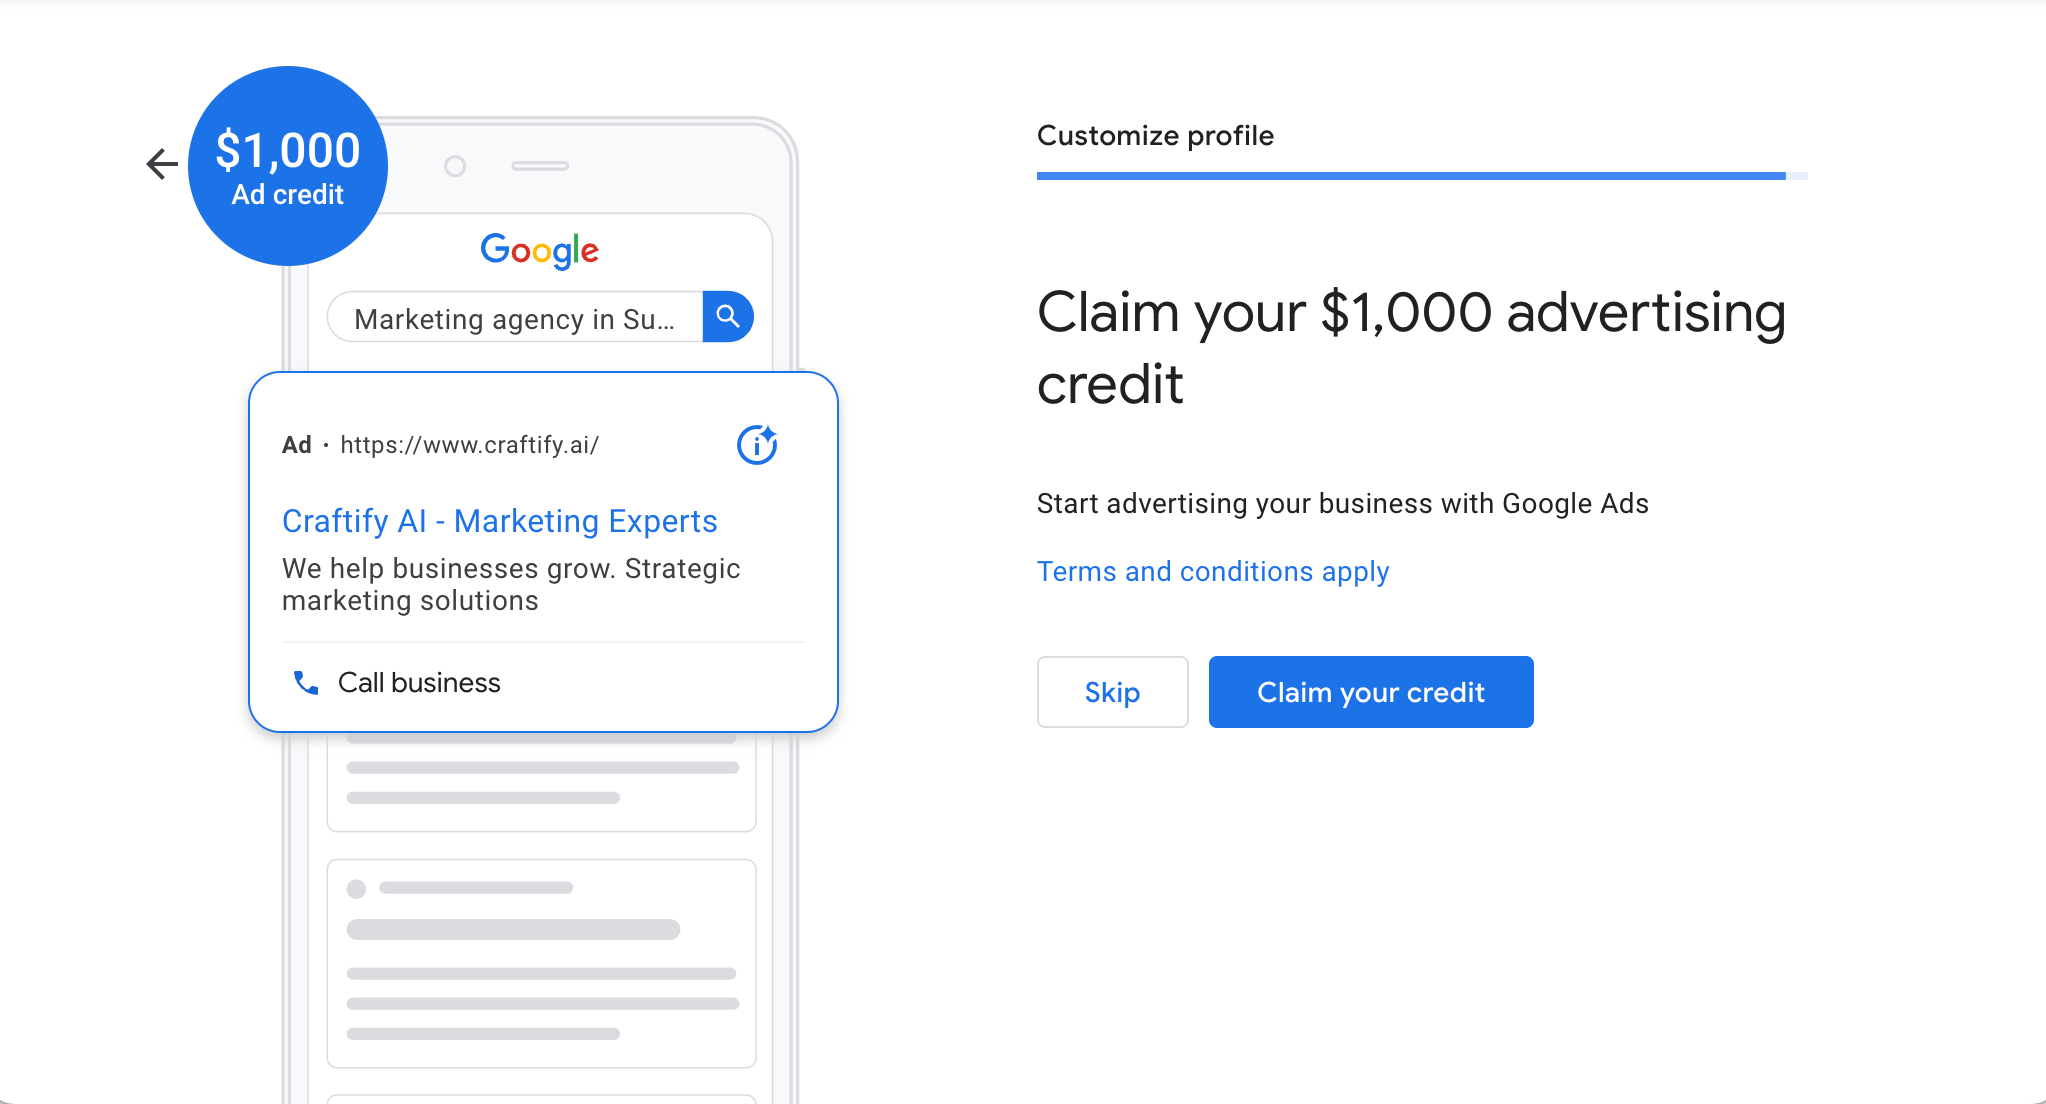
- Google may offer you a $1000 advertising credit! Definitely take advantage of this offer to start your Google Ads. Need help crafting the perfect campaign? Head back to your Craftify AI profile to craft a Google Ad campaign.
- Keep your info up to date. No one likes to arrive to a shop only to find the hours are wrong on Google. Make sure your opening hours and. your phone number are correct!
- Encourage satisfied customers to leave reviews. The more 5 star reviews, the better! Many people only shop at places with great reviews.
- Use the mobile app to manage your profile on the go.
Your Google Business Profile isn’t a ‘set-it-and-forget-it’ tool. Keep it updated, engage with reviews, and post updates to make the most out of it! Review the statistics every once in a while to see how much website traffic you are receiving from Google Maps searches alone. It's great insight and can help you with creating better targeted Ads!
Ready to start creating Ads with Google? HERE you can find a tutorial on how to get started!