vCard Tutorial
vCard - Virtual Business Card Tutorial
Sending your contact has never been easier! Now you can create a virtual business card instantly in Craftify AI so you can connect faster with potential leads.
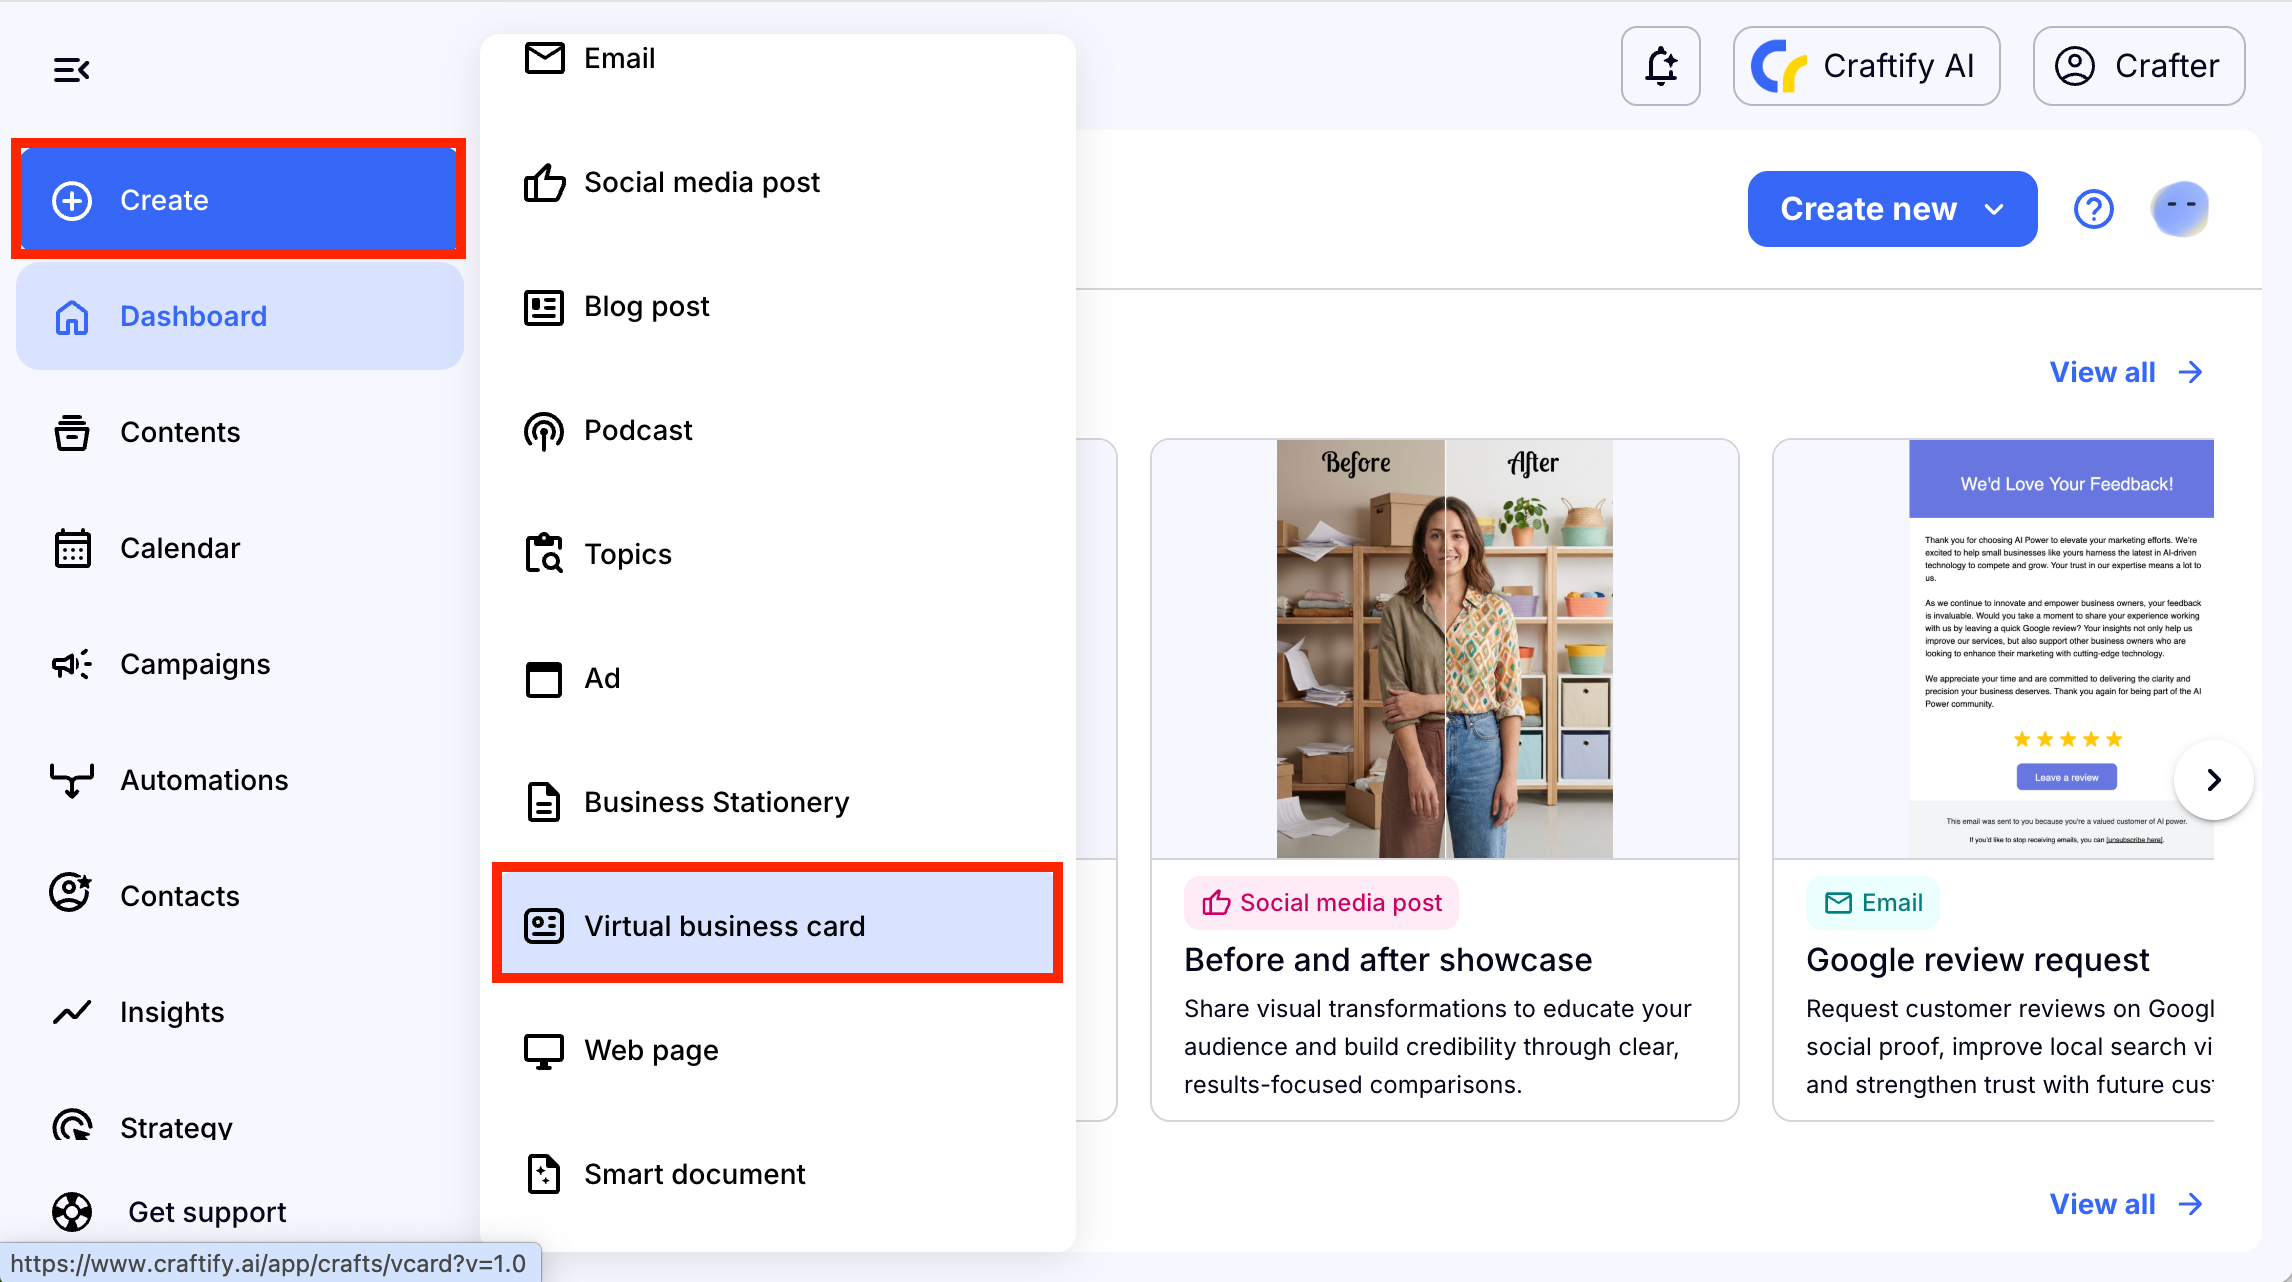
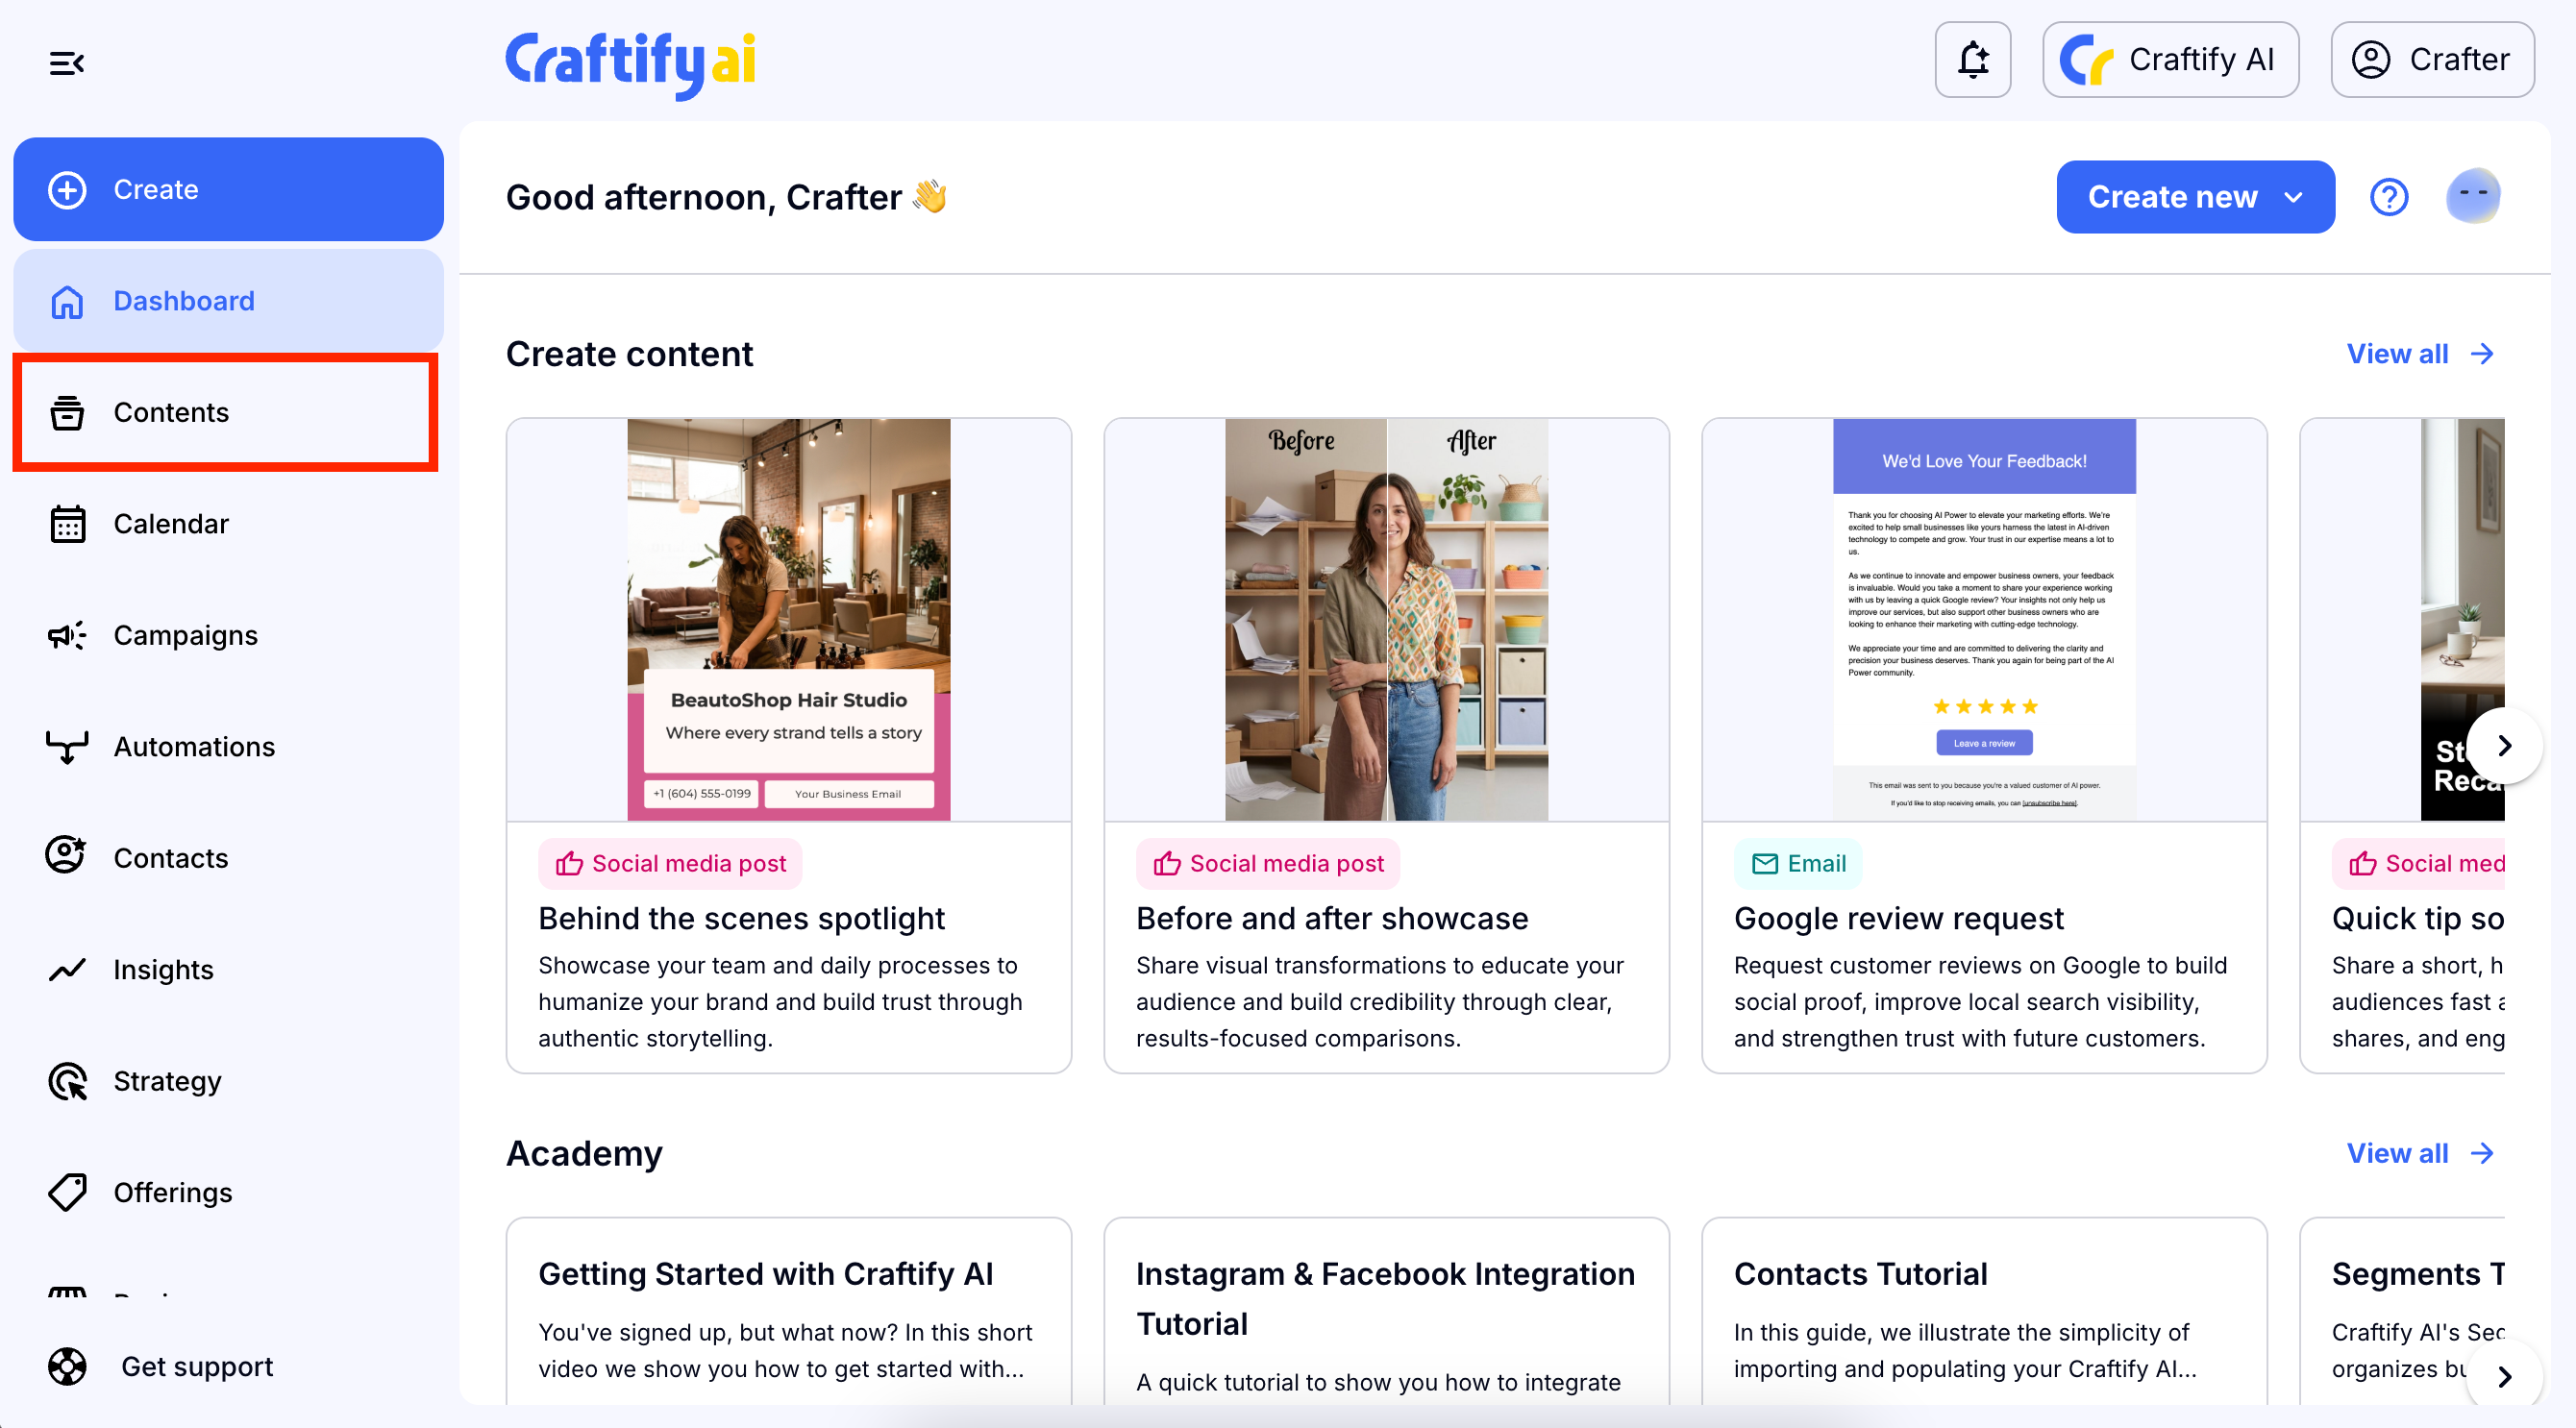
Once you have logged into Craftify AI, head to the 'New Craft' on the left
hand side bar, scroll down and choose 'Virtual Business Card.'
The vCard tool will open up and you will see the Configuration on the left-hand side and the Preview on the right hand side.
The basic info on your business from your Business Profile will be filled in automatically. You can easily change any of that info simply by clicking and typing your preferred data.
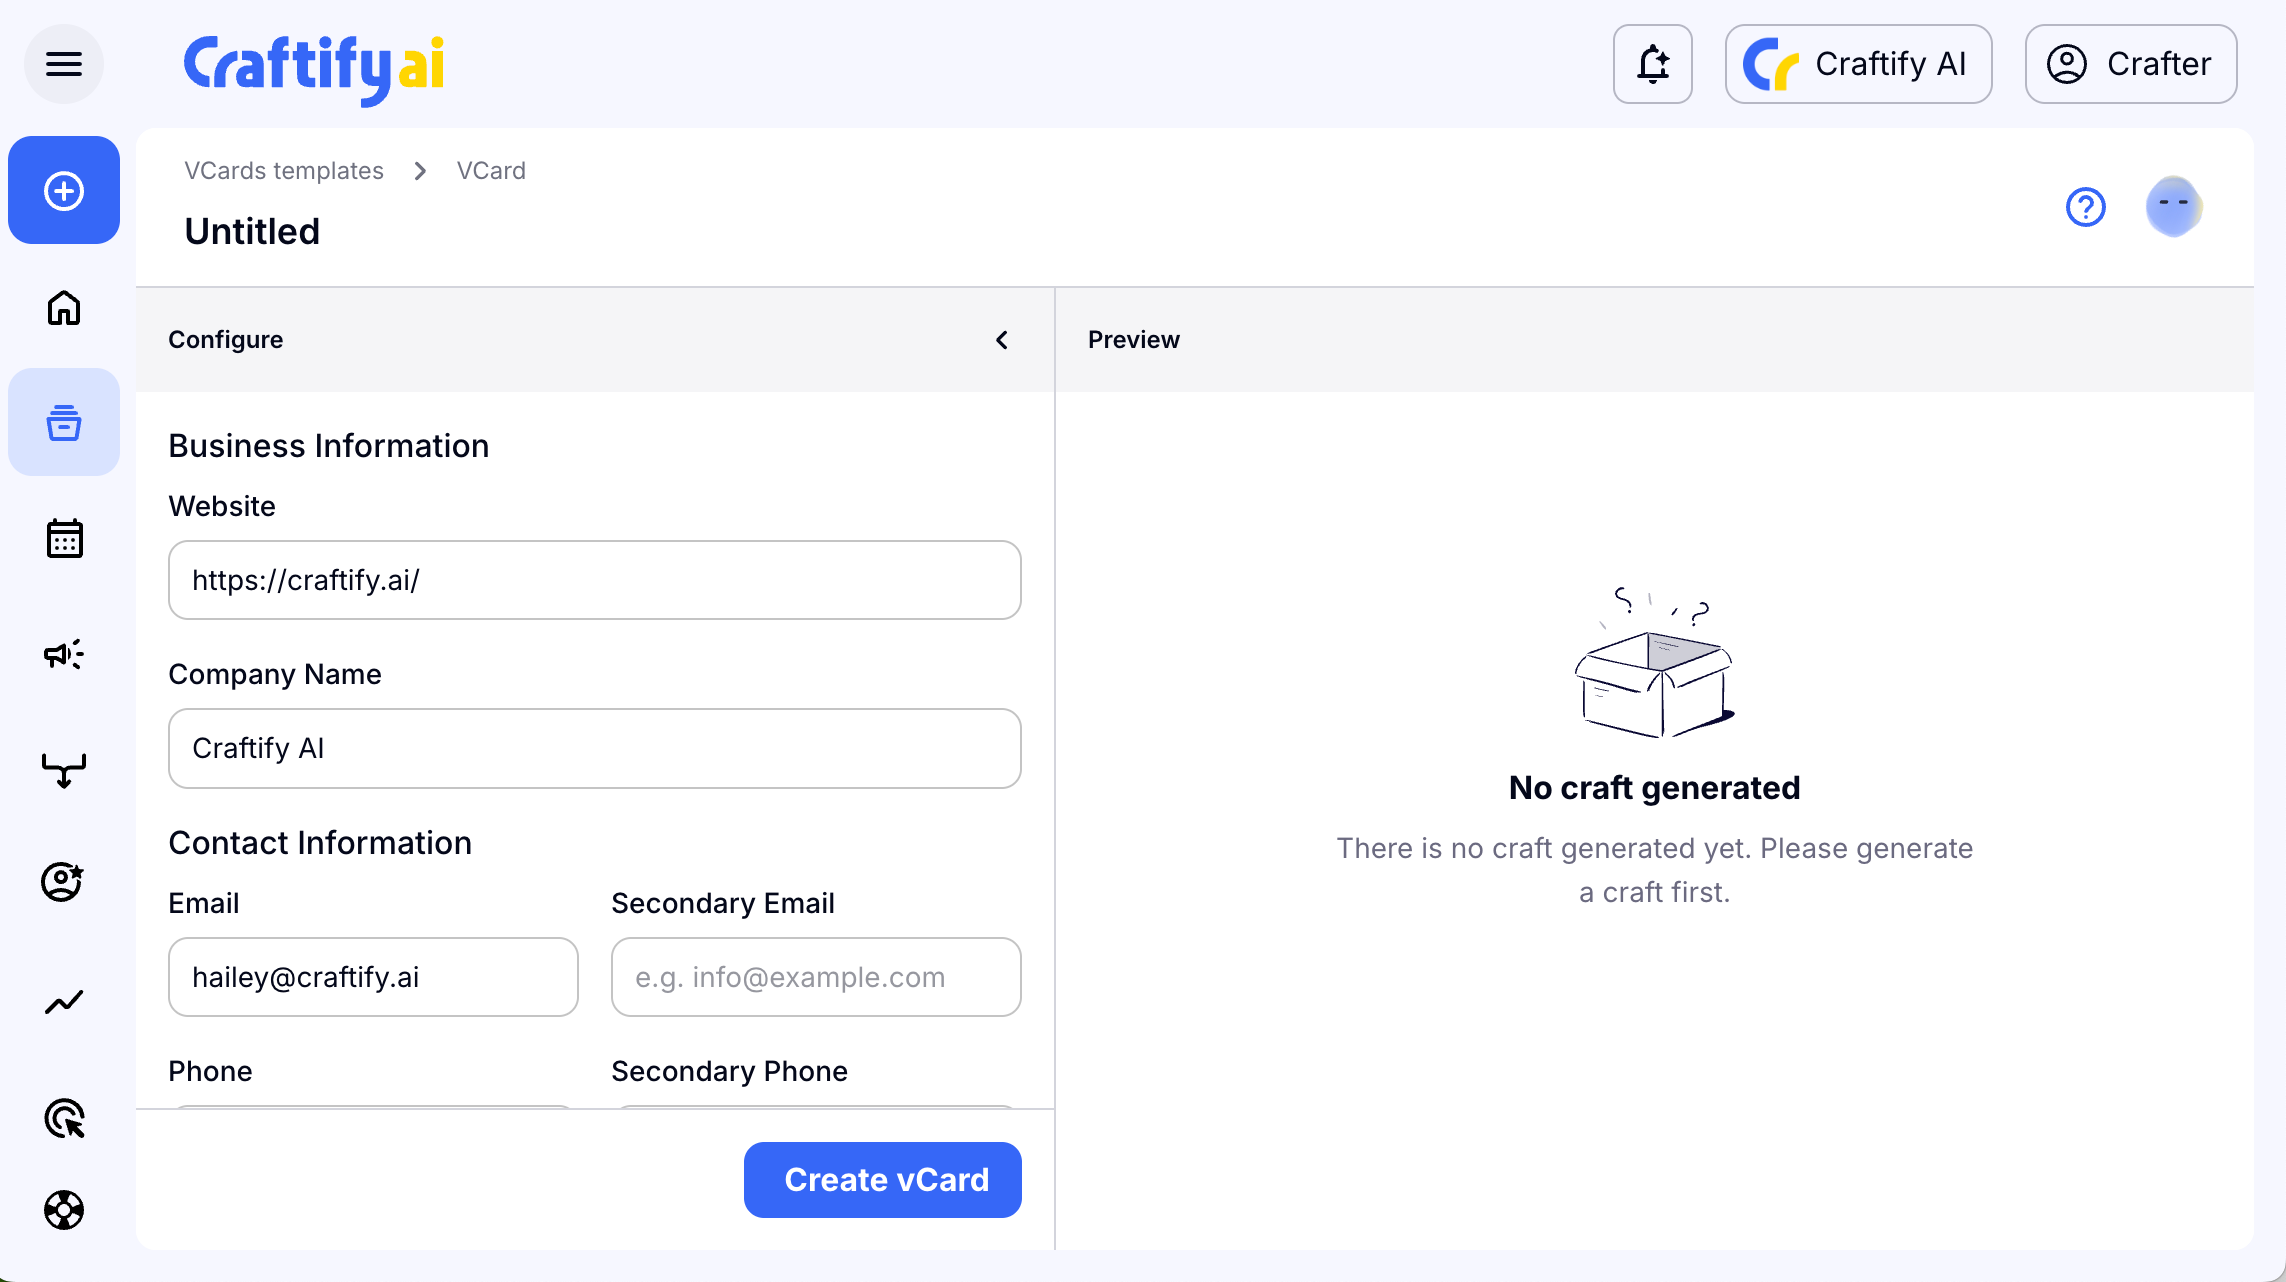
Some areas are blank, so you can personalize the vCard with your name, or a name of someone in your company. These fields are optional, but useful for personalization!
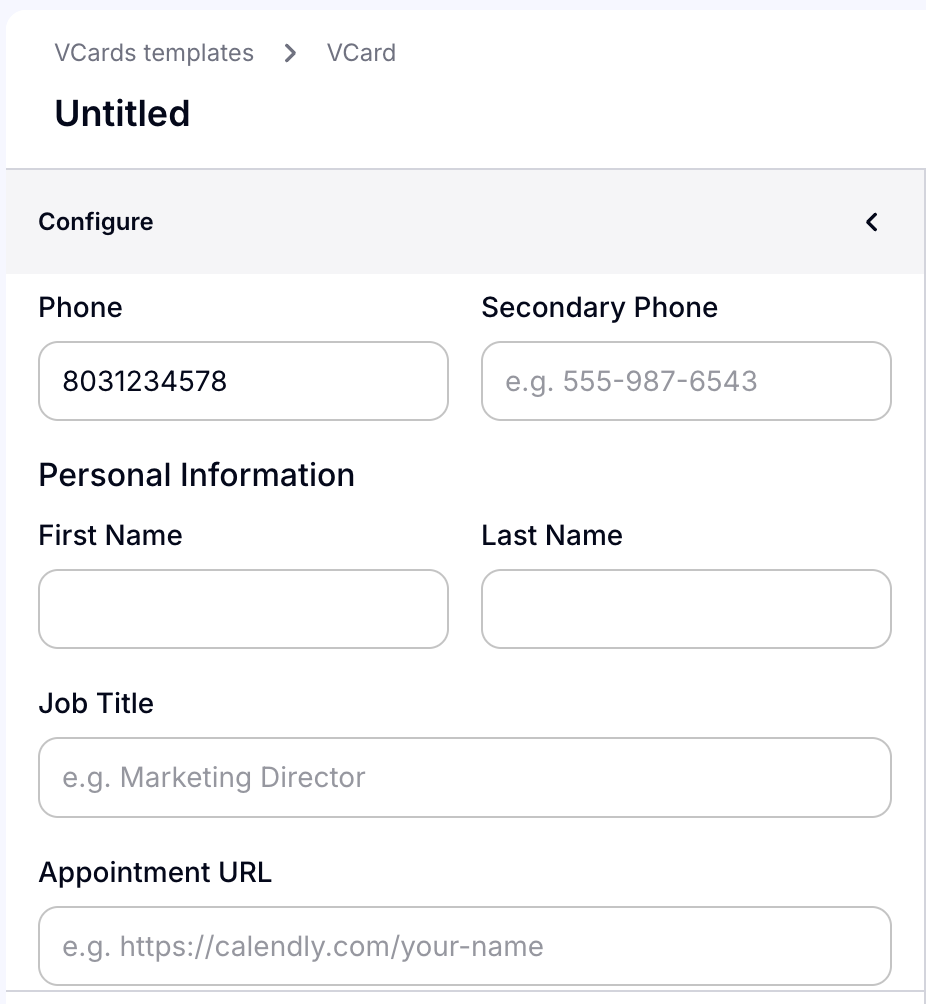
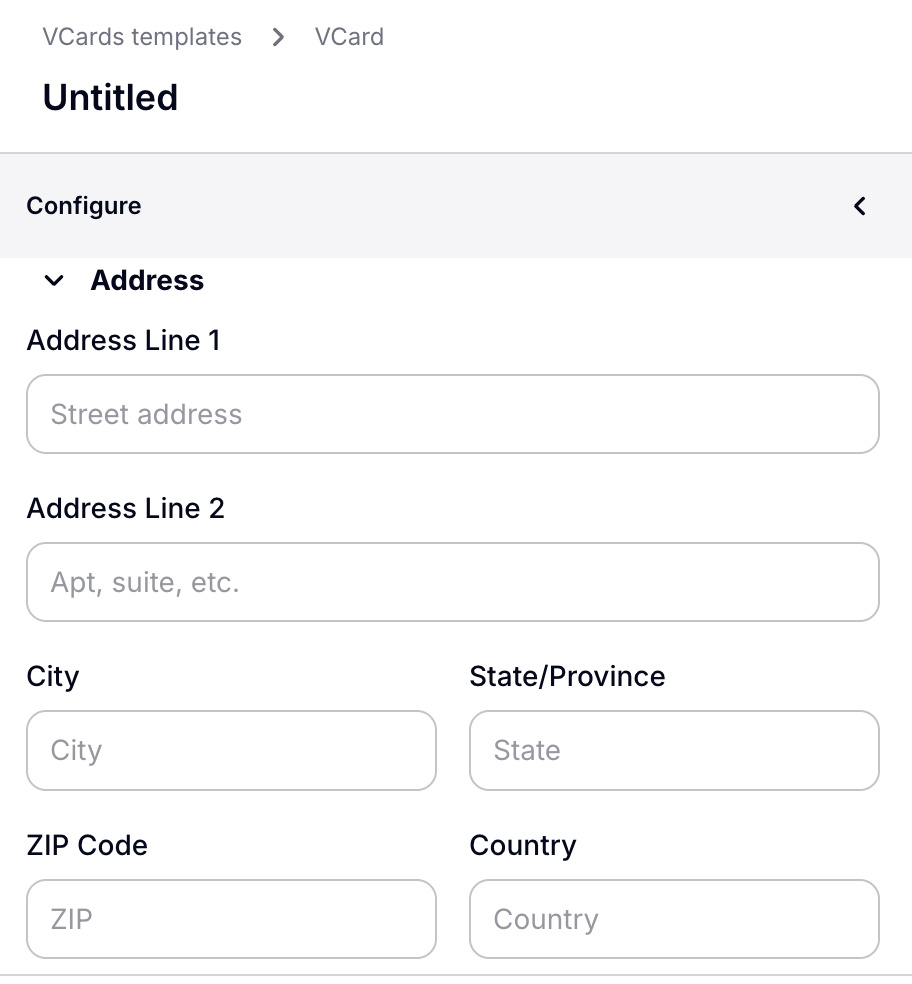
You can also add details like your address, if necessary.
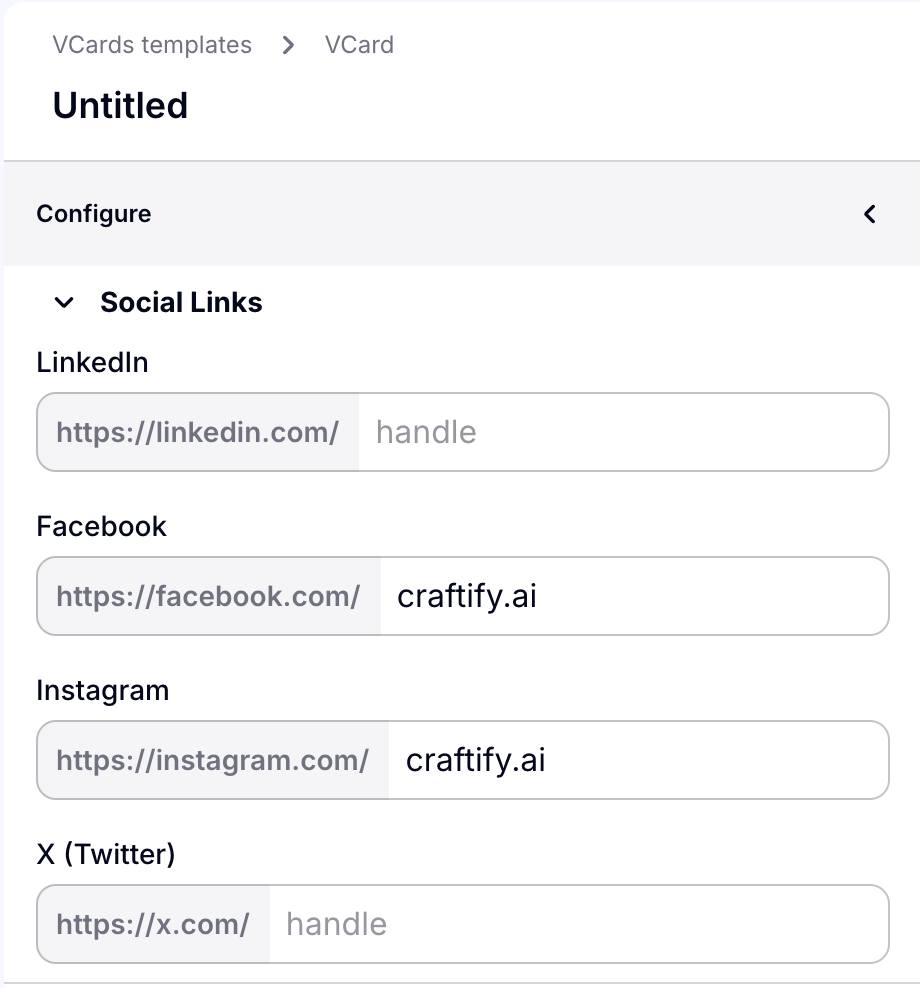
The last area of Configuration is the Social links! Any social links that have already been added to your Business Profile are here. You can edit and add any you'd like here easily.
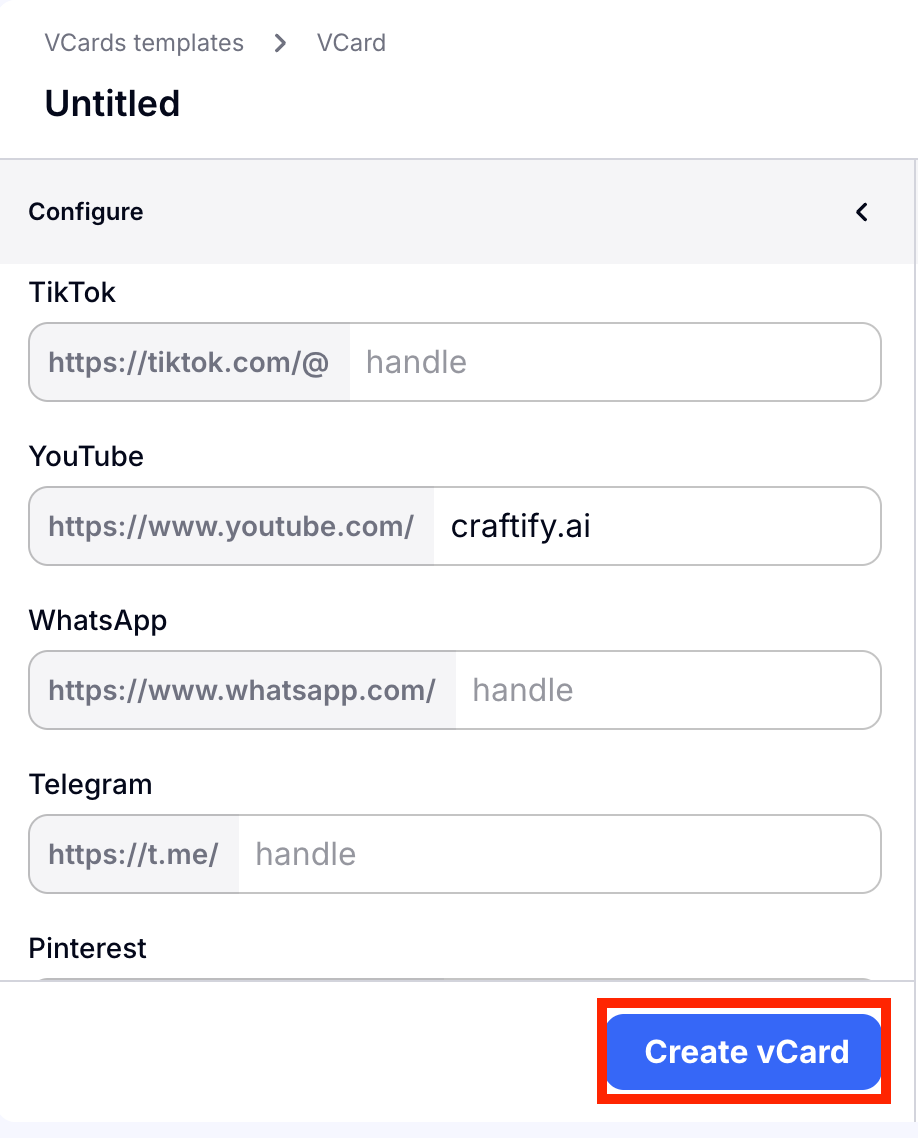
Once you've added all of the information you would like for your V-Card, choose 'Create vCard' to generate your unique Virtual Business Card.
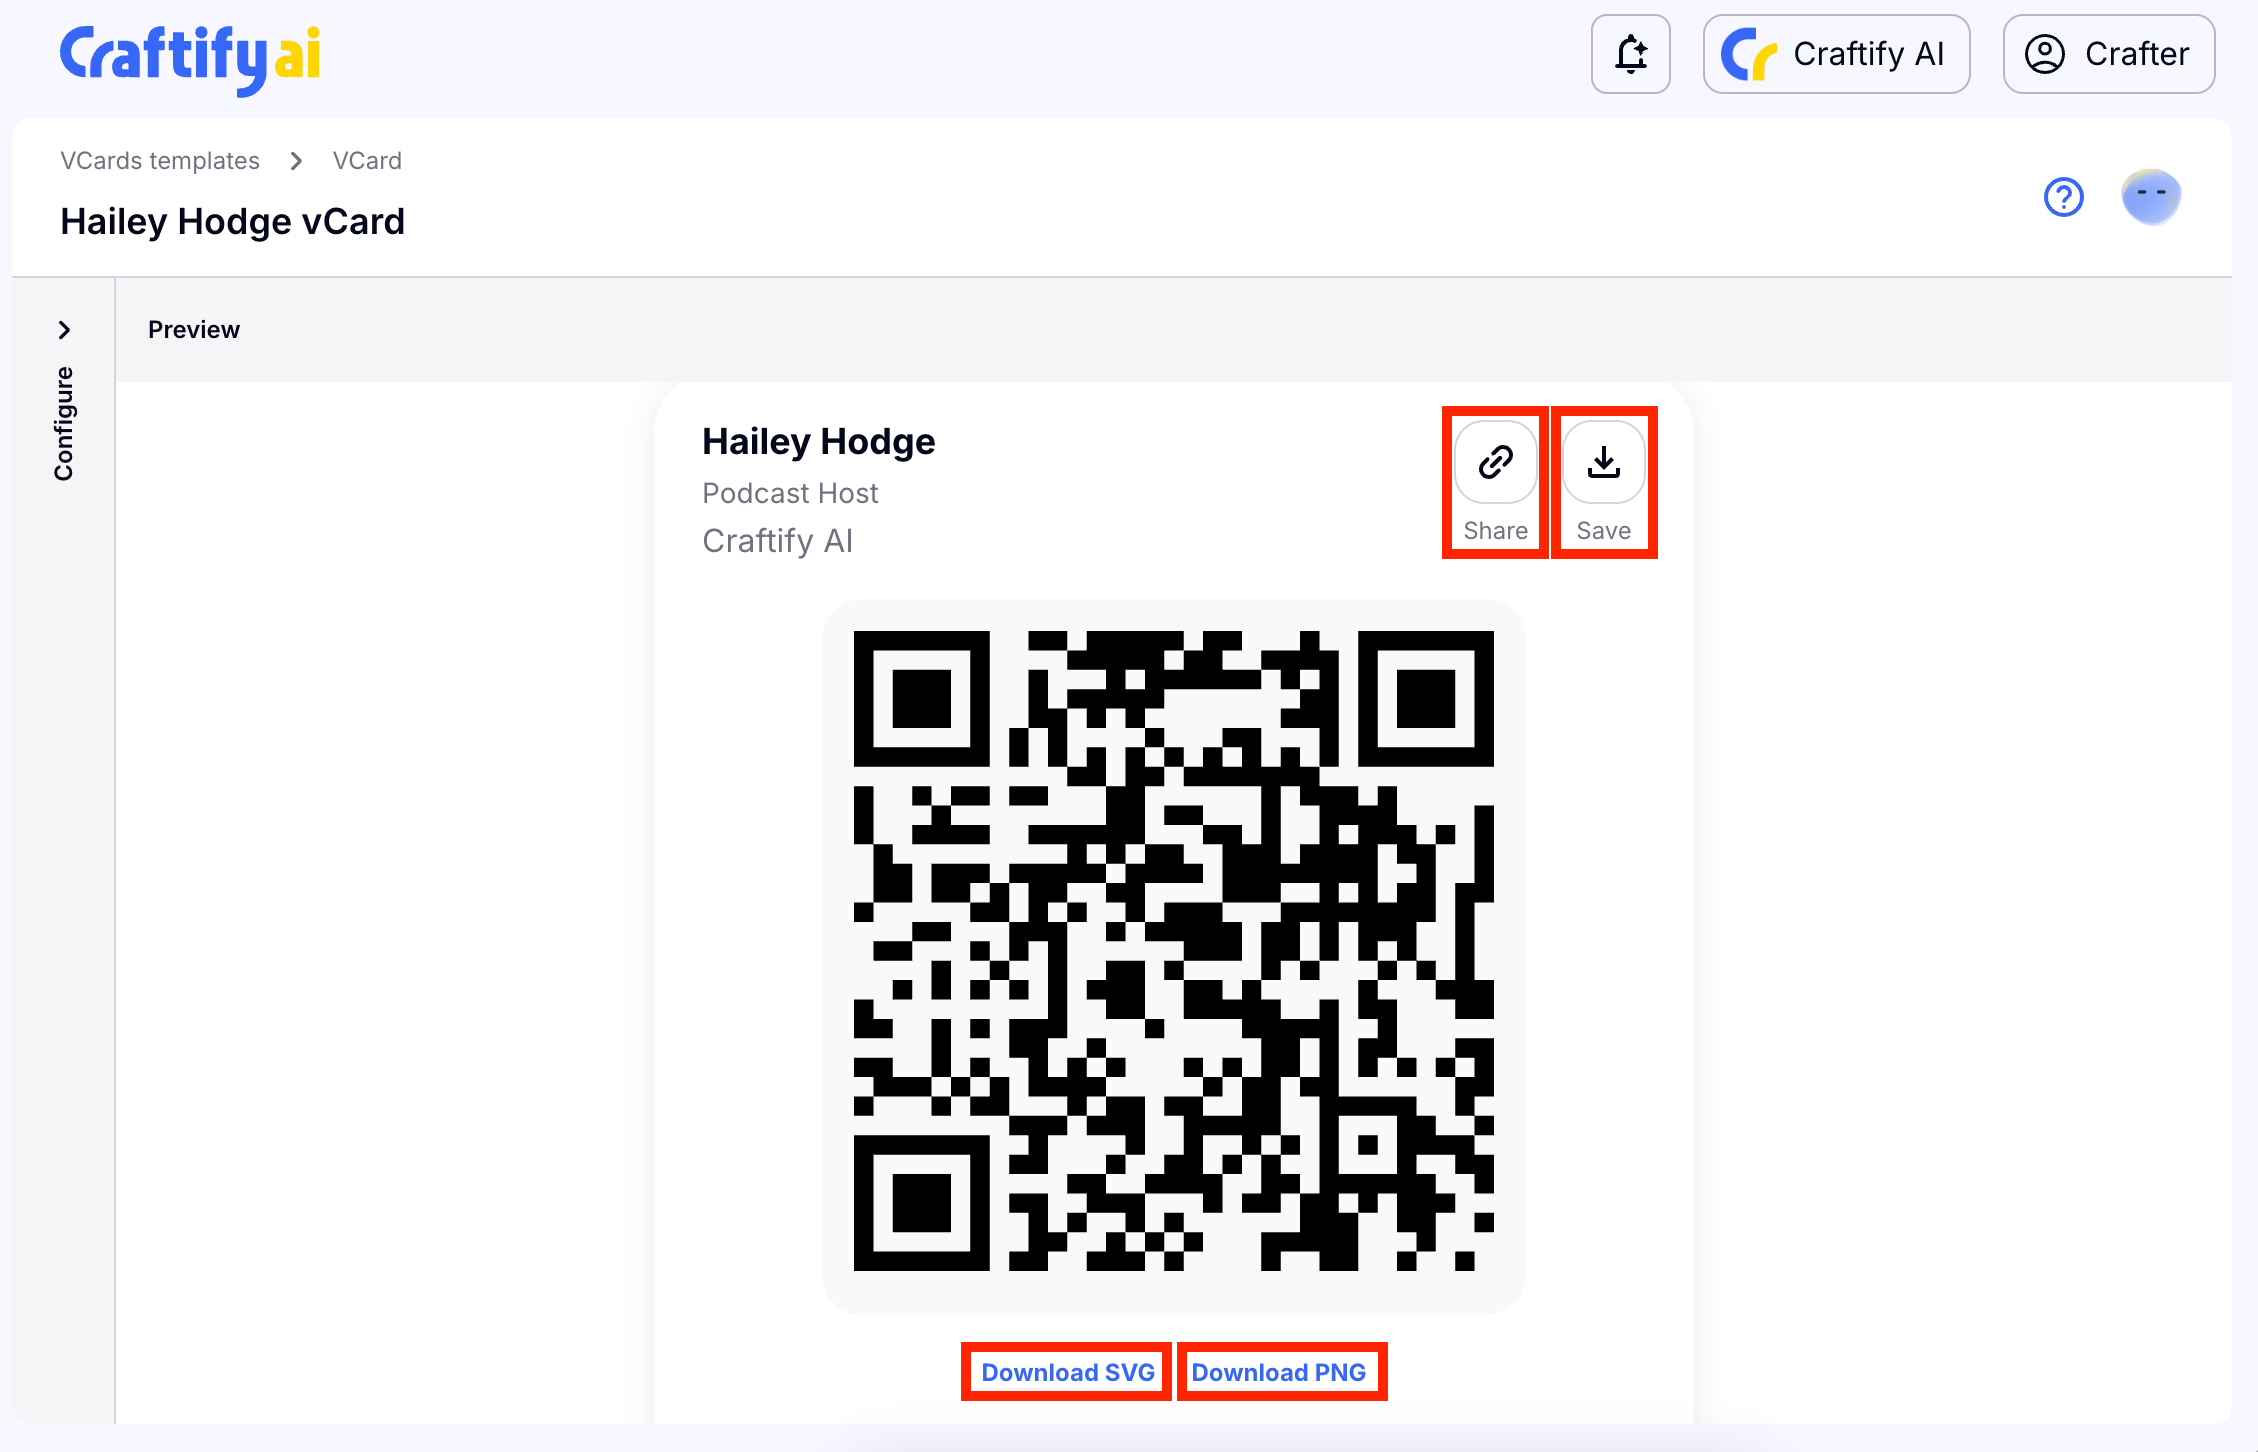
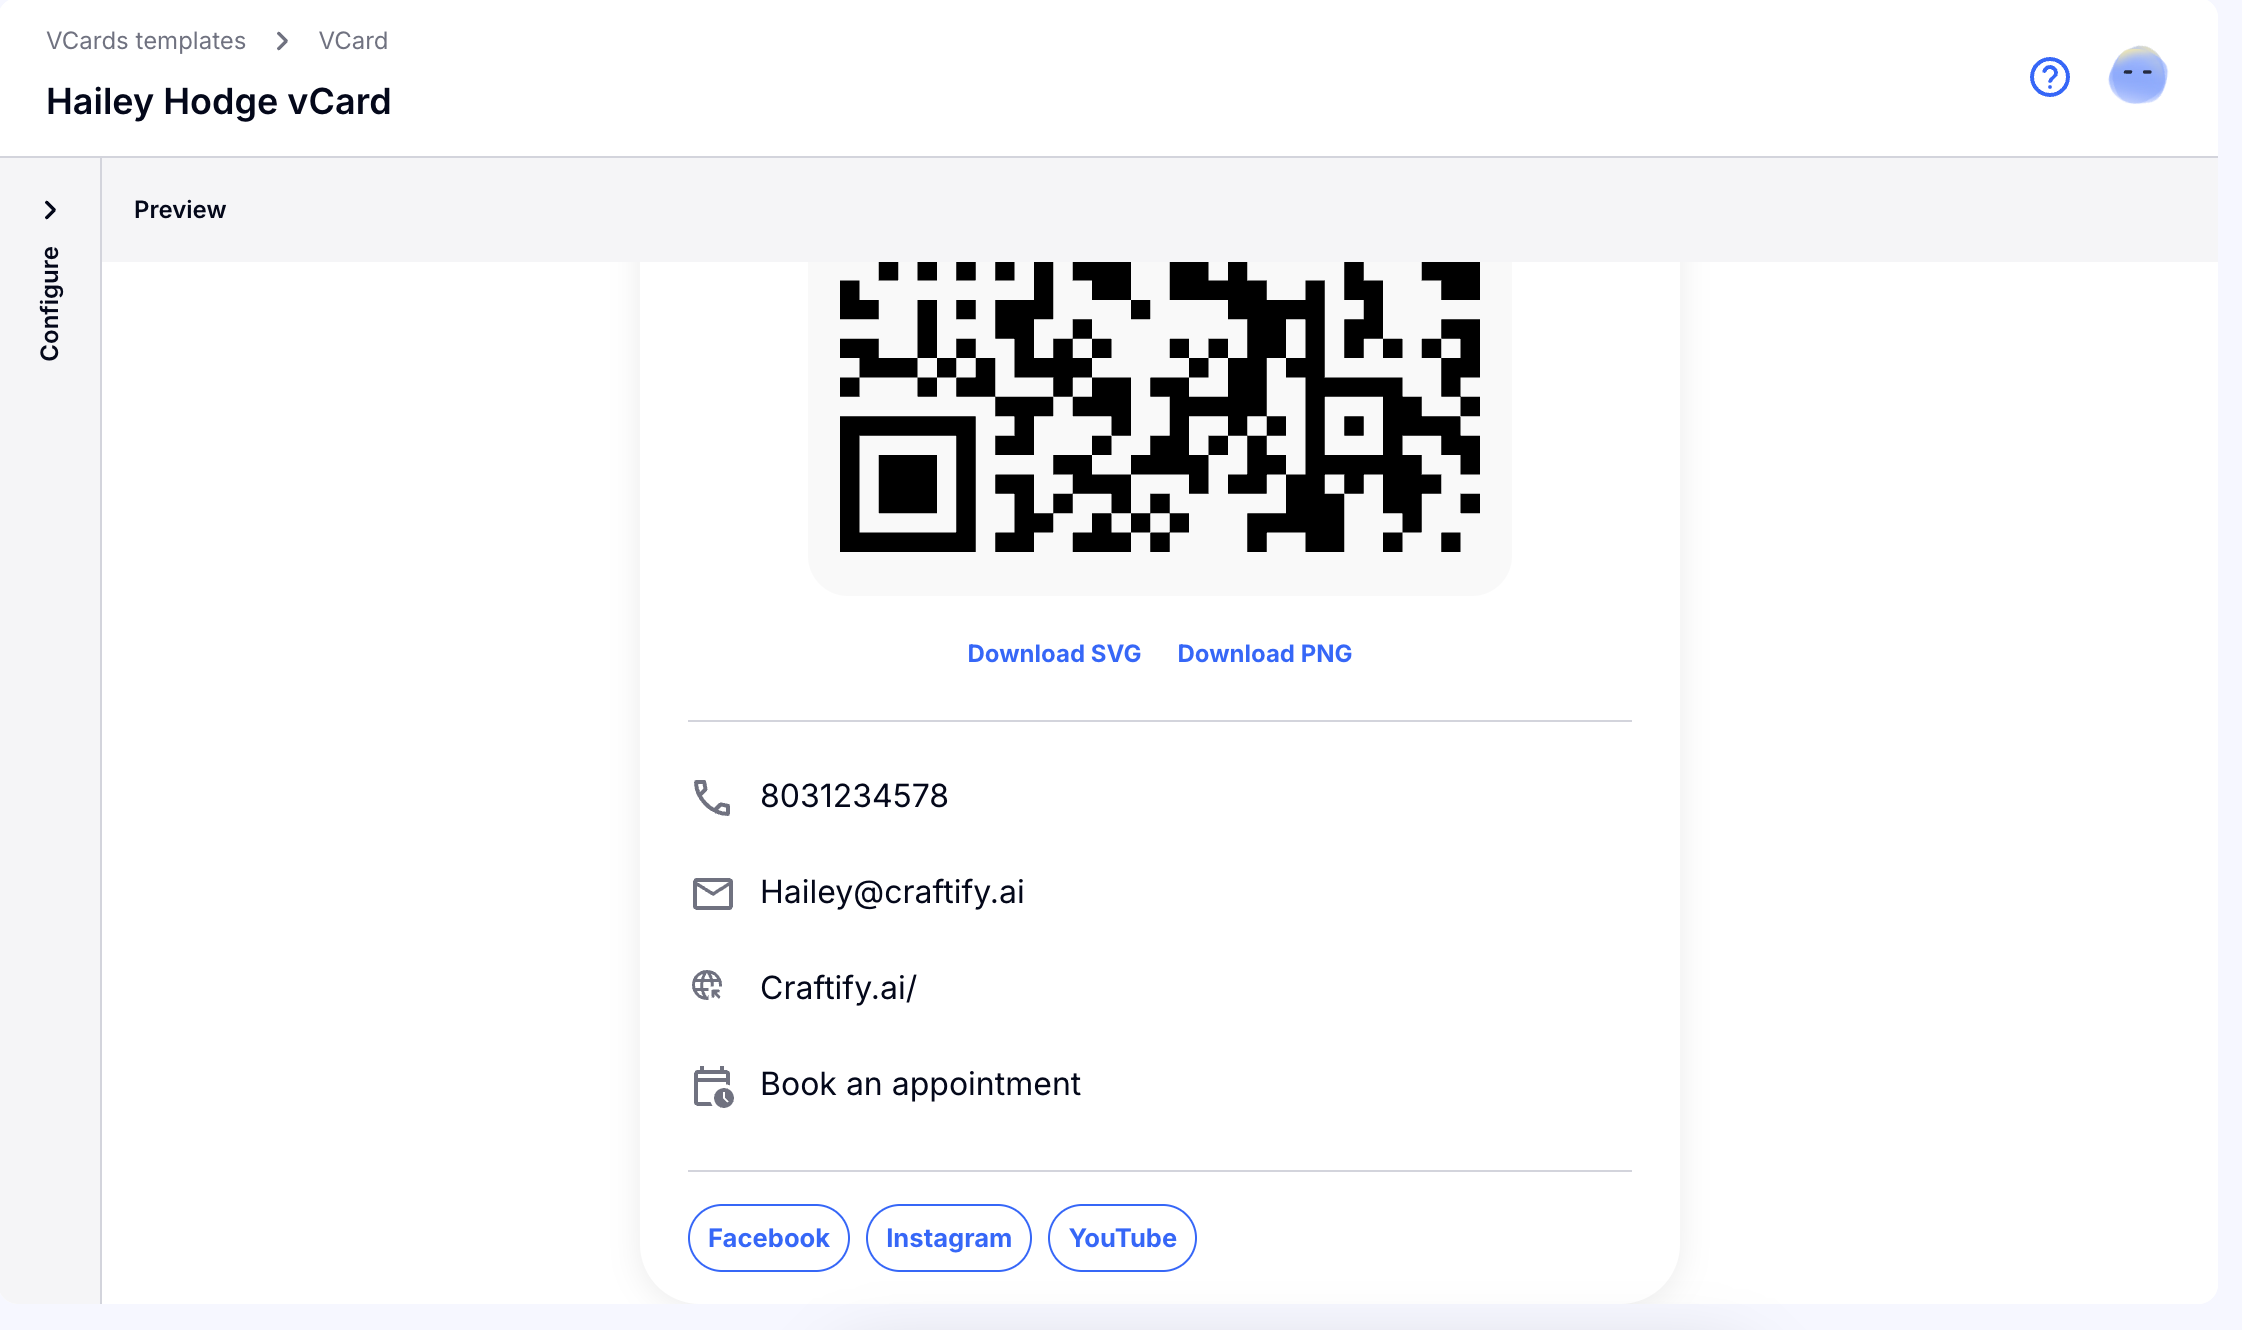
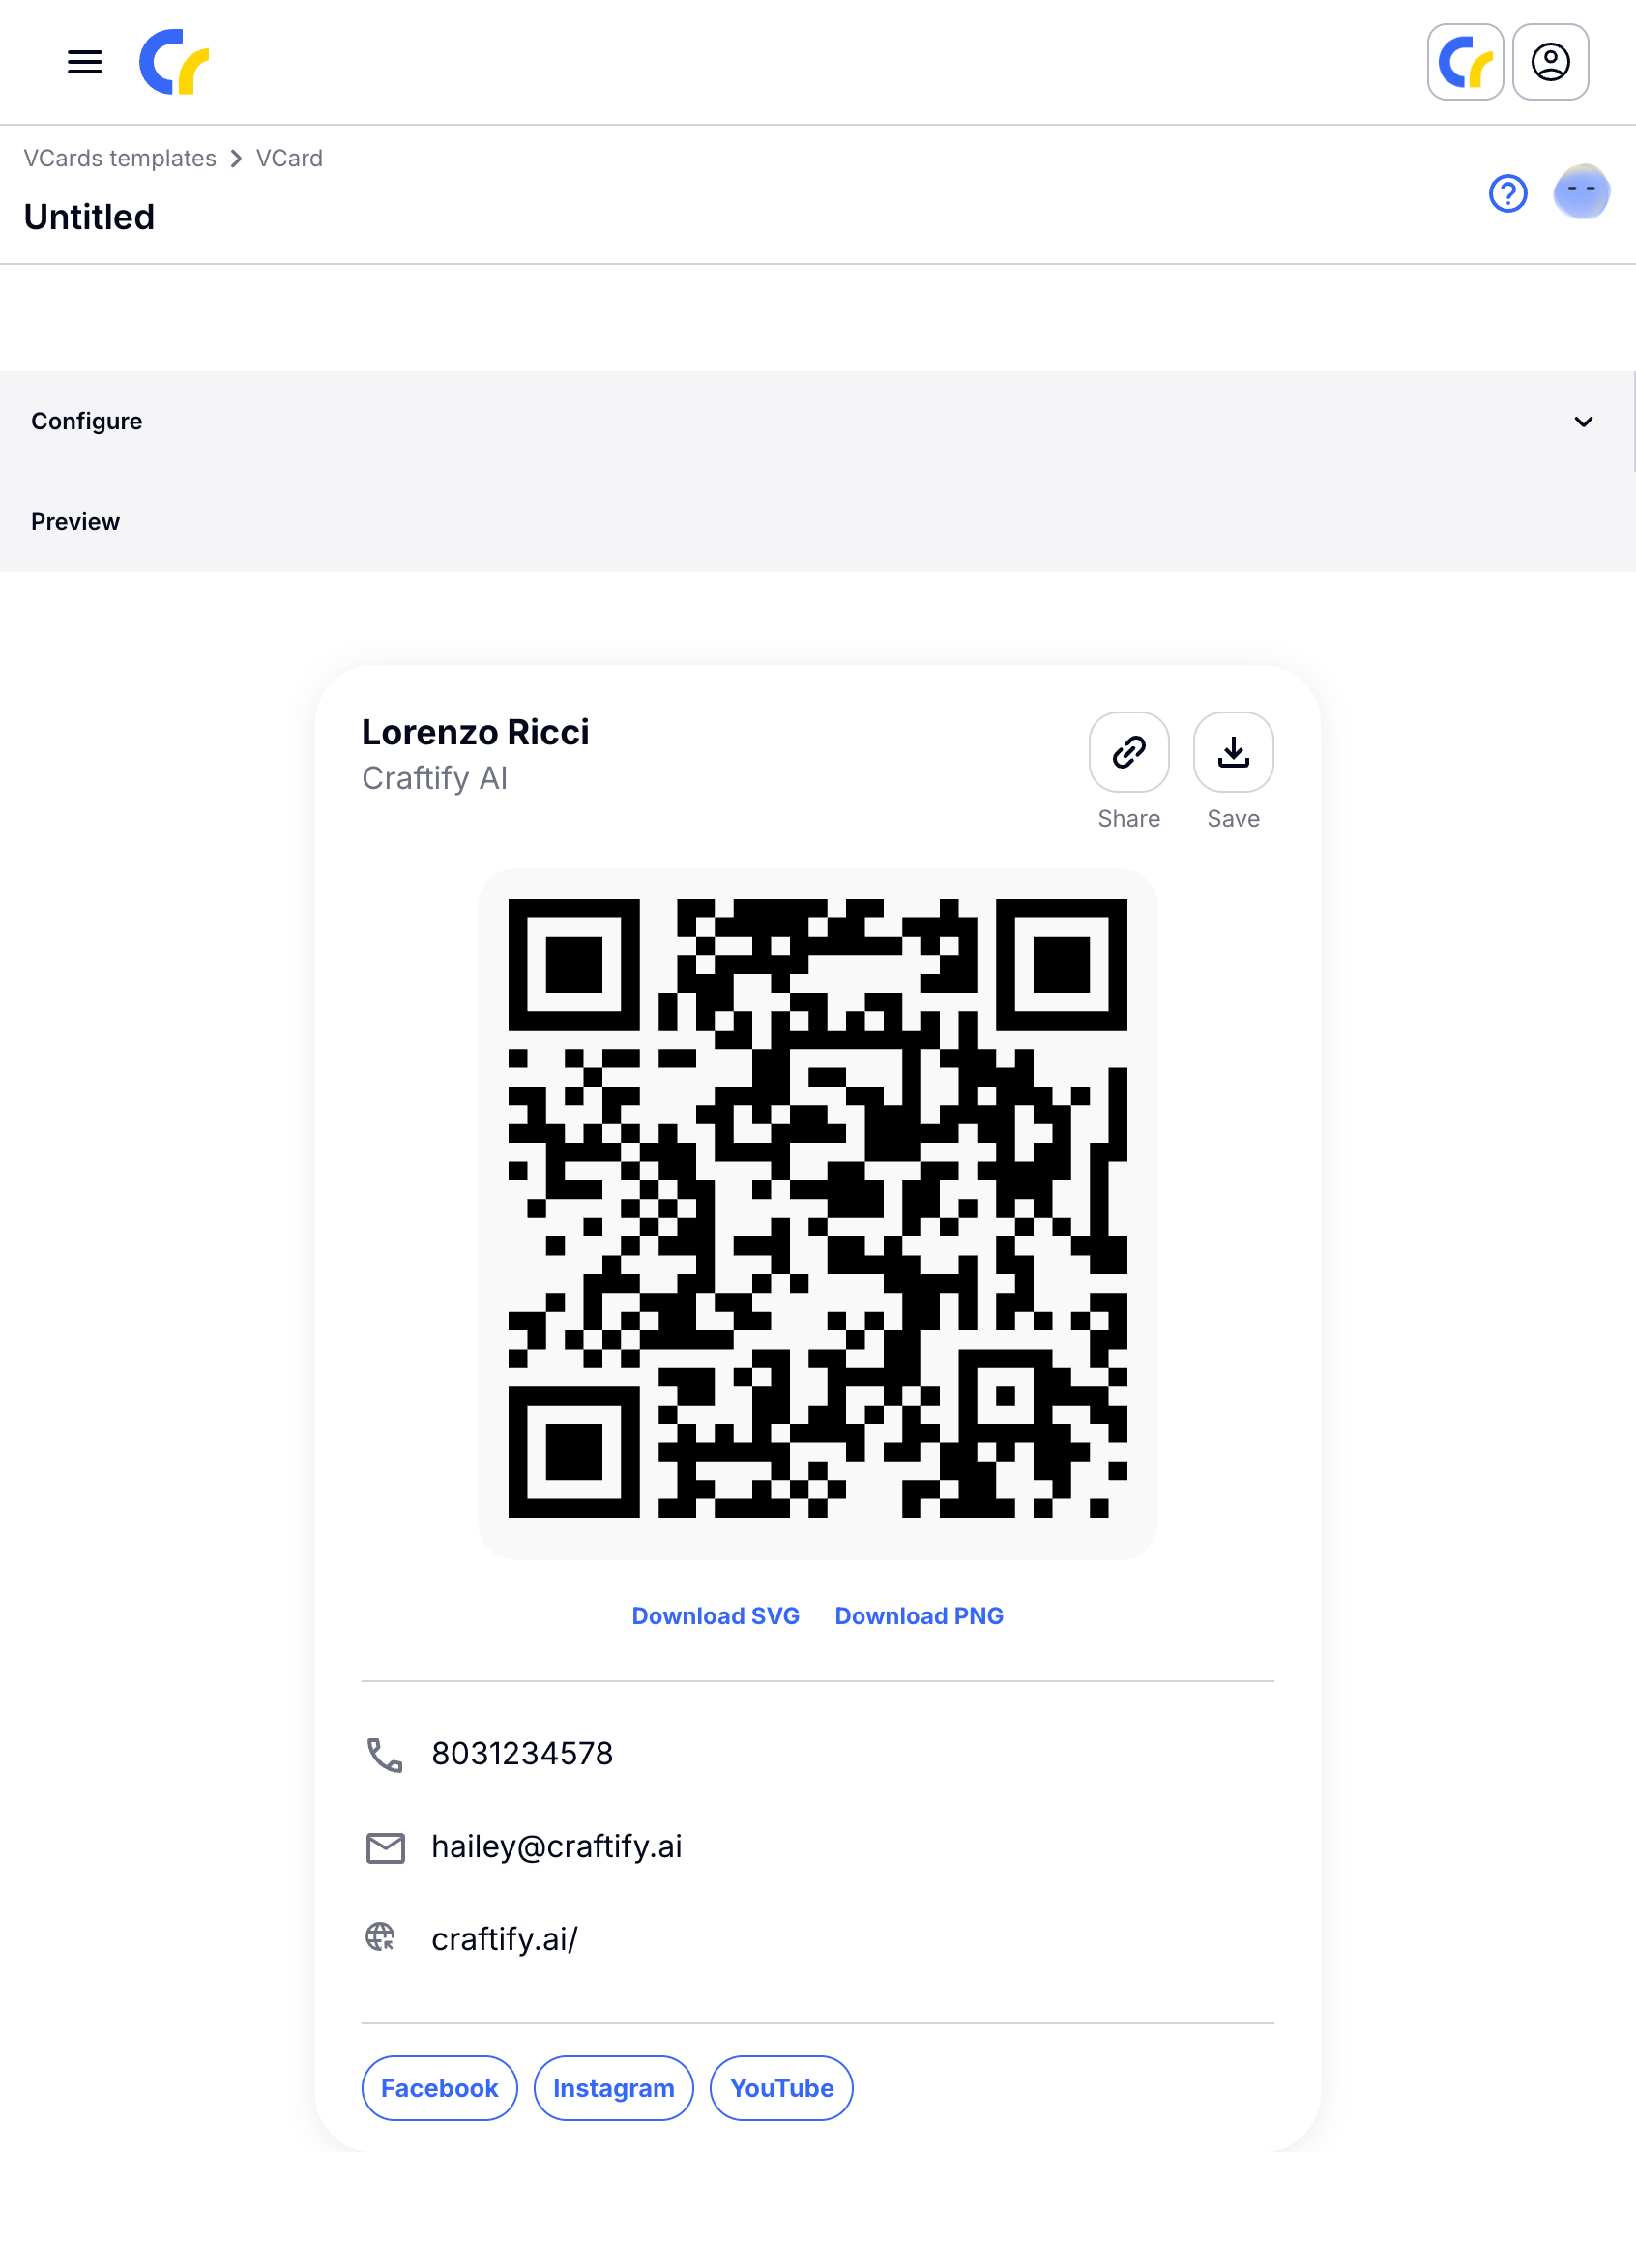
In just a few seconds, your vCard is ready! You can easily share your vCard by getting a link to send, download your vcard, or you can download the SVG or PNG of your QR code so that it can be printed!
Scroll down and you will find all of the relevant links included in your vCard as well.
We hope that creating a vCard easily in Craftify AI will be helpful as you share your business information with new leads!
How to edit your vCard
The great thing about editing your vCard, is that you can change all information in your vCard but keep the same QR code. So if you happen to print this one, you don't have to worry about printing a new one!
Follow these instructions below on how to update your vCard!
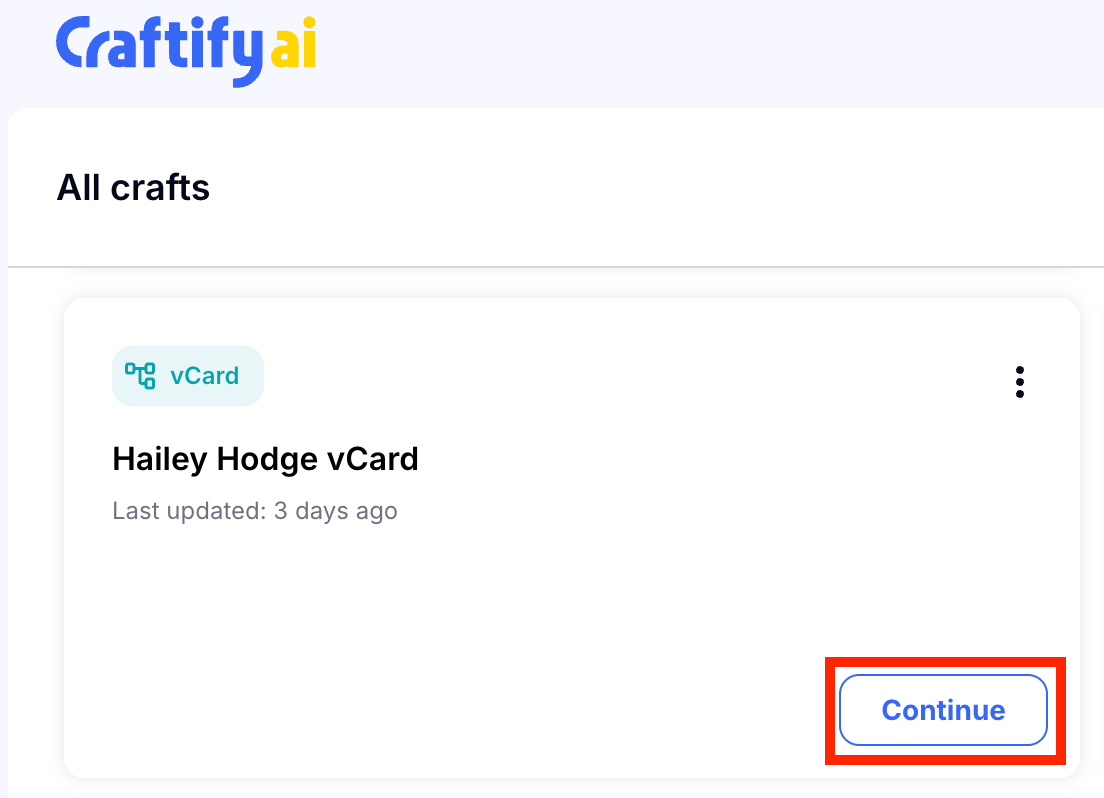
Log in to your Craftify AI account. From the dashboard, choose 'Contents' on the left-hand menu.
Then find the vCard in your contact. Since you are a new user, it it probably the only object in your Contents section. Choose 'Continue' to open your vCard.
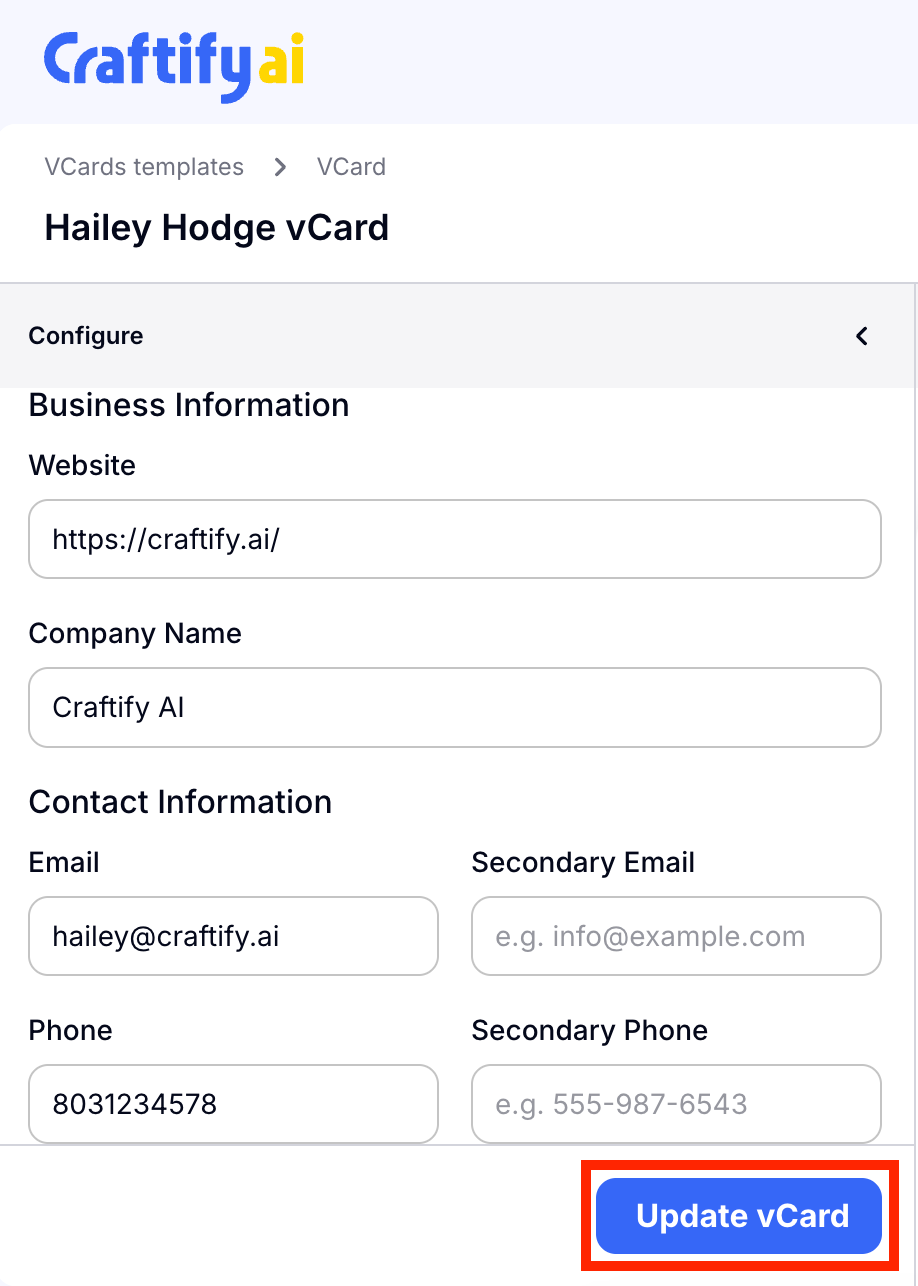
Click 'Configure' to edit your vCard.
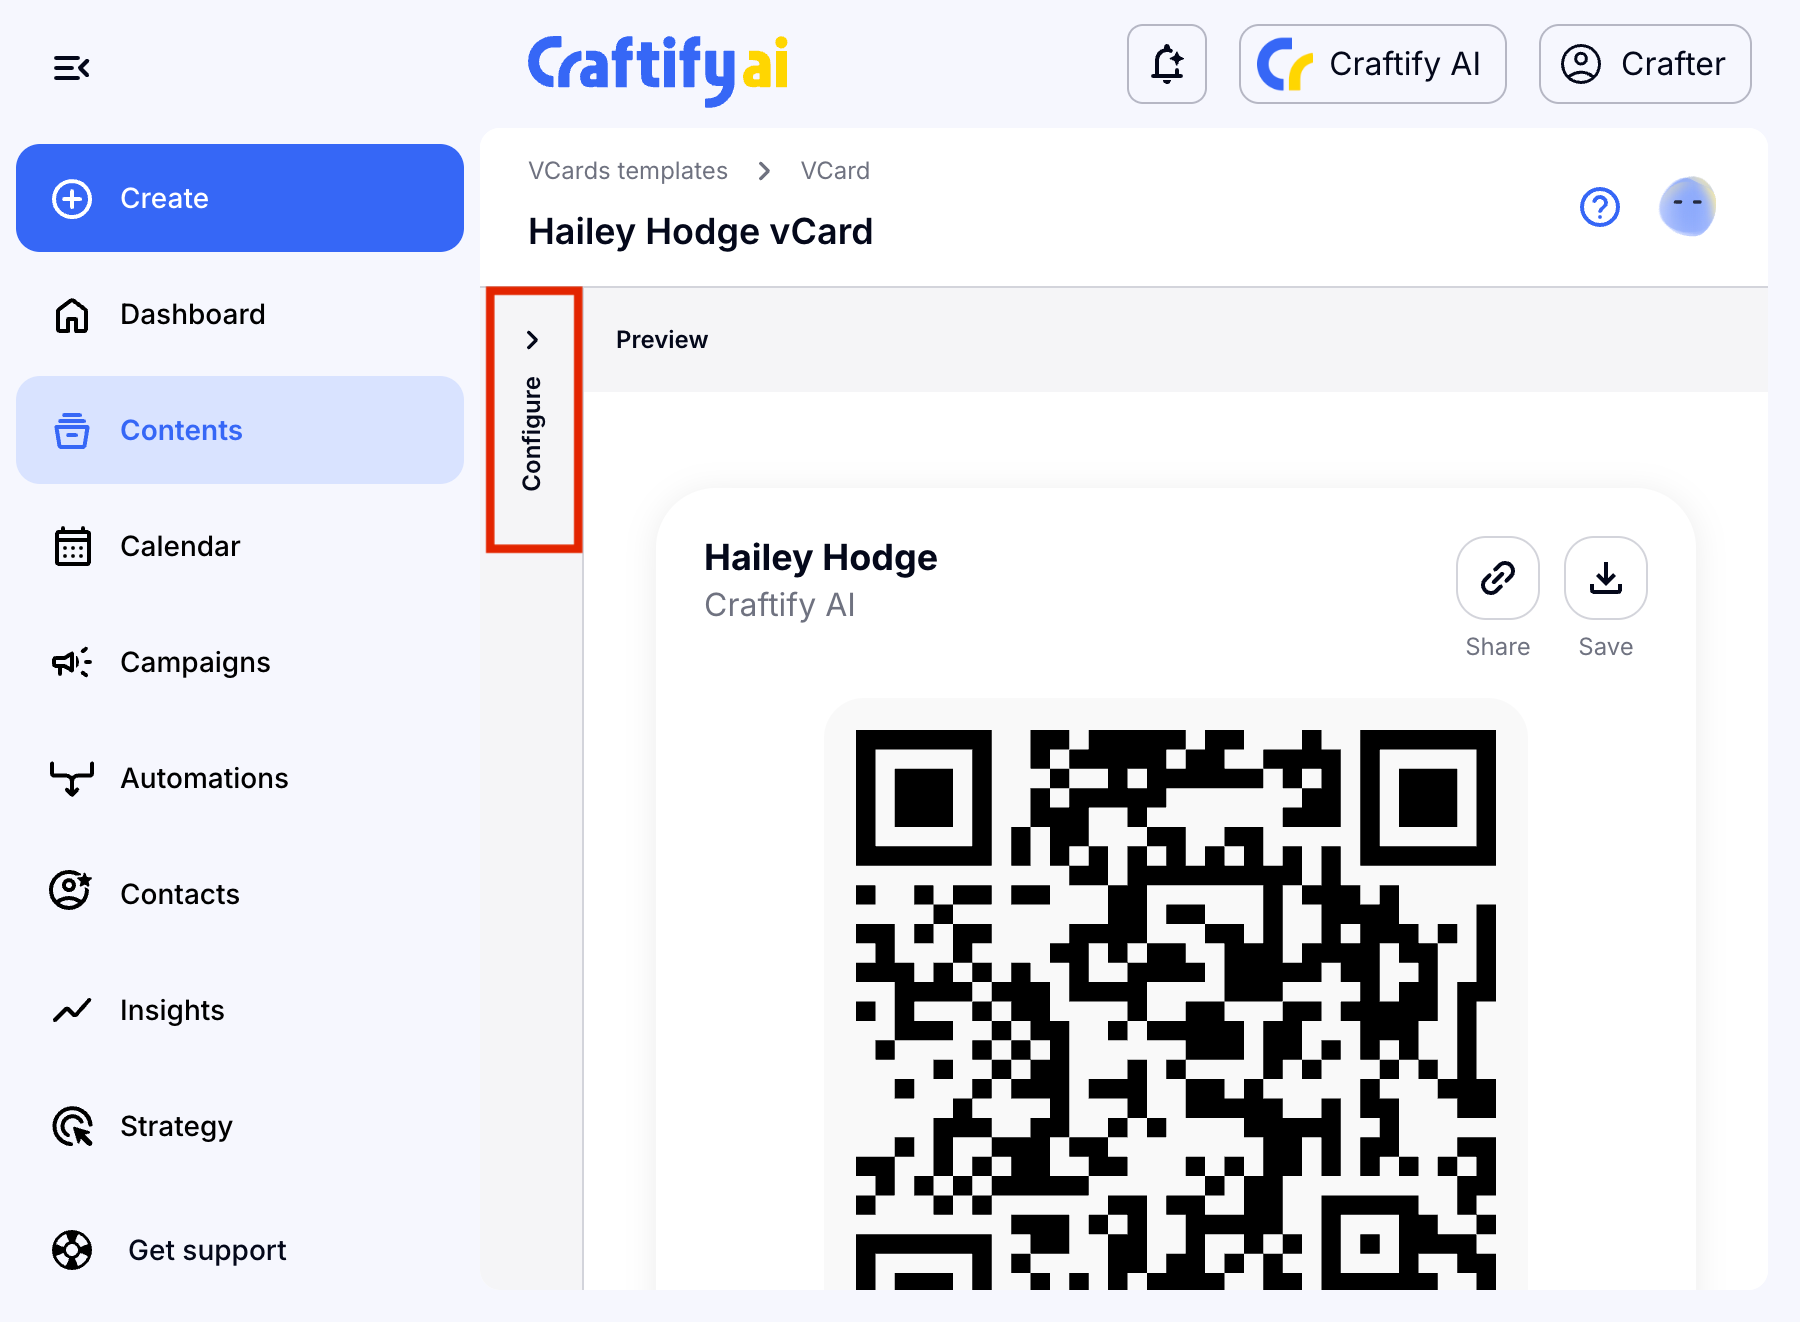
You can edit any of the details in the Configure section necessary. Choose 'Update vCard' when you're ready.
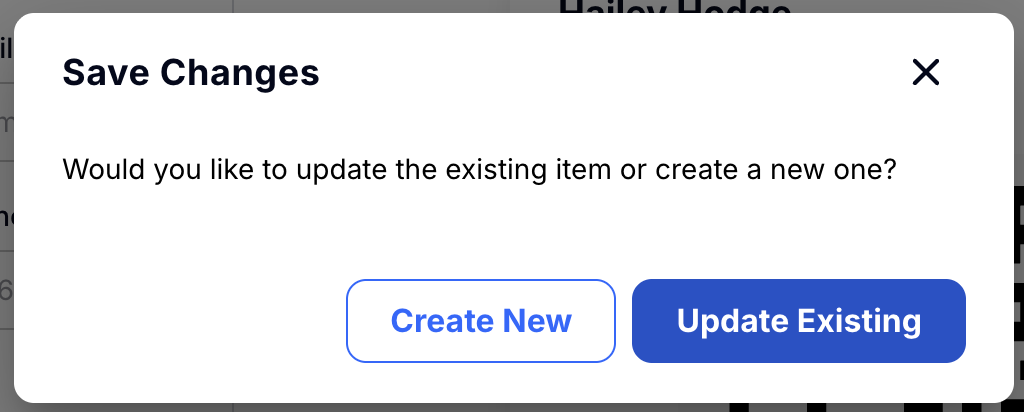
A 'save changes' pop-up will appear and you can choose to create a new vCard with these changes, or simply keep the one you've already created. This means that if you choose to update the existing vCard, your QR code will remain the same!
Be sure to review your changes before sharing your vCard!
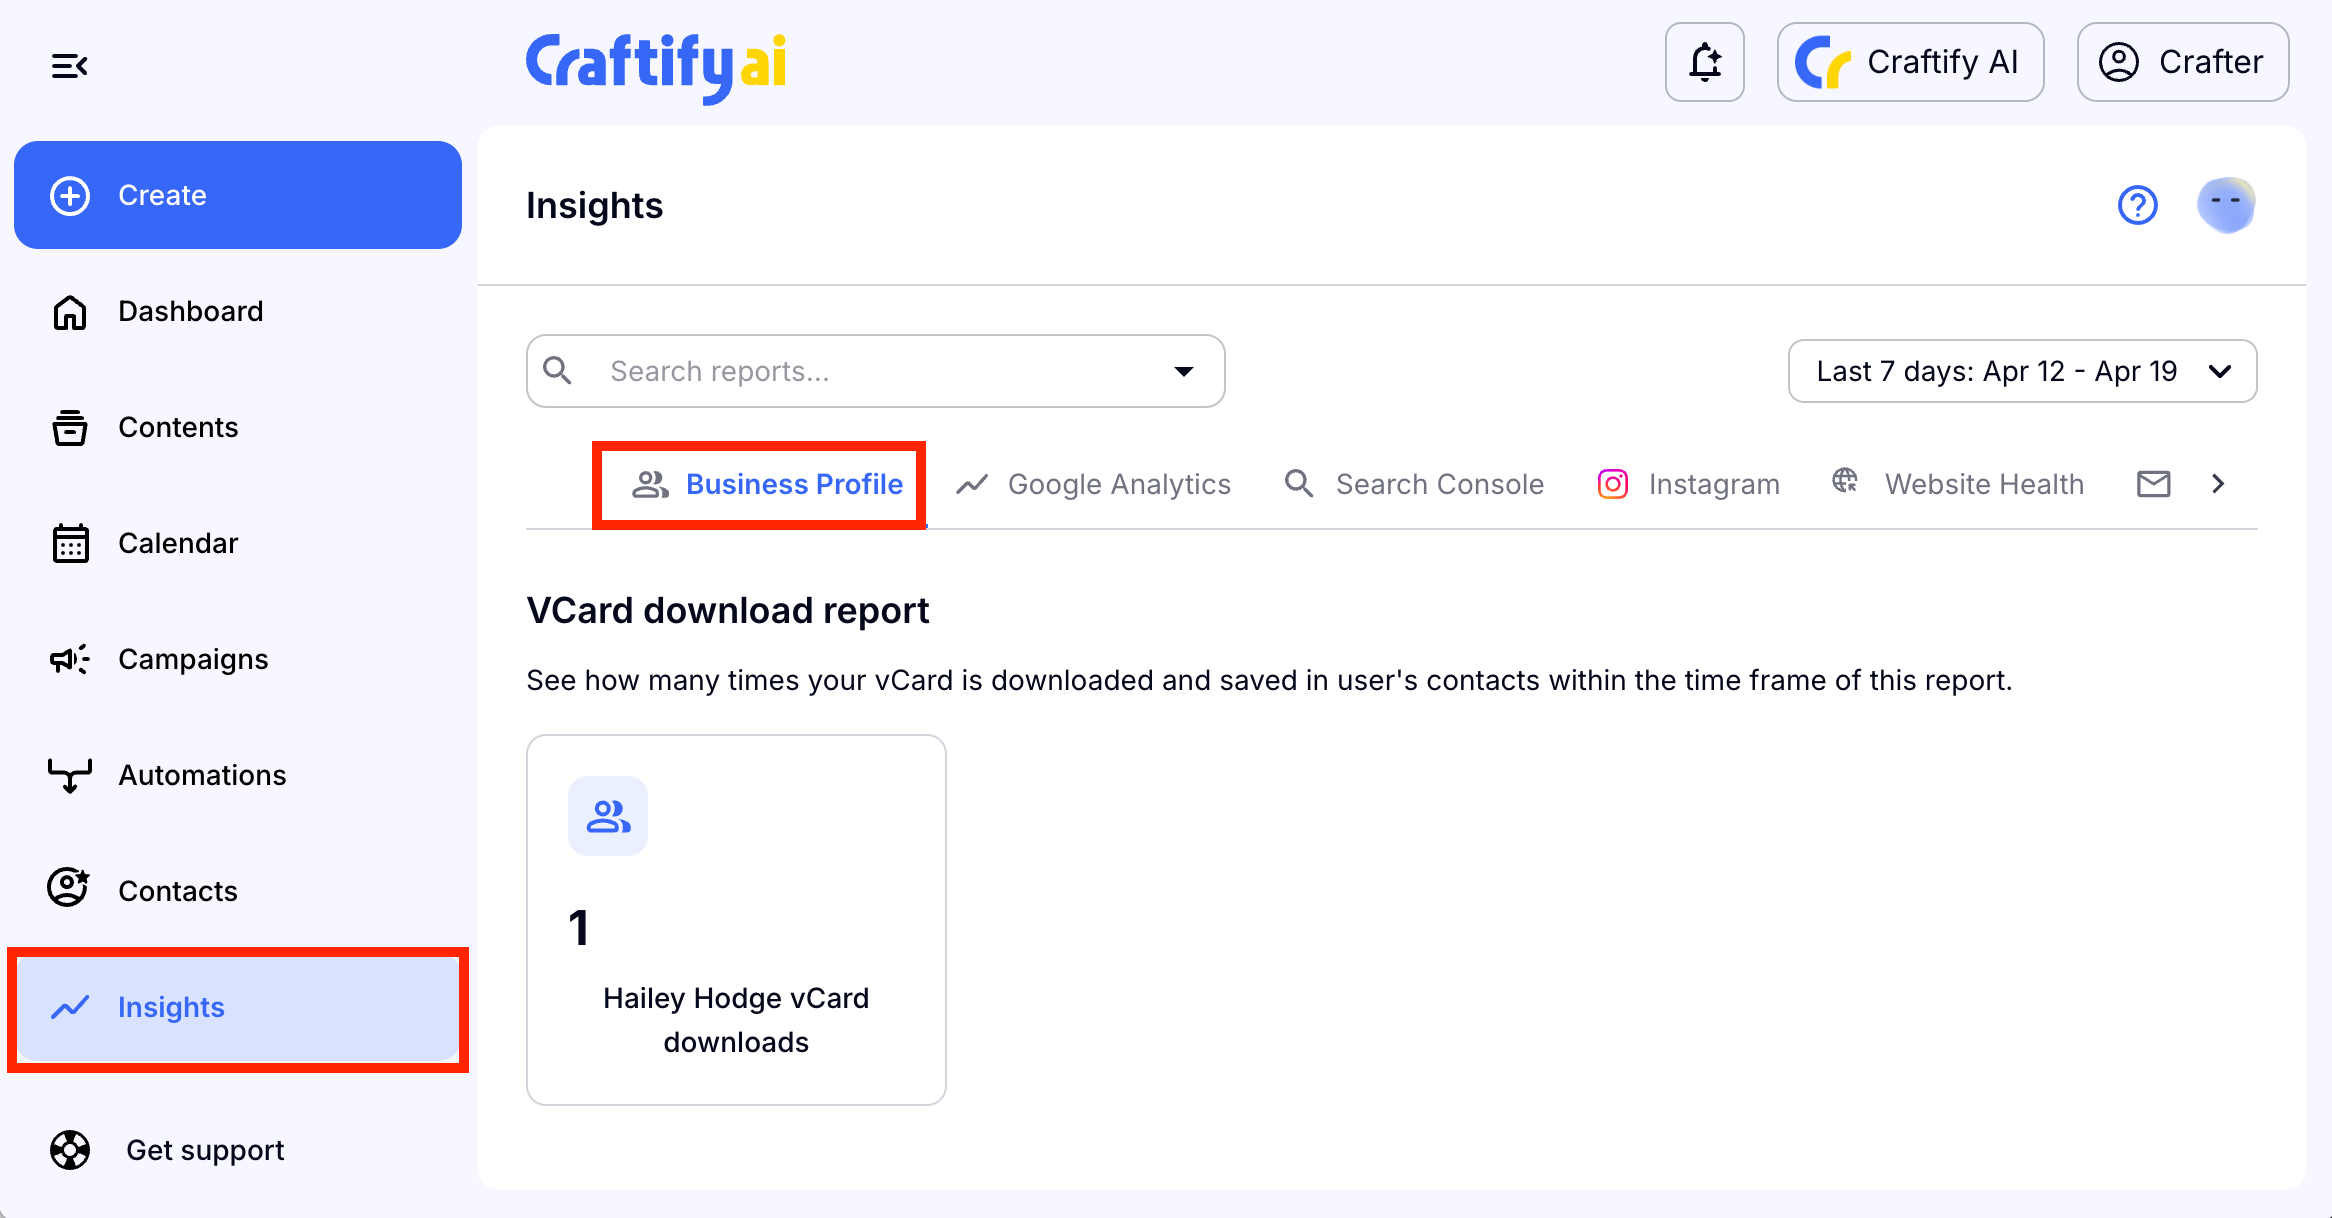
View your vCard download insights
You can easily track how many contact downloads you have from your vCard on Craftify AI! Simply, head over to the 'Insights' tab on the left-hand menu.
Choose 'Business Profile' from the top bar and you'll be able to see how many downloads or scans of your QR code from your vCard have been made!