Quickbooks Integration Tutorial
Integrating your Quickbooks account with Craftify AI is easy!
Keeping all of your clients, contacts, and invoices organized and all in one place is crucial for your business organization and marketing! So we made it easy for you to keep all of your contacts in one place by integrating Quickbooks into your Craftify AI account.
Step 1: Go to your Settings
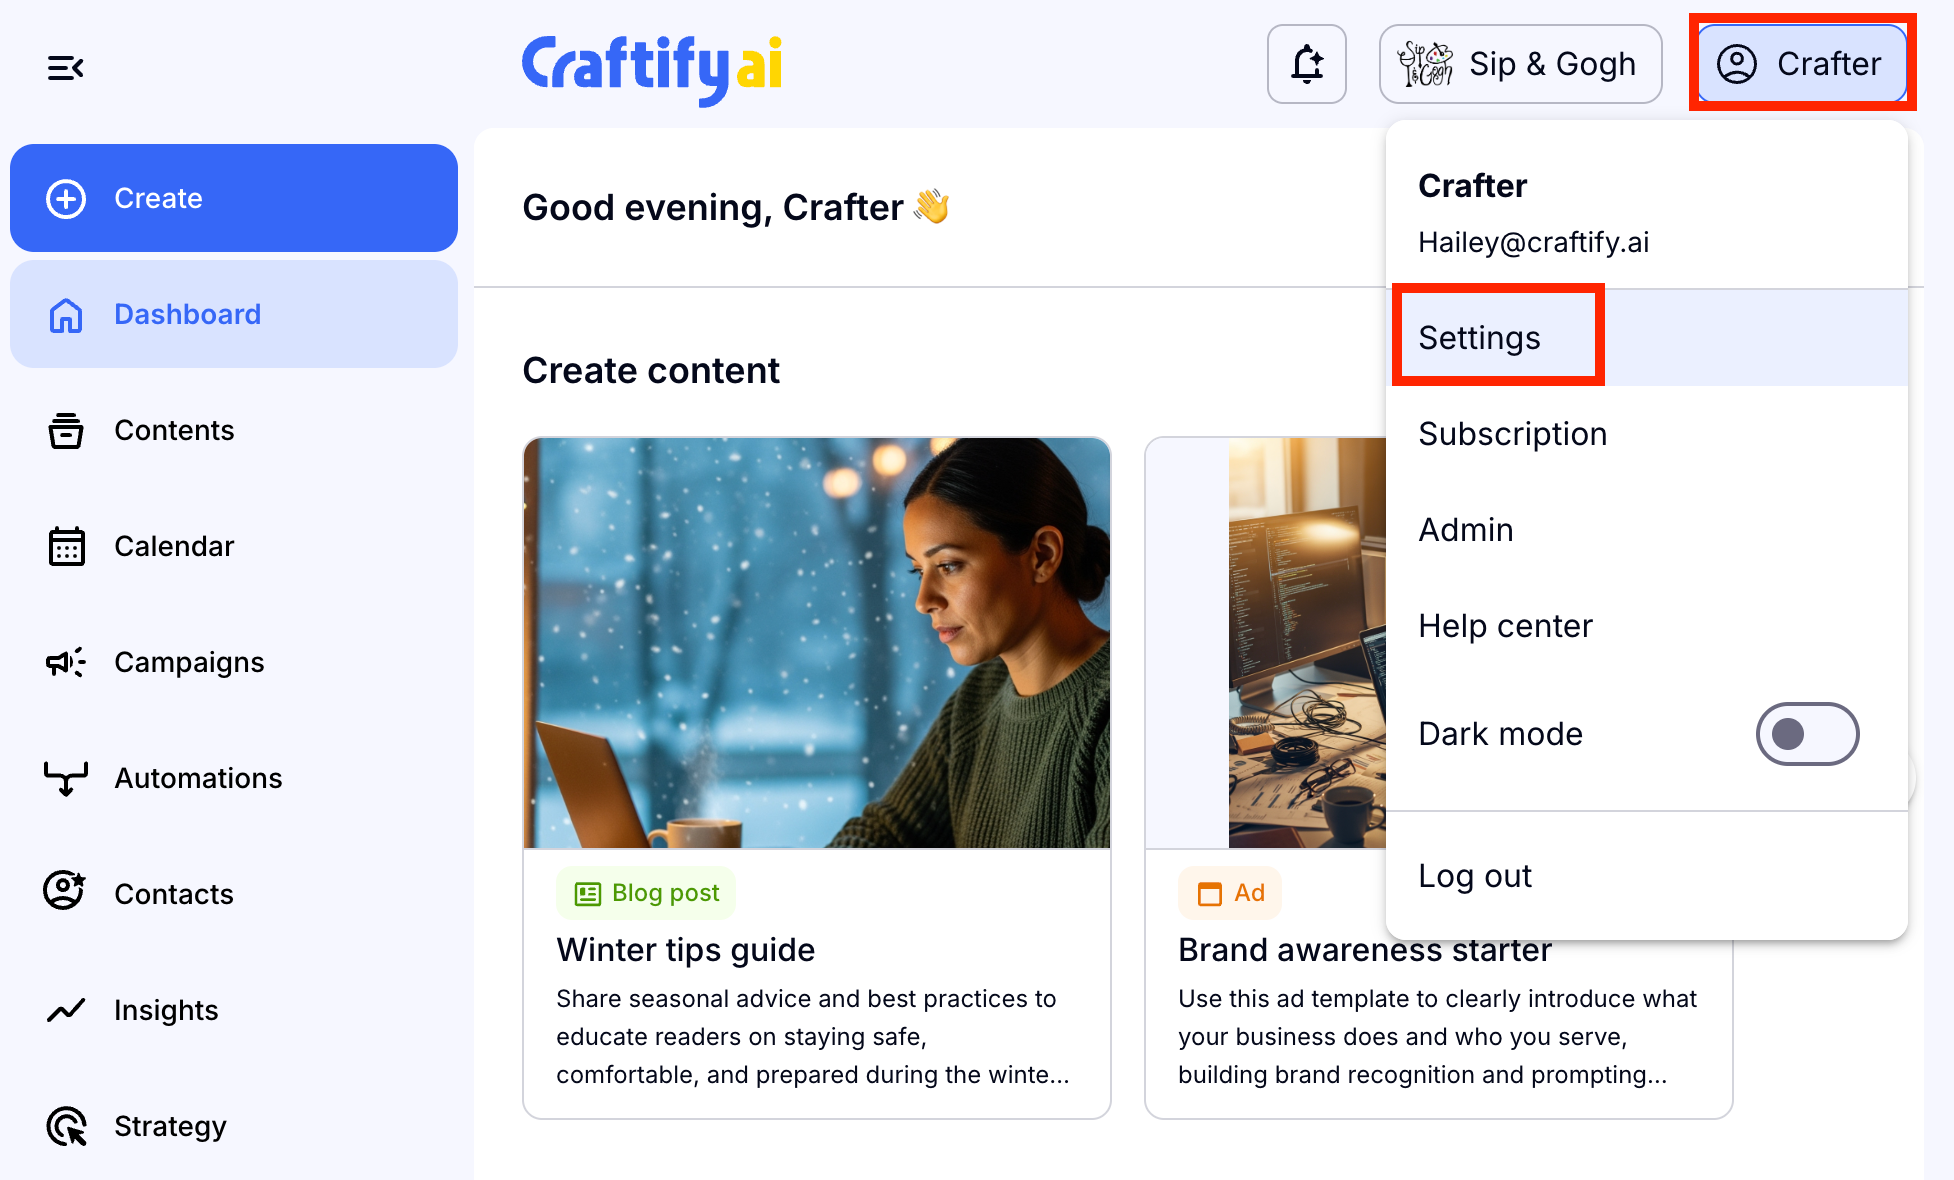
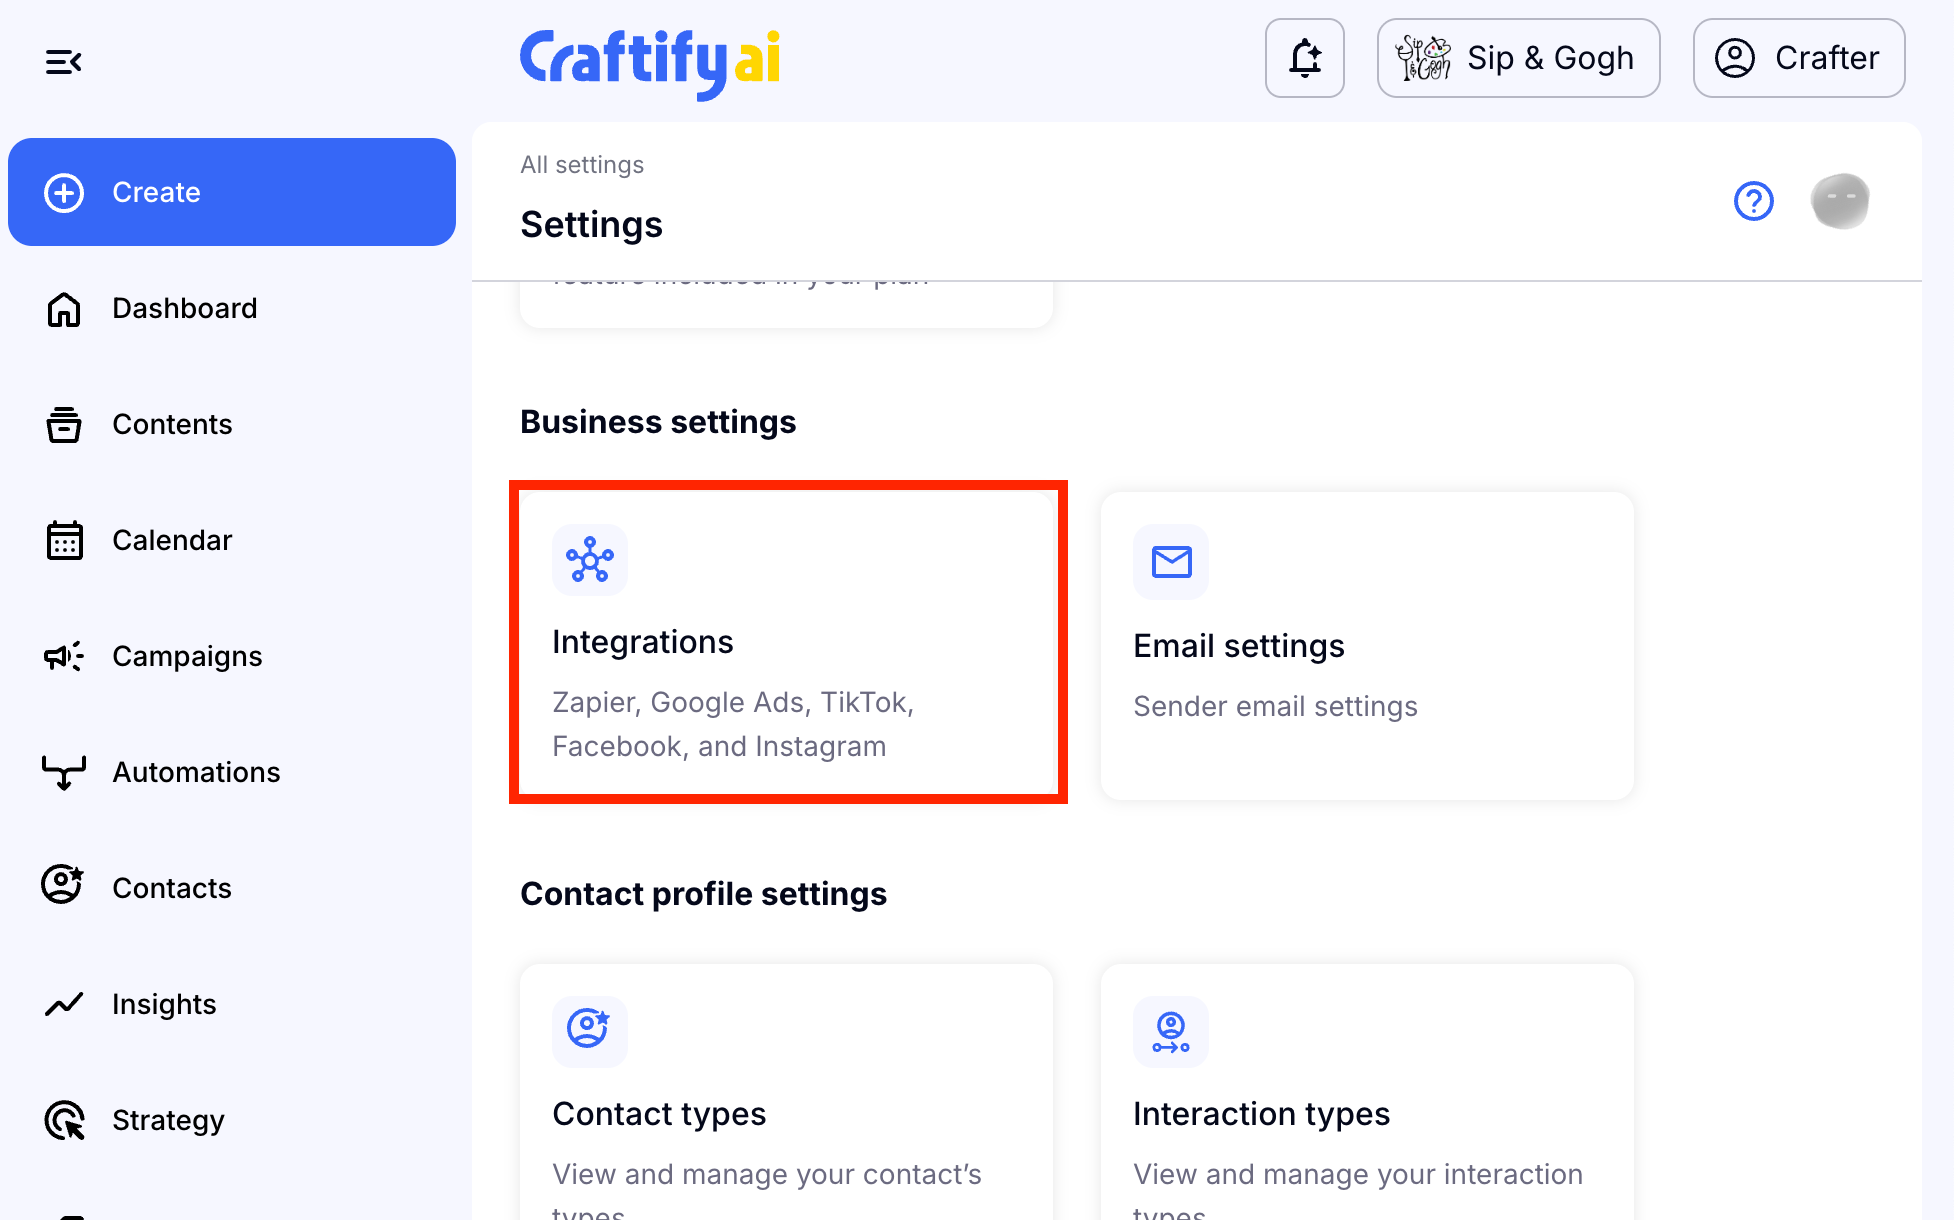
Then scroll down to Business Settings and choose 'Integrations.'
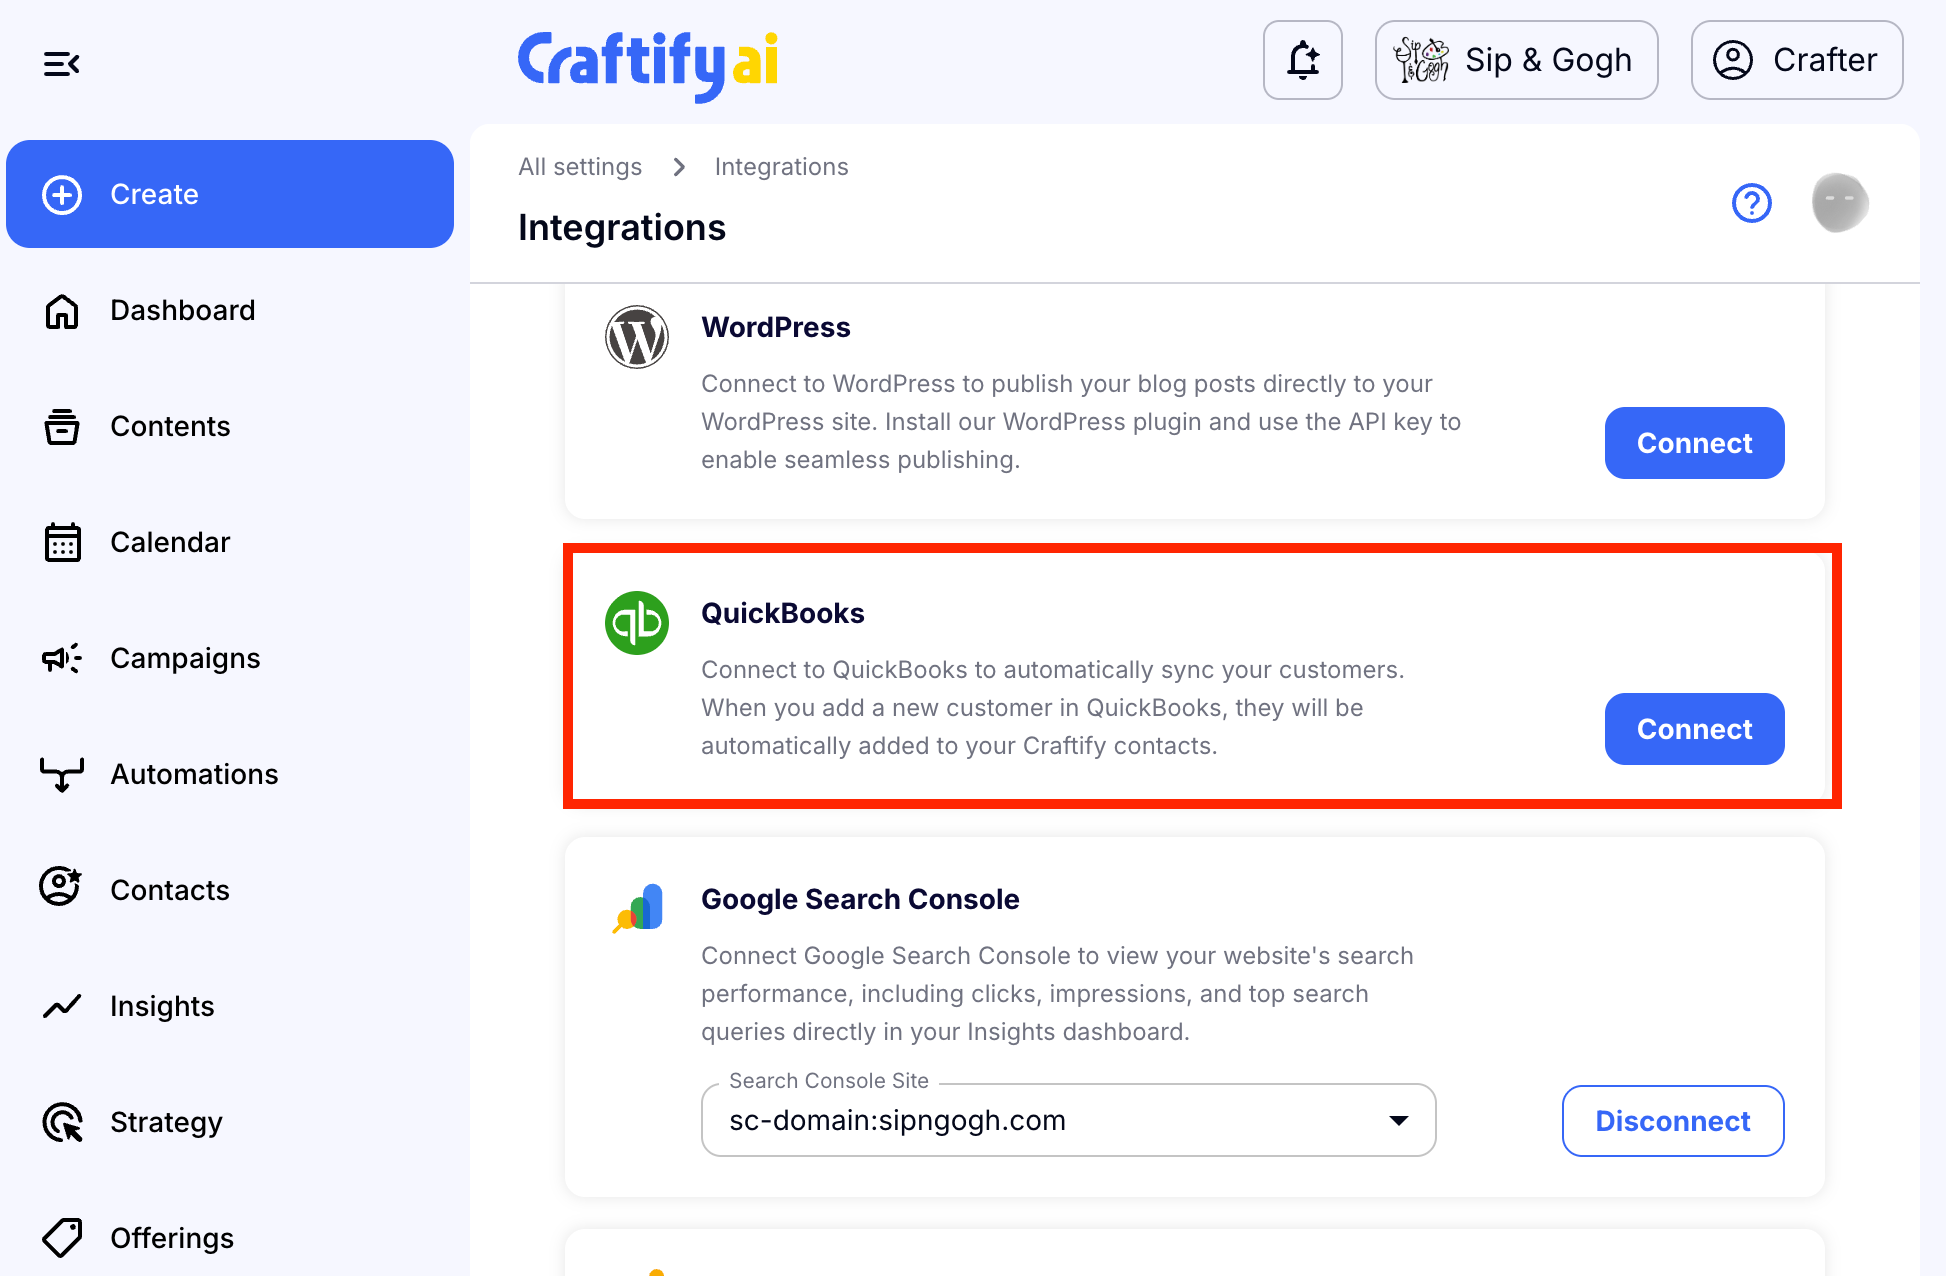
Step 2: Choose to Connect Quickbooks
Scroll down to find the Quickbooks integration and choose 'Connect.'
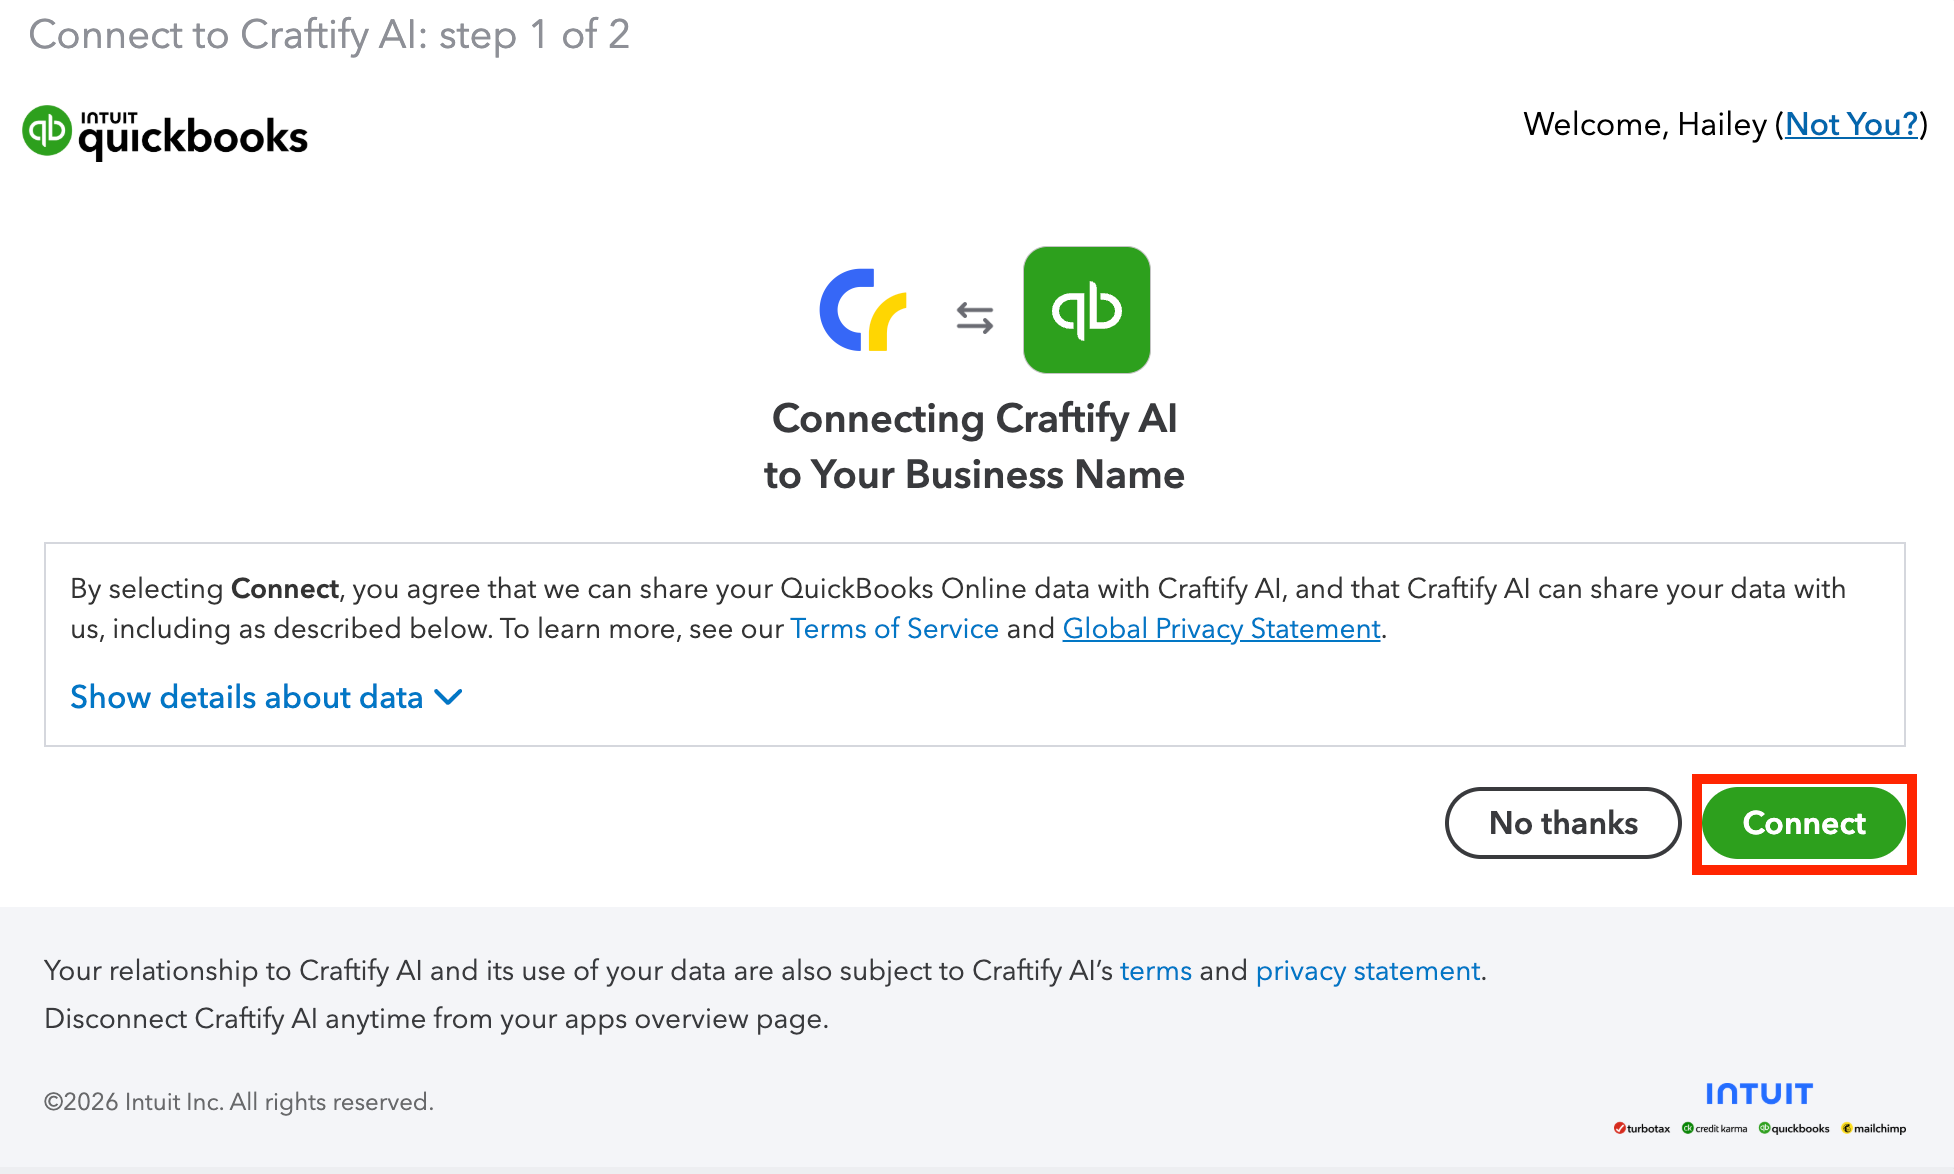
Step 3: Log in when prompted to your Quickbooks account
Once you are logged in, you will see this Integration permission pop up. Choose 'Connect' to continue.
Step 4: Sync your Quickbooks Contacts
Now the integration has been set up, and now you can sync your contacts between the two accounts. This way you can keep all of the correct contacts in the right place.
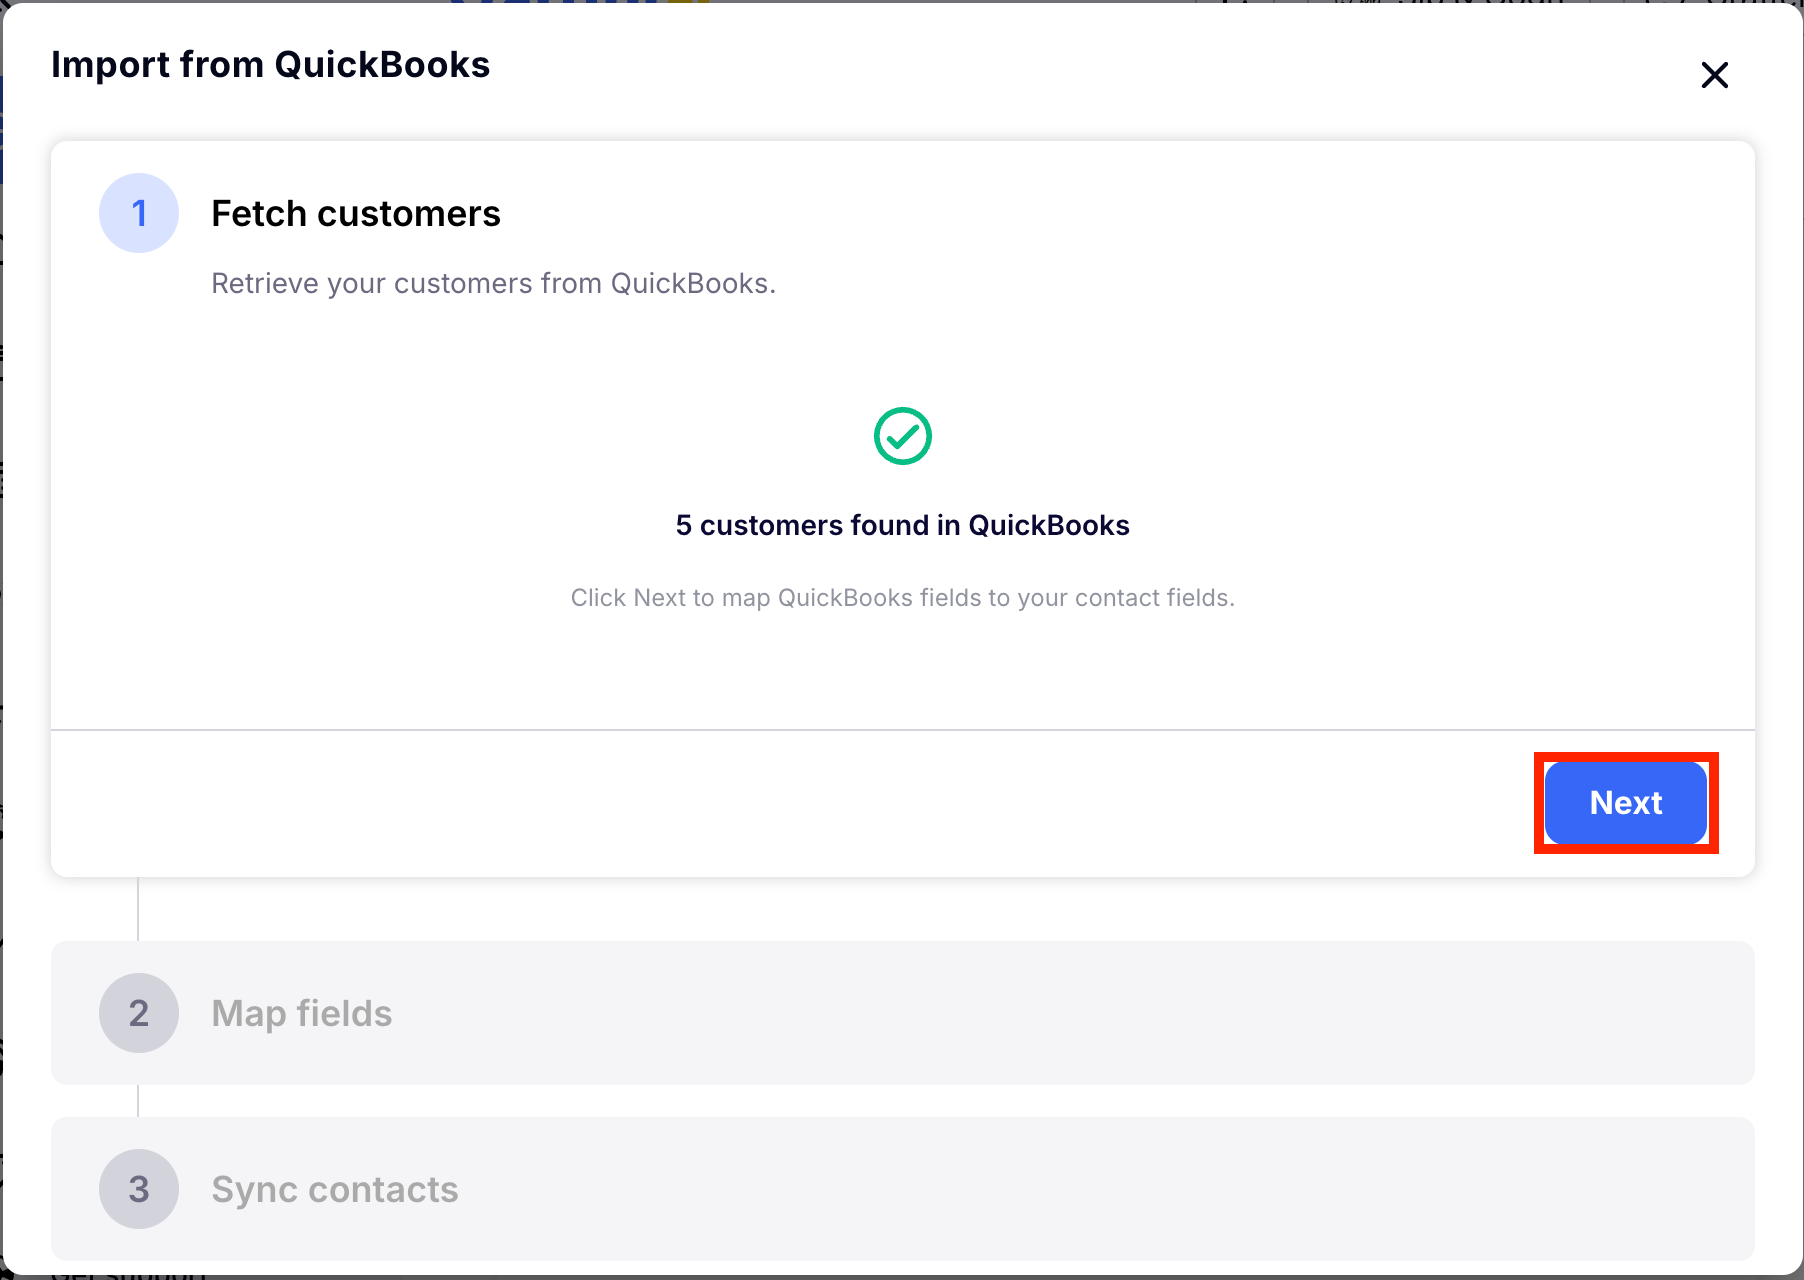
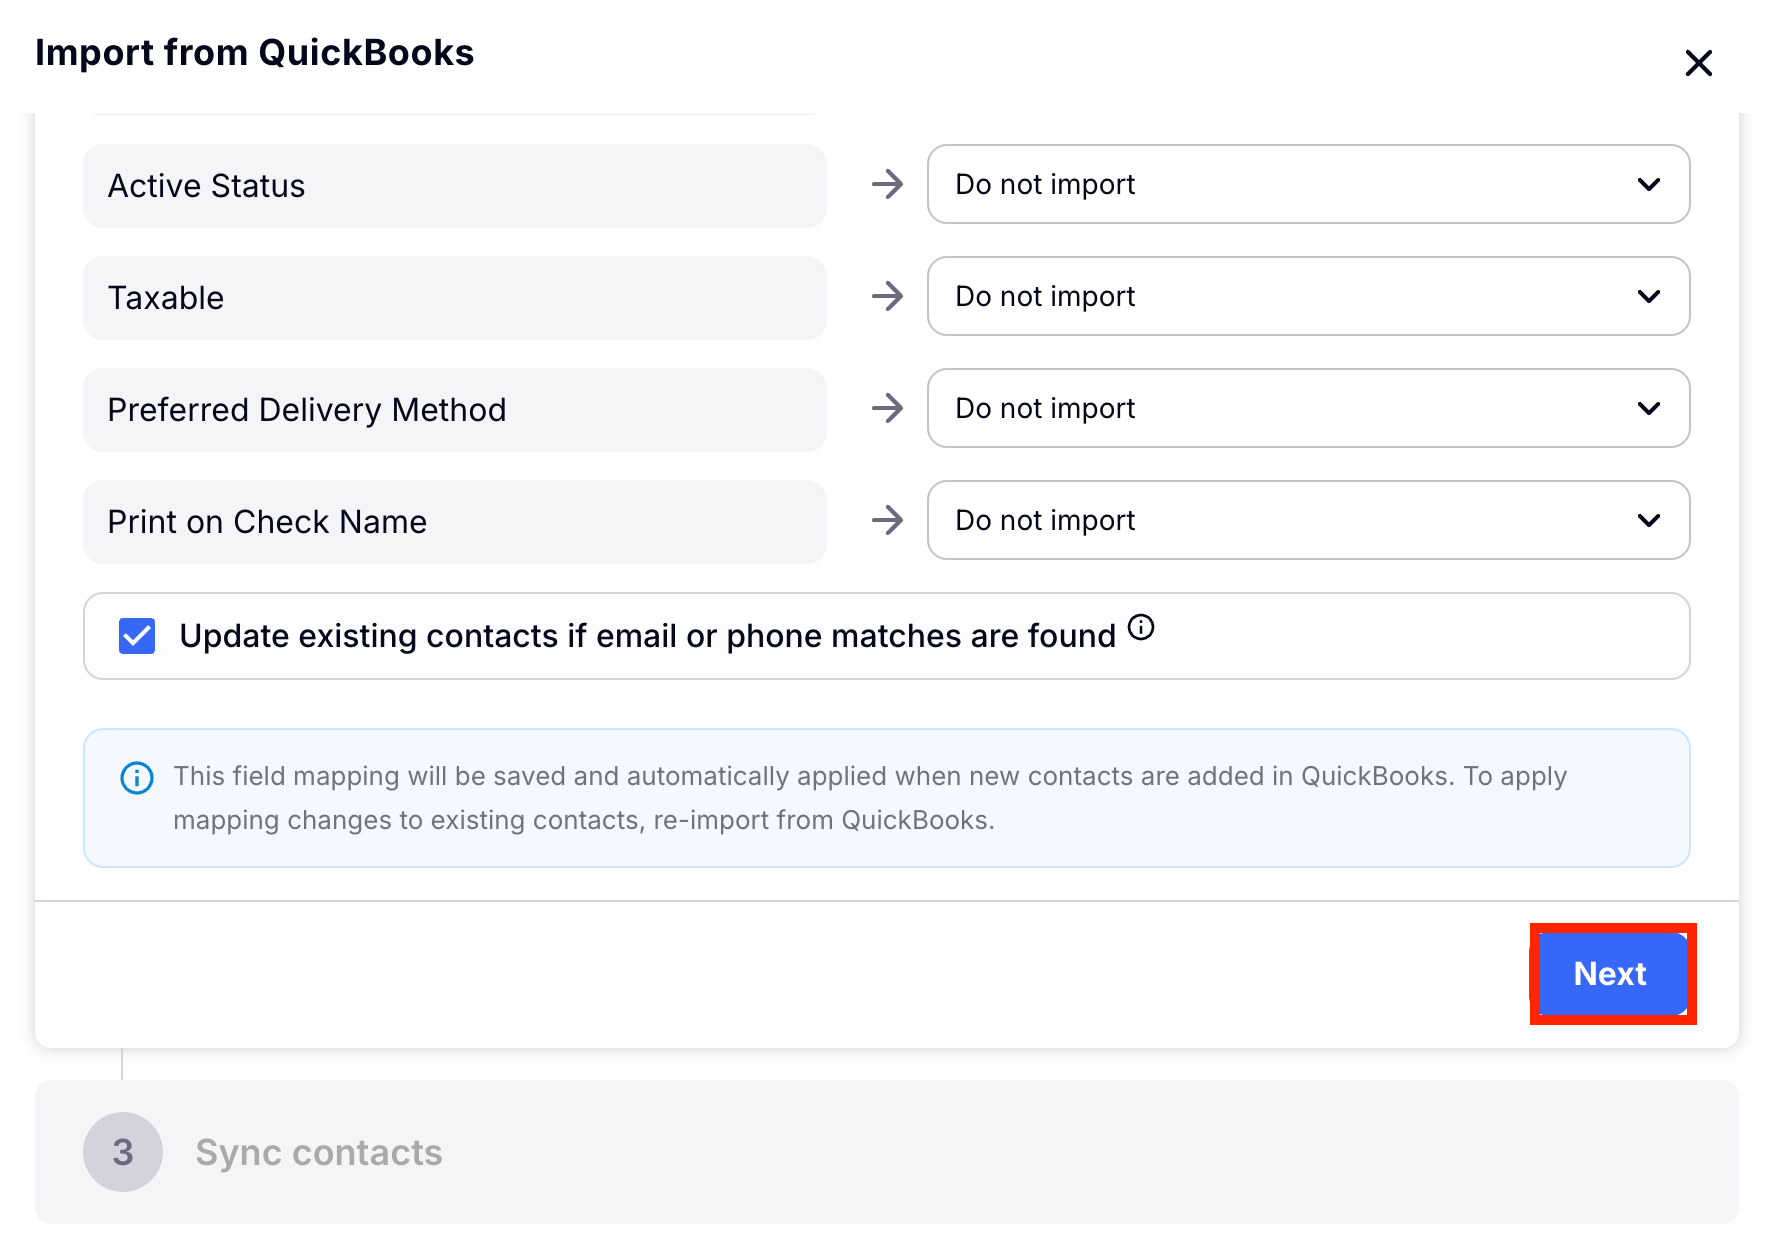
Review the fields that will be imported and choose 'Next' to continue.
Then you can review the contacts that were synced. You may see that it skipped some contacts if the fields were the same in both your Quickbooks and Craftify AI accounts.
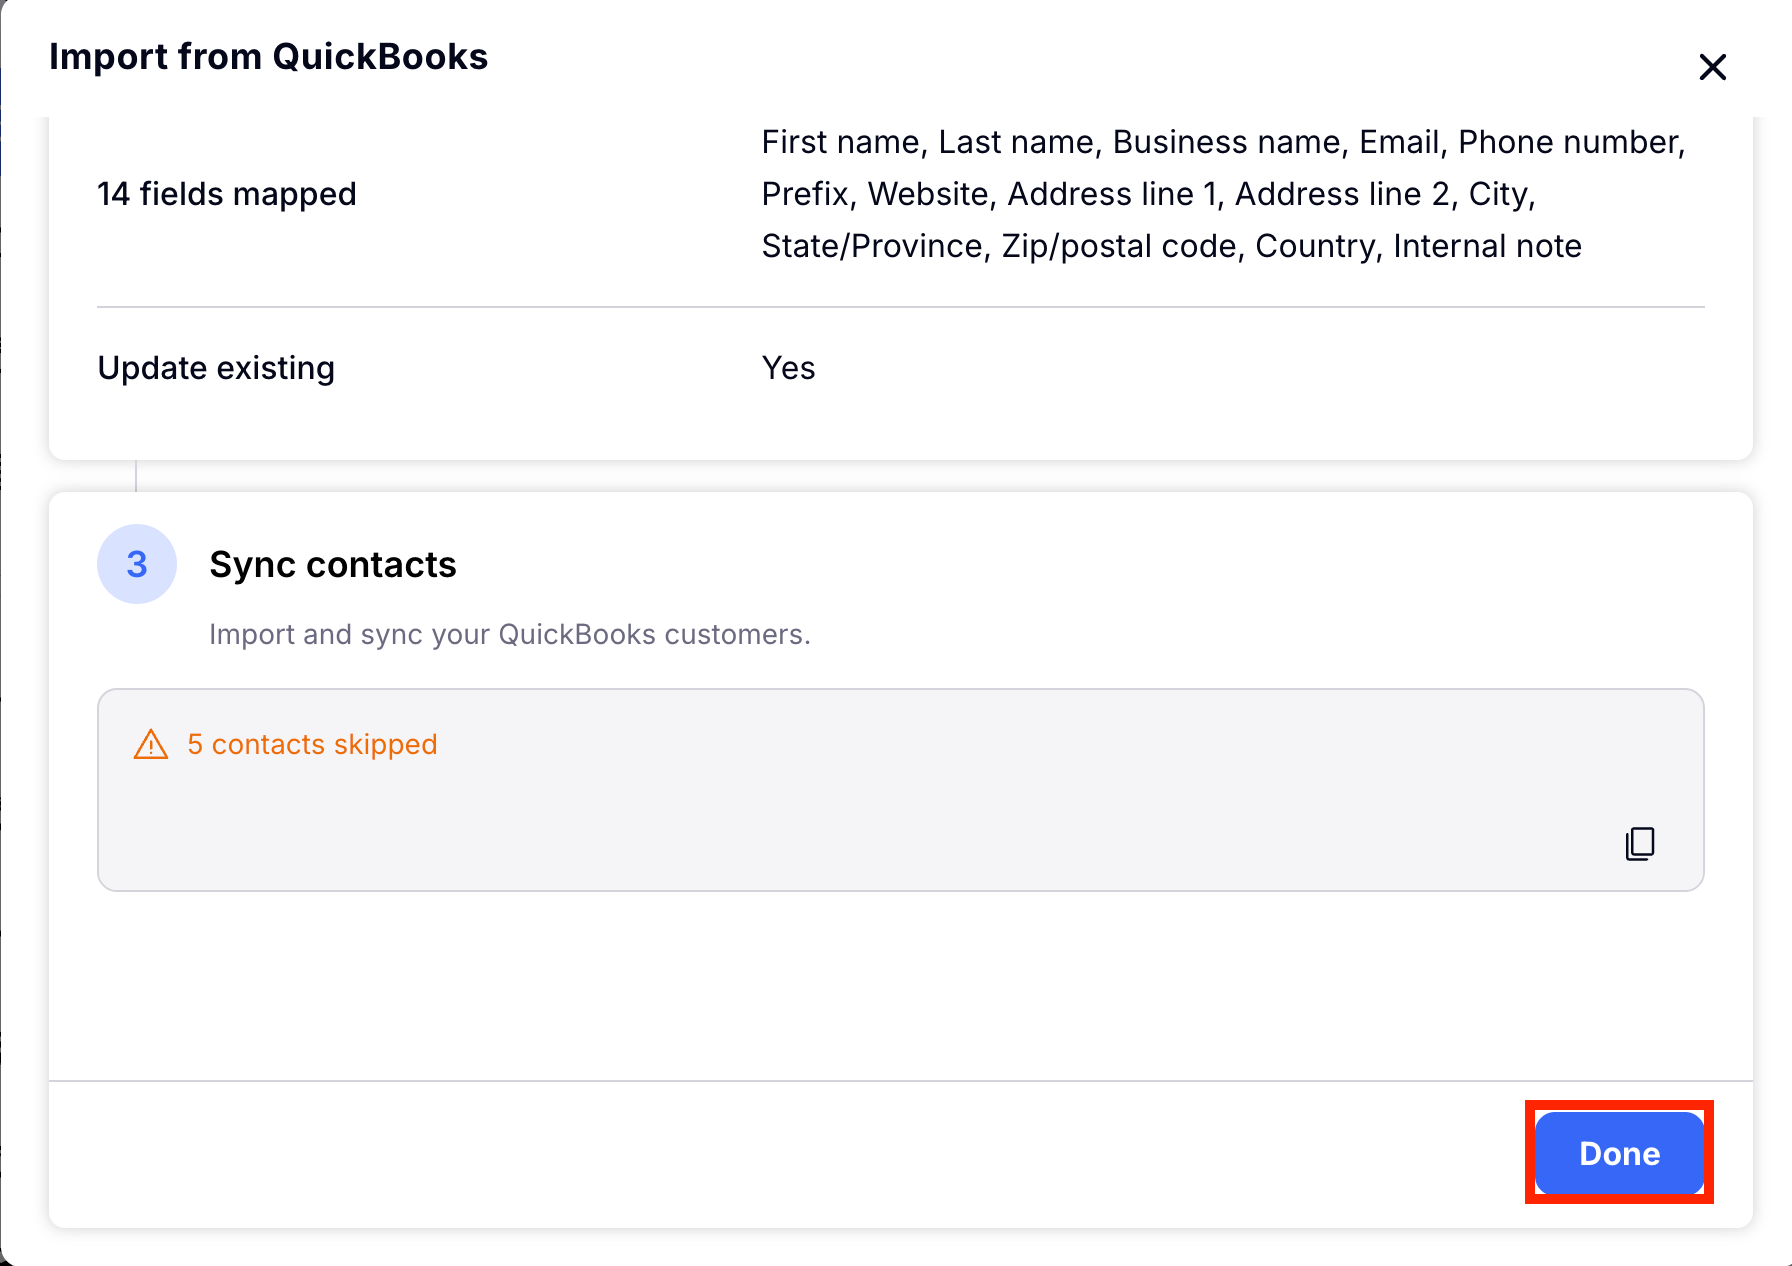
That's it! Next time you create a new customer in Quickbooks, that contact will automatically be added to your Craftify AI Contacts area.