Blog Post Writer Tutorial
- How to use the Blog Post Writer tool on Craftify AI
- Step 1: Open to create a new Craft and choose 'Blog Post.'
- Step 2: Choose a template or start from scratch
- Step 3: Configure the blog post
- Optional Step: Advanced Options
- Step 4: Now you can Craft the blog post!
- Step 5: Review your blog post and edit your visual
- Step 6: Publish your blog
- Optional Step: Check out your post reminder in the Content Calendar
How to use the Blog Post Writer tool on Craftify AI
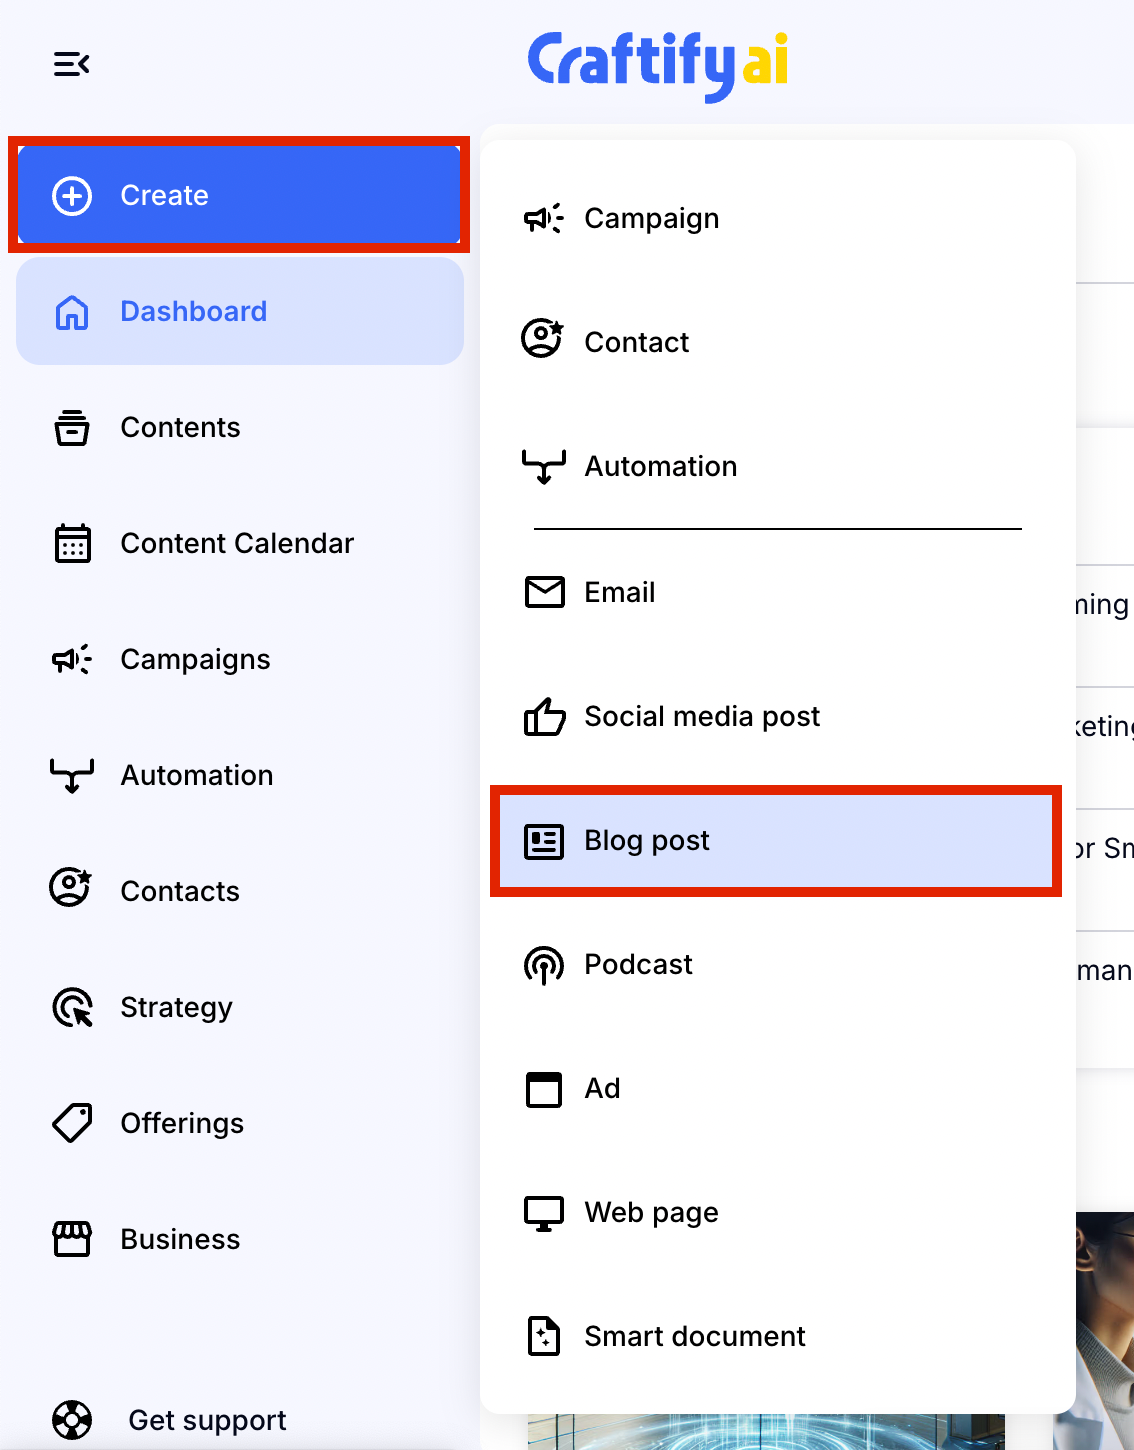
Step 1: Open to create a new Craft and choose 'Blog Post.'
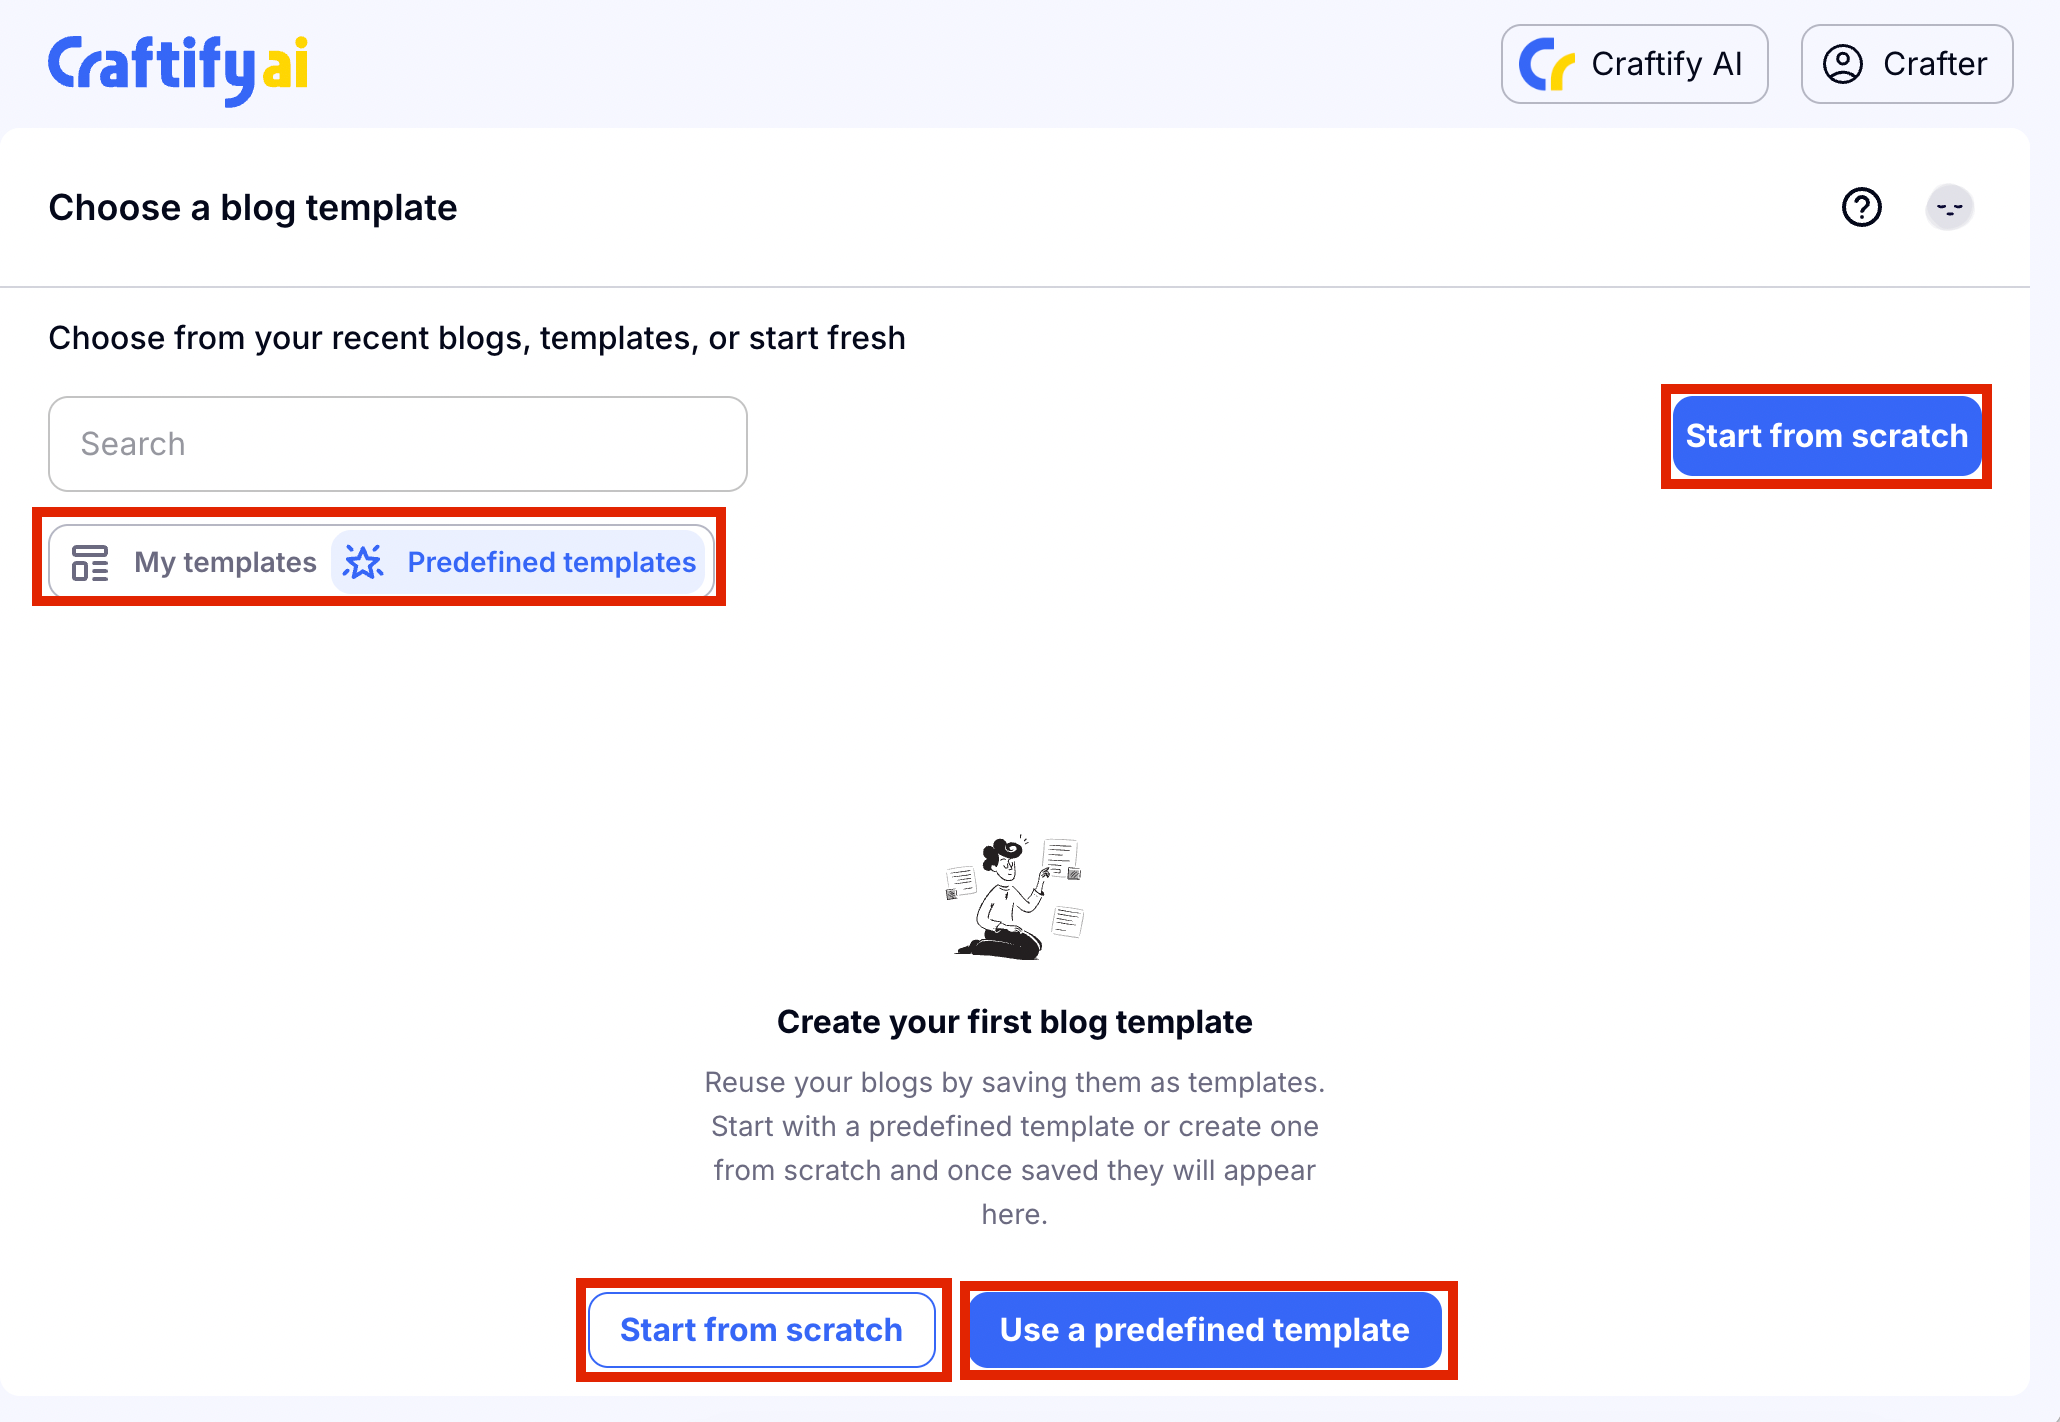
Step 2: Choose a template or start from scratch
You can utilise a pre-deifined template or one that you have created from before, or you can choose 'Start from scratch' to get started. For this tutorial we chose to start from scratch.
Step 3: Configure the blog post
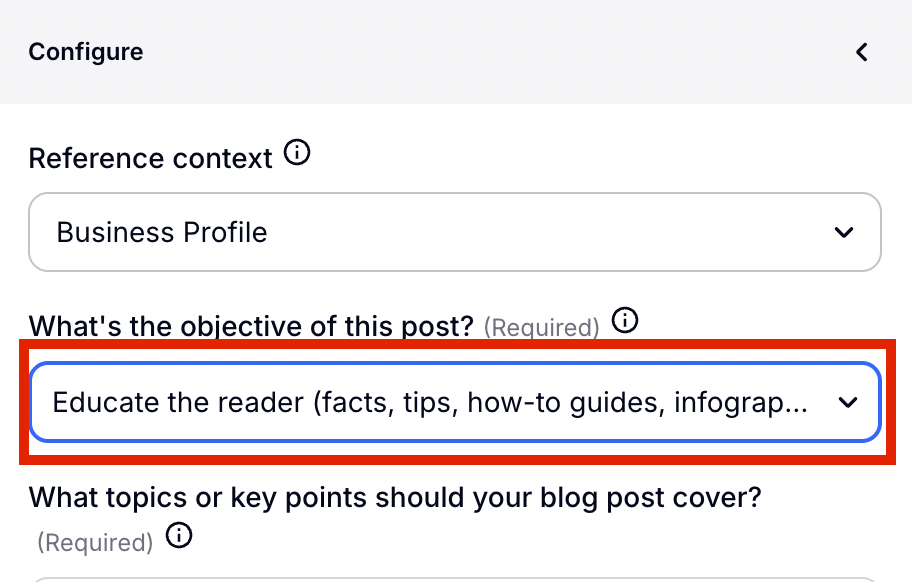
On the left hand side you will see the configure section where you will be asked a series of prompts to be able to create your blog post.
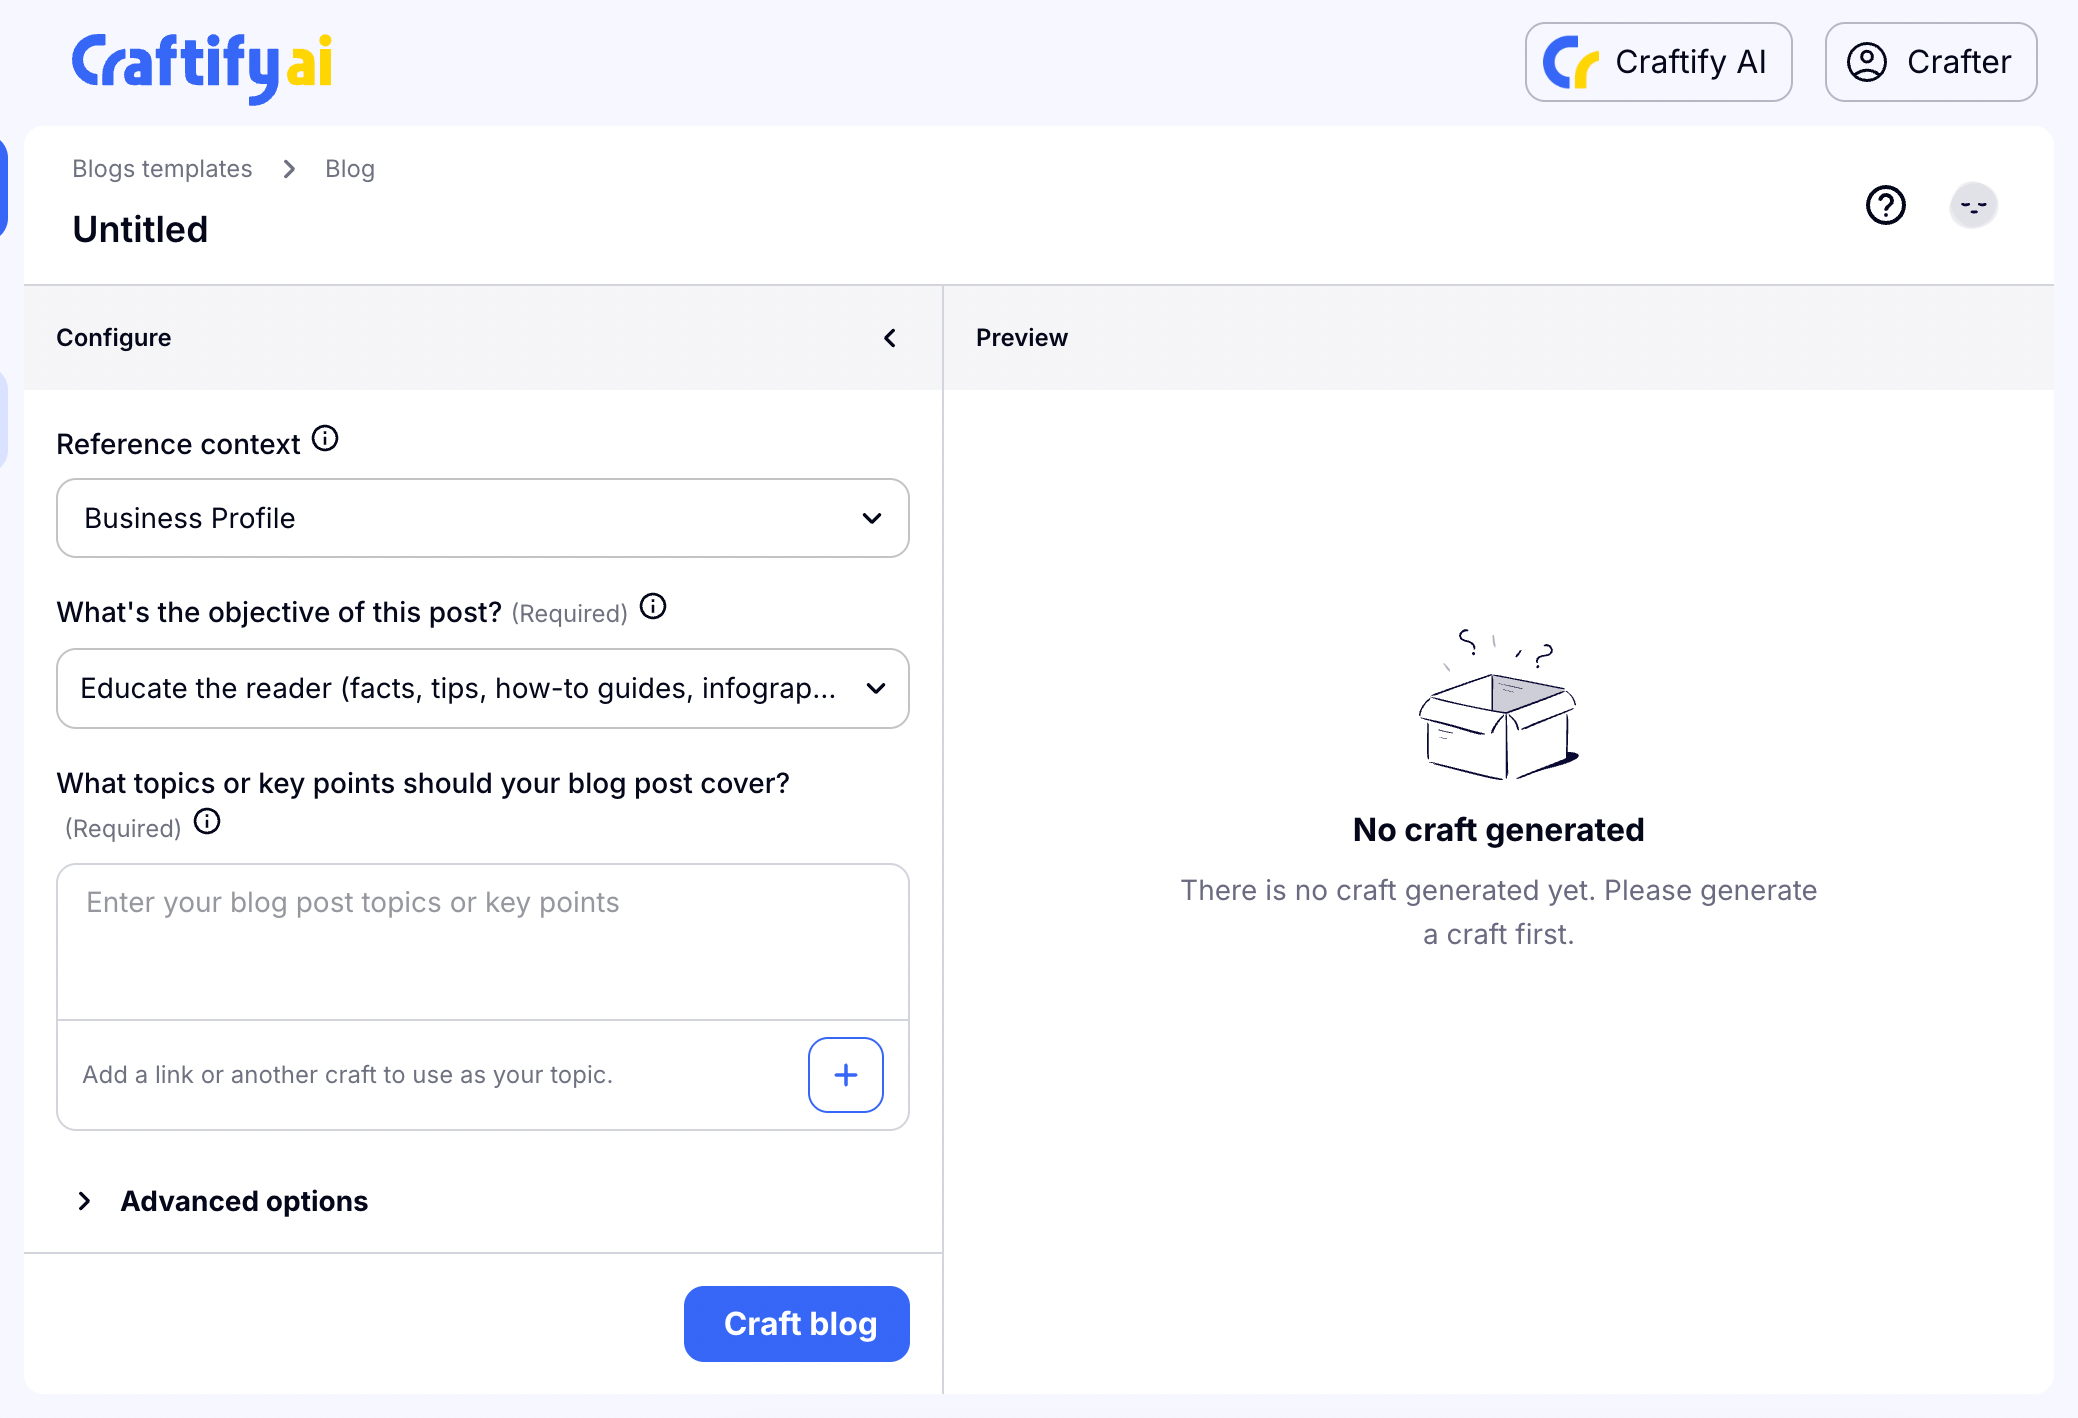
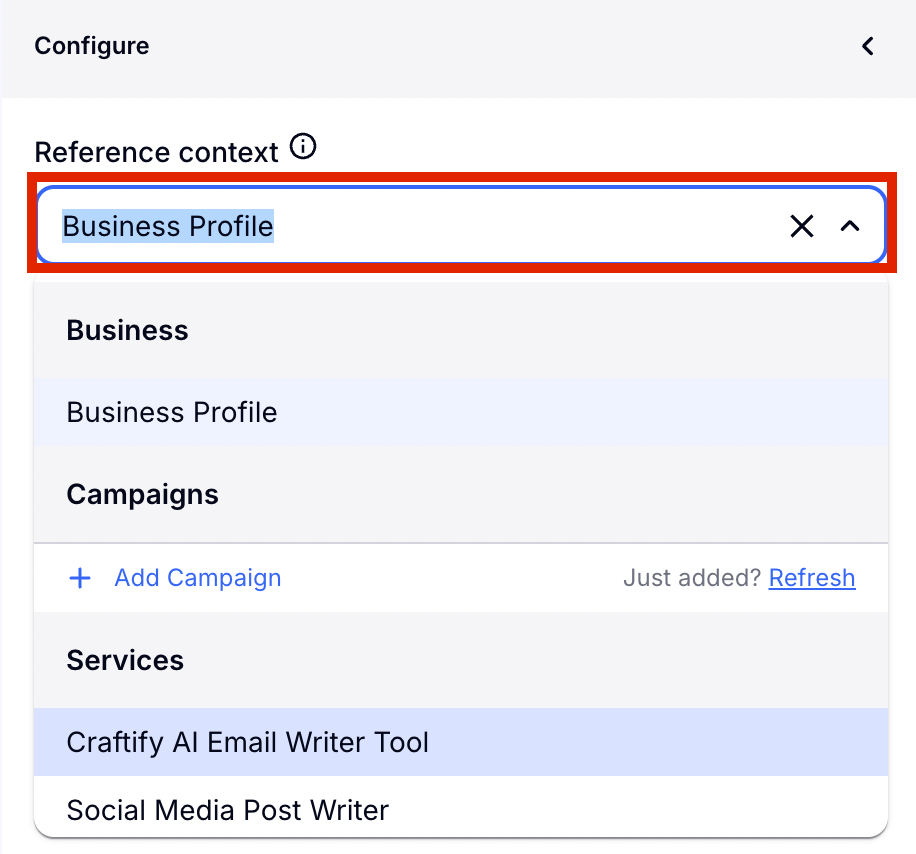
First, you will choose which context you would like to use for your craft. Simply click where it says 'Business Profile' and a drop down menu will appear with all of your campaigns, services, and products. Doing this gives Craftify AI the background context to use that information for you post!
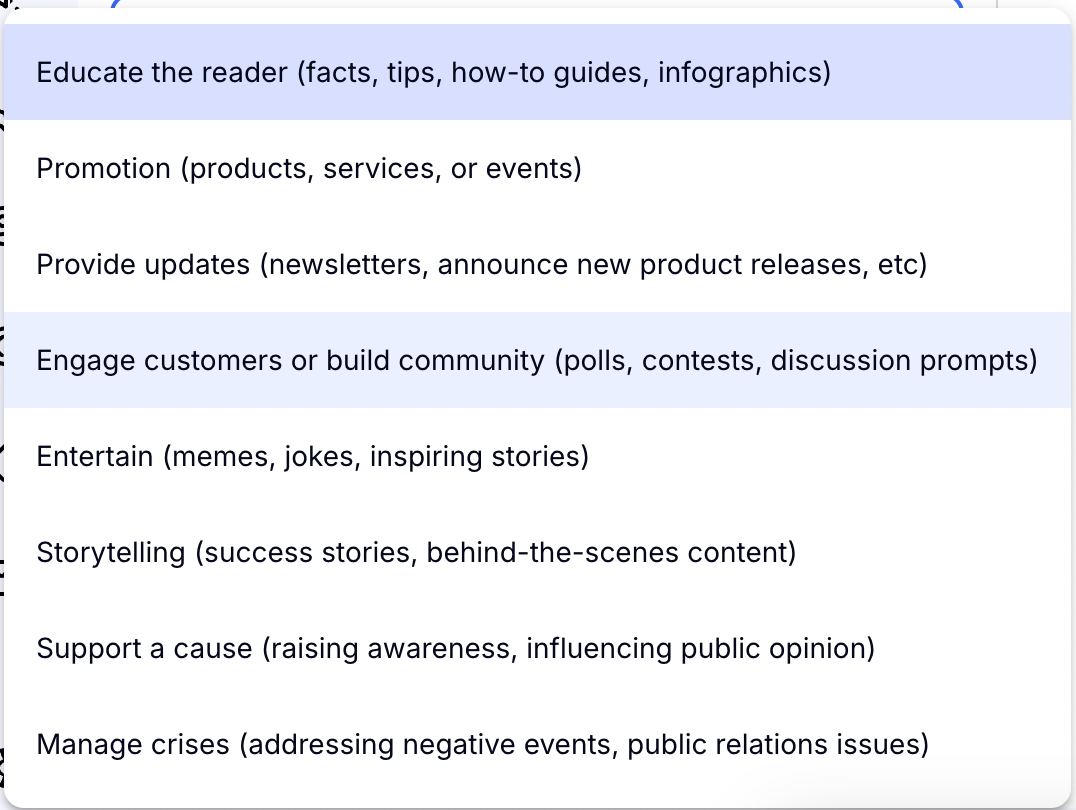
Next you will choose what type of Blog post you want to write. Do you want to promote a new product or do you want to educate your audience on a new topic? Click and choose the right one for you from the drop-down menu.
Then you will tell Craftify AI what you want to talk about in your blog! In this space you can give as much or as little detail as you want. AI will do the rest of the thinking for you.
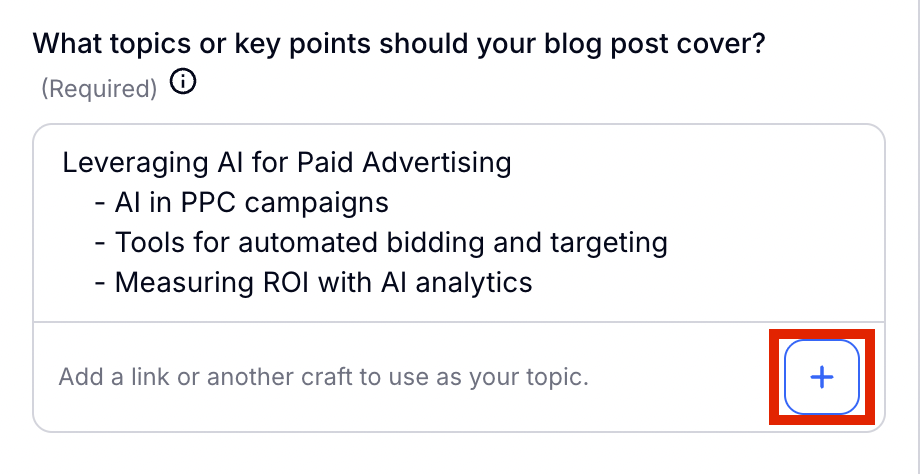
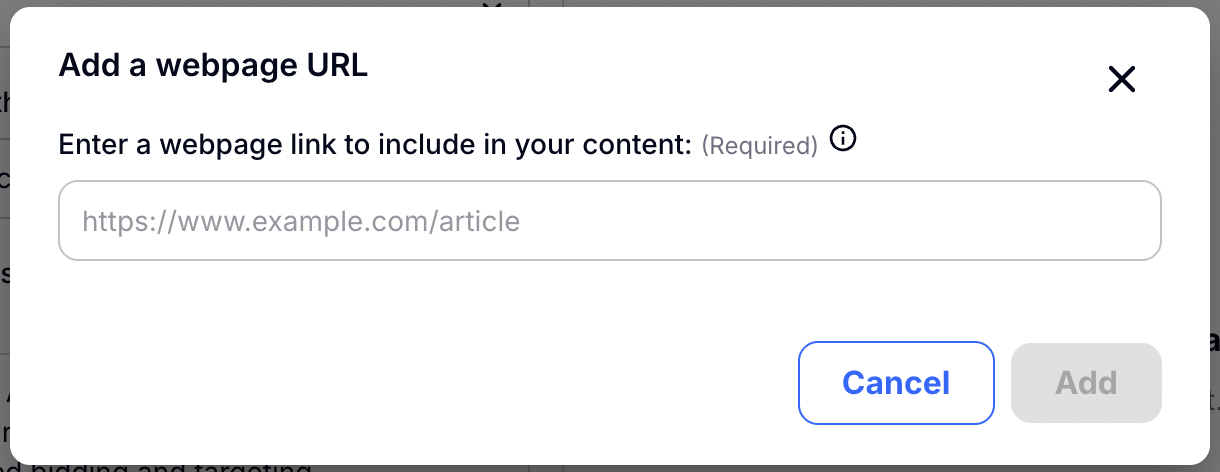
You can also add a link or use the topic research tool if you need help with your topic. The link option is great because it allows Craftify AI to get a better understanding on your topic or how you want to create the post.

Once you have added the link, click 'Add.'
Optional Step: Advanced Options
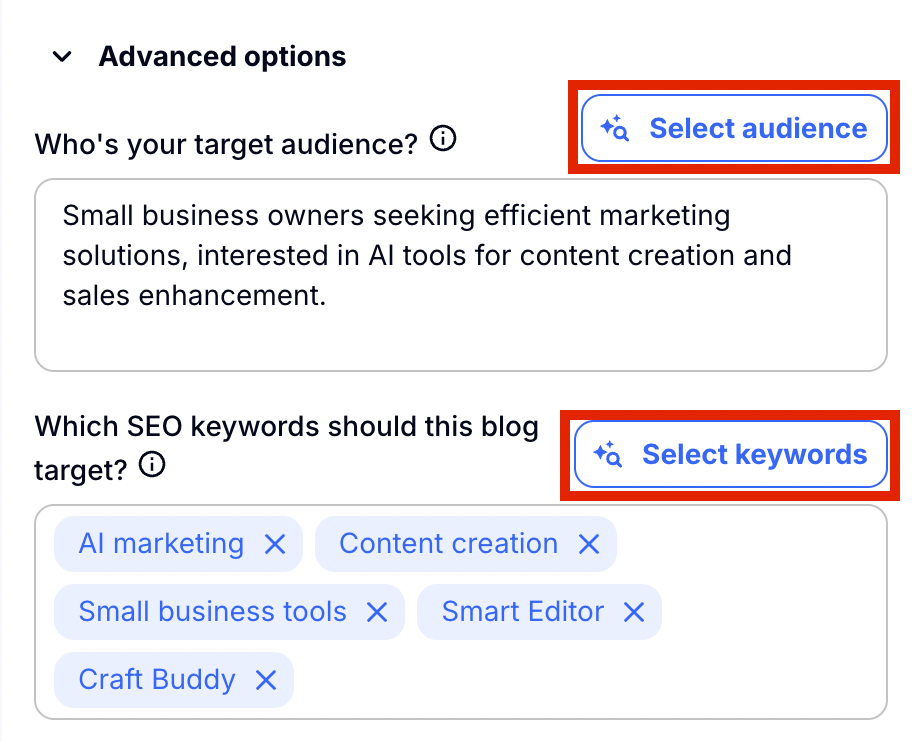
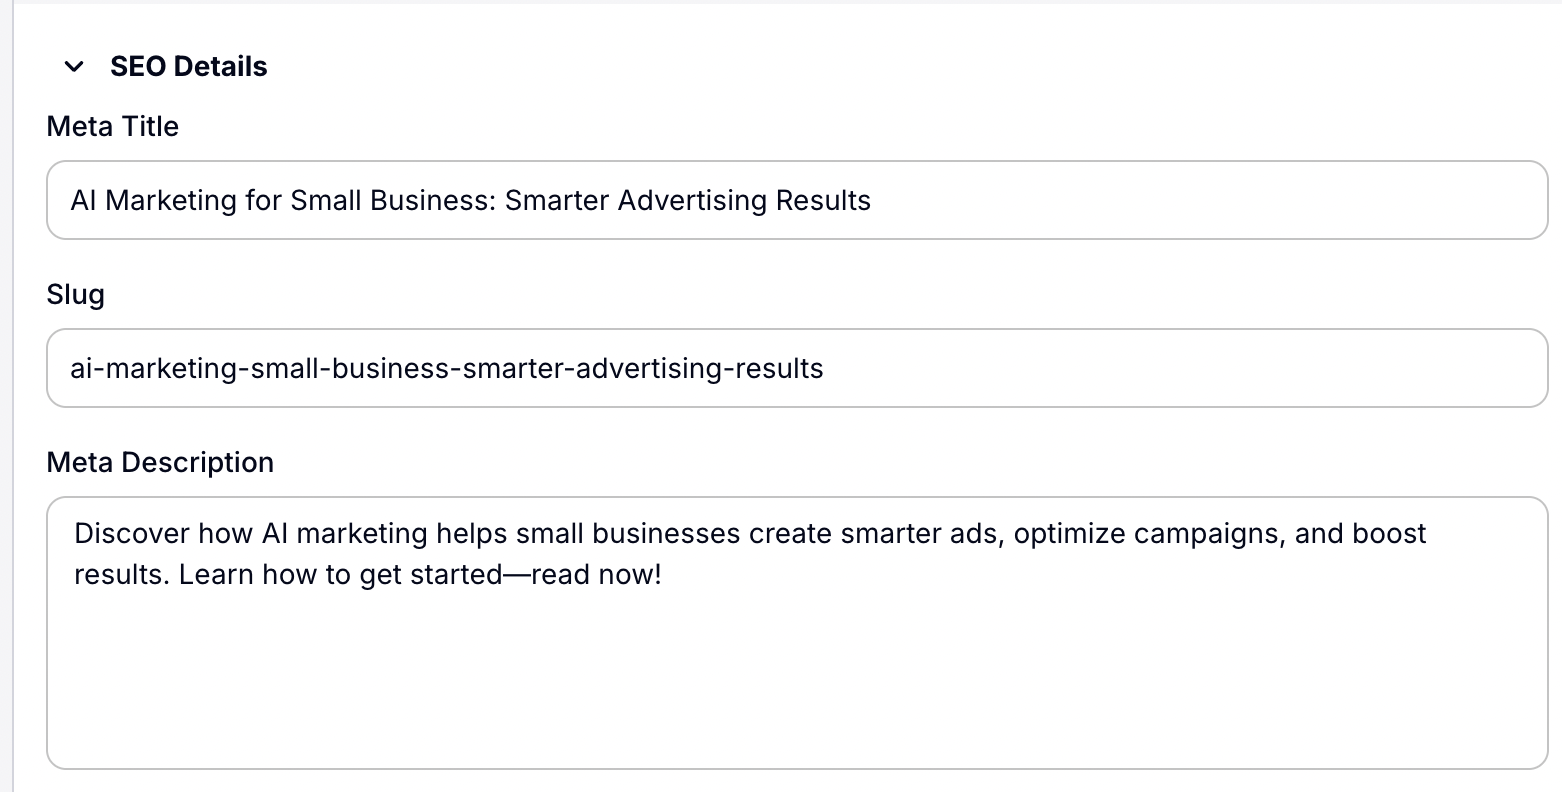
Here you will see advanced configuration settings that you can utilise to personalize your blog even further. Automatically the target audience and SEO keywords from the context you chose at the beginning of the blog will be found here. If you want to add or change these, you can simply write into the box, or choose 'Select audience' or 'Select keywords.'
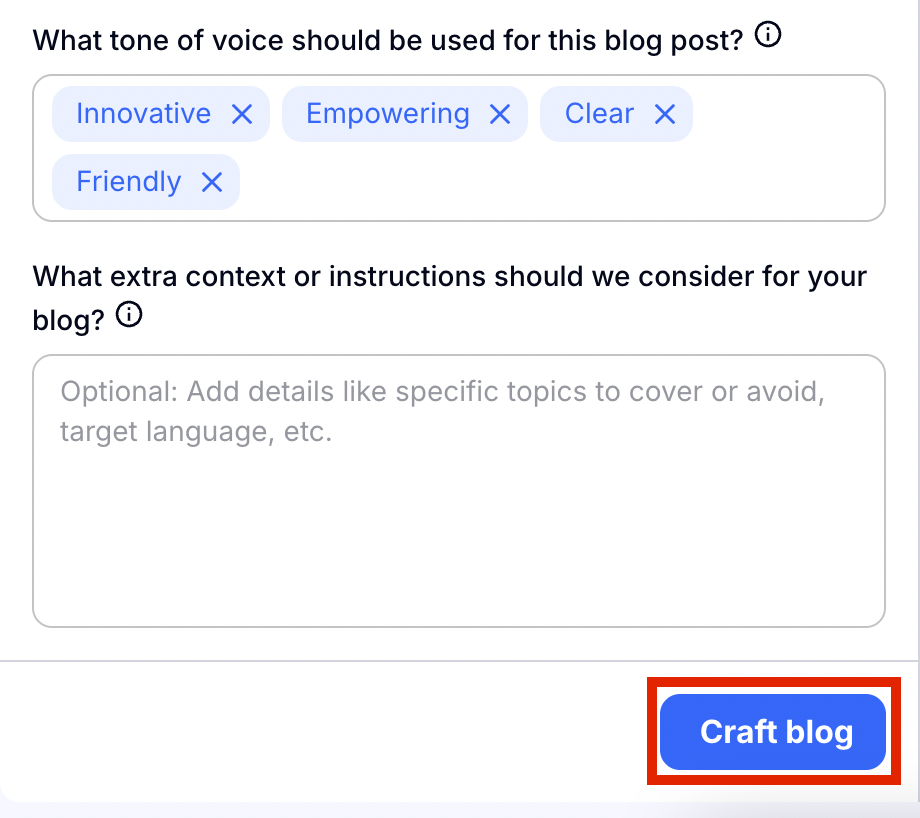
Step 4: Now you can Craft the blog post!
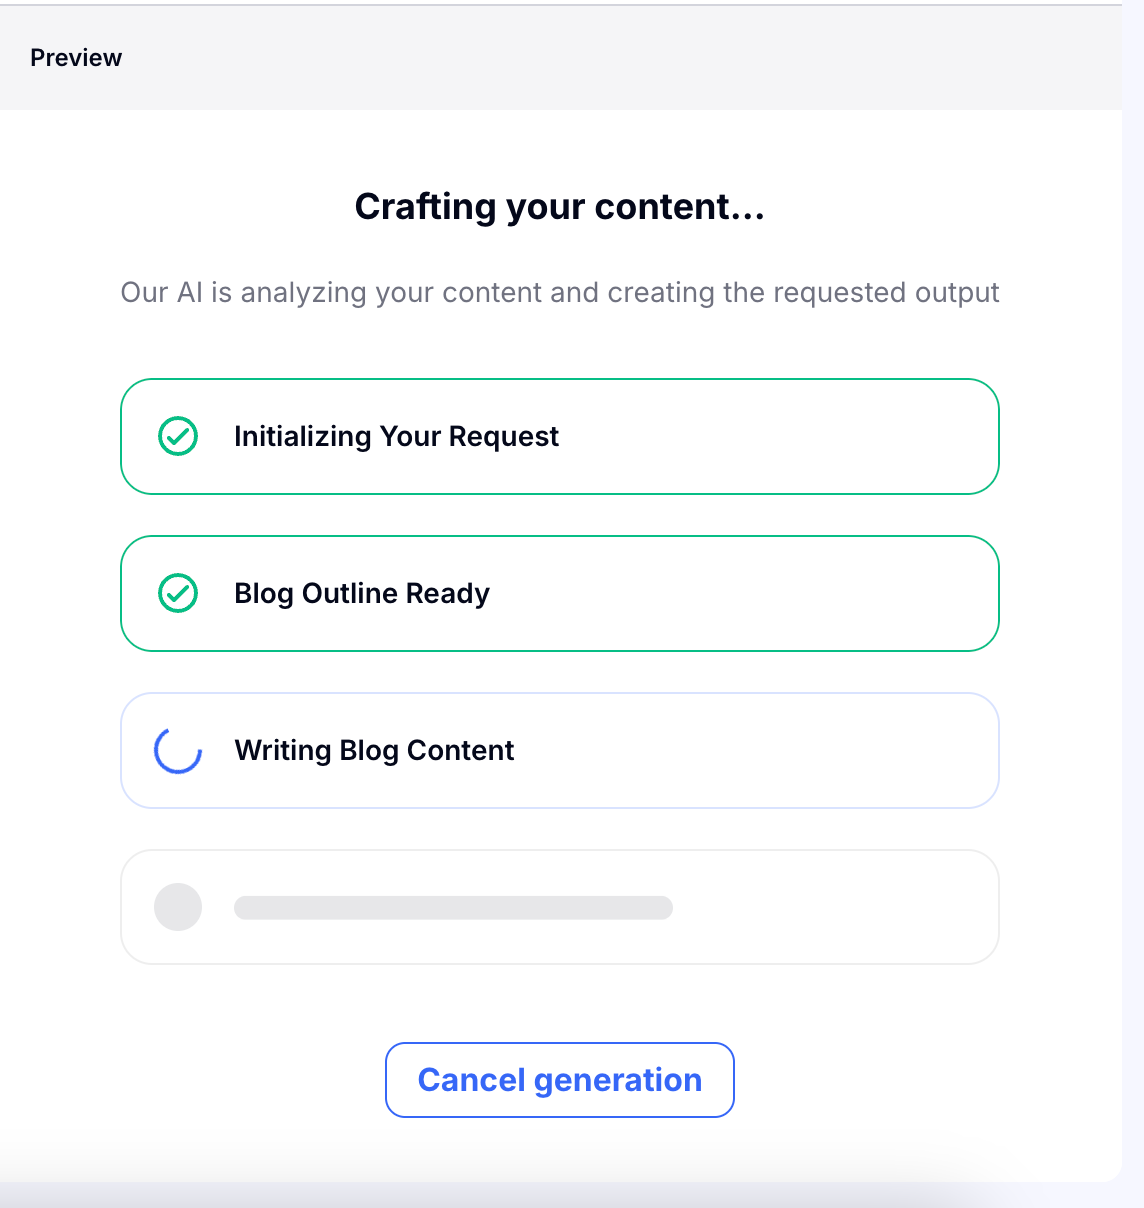
Choose 'Craft blog' to allow Craftify AI to work its magic. On the Preview side of the page you will see the progress of the blog creation. If at any time you want to make a change to the configuration or not continue with the craft, you can choose 'Cancel generation.'
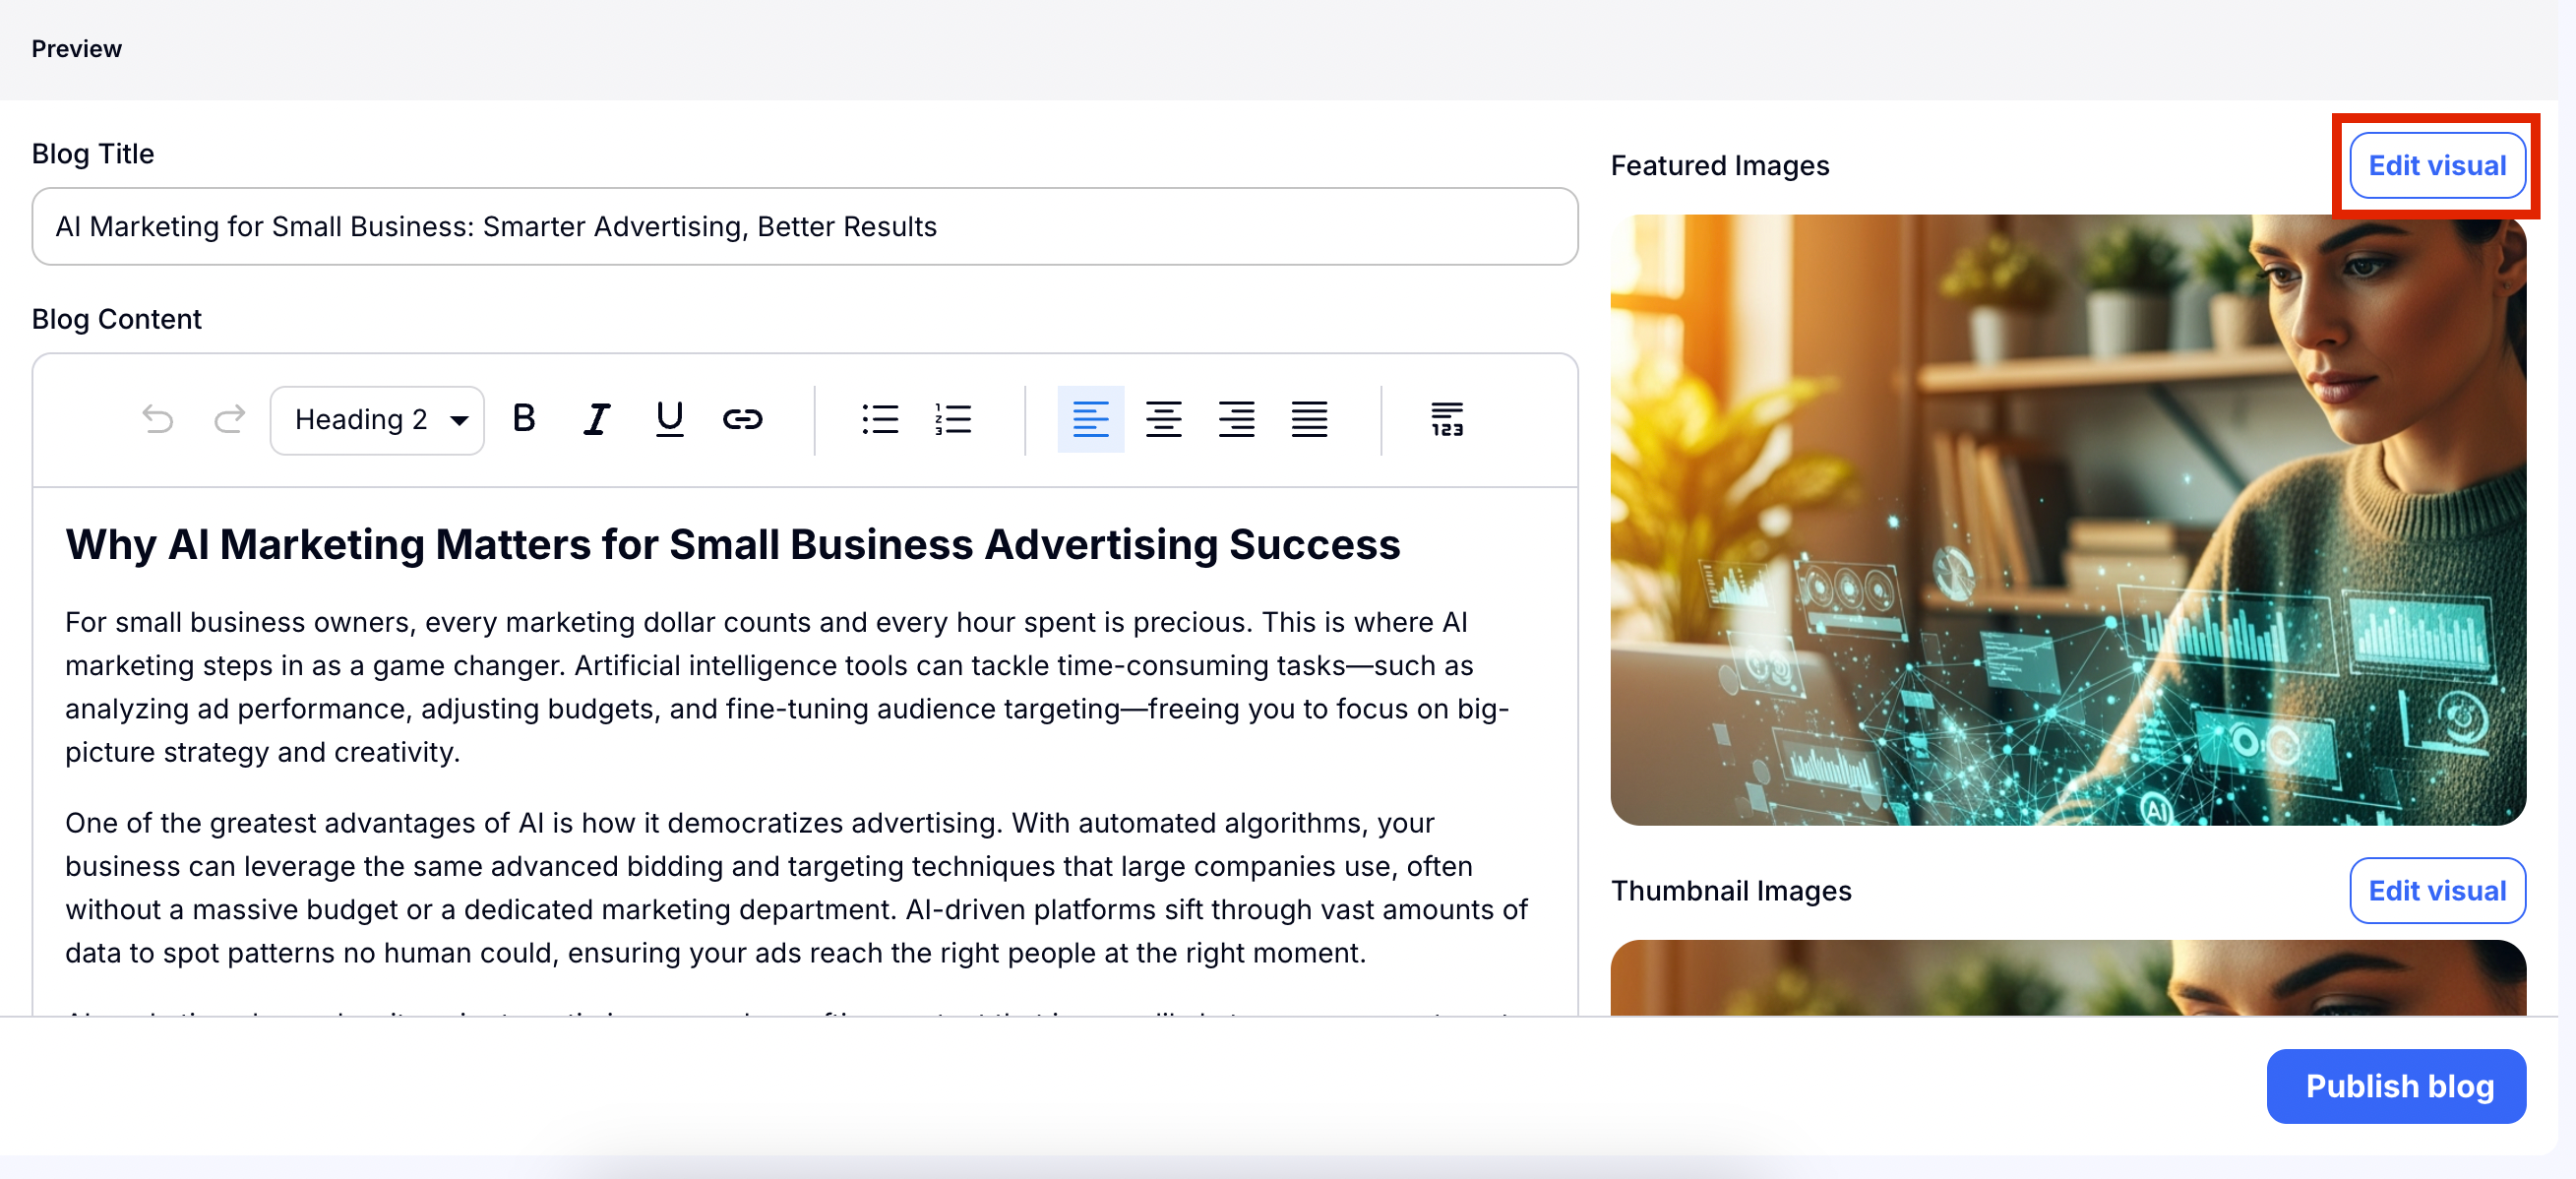
Step 5: Review your blog post and edit your visual
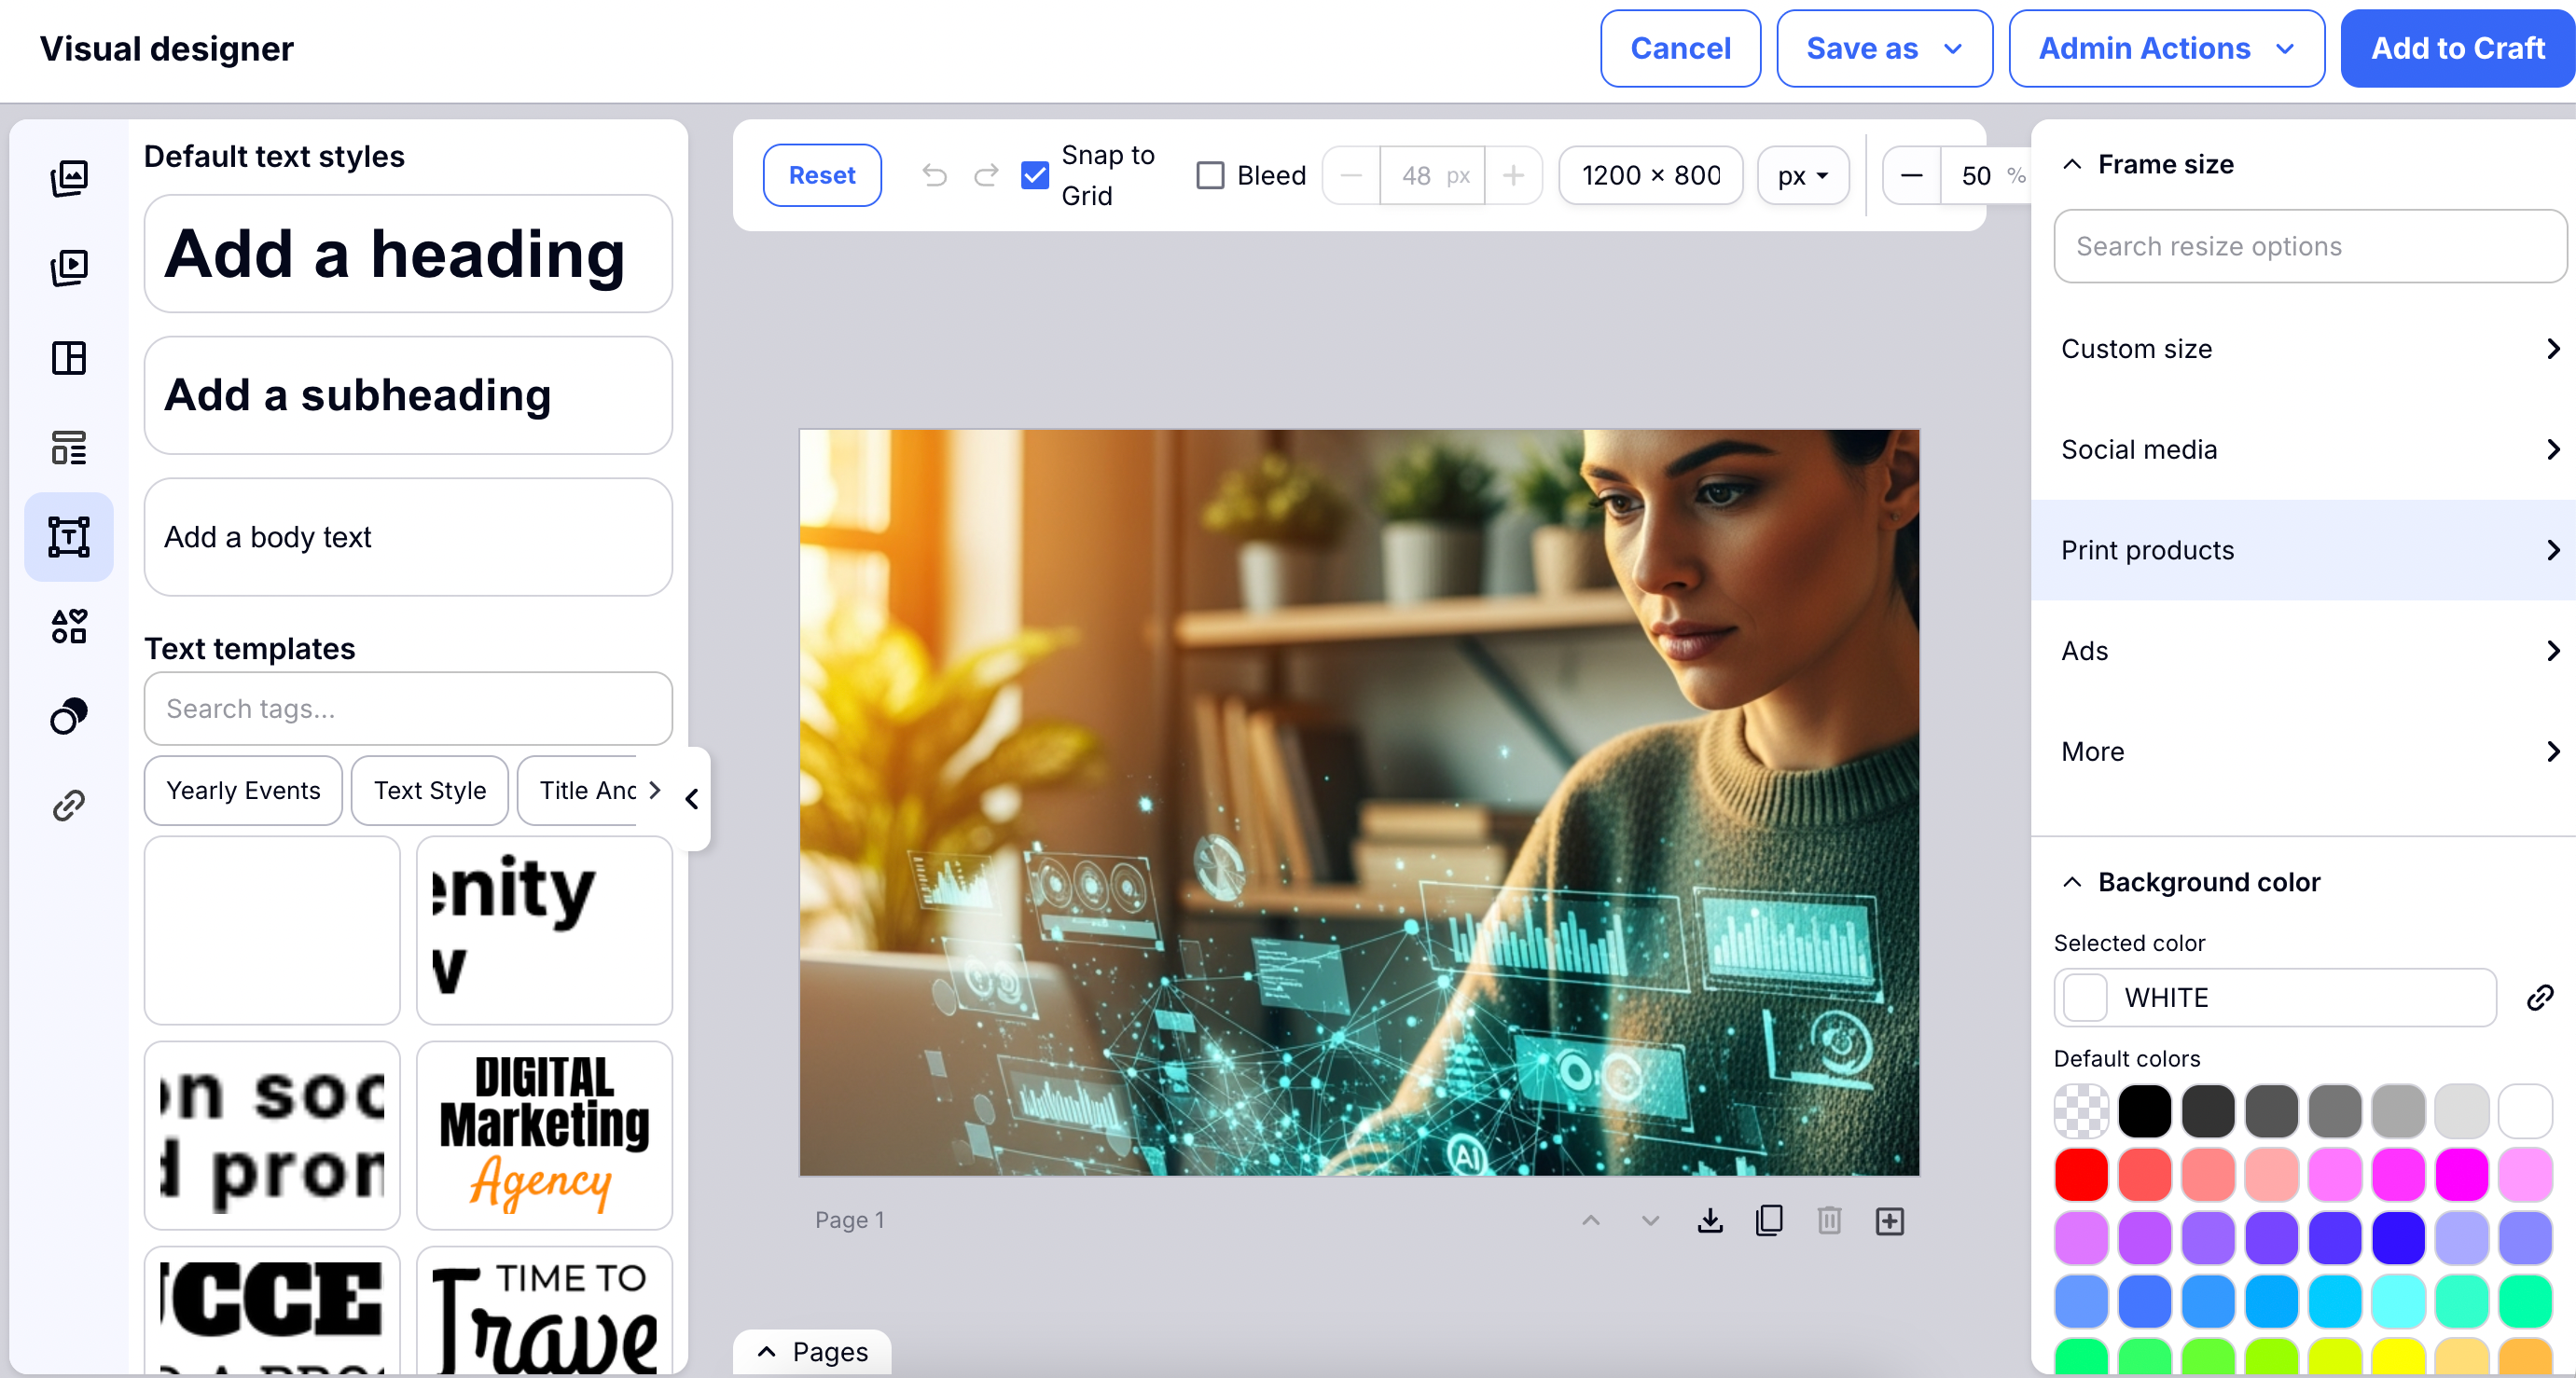
Craftify AI didn't just write the blog post, but it also crafted an image based on your blog contents! Read through your blog and make any edits and changes needed. Then click 'Edit visual' to open the Visual Designer.
You can use all of the many tools within the Visual Designer to edit your image. Here you can also create new images, add text, shapes, color, anything your heart desires!
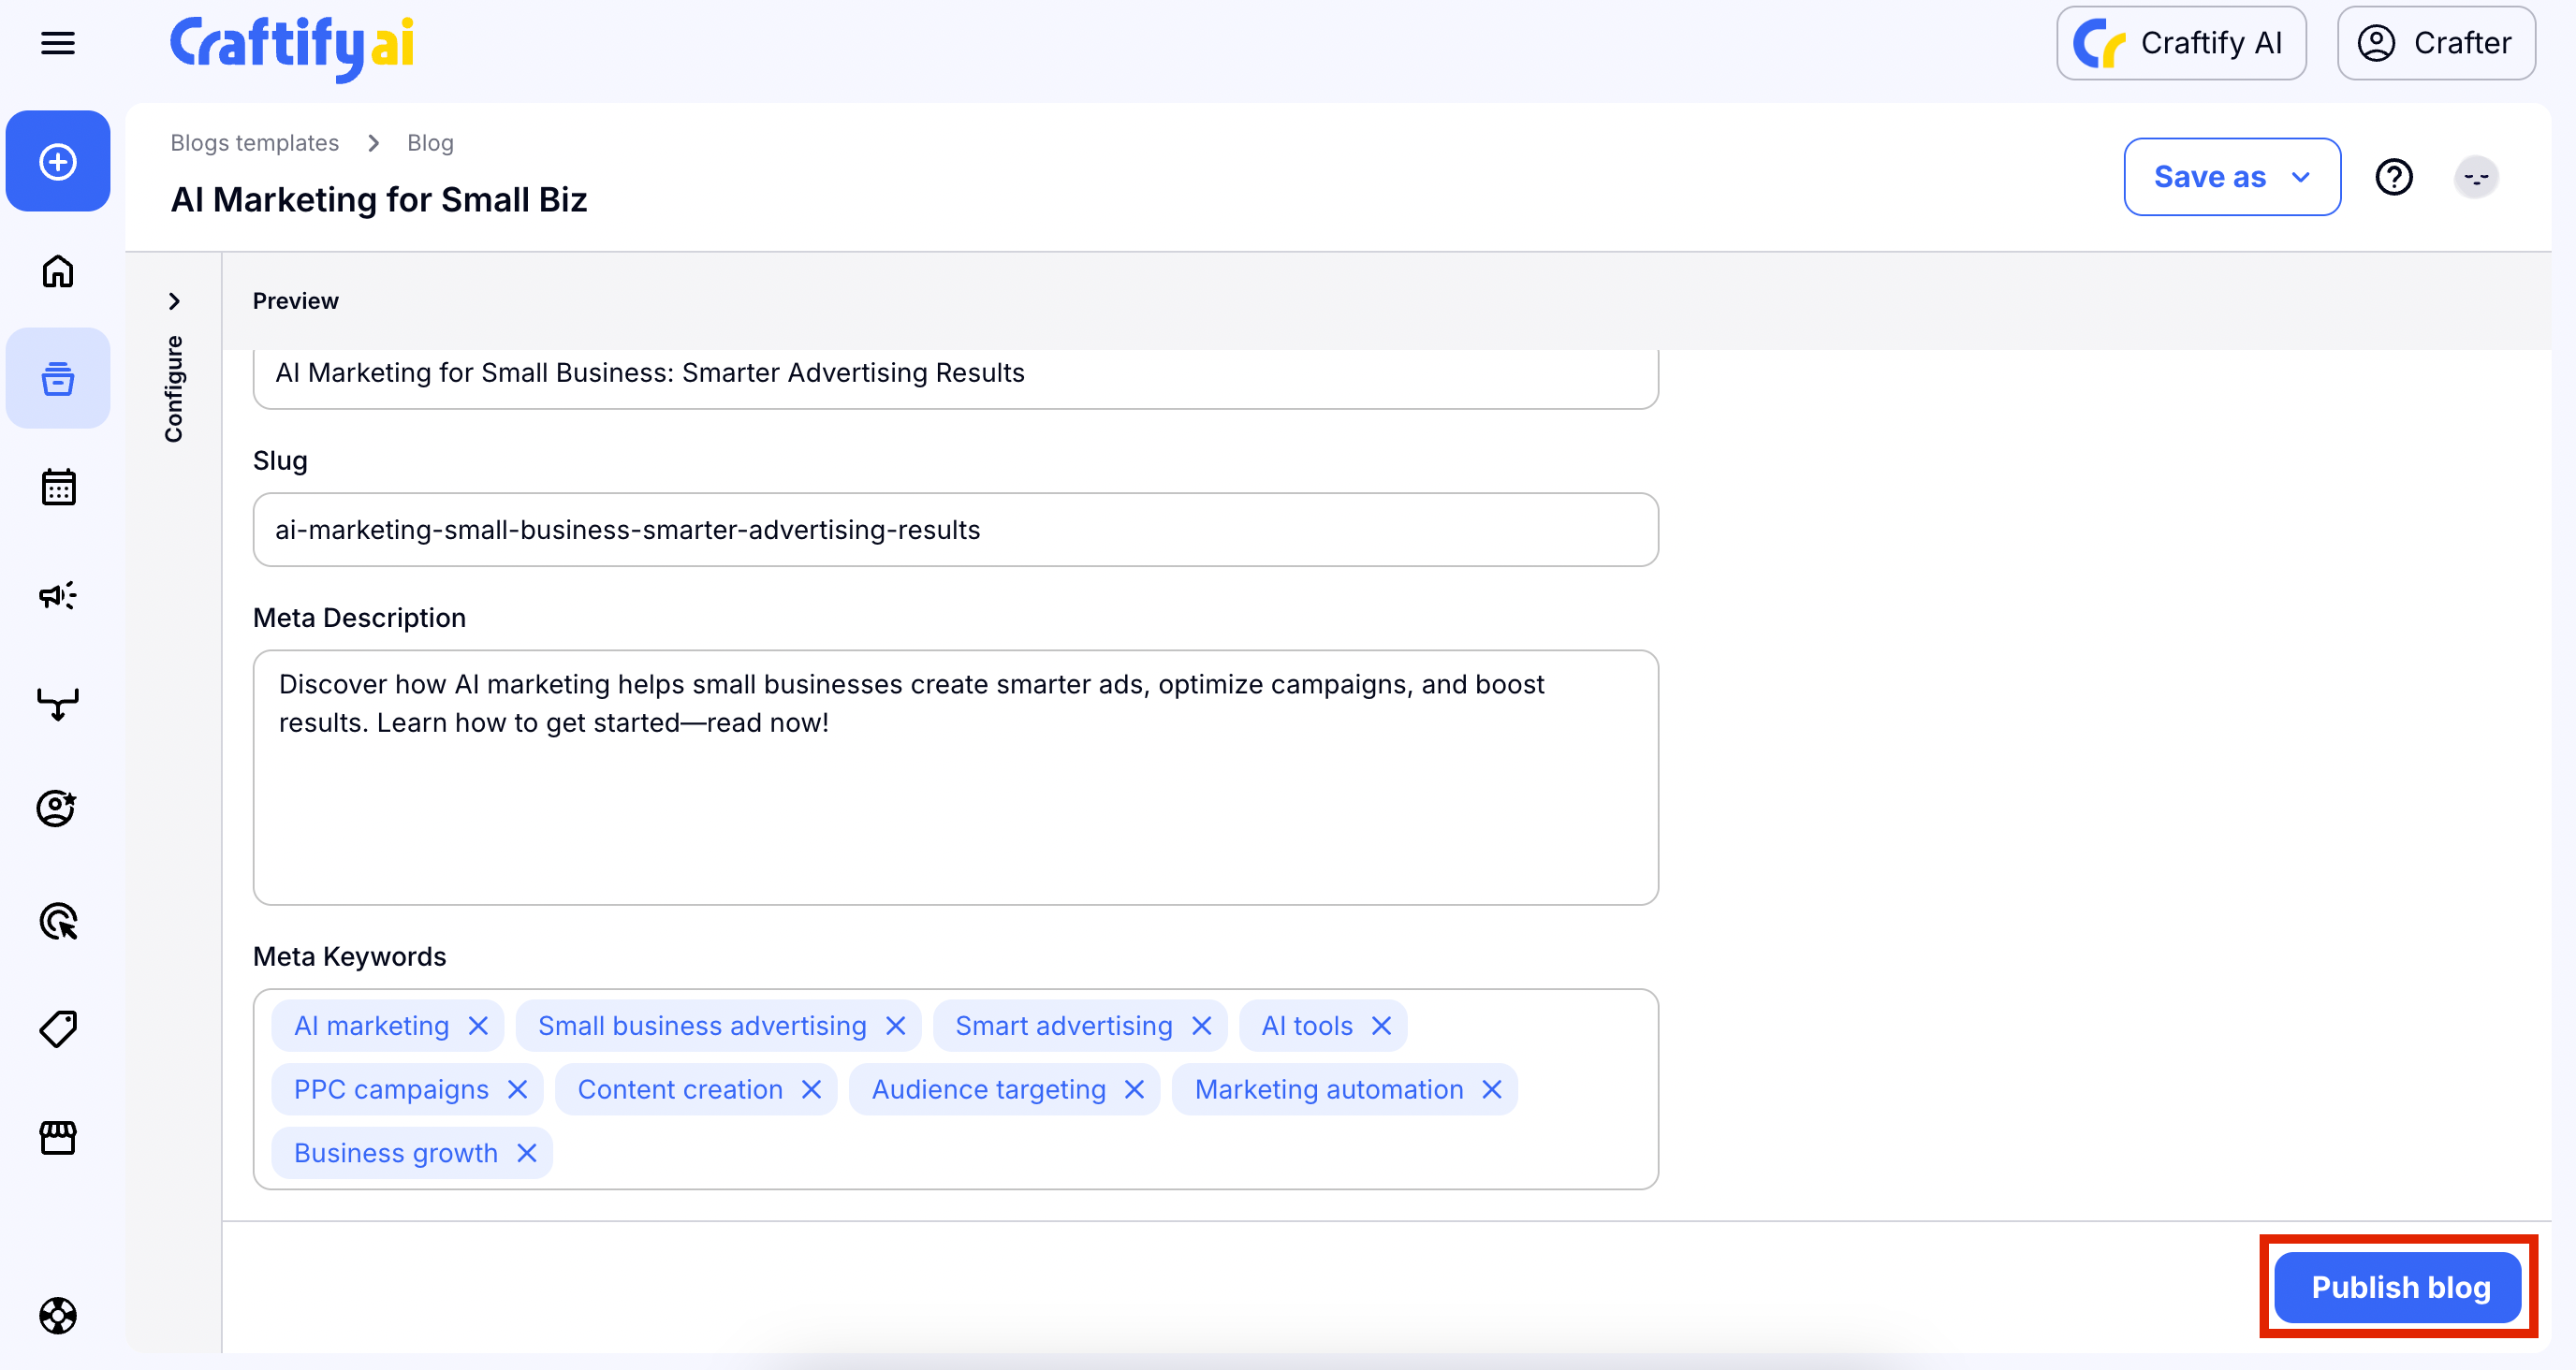
Step 6: Publish your blog
Now it's time to get this new content out in the world and publish it! Choose 'Publish blog' to go on to the next step.
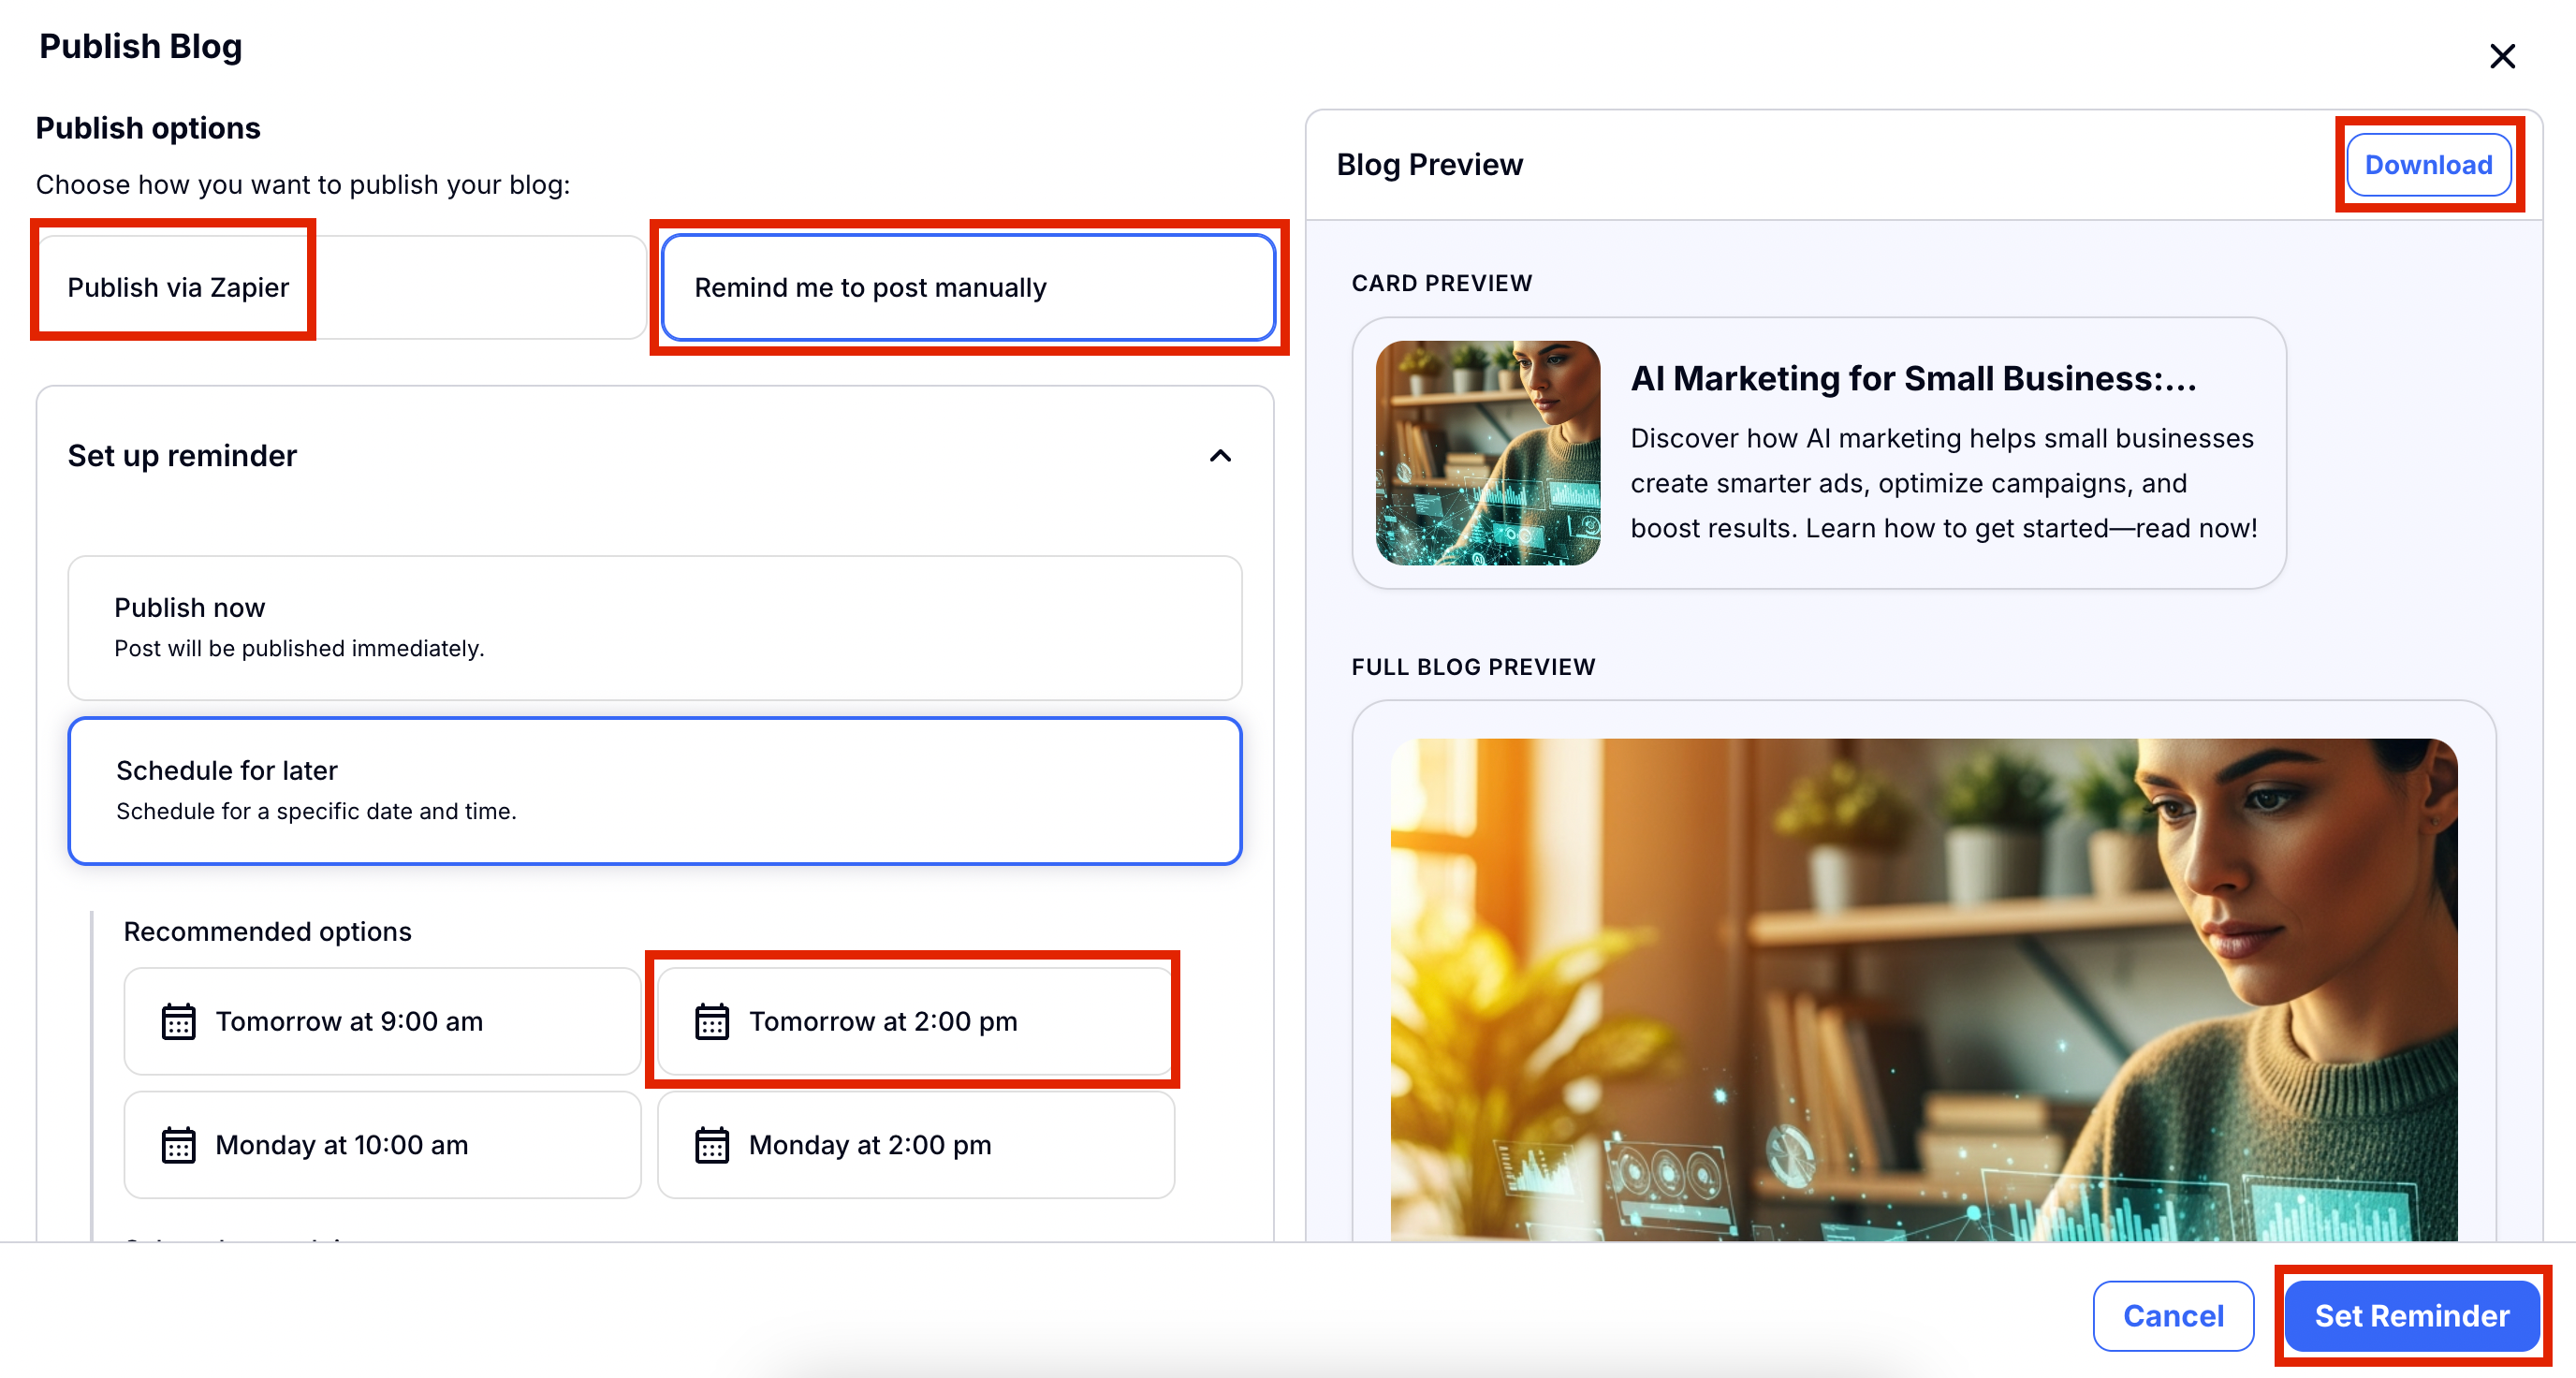
There's a couple of ways you can choose to go forward.
- You can publish to Zapier and the automation will do it's work for you.
- You can set a reminder to publish at a later date.
- To do this, choose 'Remind me to post manually' and follow the prompts below to choose the day and time.
- Then you will choose 'Set Reminder' to confirm the reminder.
- You can post now and choose 'Download' to have all of your info and image you generated ready to copy and paste into your blog or website.
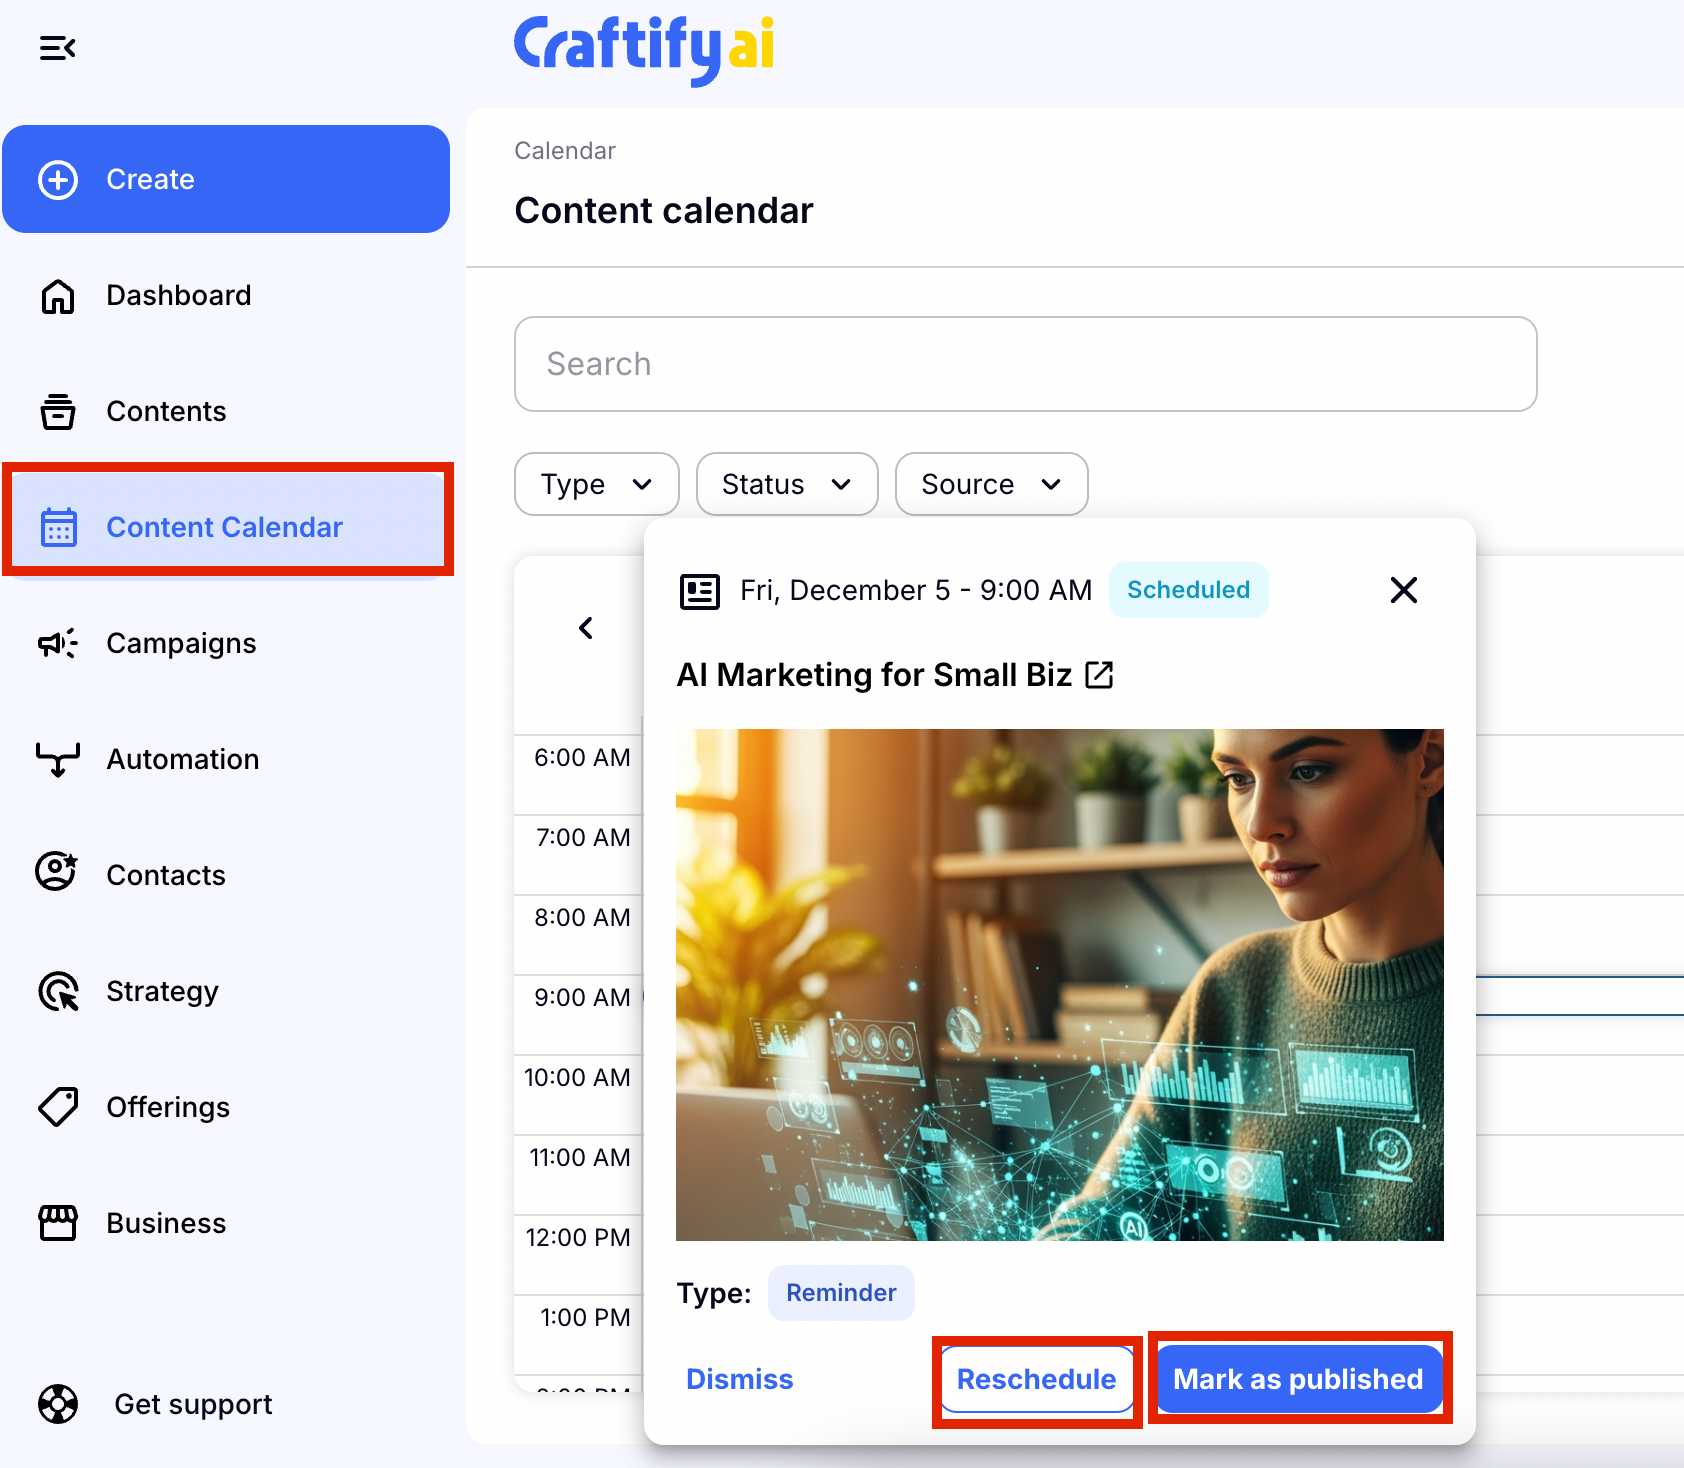
Optional Step: Check out your post reminder in the Content Calendar
Hop over to the content calendar and you will see the reminder set up for you to post your blog post! From here, if you have already posted, you can choose 'Mark as published' or if you're wanting to 'Reschedule' your post, you can do so as well.
Hopefully this gets you started on crafting amazing blogs for your business!