How to Create Dynamic Images with the Visual Designer
- The Visual Designer in Craftify AI
- Step 1: Start a Craft
- Step 2: Cover Image
- Step 3: Welcome to the Visual Designer!
- Step 4: Craft an Image
- Step 5: Discover Templates
- Step 6: Add Text
- Step 7: Add a Shape
- Step 8: Add a Mask
- Step 9: Save your work!
- Step 10: Add to Craft
- Step 11: You will now see the image in your craft!
The Visual Designer in Craftify AI
You can see a video here on how to use the Visual Designer, or below is a step-by-step process on how to use this awesome tool.
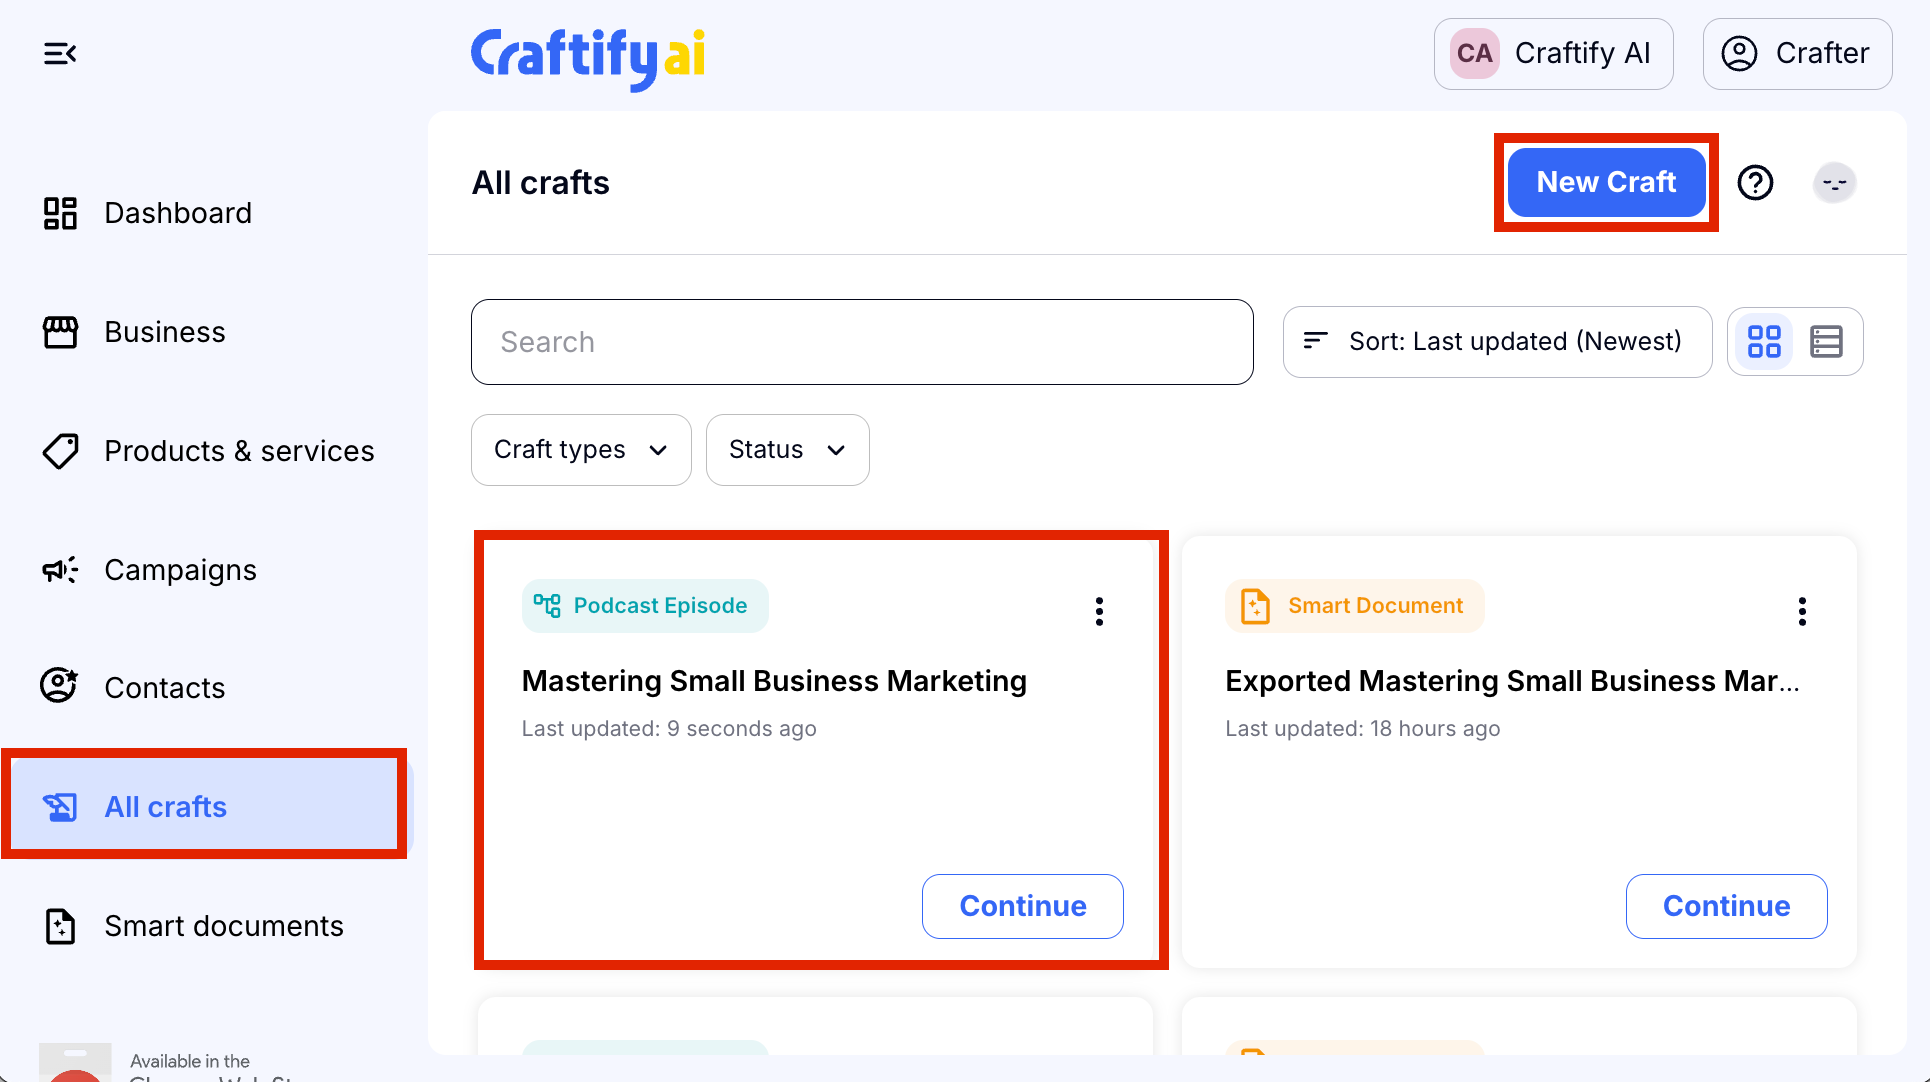
Step 1: Start a Craft
- Start by clicking 'All Crafts' and choose either to make a 'New Craft' or edit a previously made Craft.
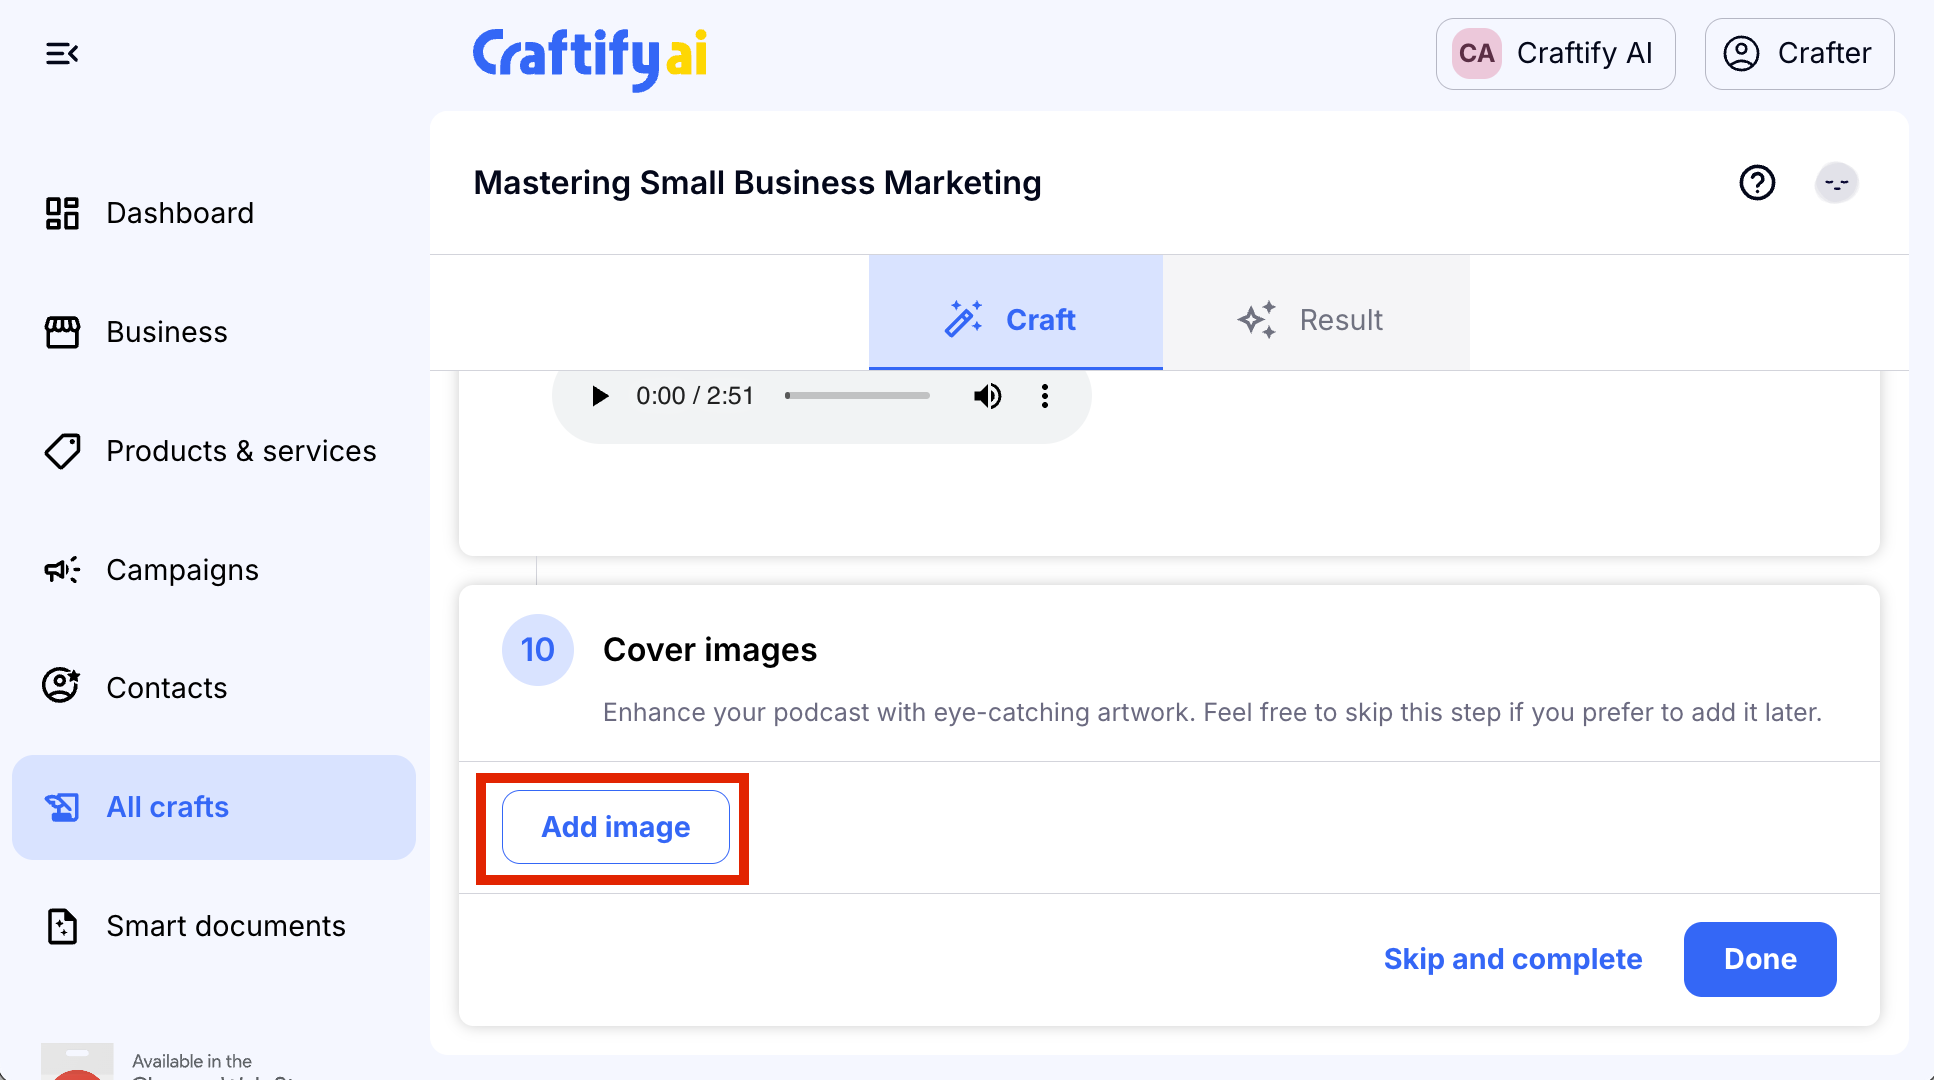
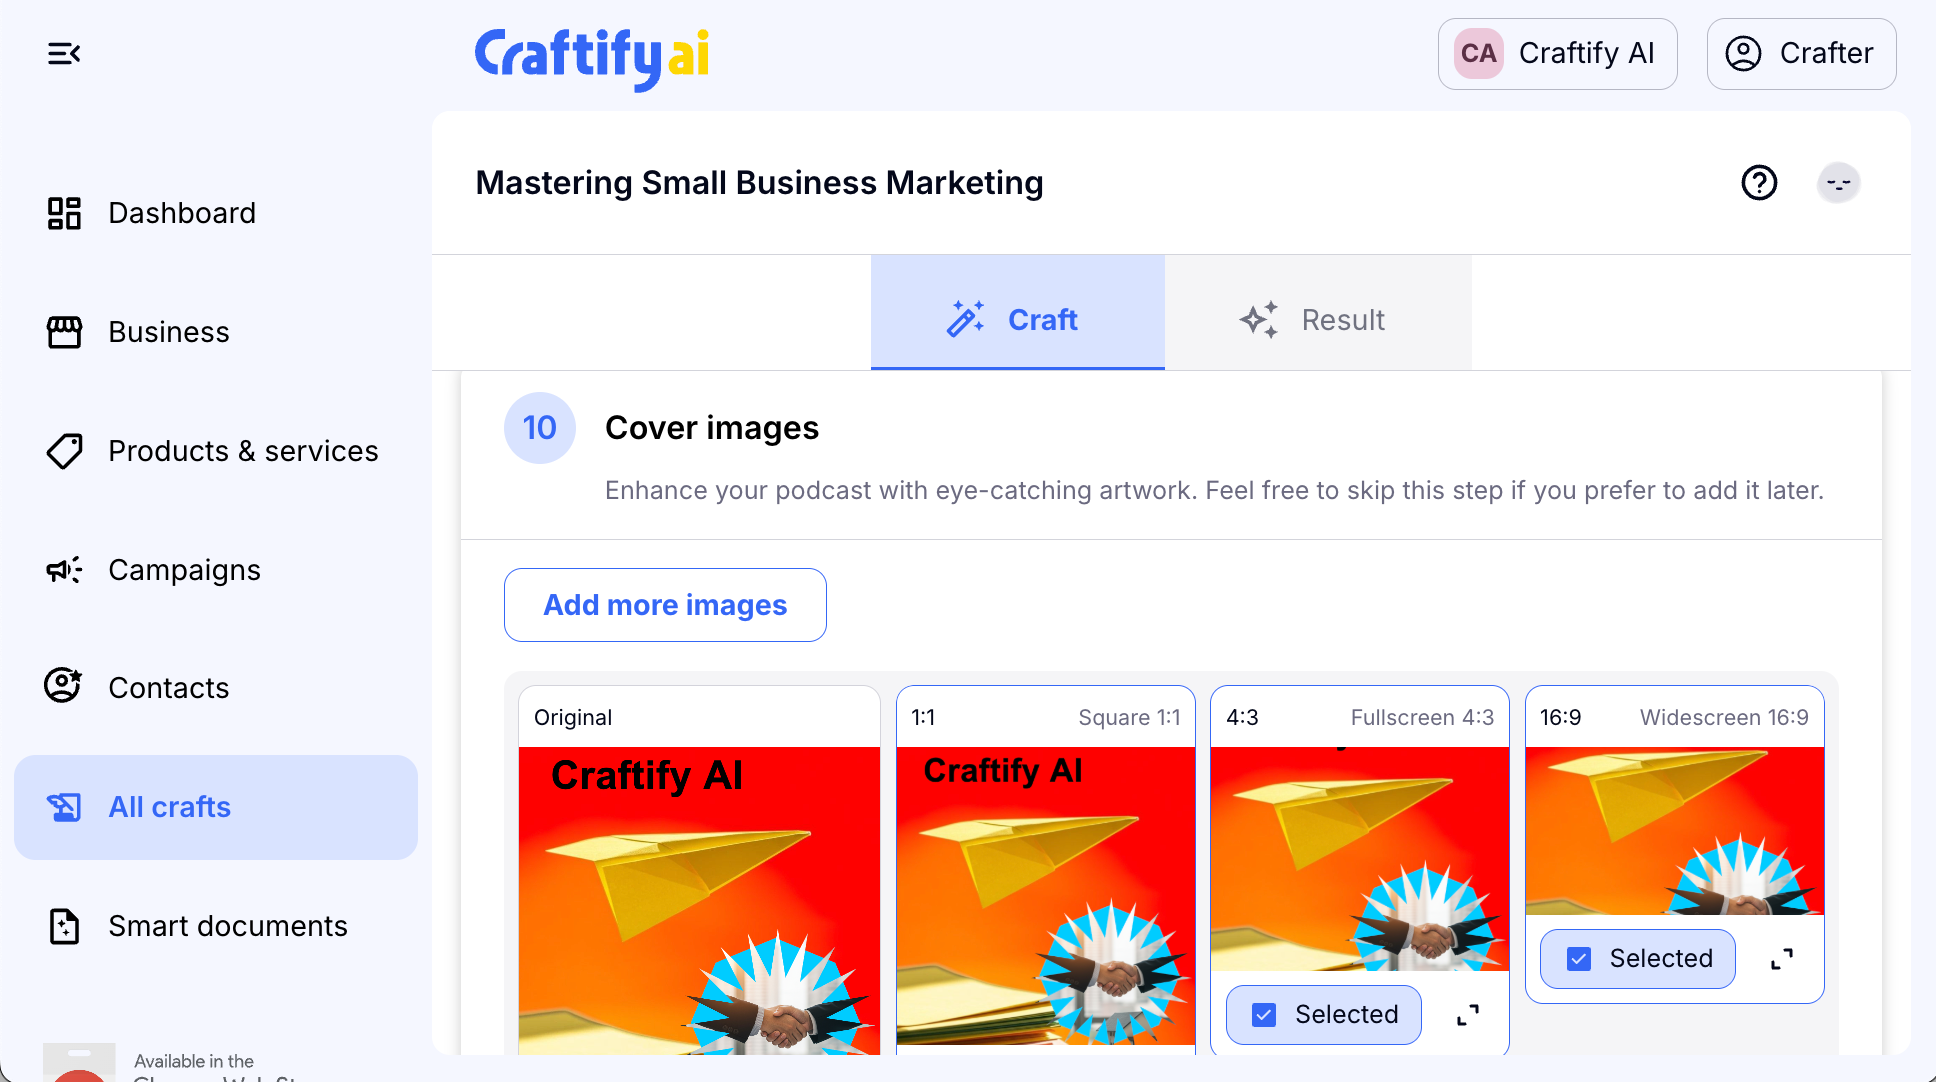
Step 2: Cover Image
- In this particular craft, the Podcast Writer, you will see the last prompt is to create a Cover Image. You will find this prompt in many of our crafts, specifically in the Email Writer, Blog Post Writer, Social Media Post Writer.
- Choose 'Add Image.'
Step 3: Welcome to the Visual Designer!
- By choosing 'Add Image' you will be brought inside the Visual Designer where you can create an image, print design, social media post, email template, and so much more!
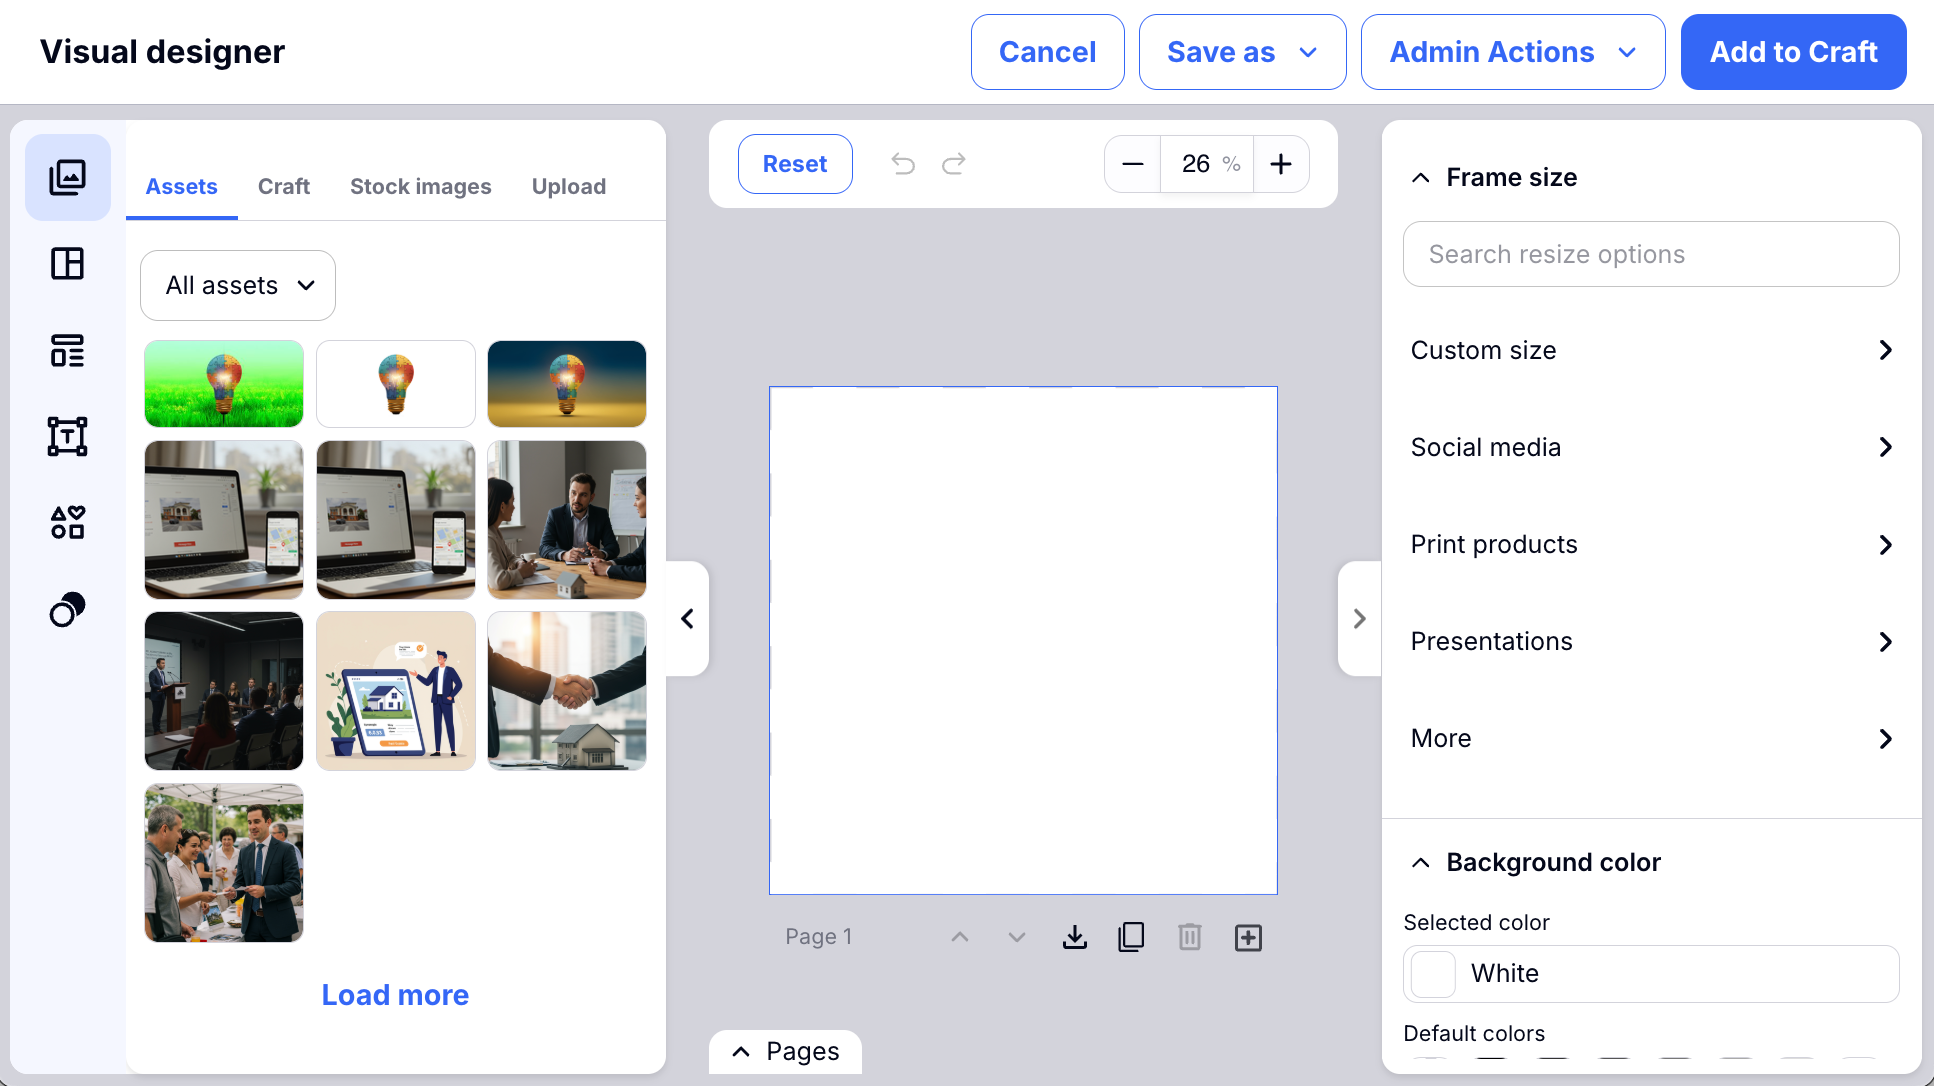
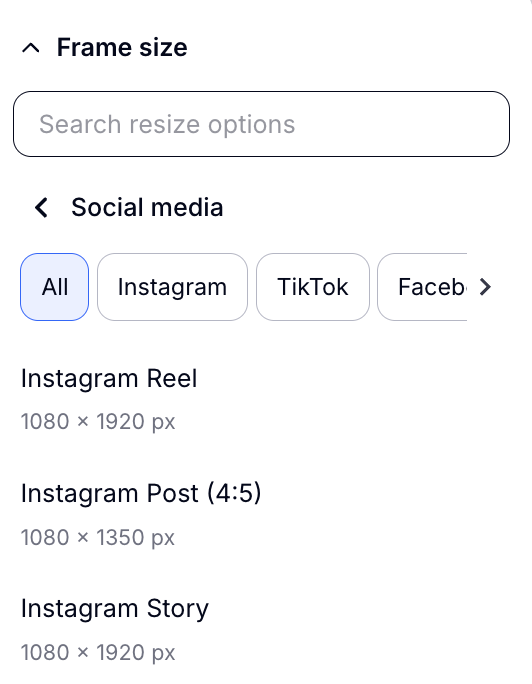
- Start off by choosing the size of your Frame. You can see this on the right-hand side. Click on the type of Frame you are wanting to create, and then inside you will see all of the different sizes necessary for different types of media. Or you can choose to create a custom size!

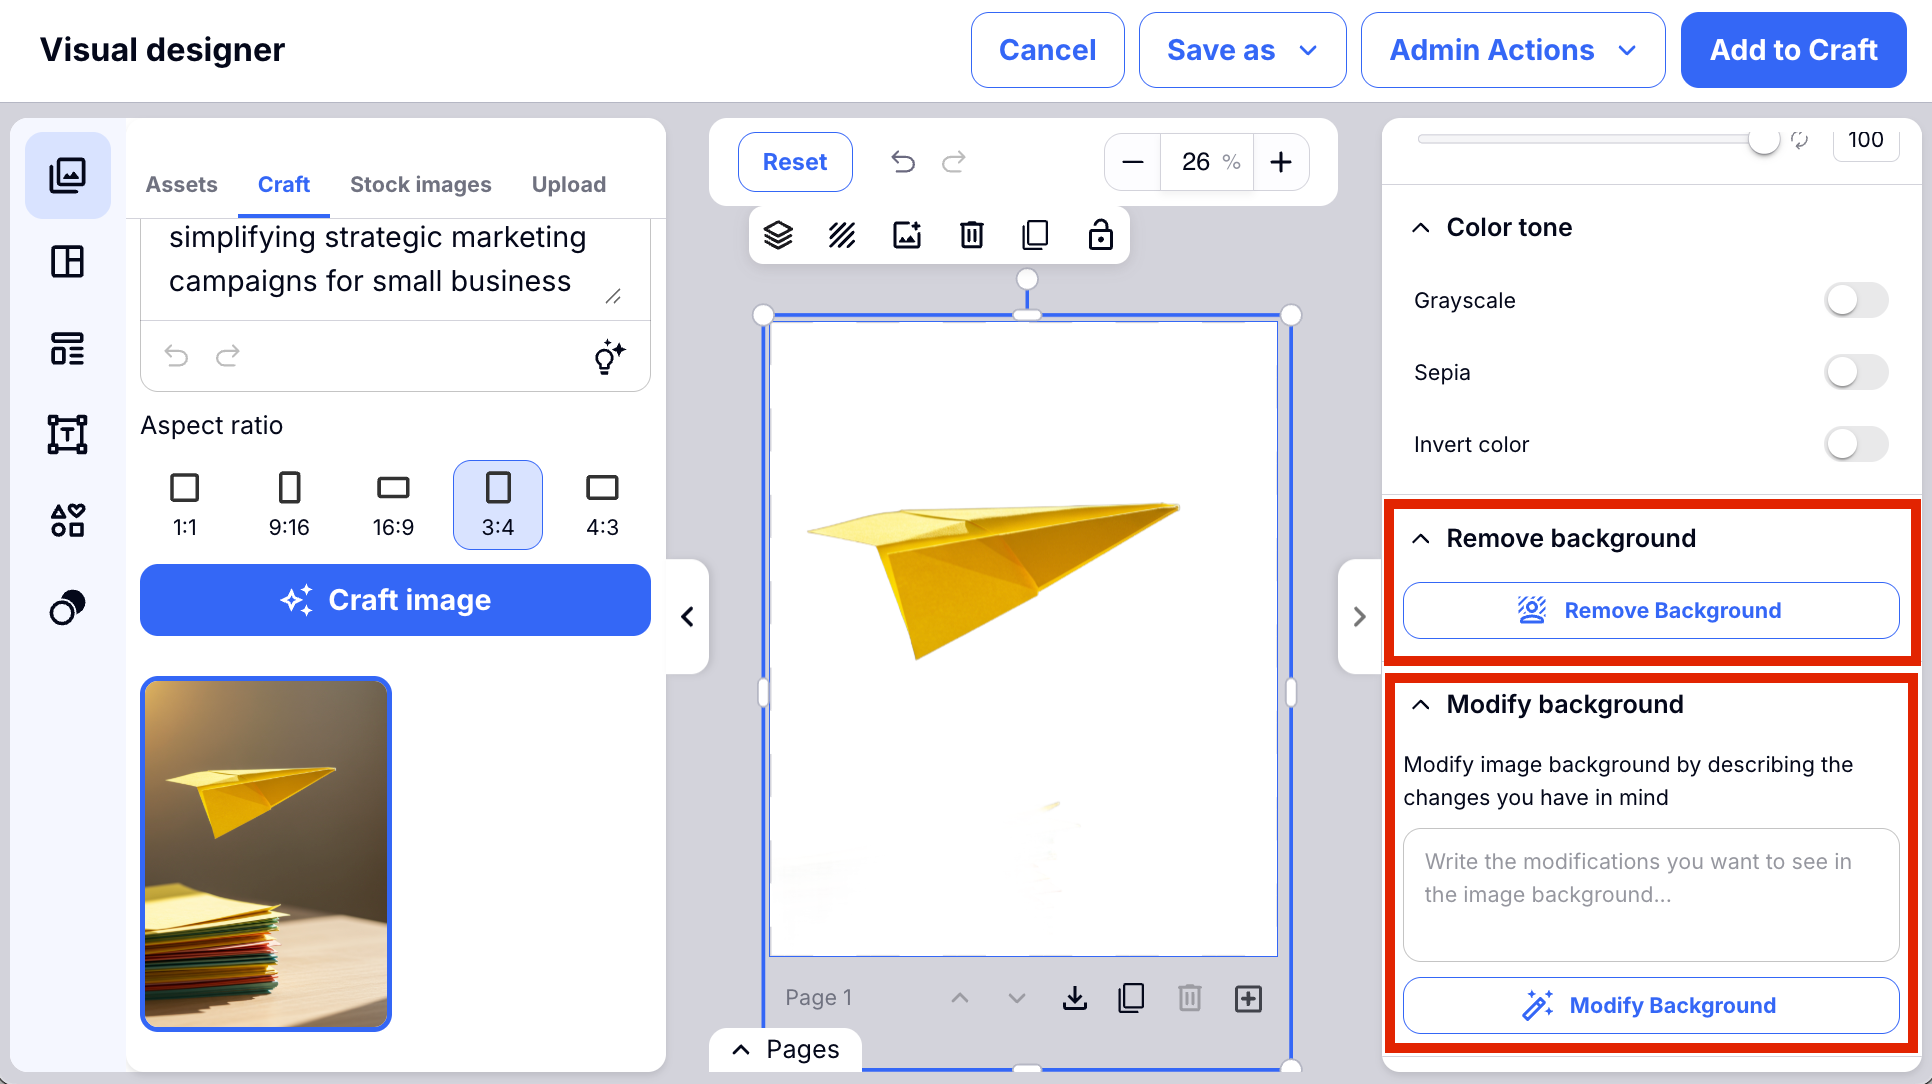
Step 4: Craft an Image
- On the top left-hand side bar you will see the images tab. You can then choose to Craft a new image, search stock images, or upload your own.
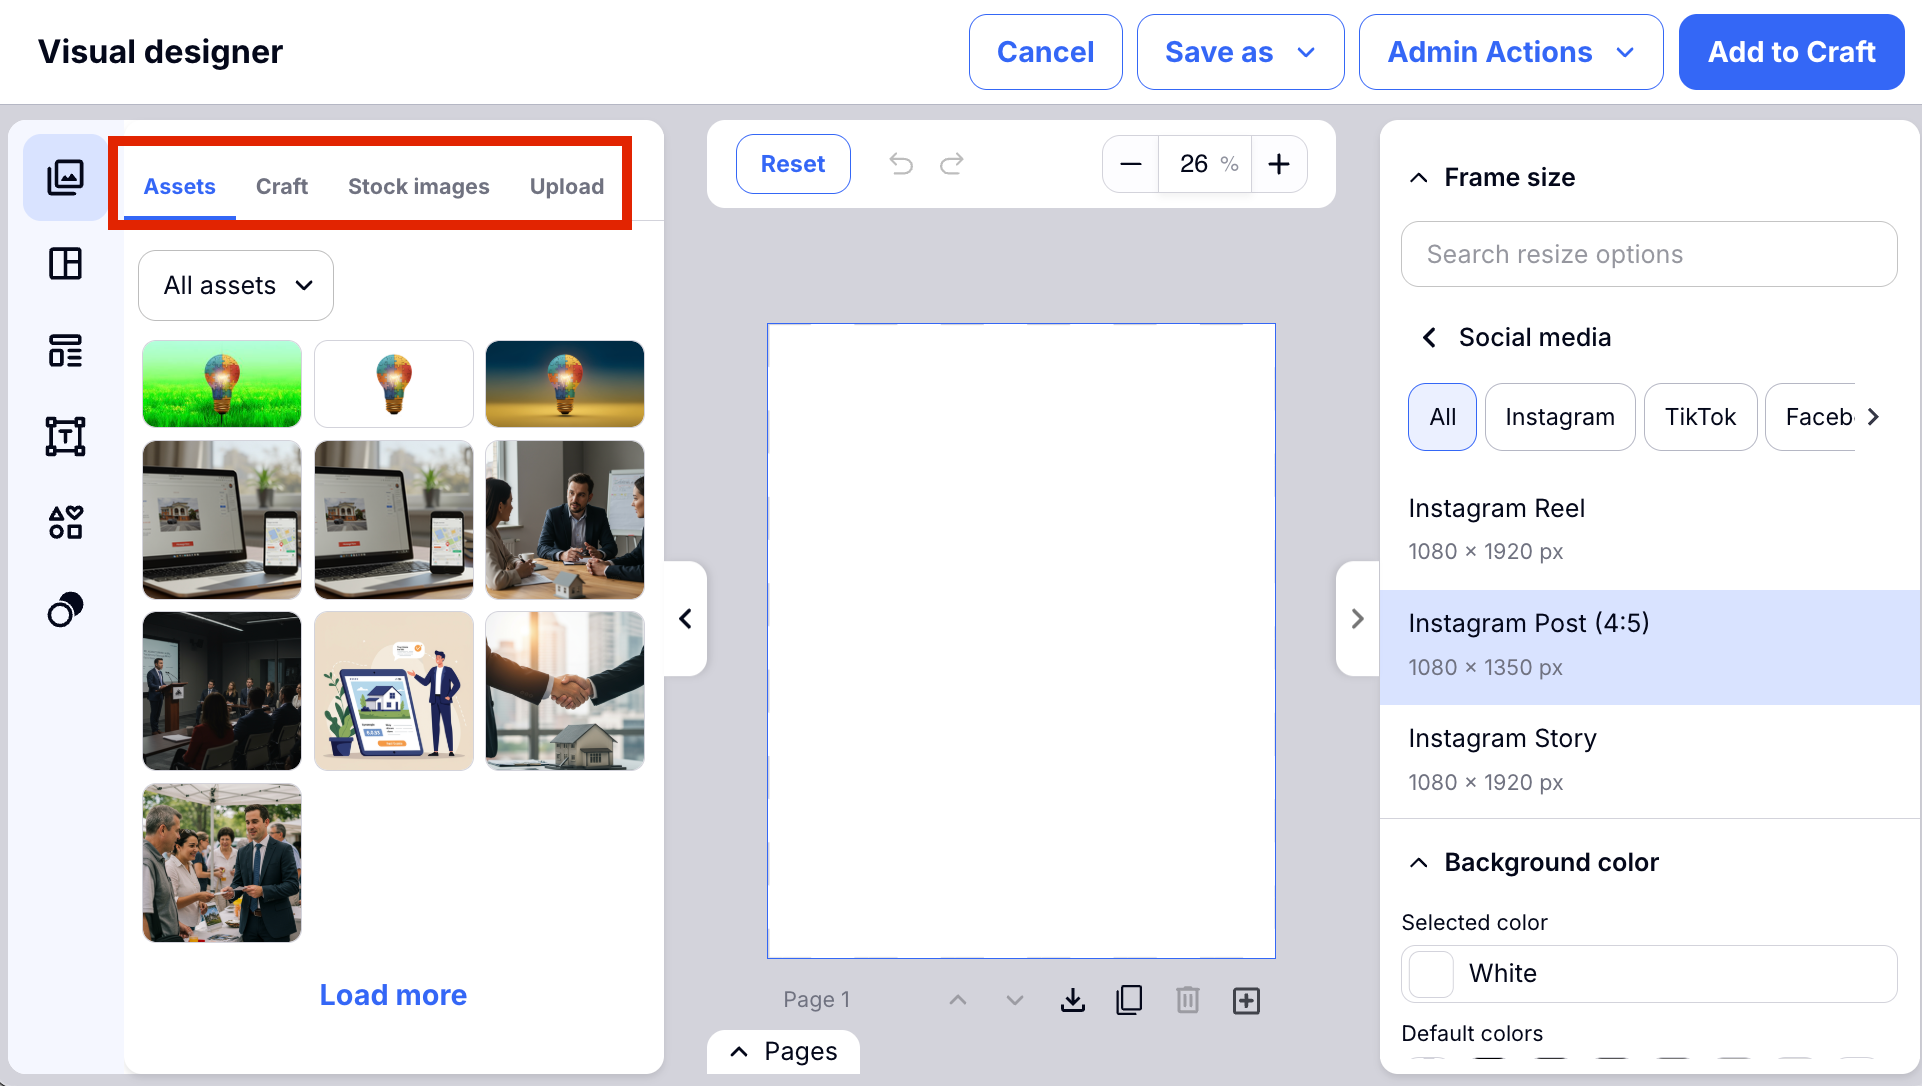
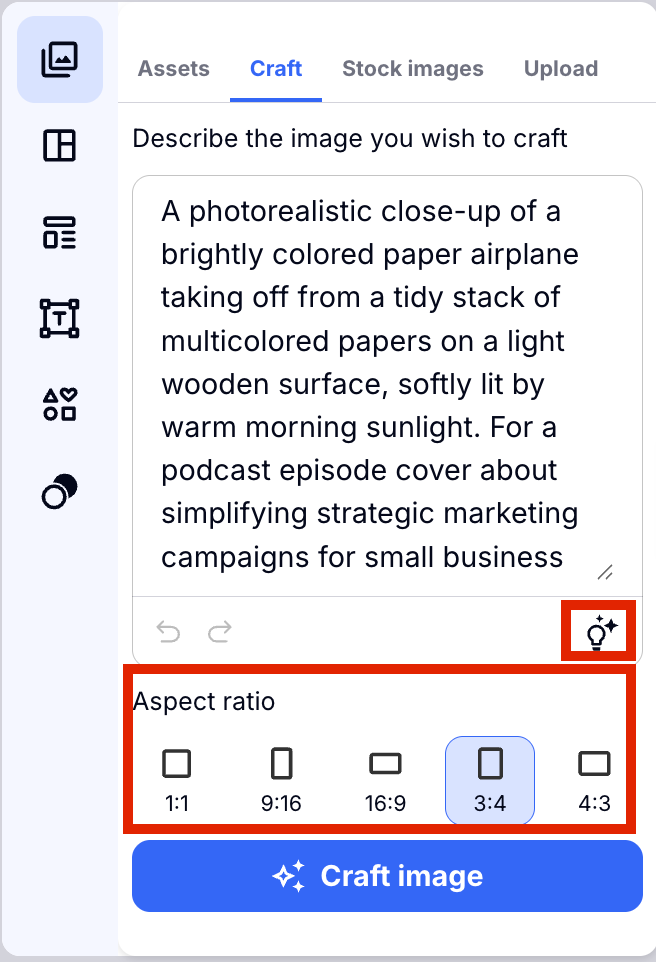
- Using AI is fun to generate an image. Craftify AI already created a prompt based on your Craft's content that you previously created. Craftify AI keeps all of that in mind when making an image prompt, which you can then edit if you so please.
- If you would like Craftify AI to create a new prompt, you can choose the 'lightbulb' and it will make a new prompt based off of your prior Craft content.
- Then choose the format of the image you would like to generate, then click 'Craft Image.'
- Once you've crafted the image, you can click it to add it to the Frame. Then you can use your curser to adjust the size.
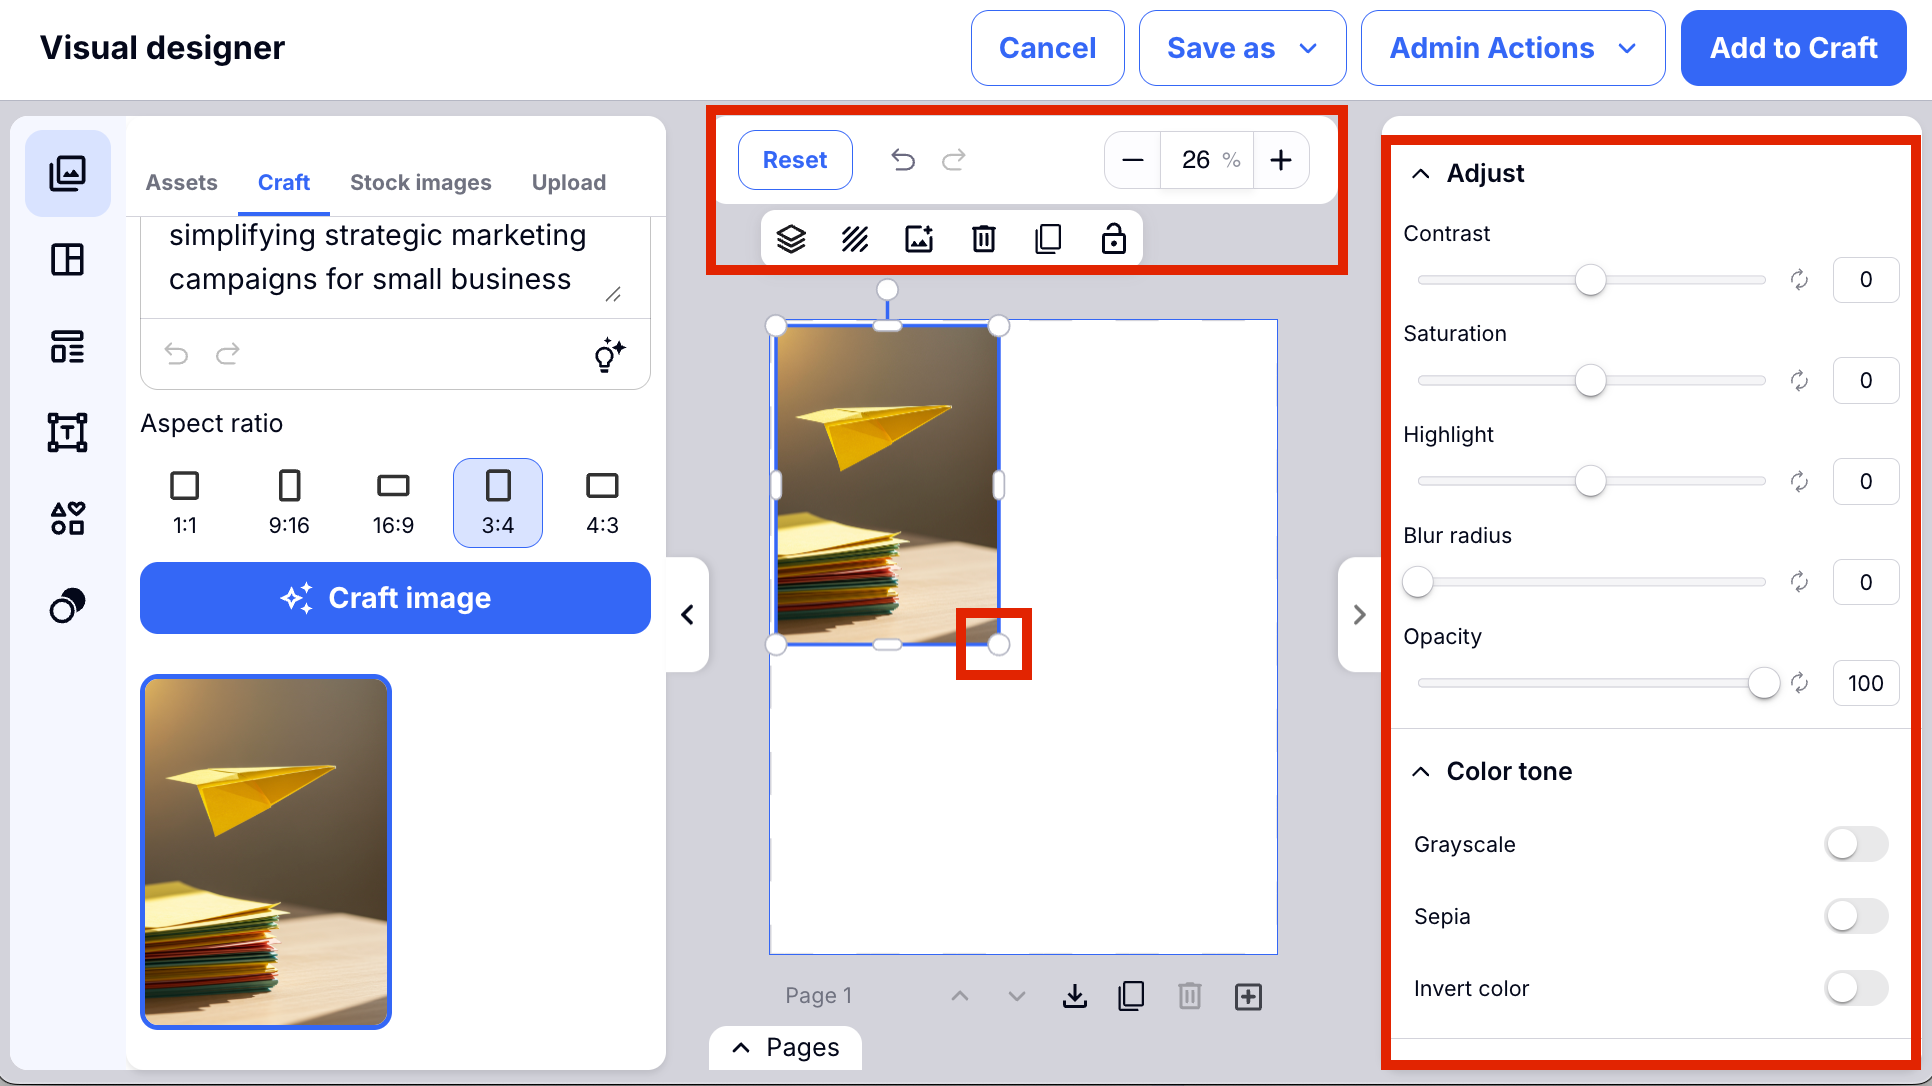
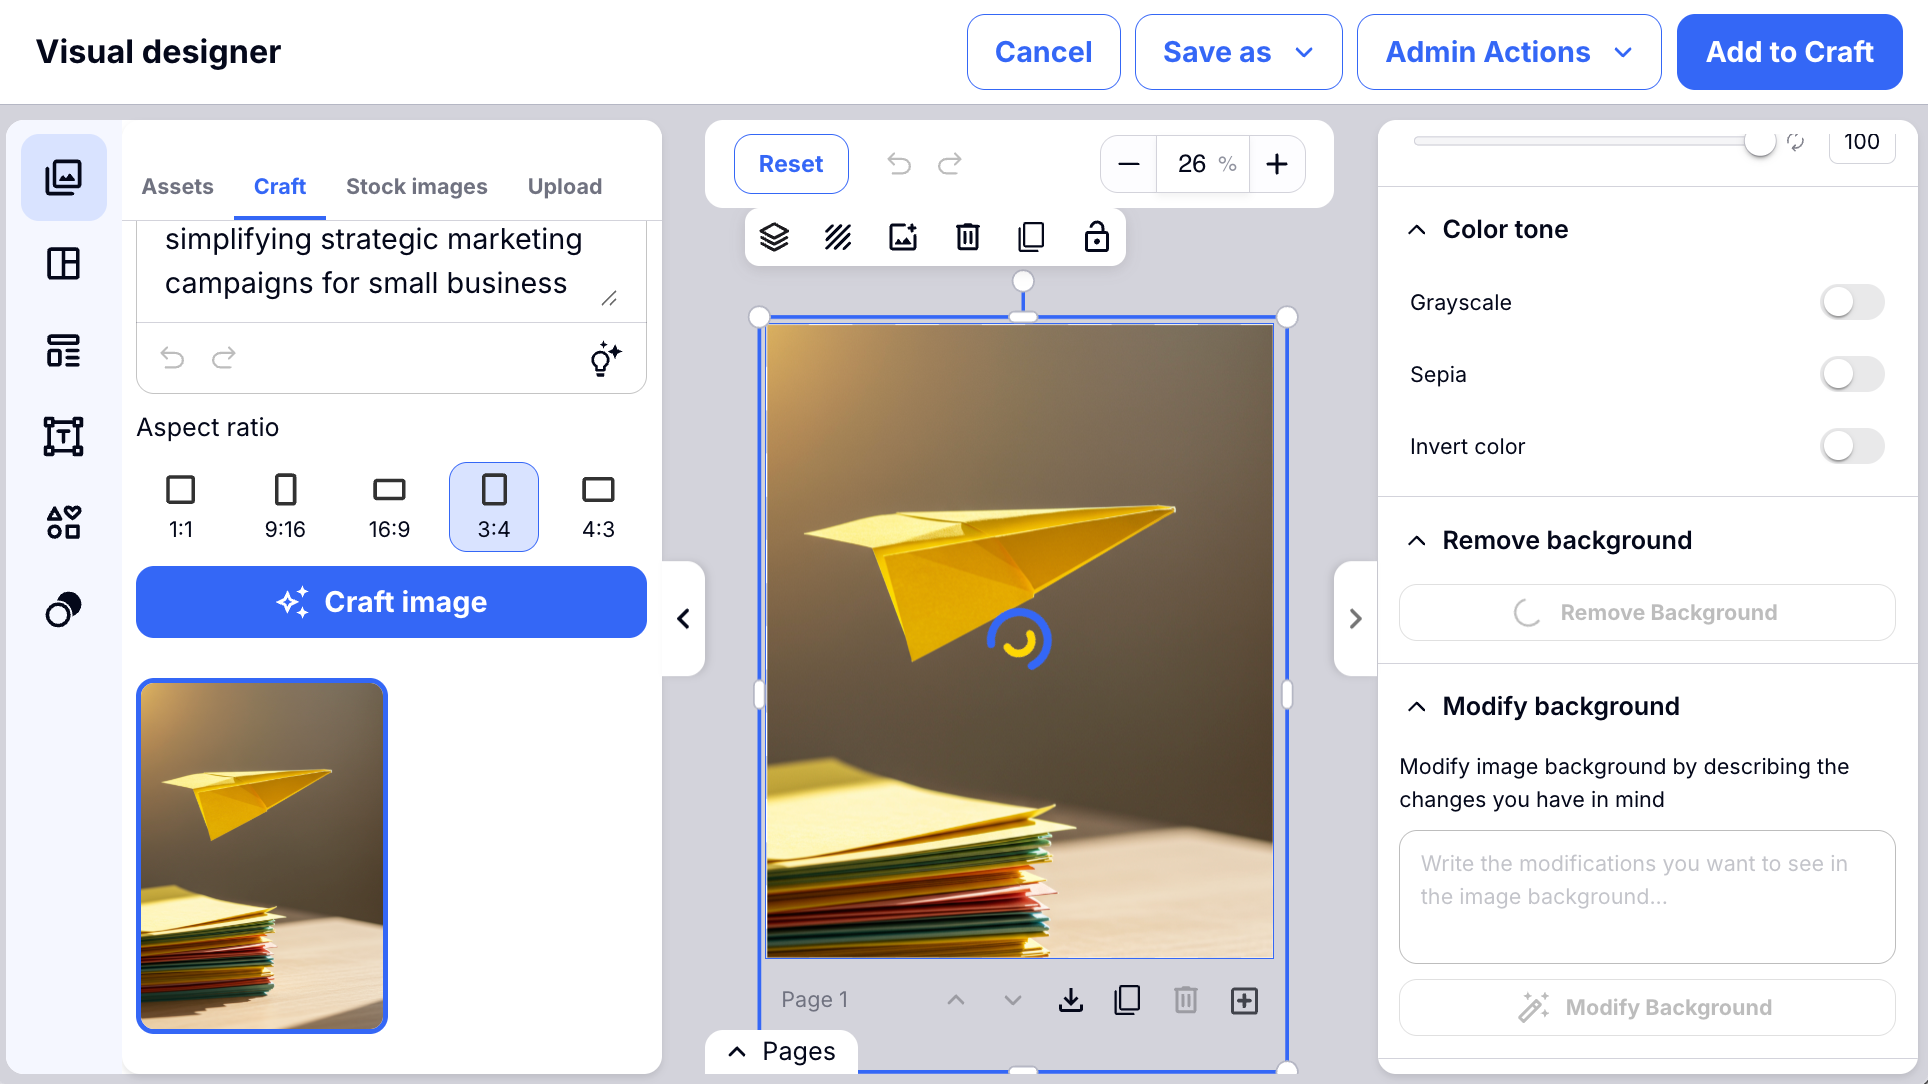
- If you would like, you can edit the image using AI. You can remove the background, or modify the background.
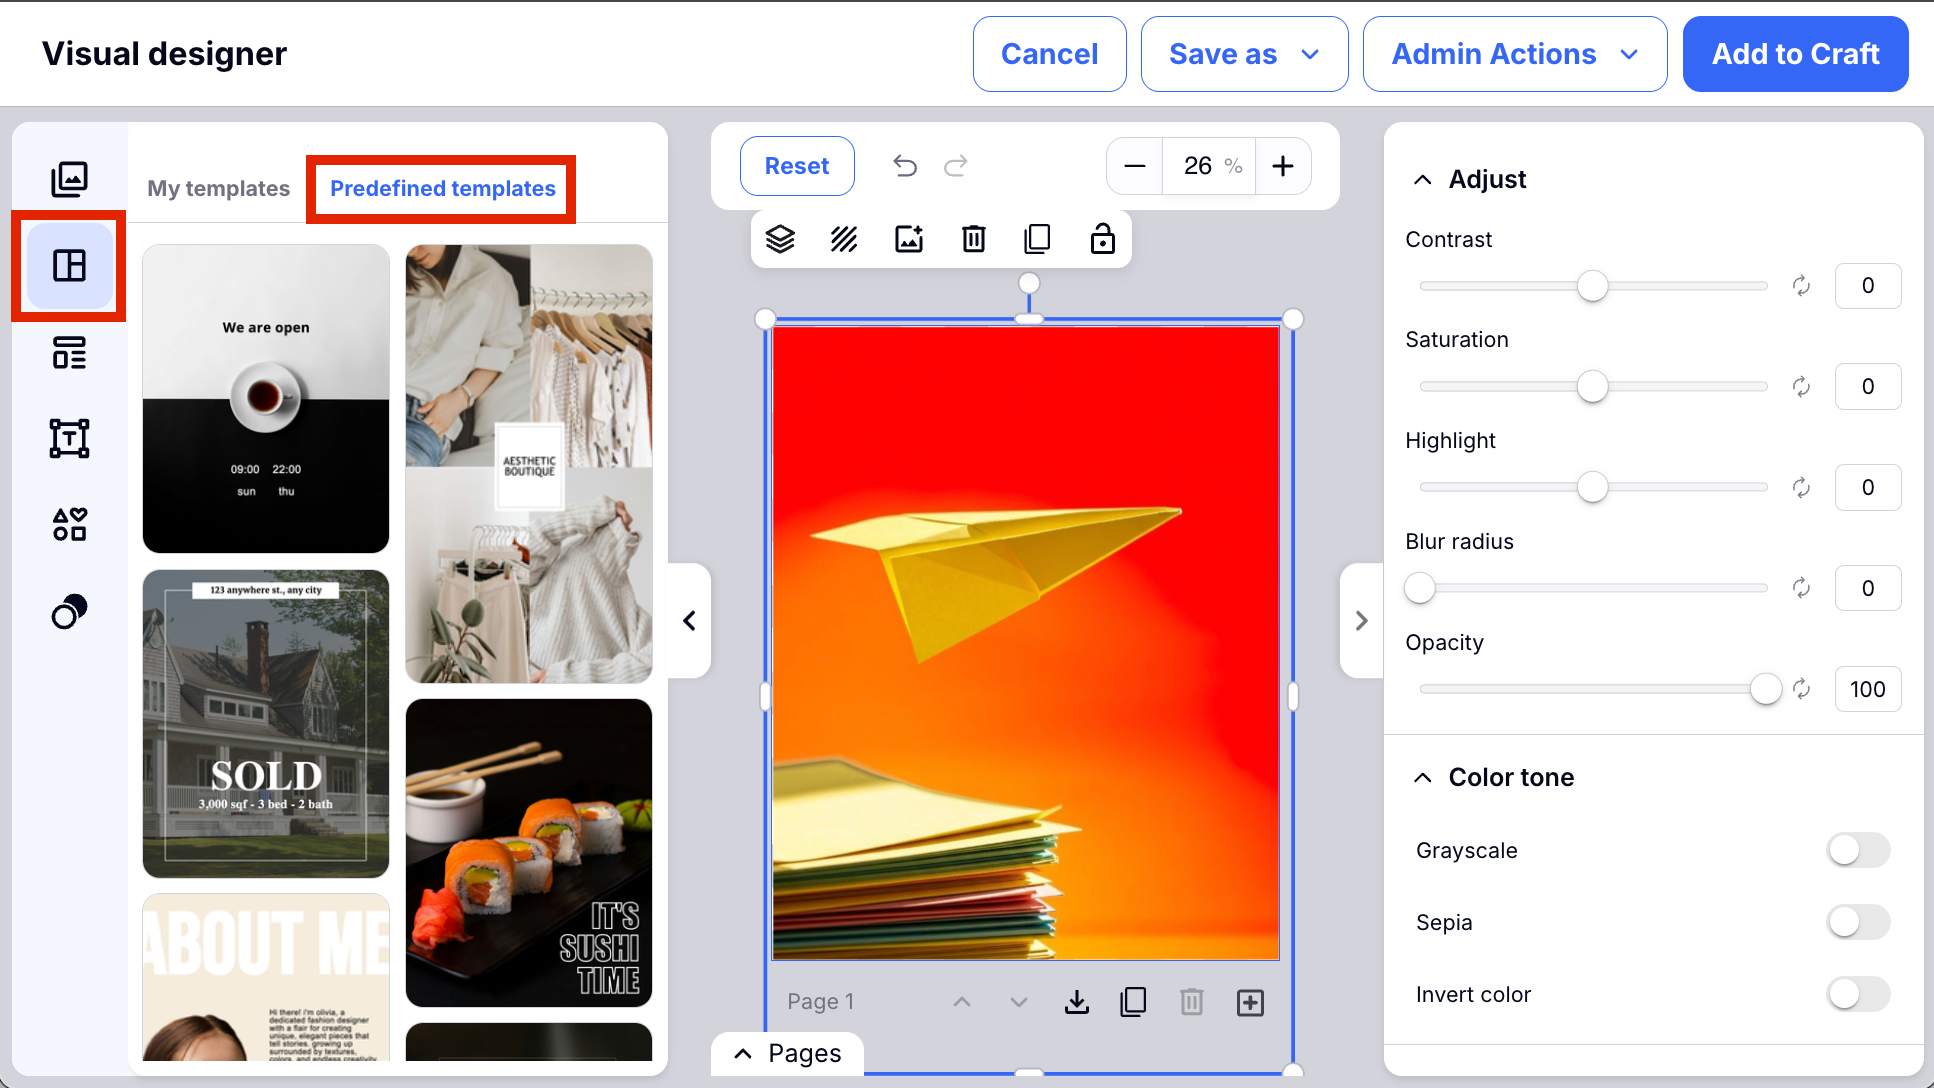
Step 5: Discover Templates
- If you would like some inspiration on what to do with your new image, you can explore our pre-created Templates or create your own template.
- We have 2 sections of templates, all are different. We are constantly adding new templates to this library so you can continue to gain inspiration and edit these to create dynamic marketing images for your brand!
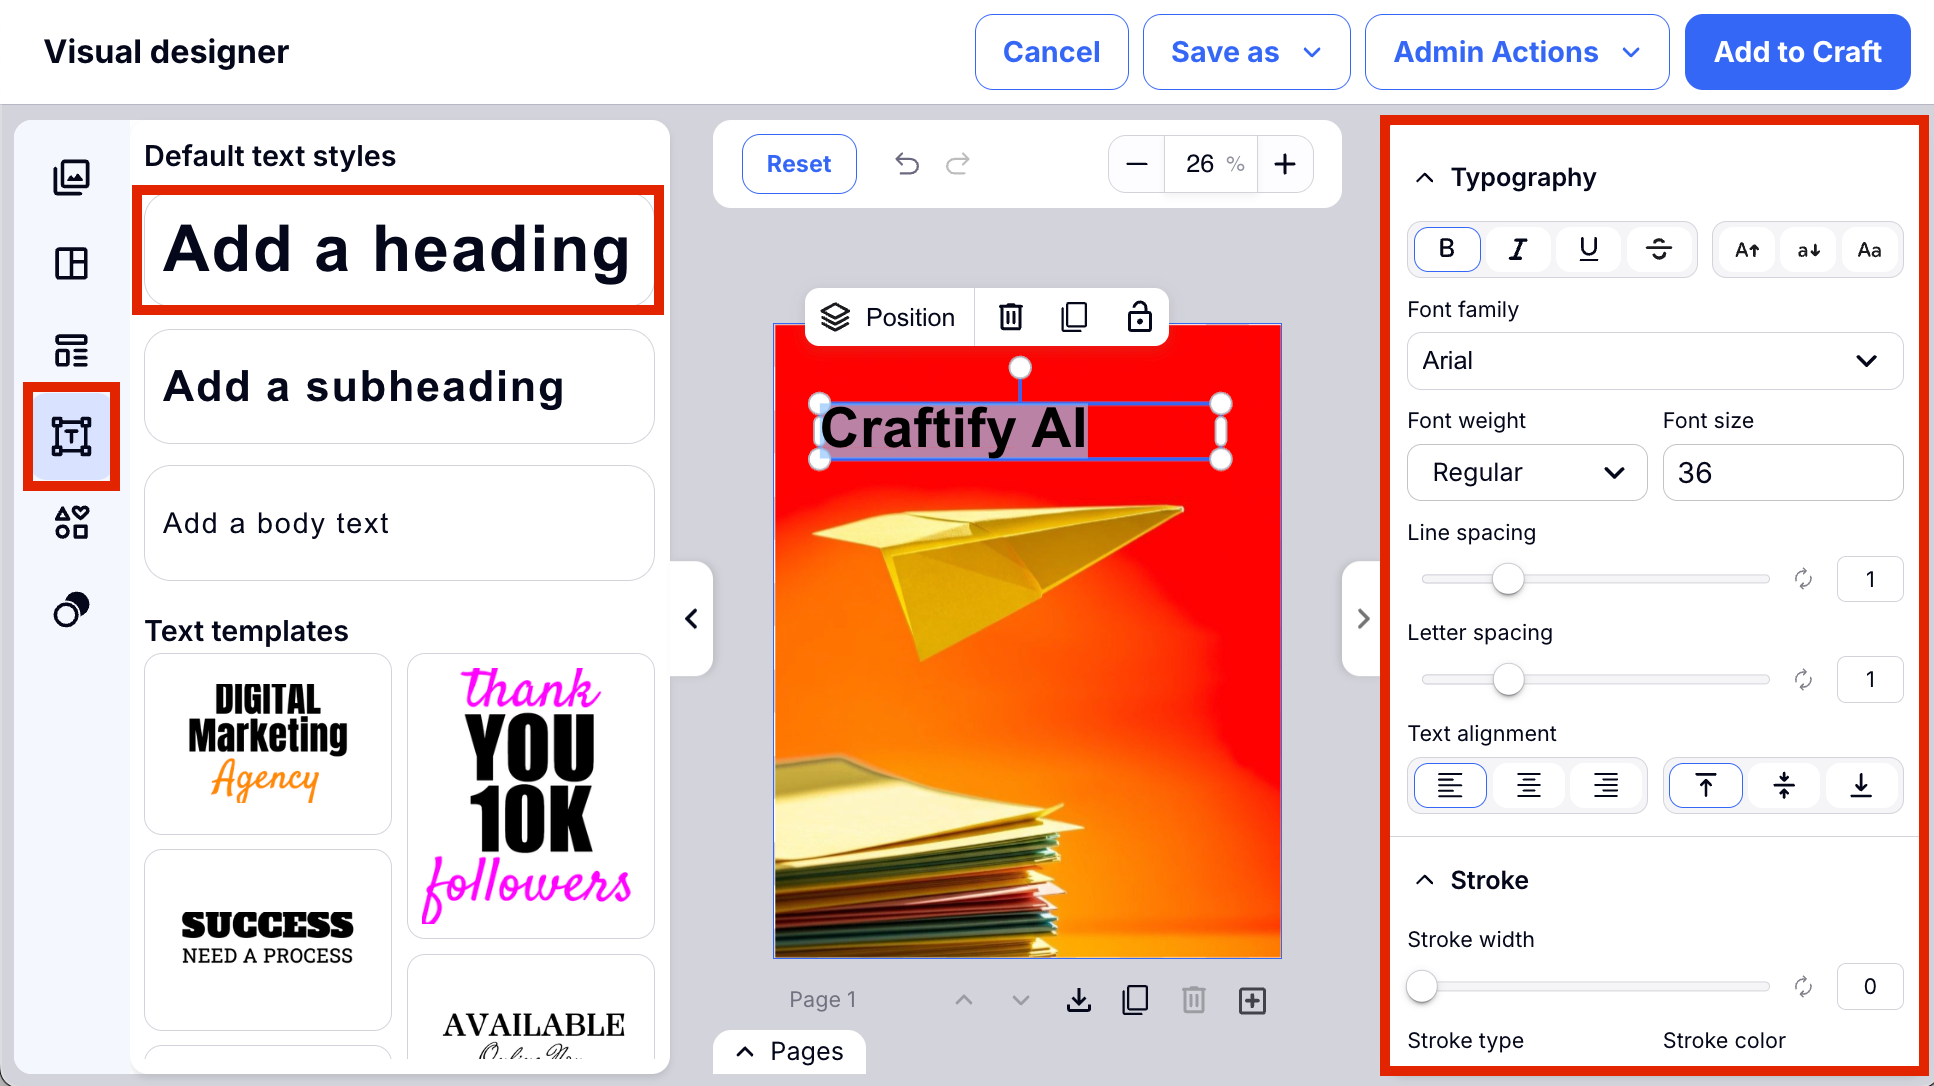
Step 6: Add Text
- Choose the Text section on the left-hand bar and start adding text to your image.
- When you click or highlight the text added, you can edit all aspects of the text on the right-hand side. Here you will find how to change the font, the size, color, and much more!
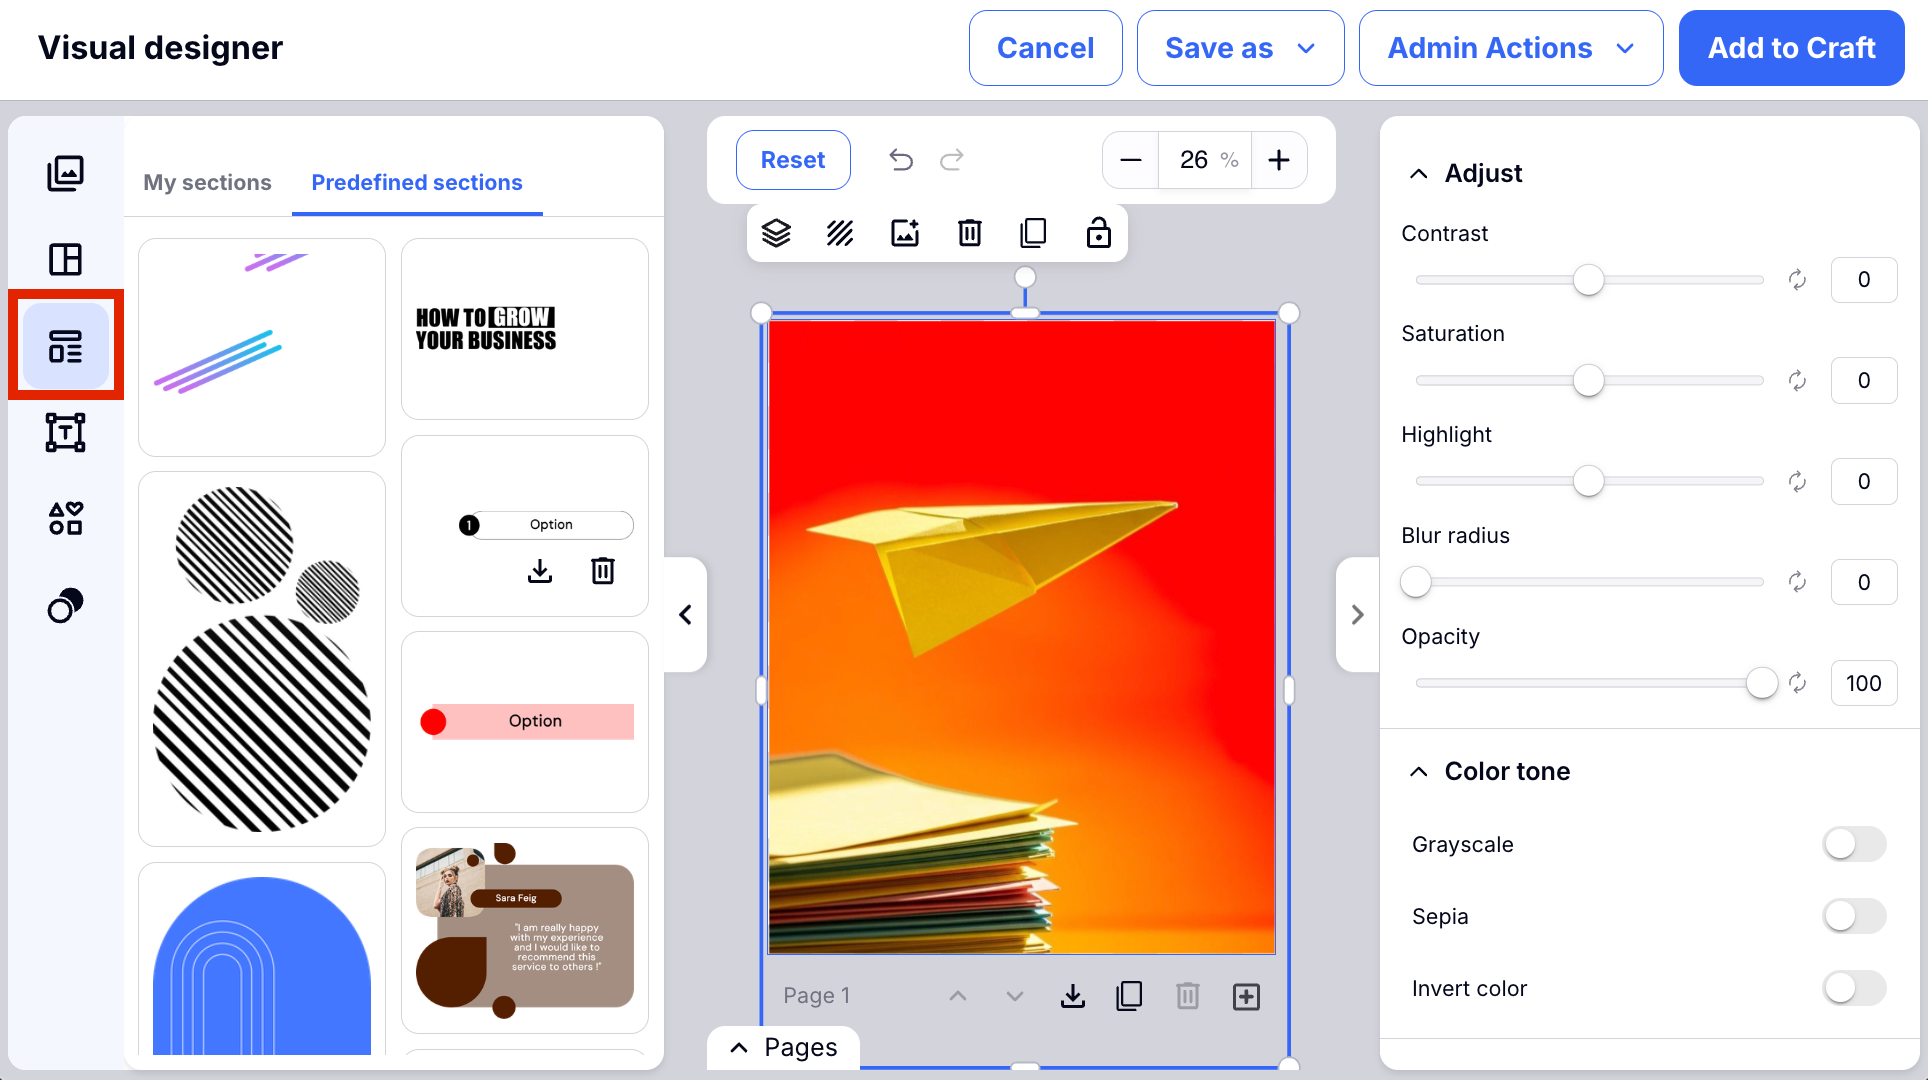
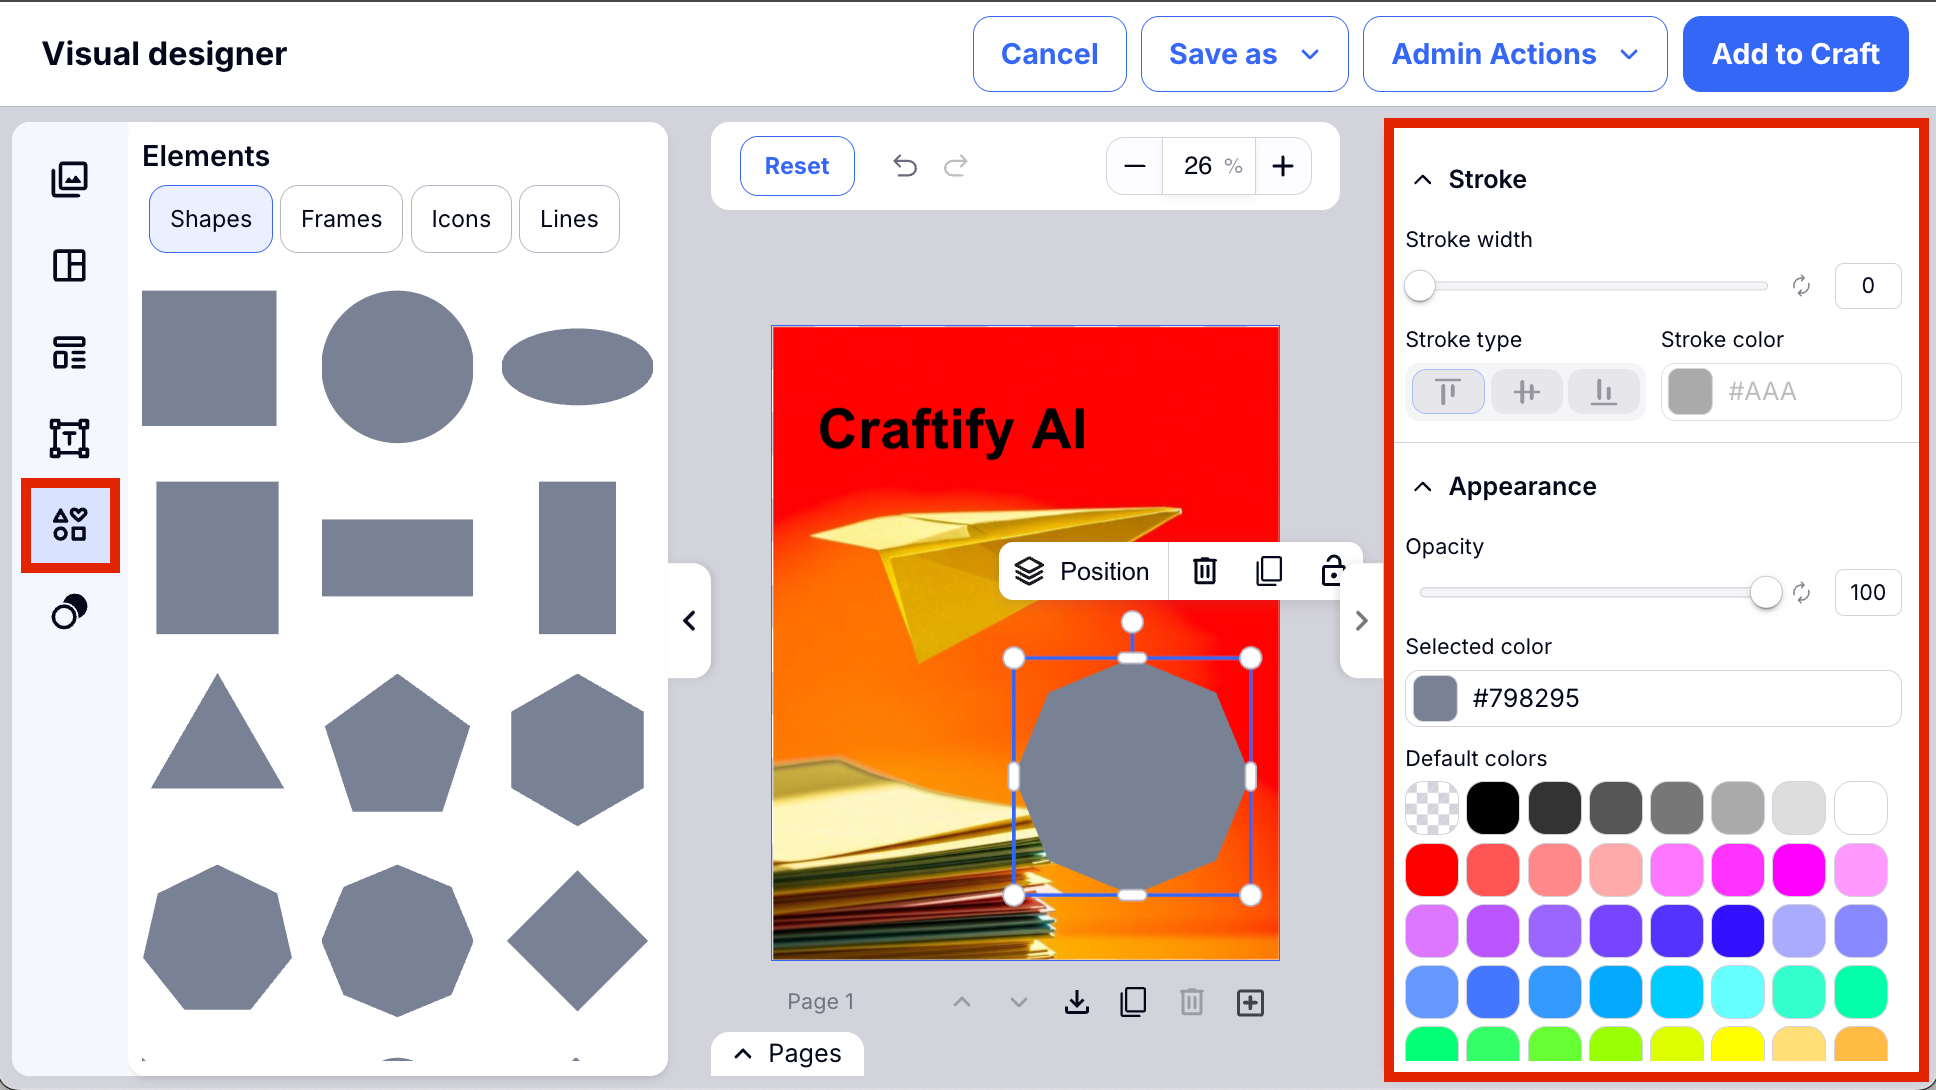
Step 7: Add a Shape
- On the left-hand bar you can find the Shapes tab to add a shape of any kind to your Frame. When you have the shape selected, you will see on the right-hand side all of the different effects that you can apply to the shape.
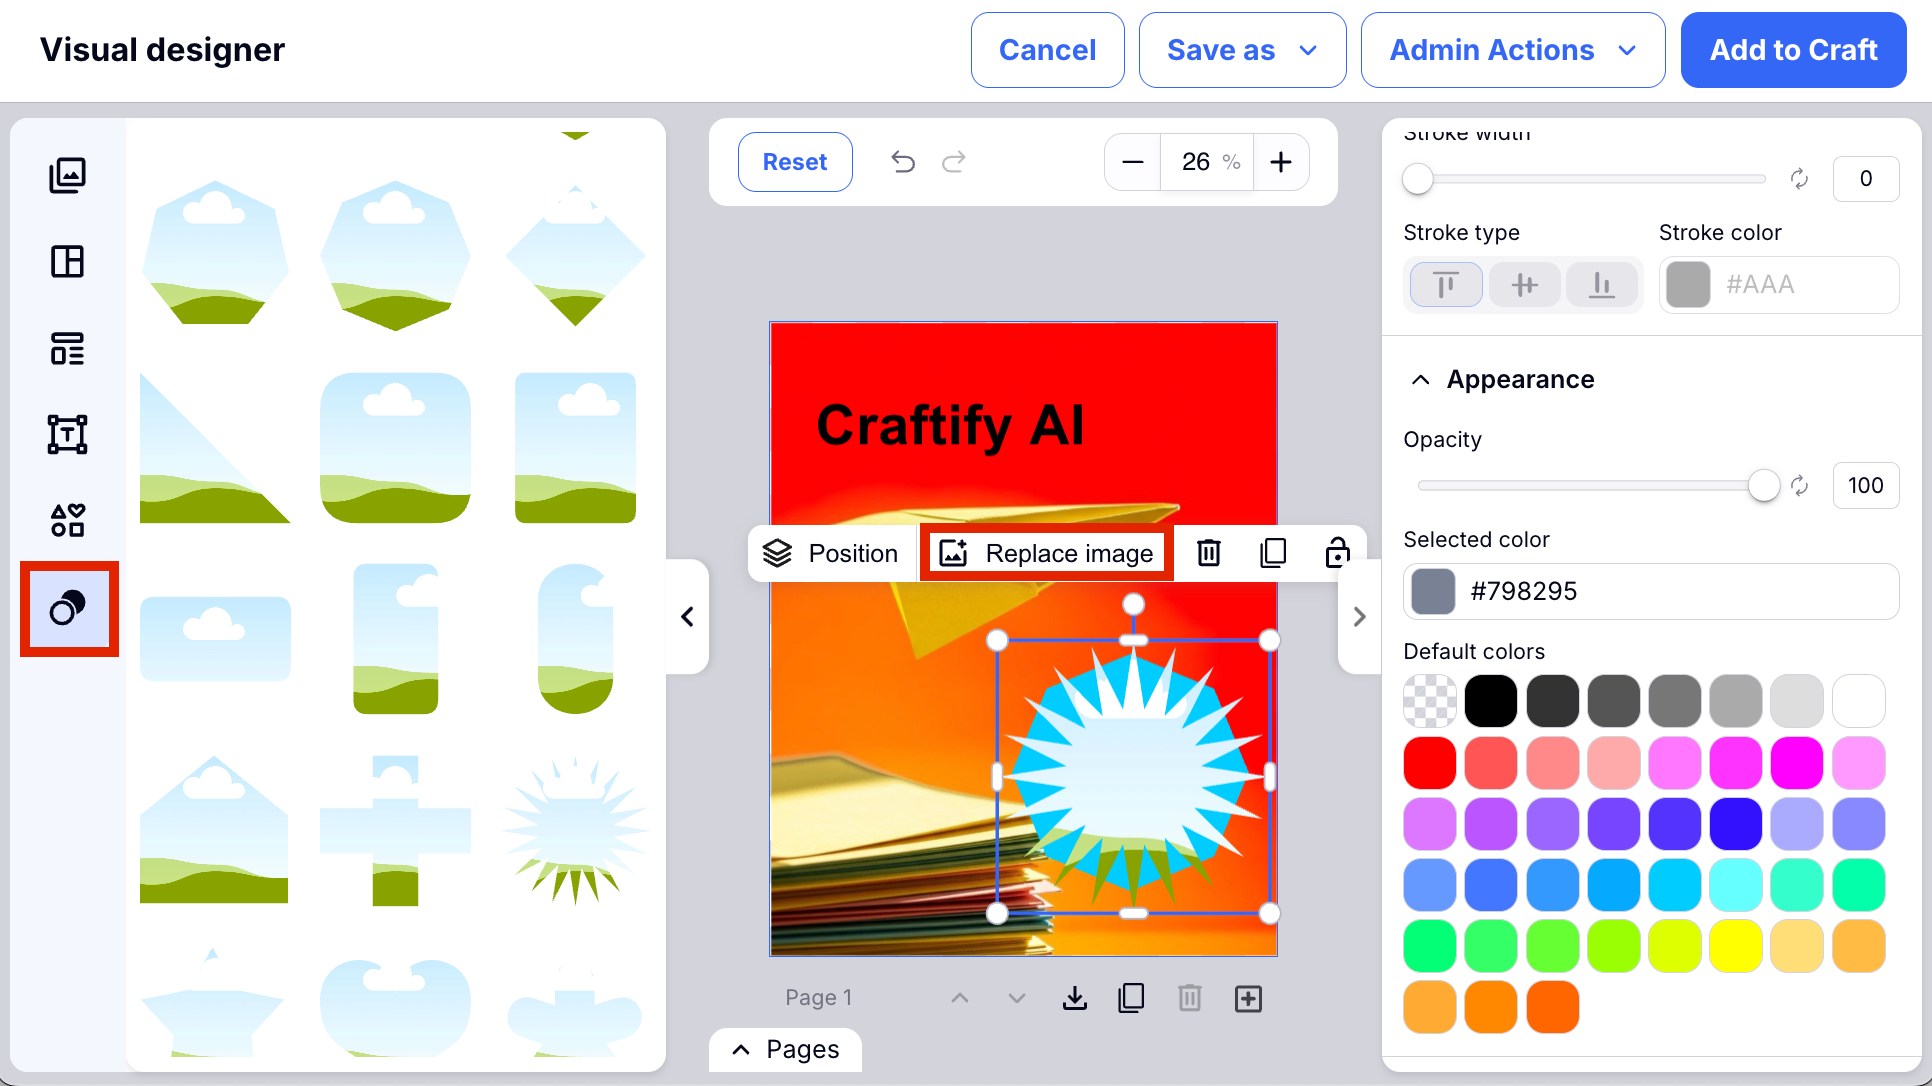
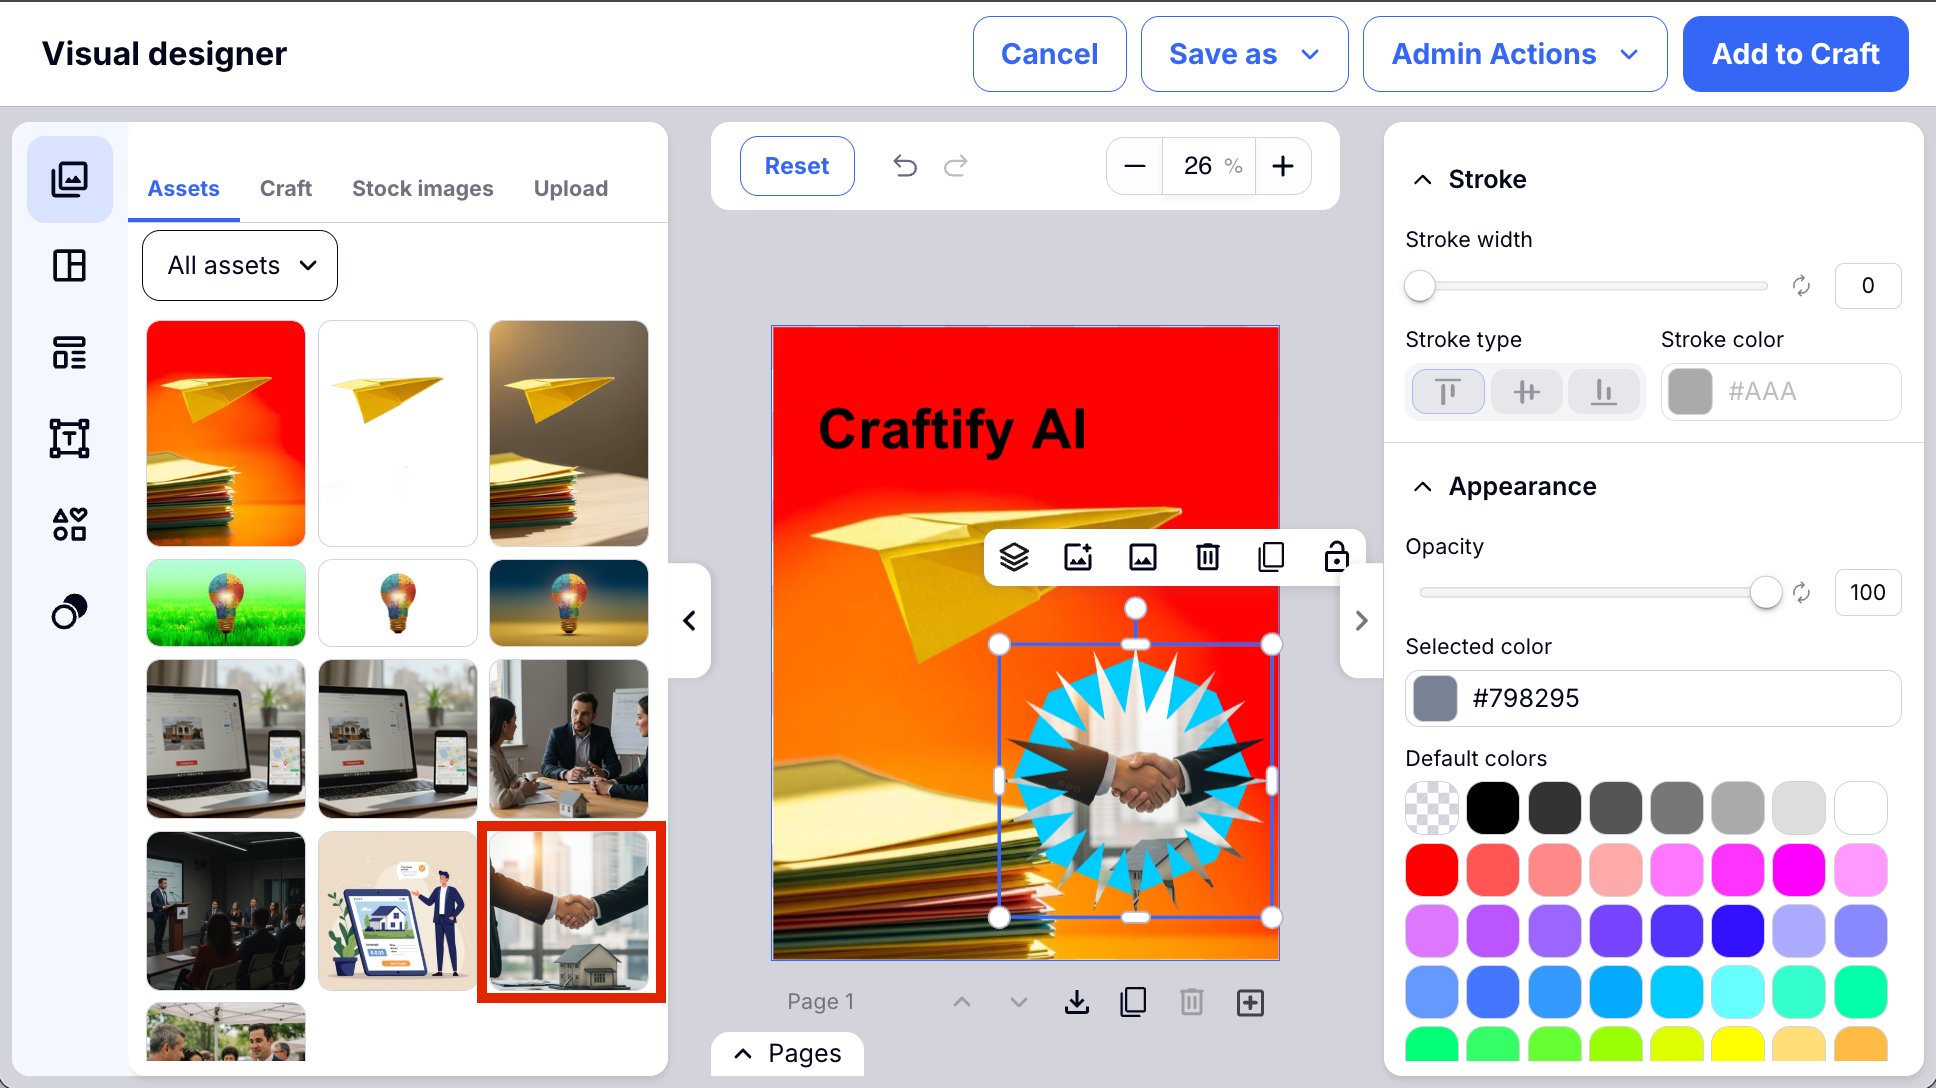
Step 8: Add a Mask
- Same as the shape, but you can add an image into the shape to create a mask. When you choose 'Replace Image,' the Assets will pop up and you can choose from previously used or crafted images in your Asset Library, or you can craft a new image, search stock images, or upload your own.
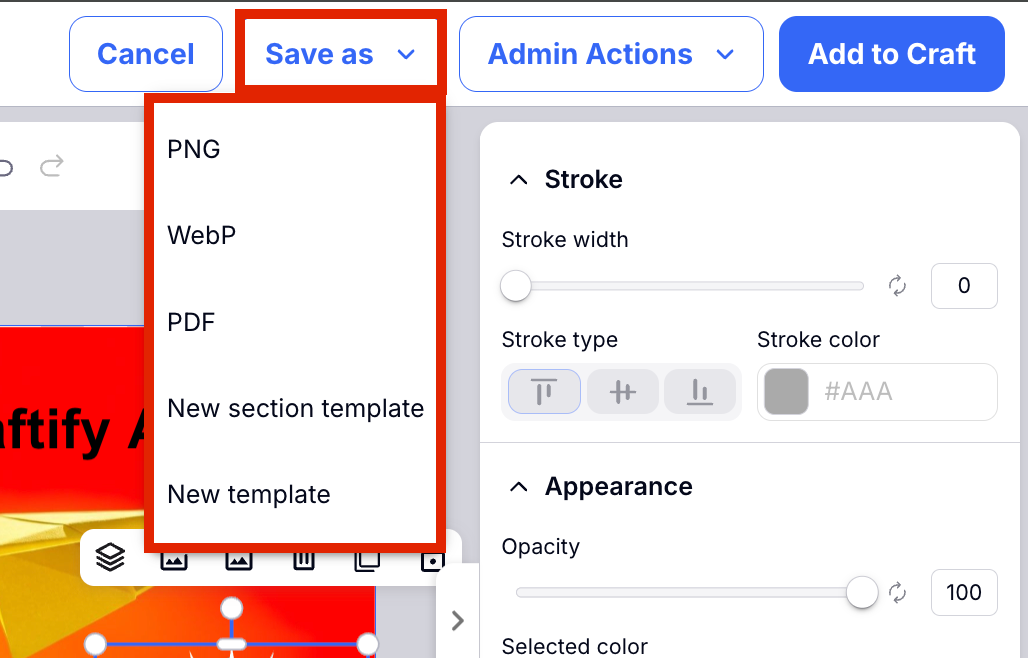
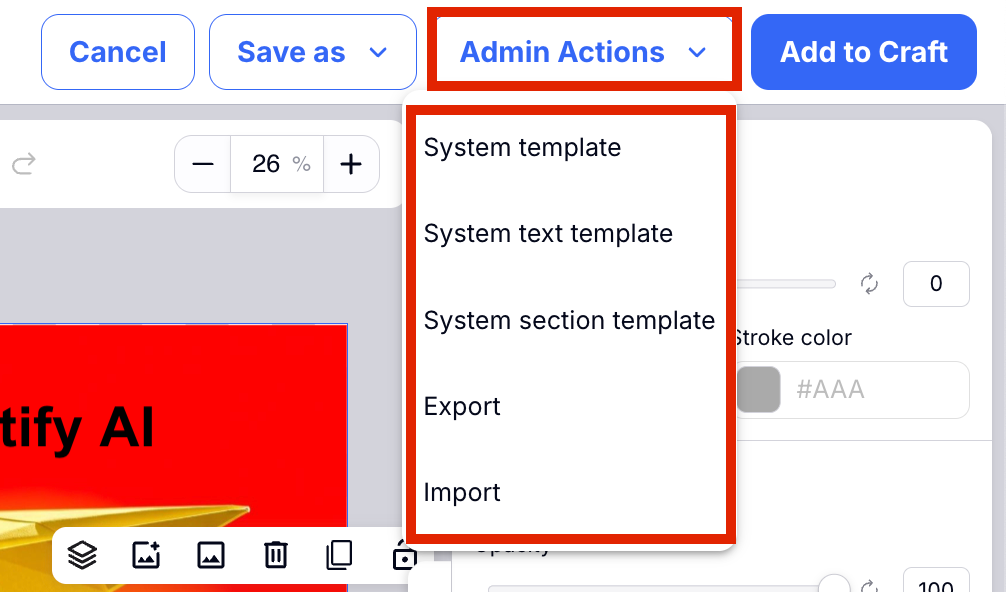
Step 9: Save your work!
- Don't forget to save what you've created! At the top of the screen you will find that you can download this image in many different ways.
- You can also save this as a template! When you save it as a template, you will find it later in the 'My Templates' section.
- You can also create an Admin Action to save your template for use in different types of crafts.
Step 10: Add to Craft
- Finish by adding this image to your Craft that you were previously creating by clicking 'Add to Craft.'

Step 11: You will now see the image in your craft!
- A great way to keep all of your work organized is to create the image inside the Craft, so you can go back and review it anytime, or download images.
- Don't forget to finish the Craft so all of your work is saved!
We hope this tutorial was useful in starting to use the Visual Designer. We can't wait to see all of the awesome marketing material that you create using this tool!