How to Connect Craftify AI with Wordpress
Wordpress Integration Tutorial
Connecting your Wordpress website to Craftify AI is simple. In this tutorial, we walk you through the steps to connect your two accounts!
You can follow along with the video here or the written tutorial below.
Step 1: Go to Settings in Craftify AI
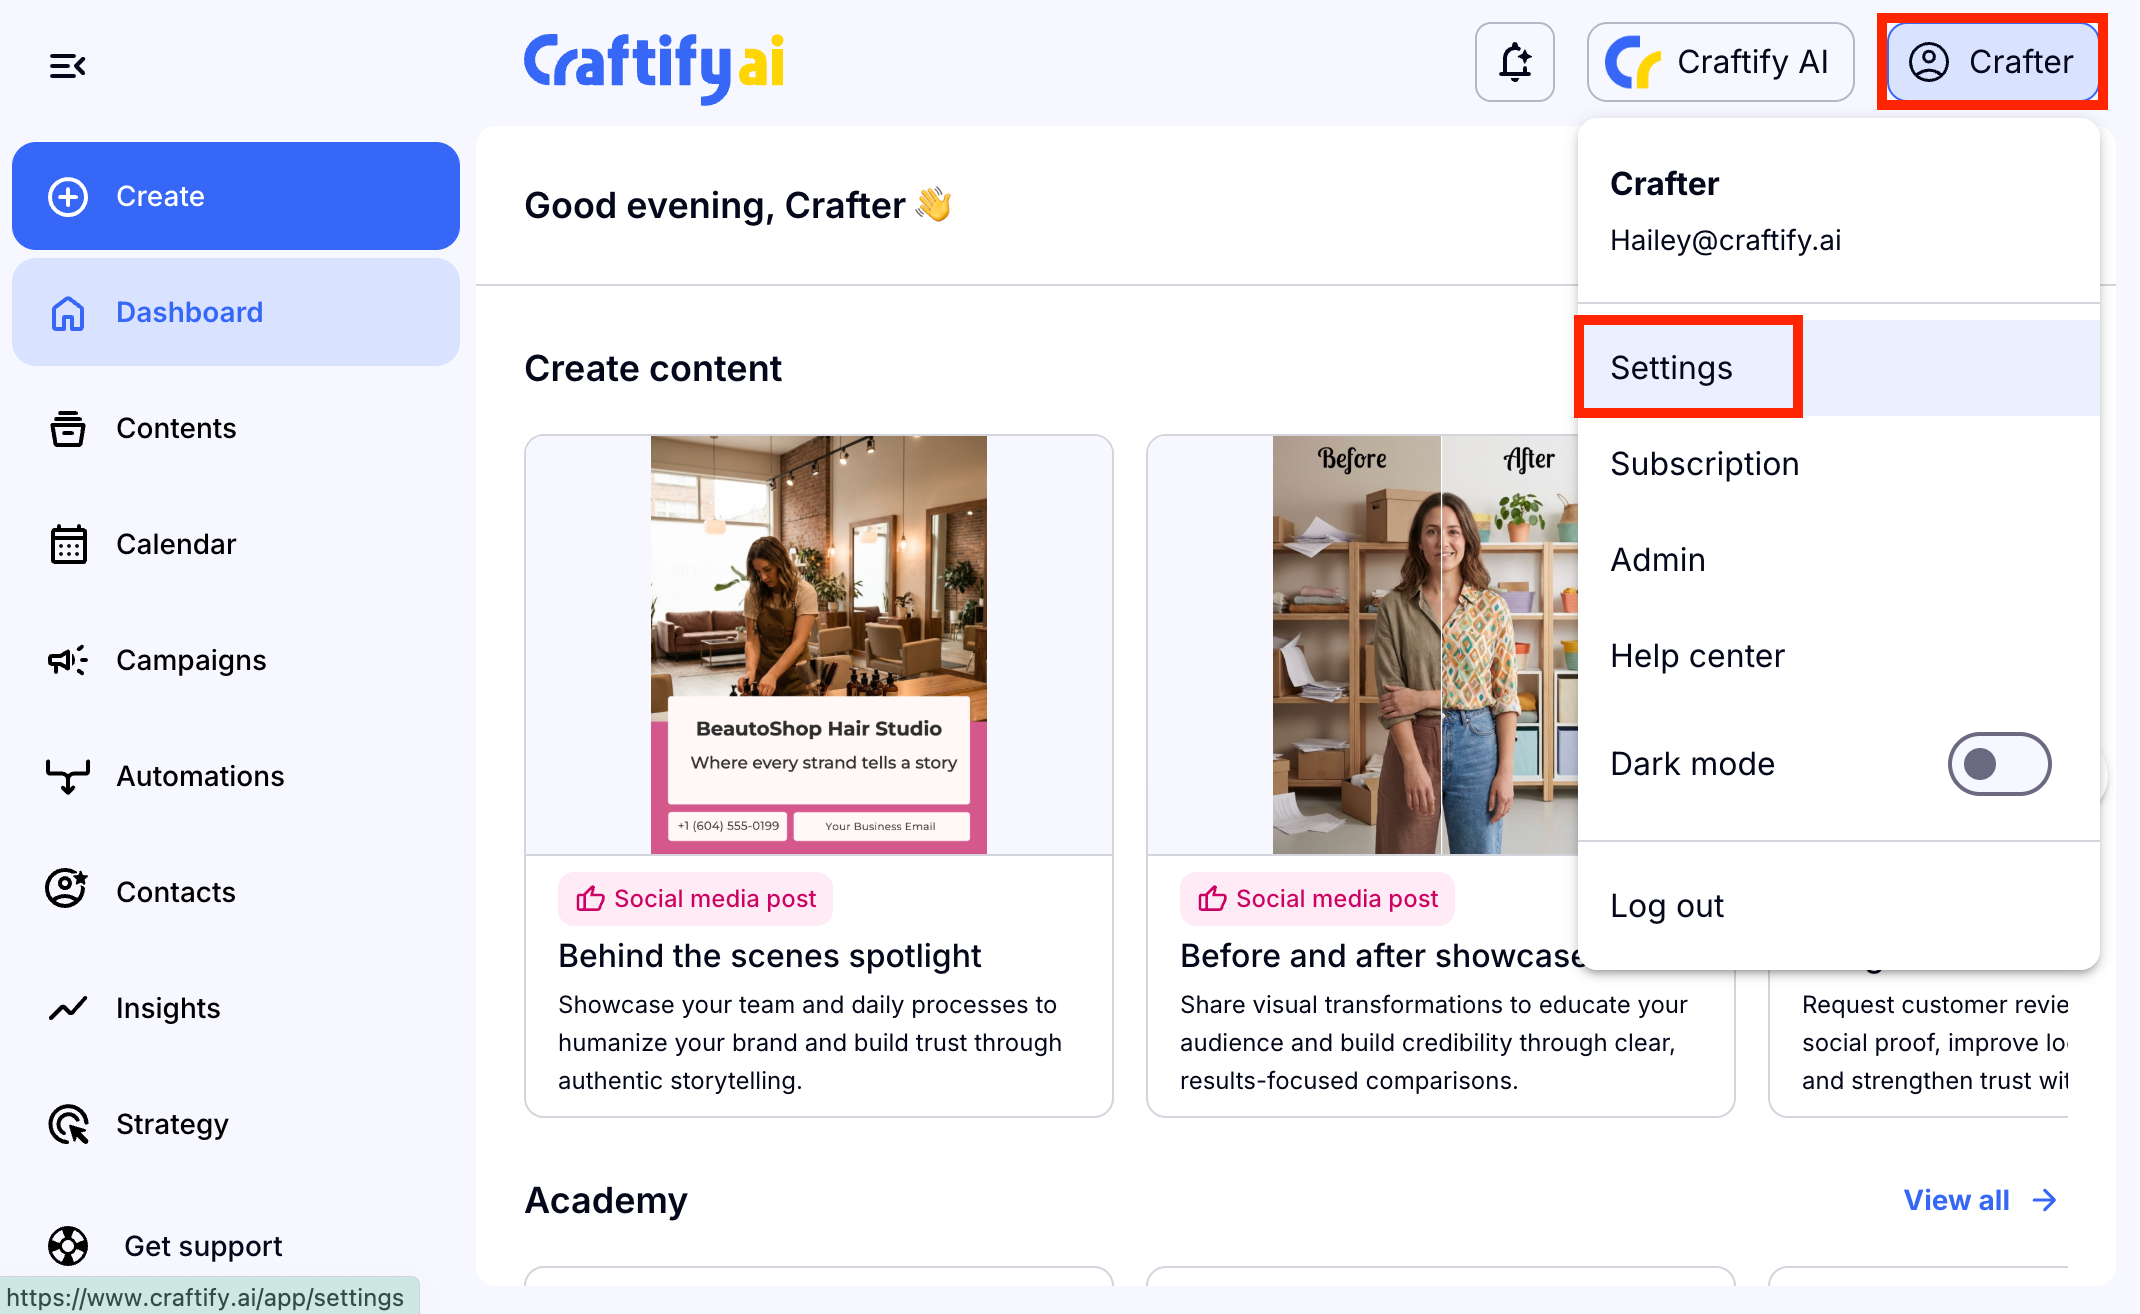
Then head to your Craftify AI settings by choosing your name or 'Crafter' in the top right-hand corner, and then choosing 'Settings.'
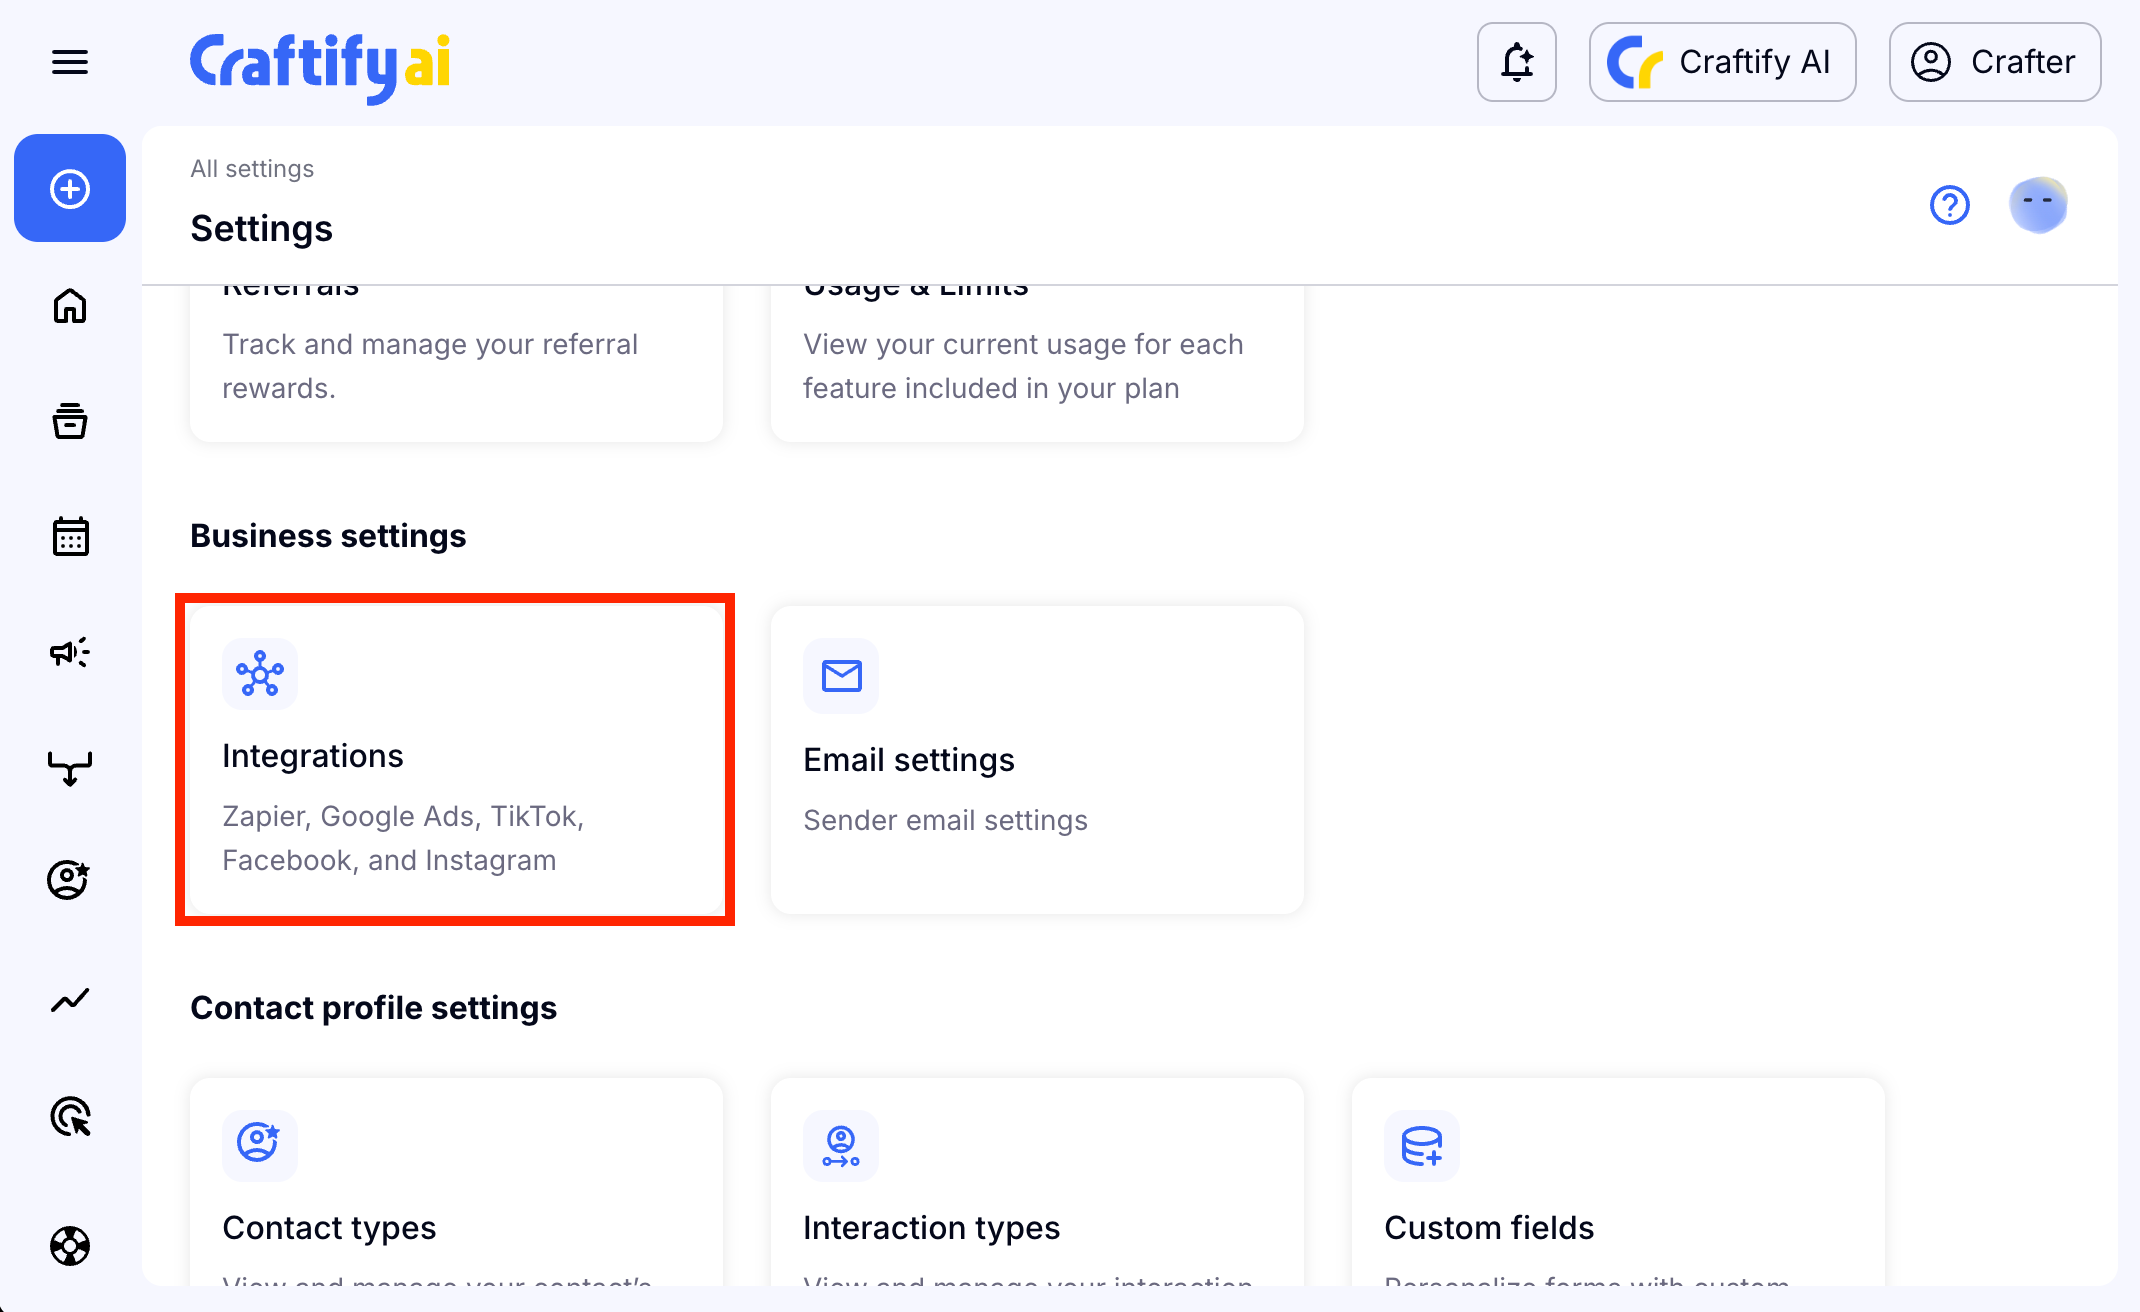
Scroll down to find the Business Settings and choose 'Integrations.'
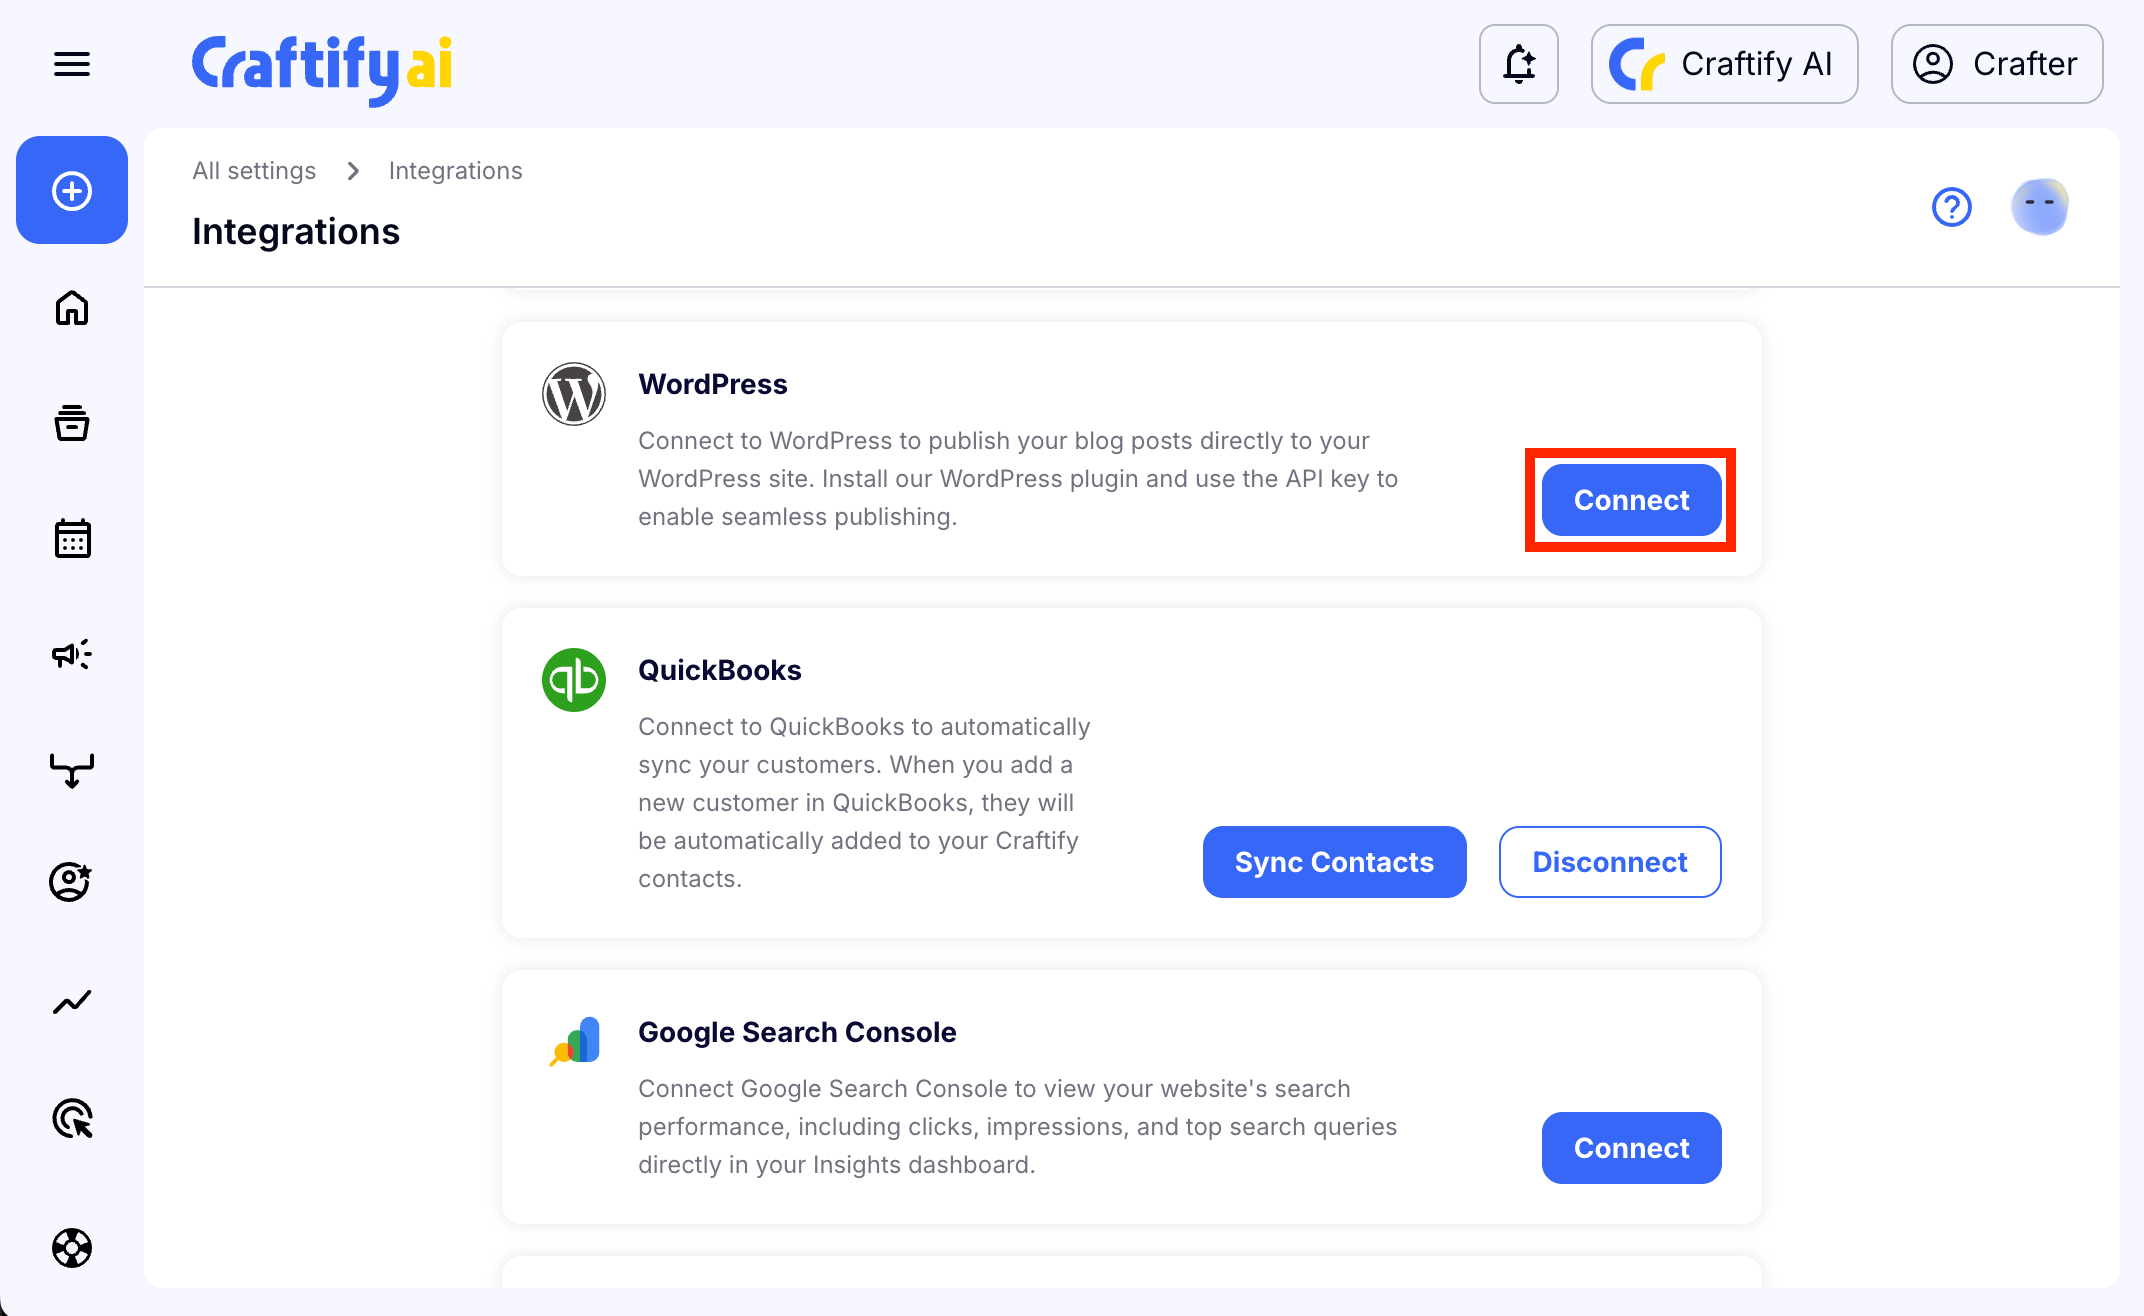
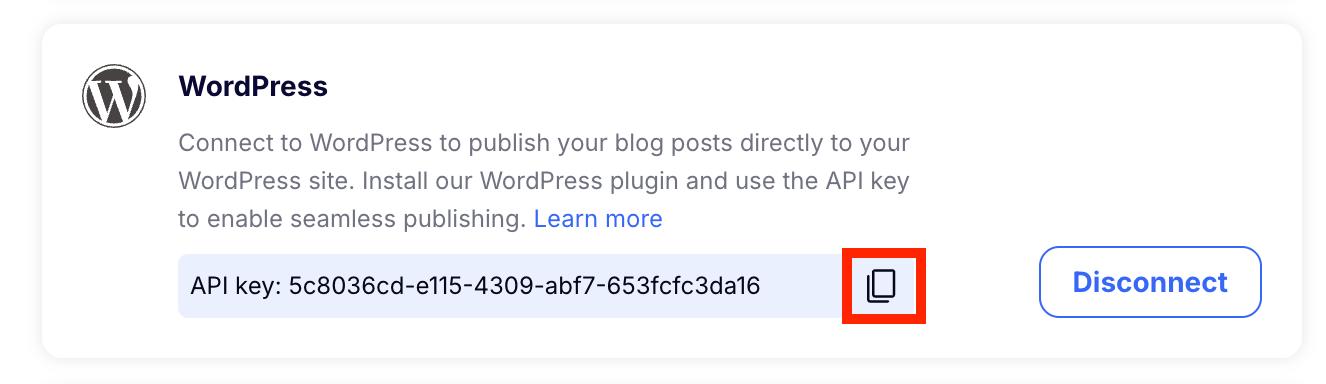
Scroll down to find the Wordpress integration and choose 'Connect.'
Craftify AI will generate an API code for your account. Copy the code by choosing the 'copy' symbol.
Step 2: Log into your Wordpress account
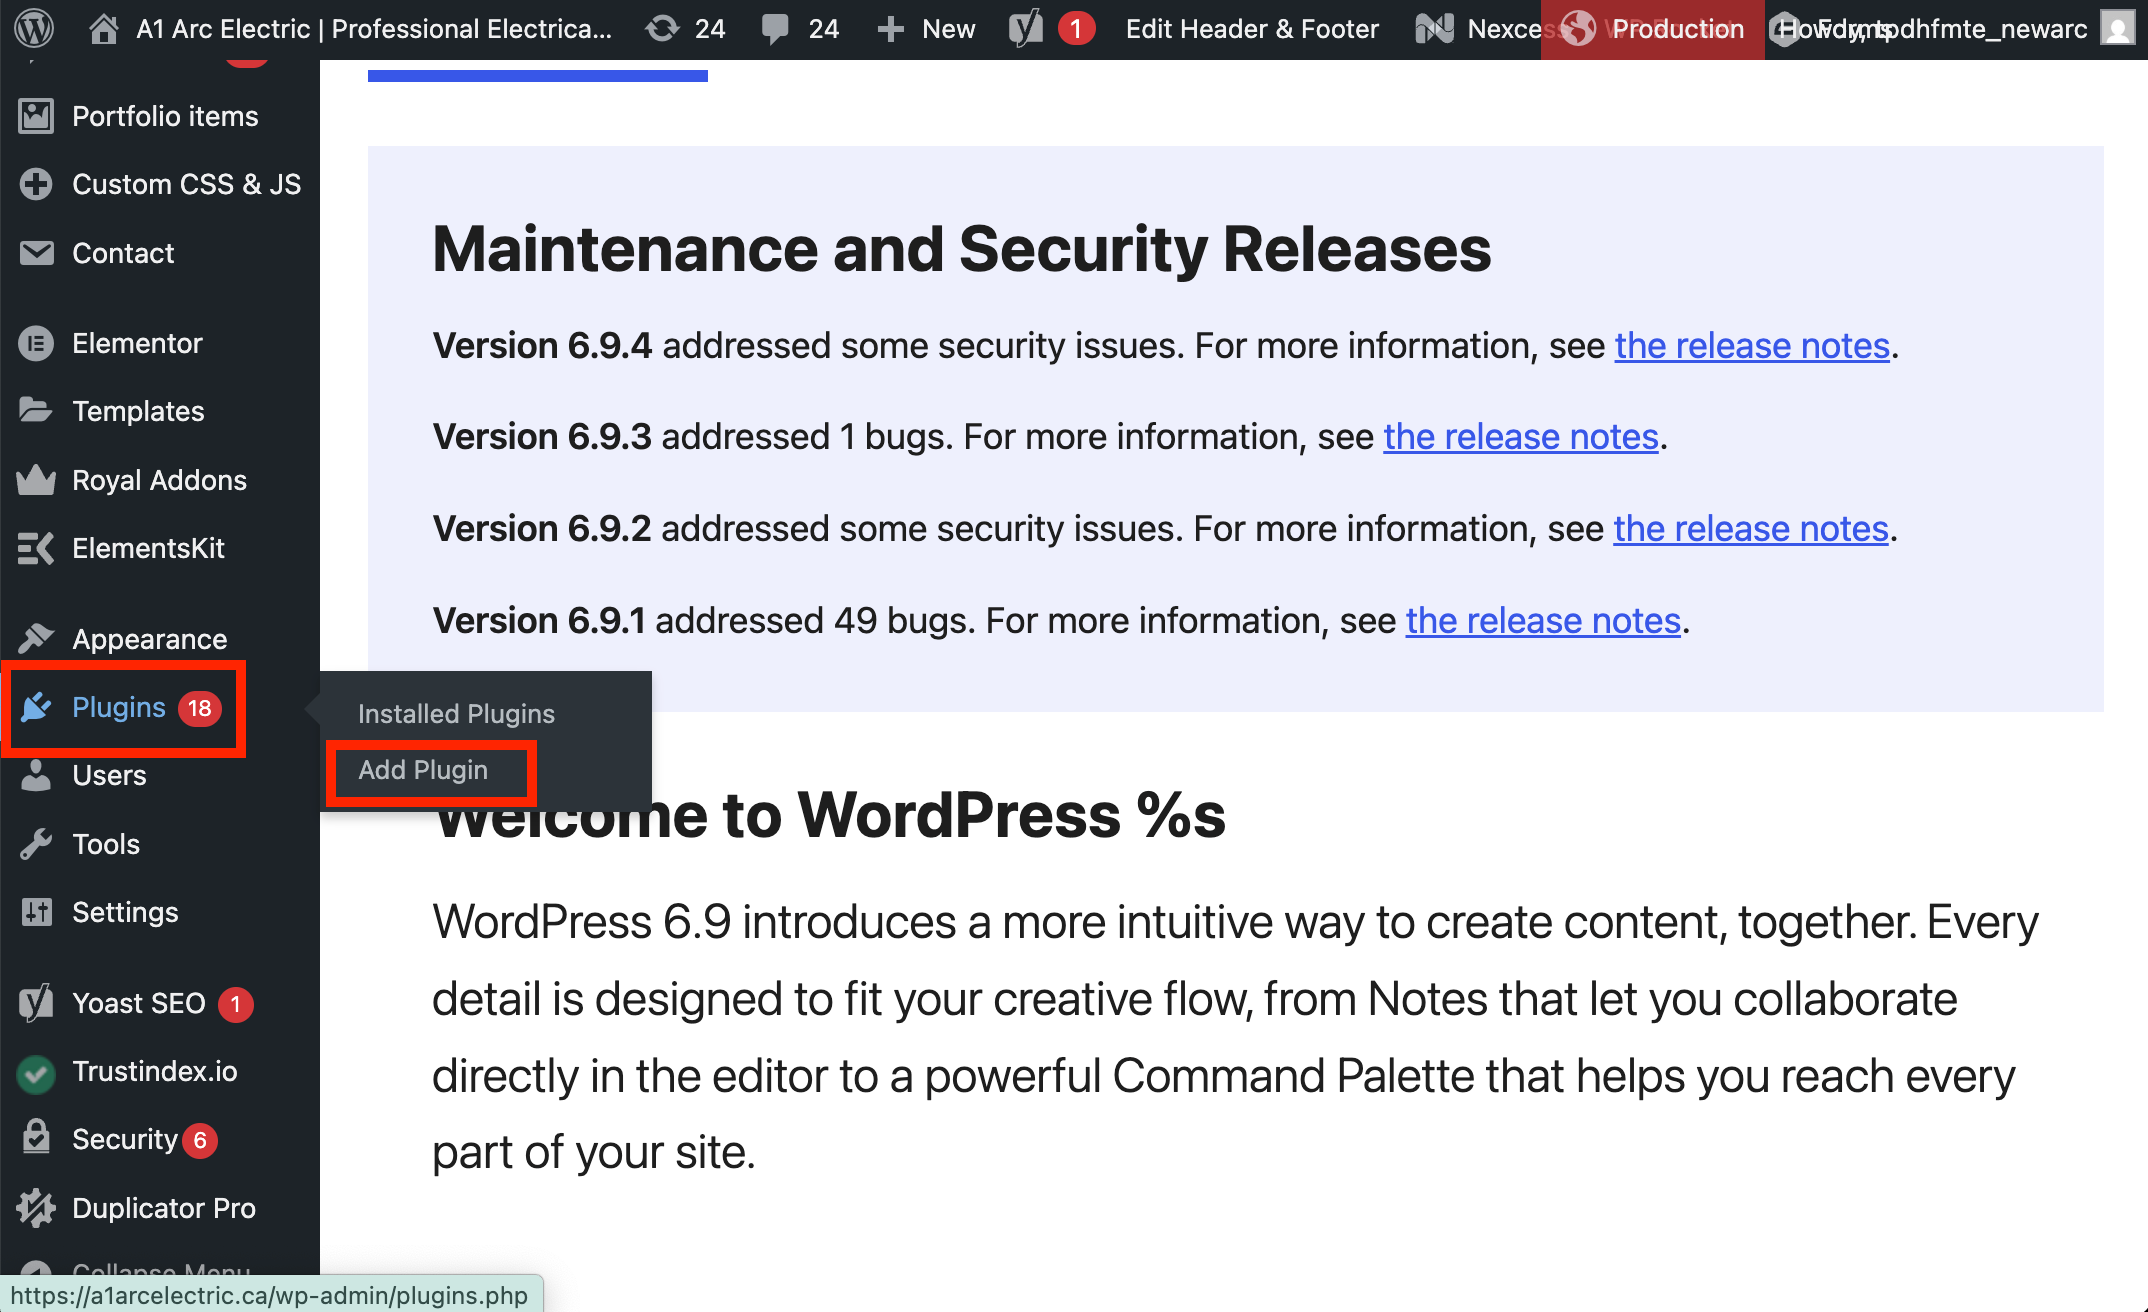
Now you will add the Craftify AI plugin to your Wordpress account. On the left-hand menu, hover over 'Plugins' and then from the pop up menu, choose 'Install Plugin.'
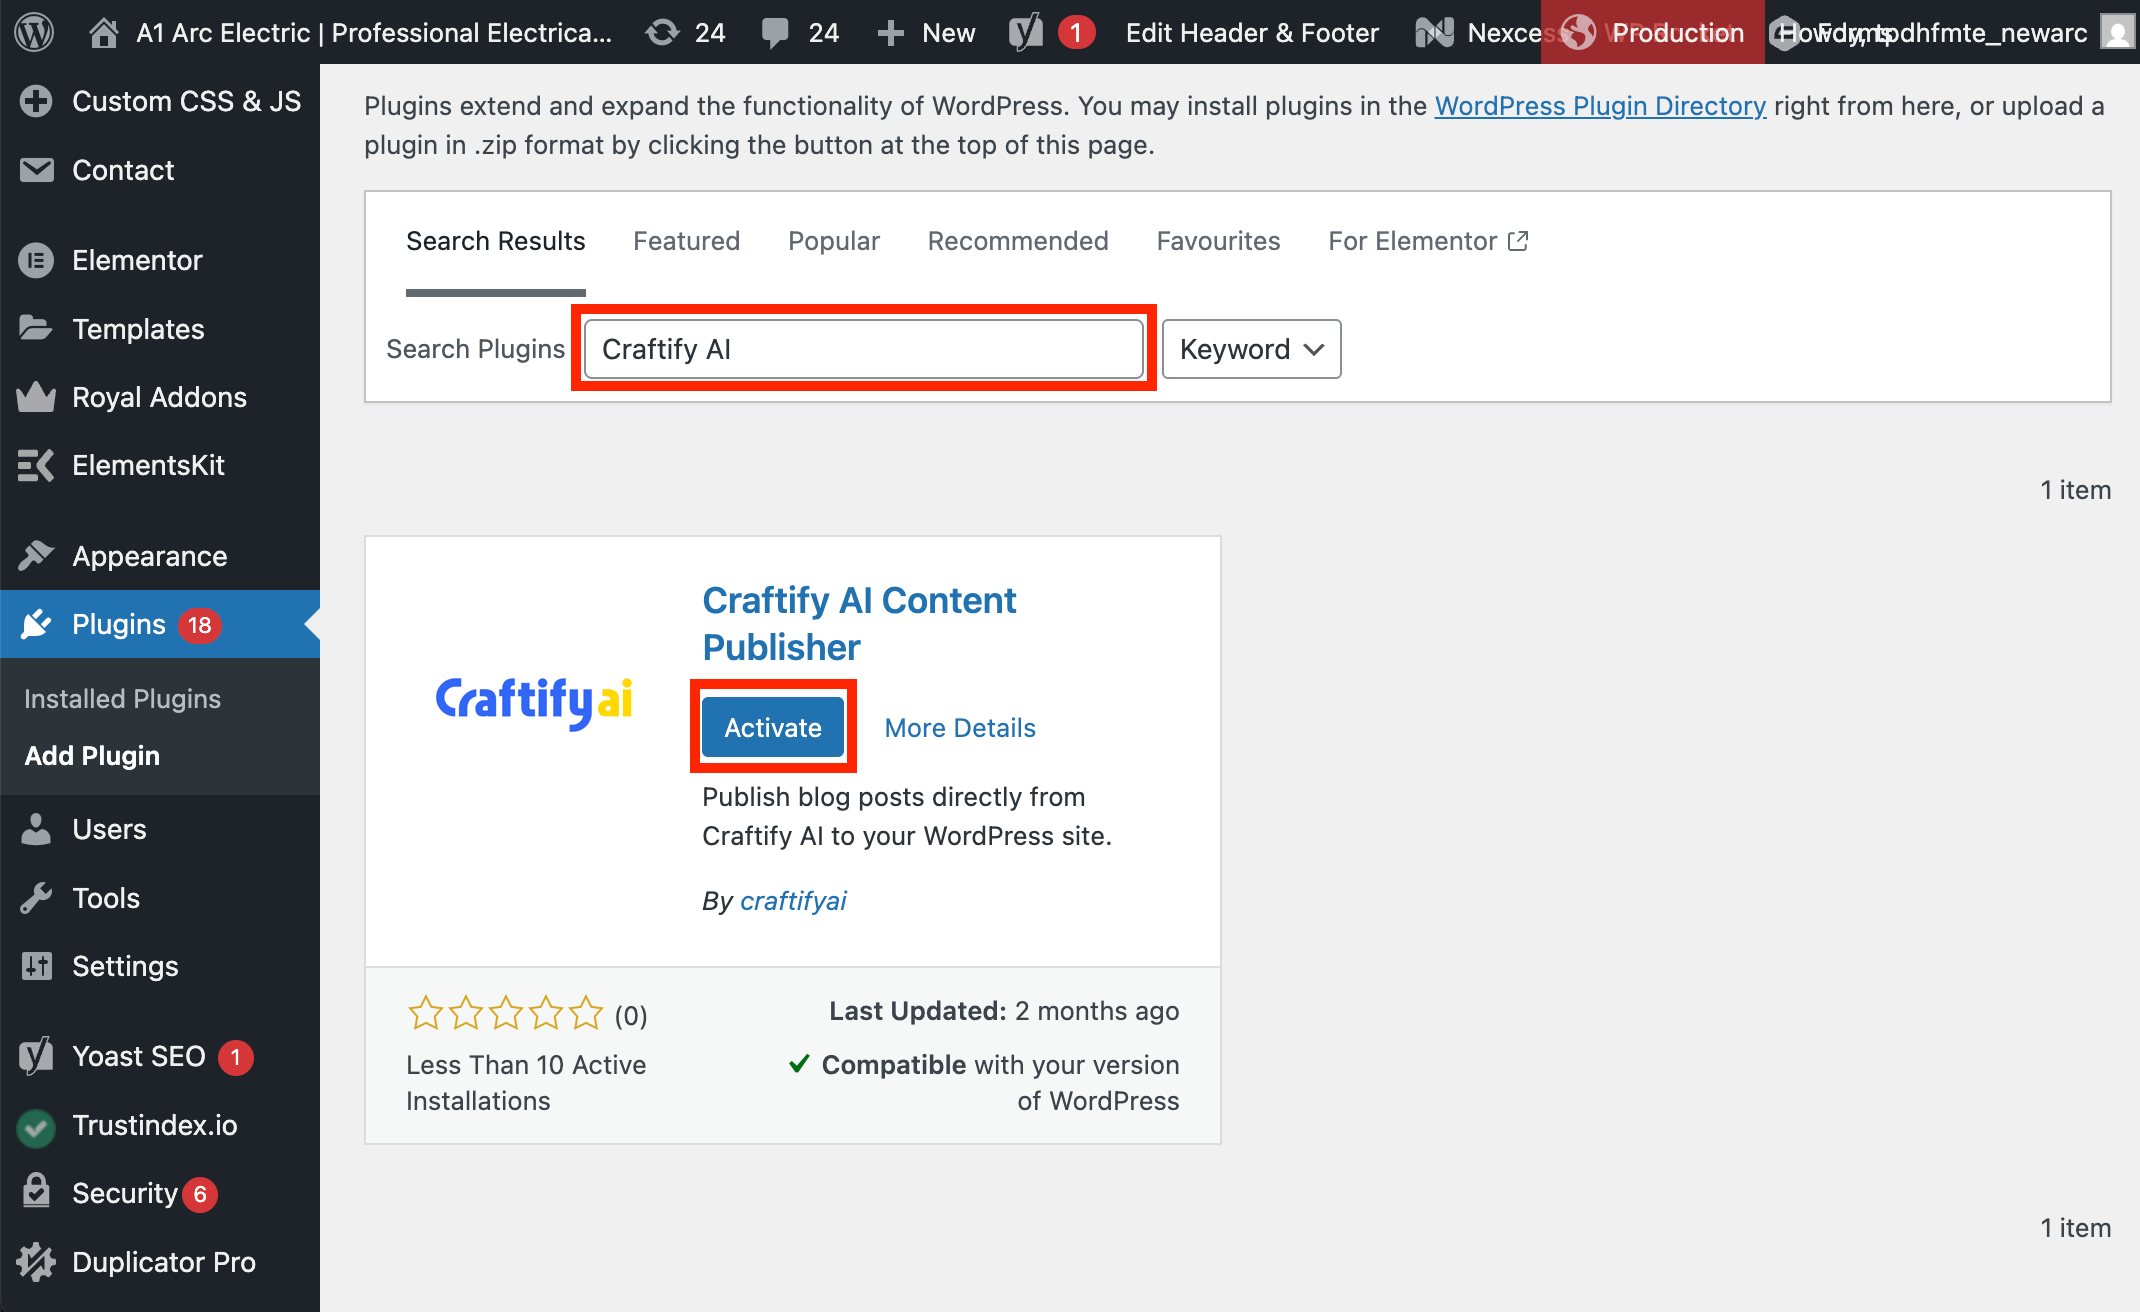
Search for the 'Craftify AI' plug in in the search bar. It should be the only one to show up from the search. Choose 'Activate.'
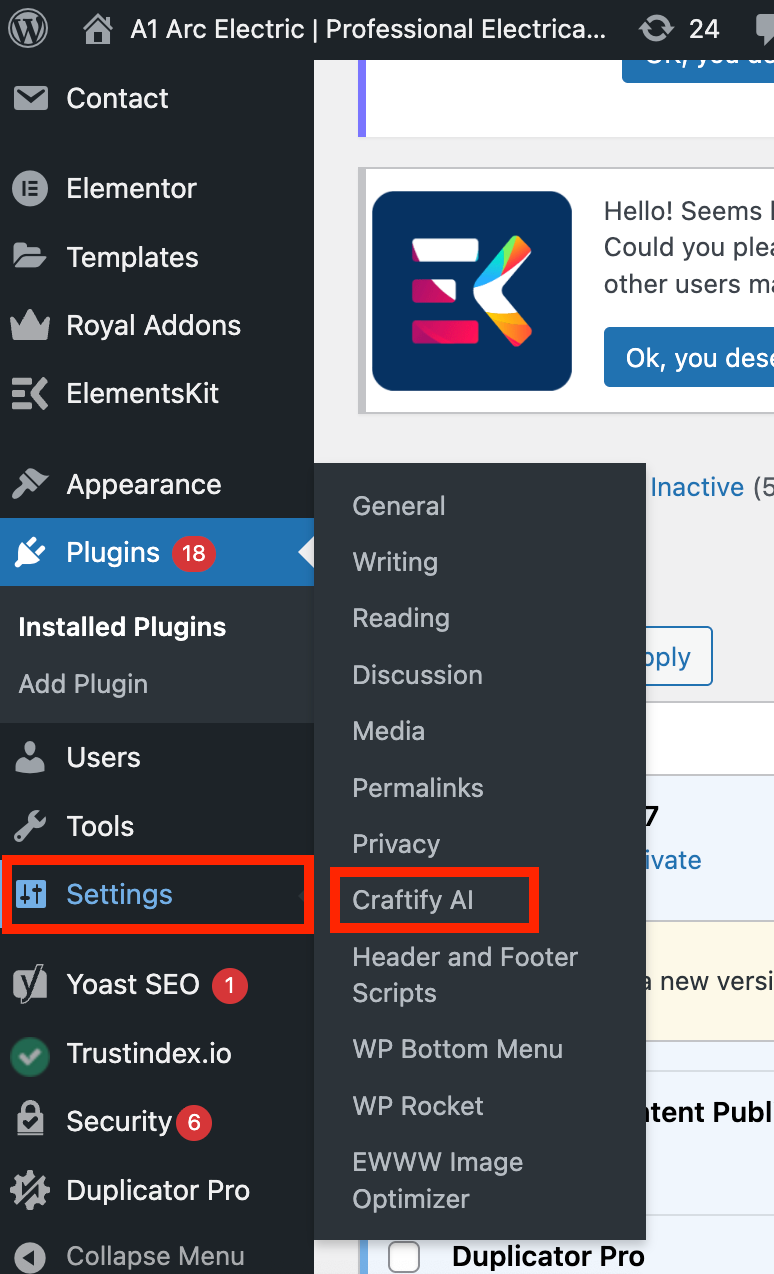
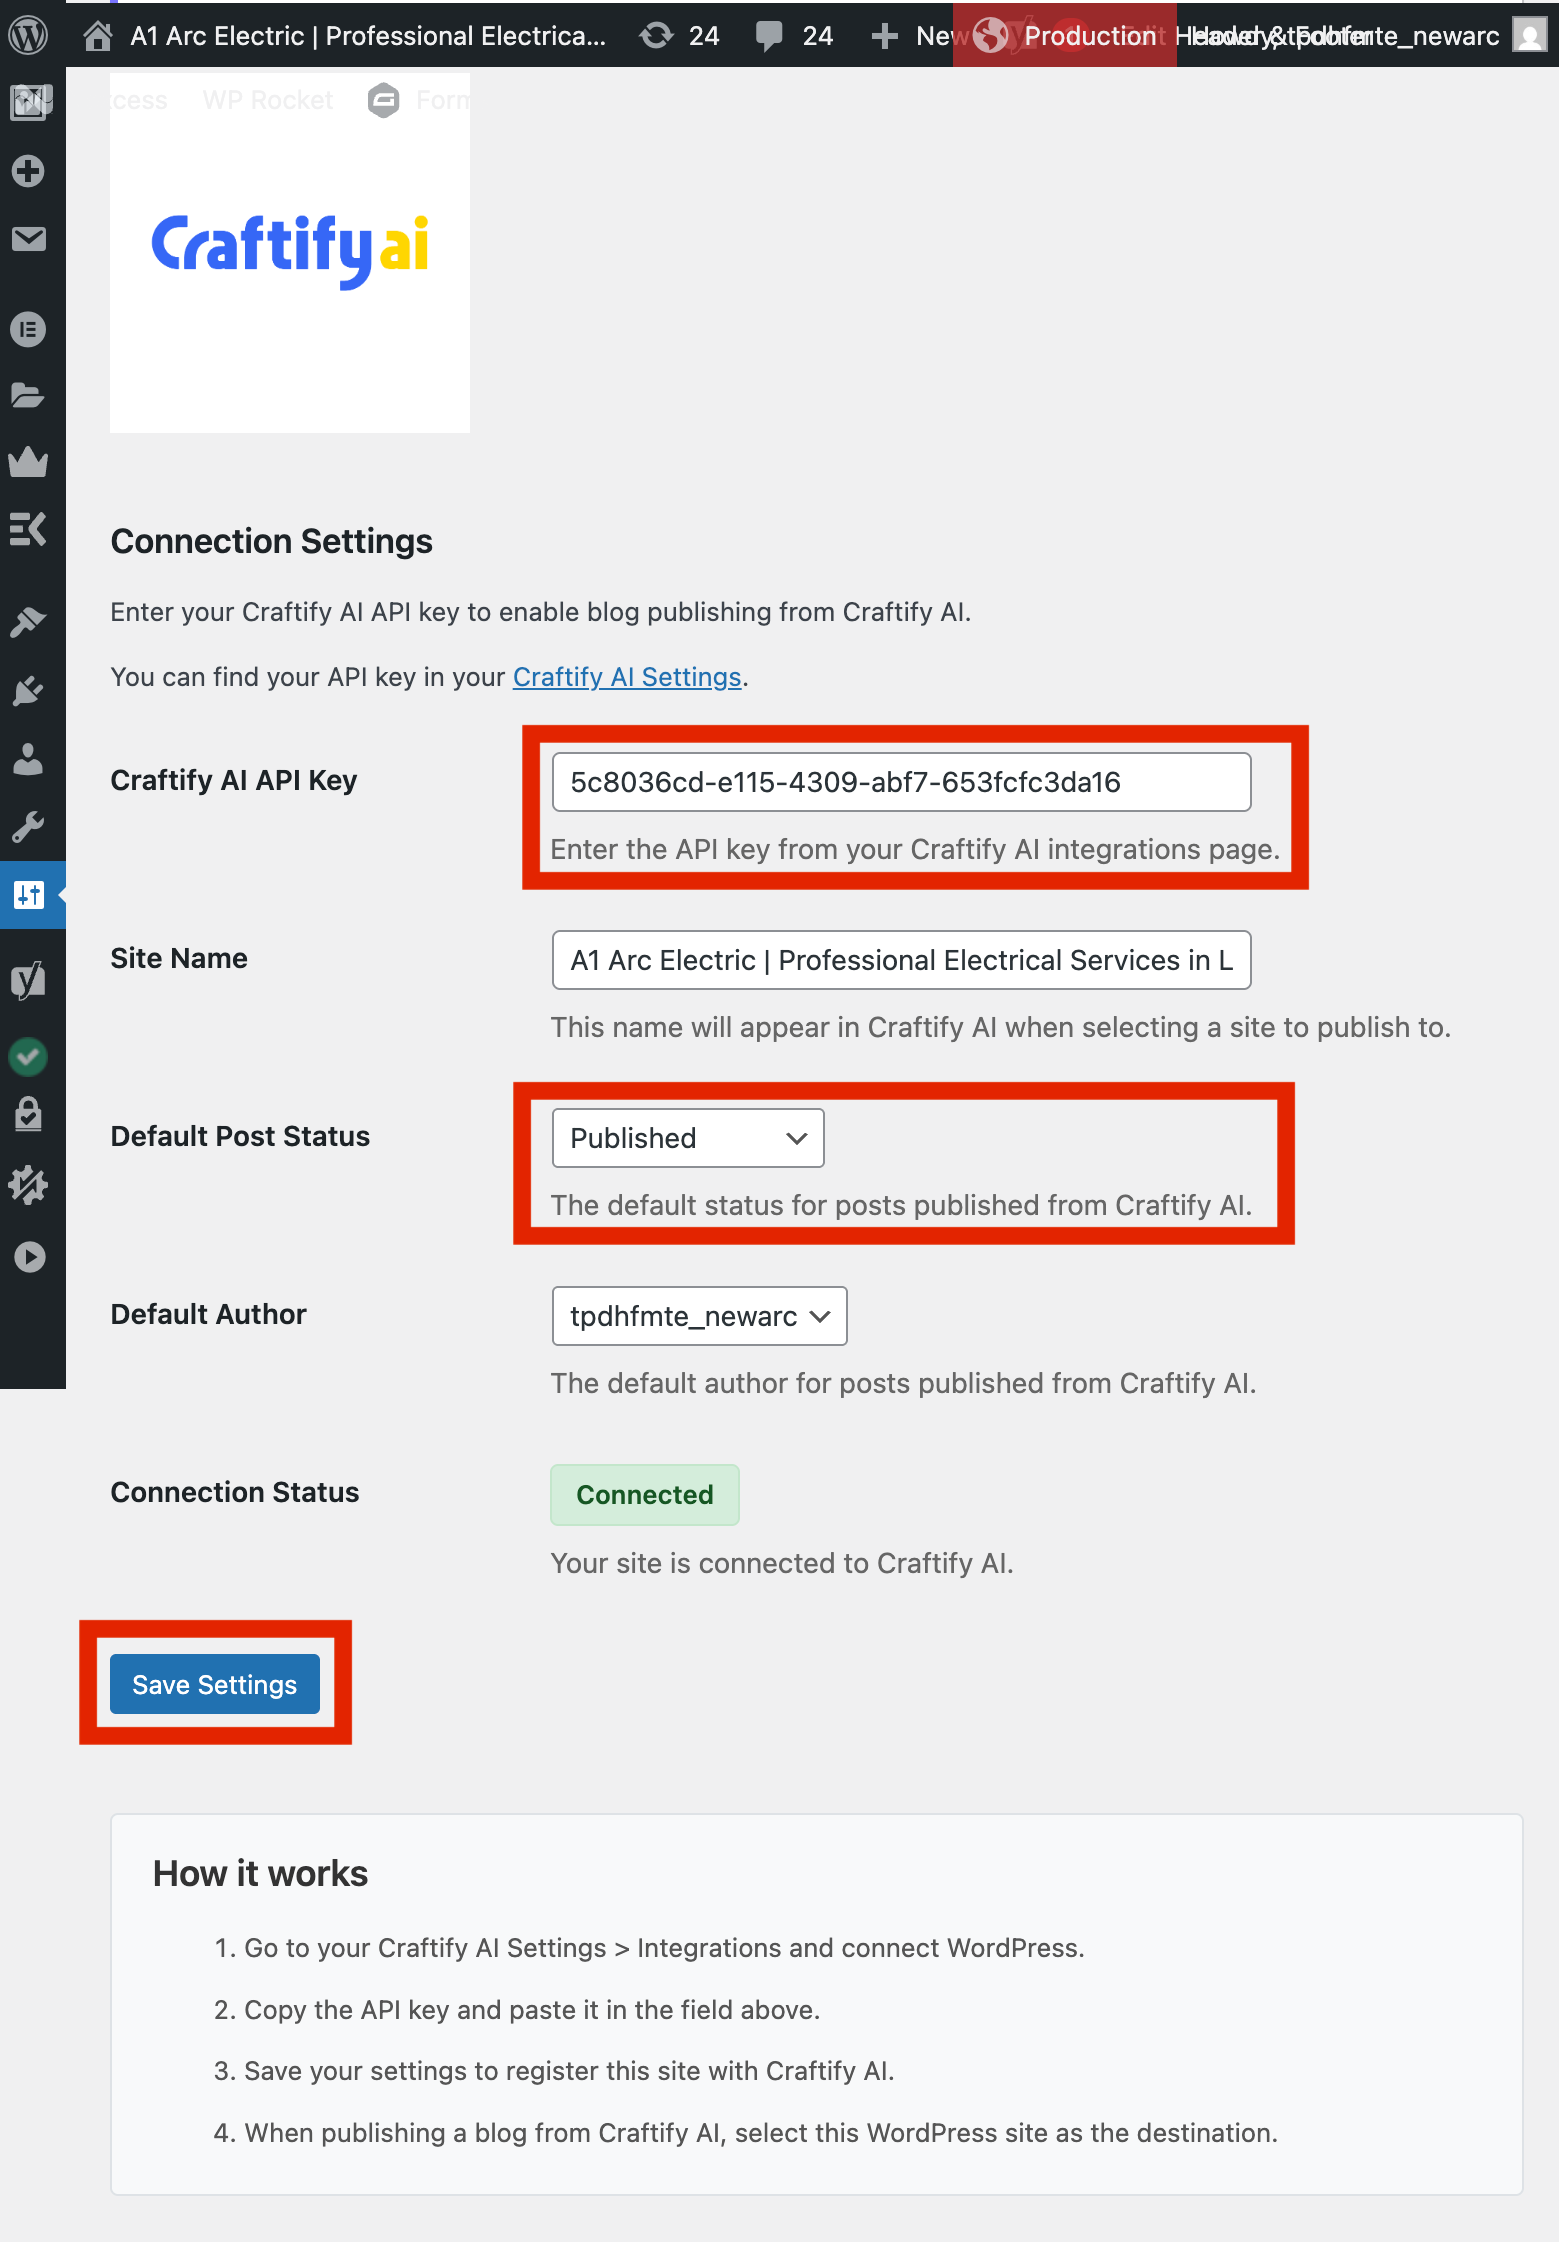
Now you need to navigate to the Craftify AI settings to set up your API code. On the left-hand menu, hover over 'Settings' and choose 'Craftify AI.'
Paste your API code from Step 1 in the API section of the settings. From the drop-down menu for Default Post Status, we recommend that you choose 'Published.' Review the other settings to be sure the name is correct and the author is correct. Then, choose 'Save Settings' when you are finished. Once you have chosen Save Settings, you should see that your account is connected.
Step 3: Publish a blog directly to your Wordpress website!
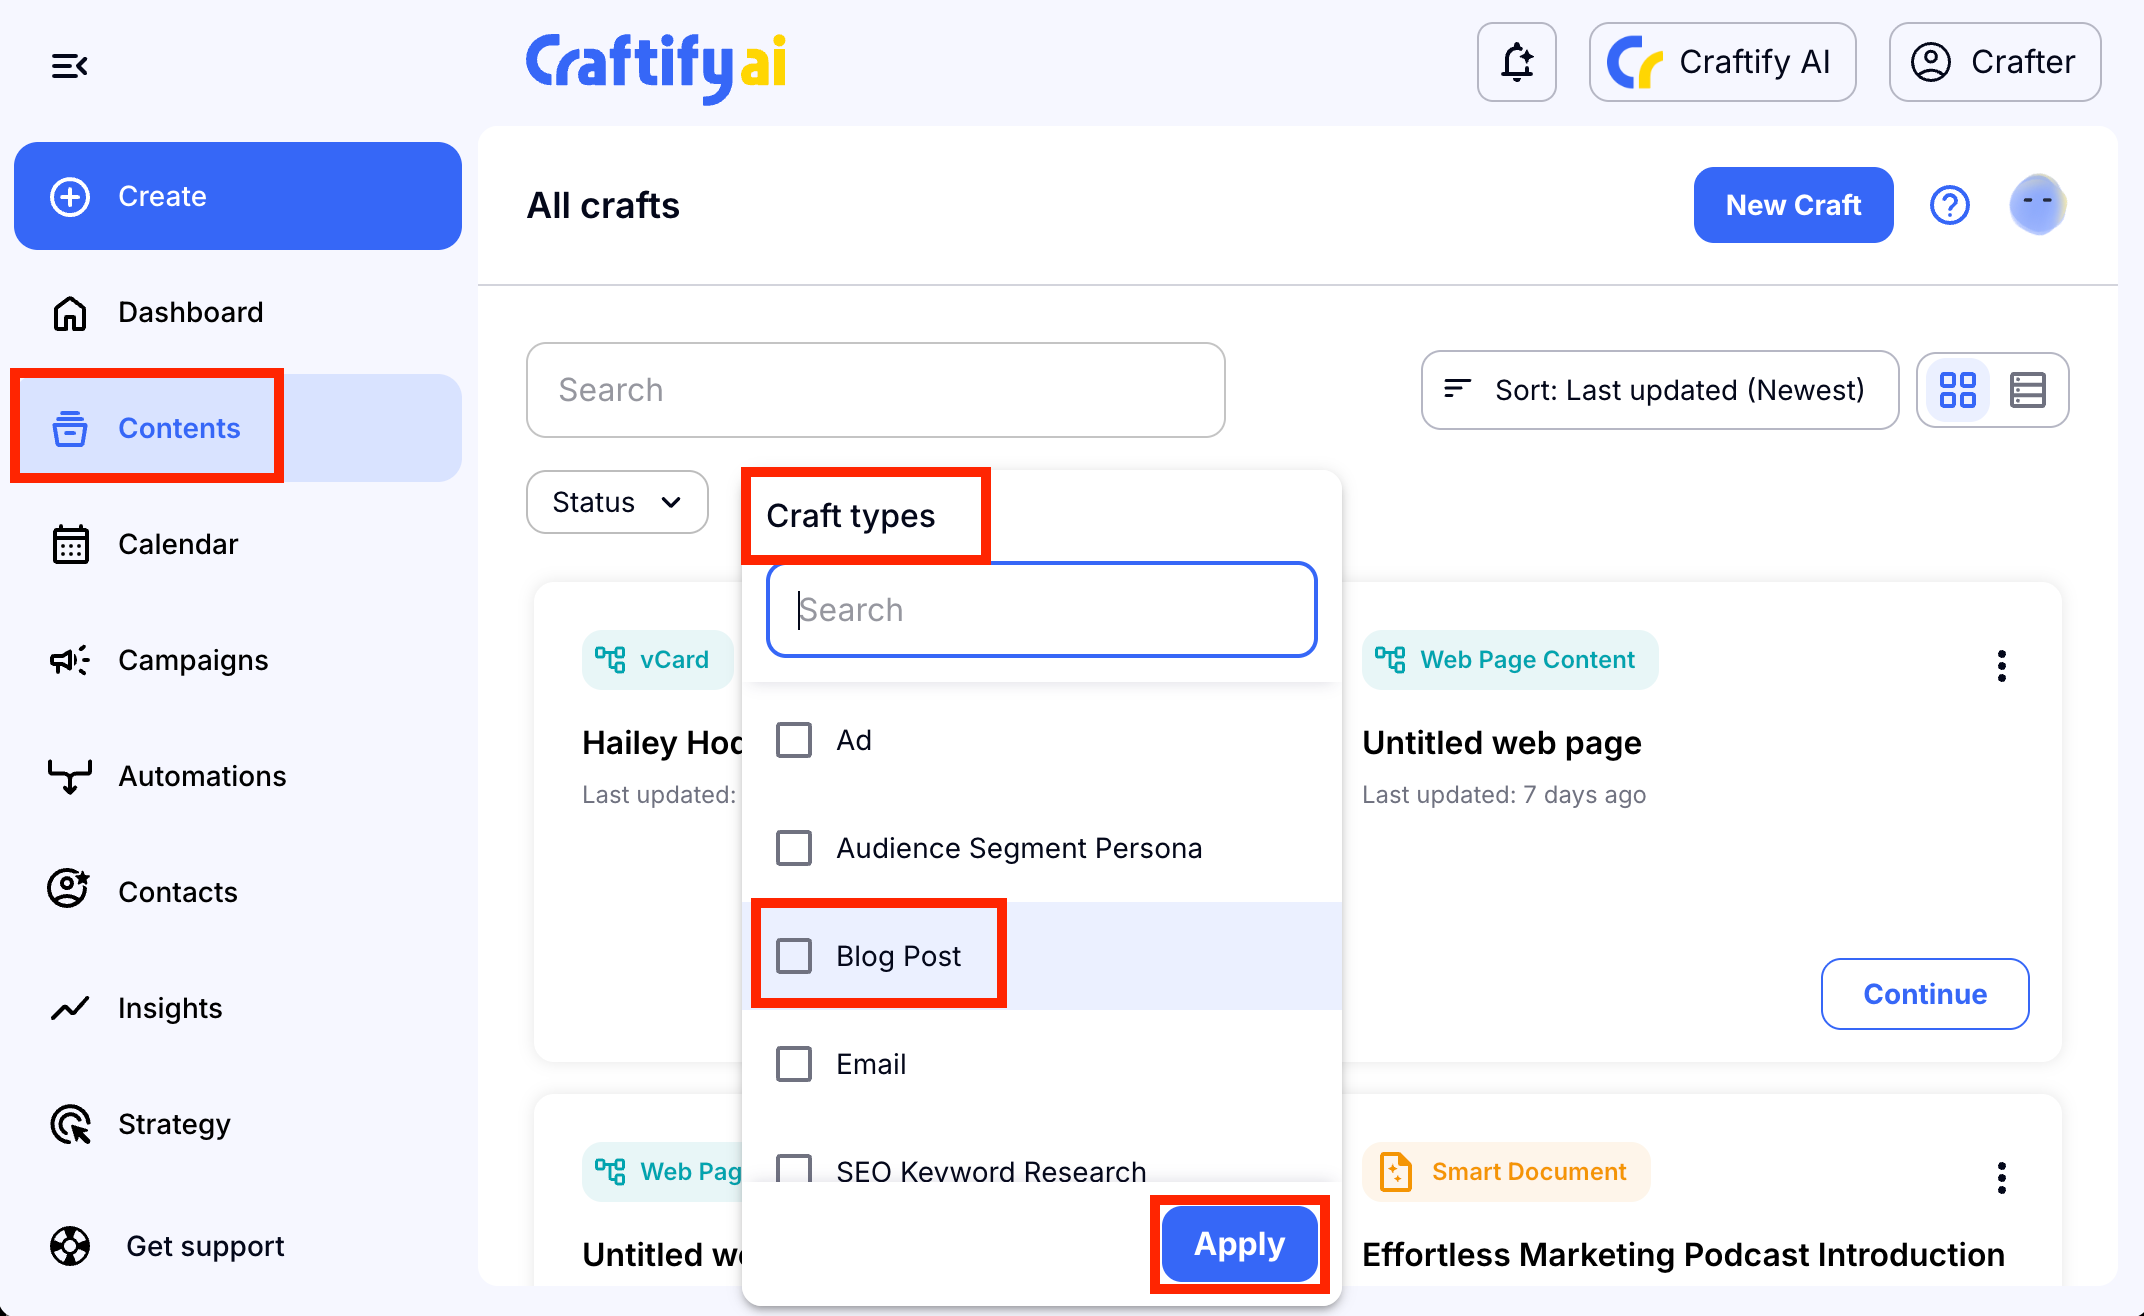
Go back to your Craftify AI account and choose a blog to post directly to your website! Choose 'Contents' from the left-hand menu and in the search bar, search for a blog post, or use the filter to choose blog posts. If you haven't created a blog post yet, you can do so by choosing 'Create' and choosing 'Blog Post.'
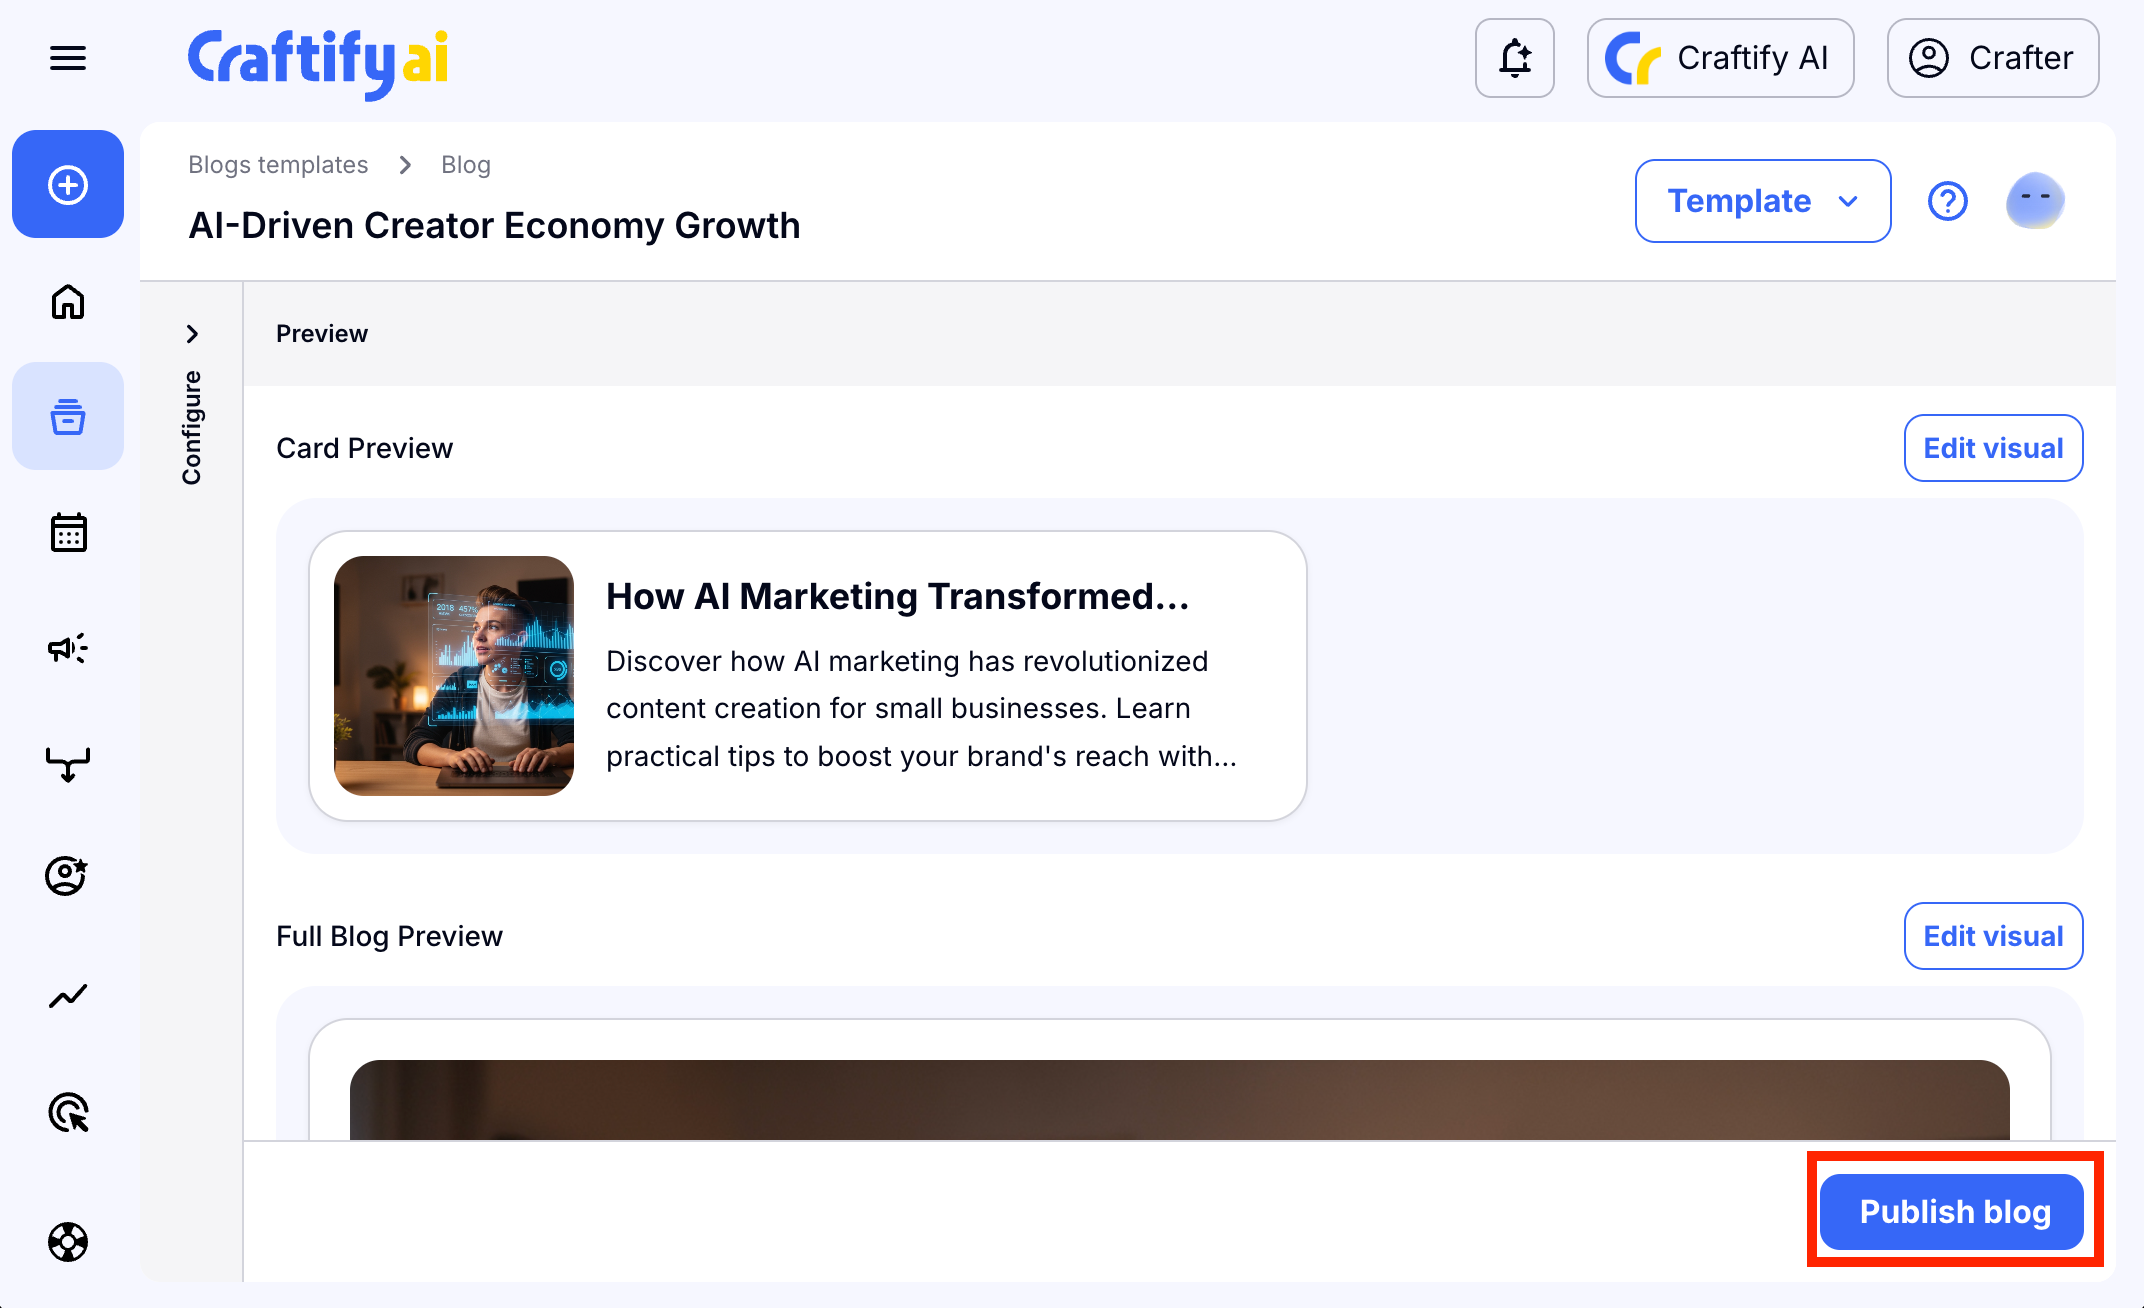
Once the blog post is generated, choose 'Publish Blog' in the bottom right-hand corner.
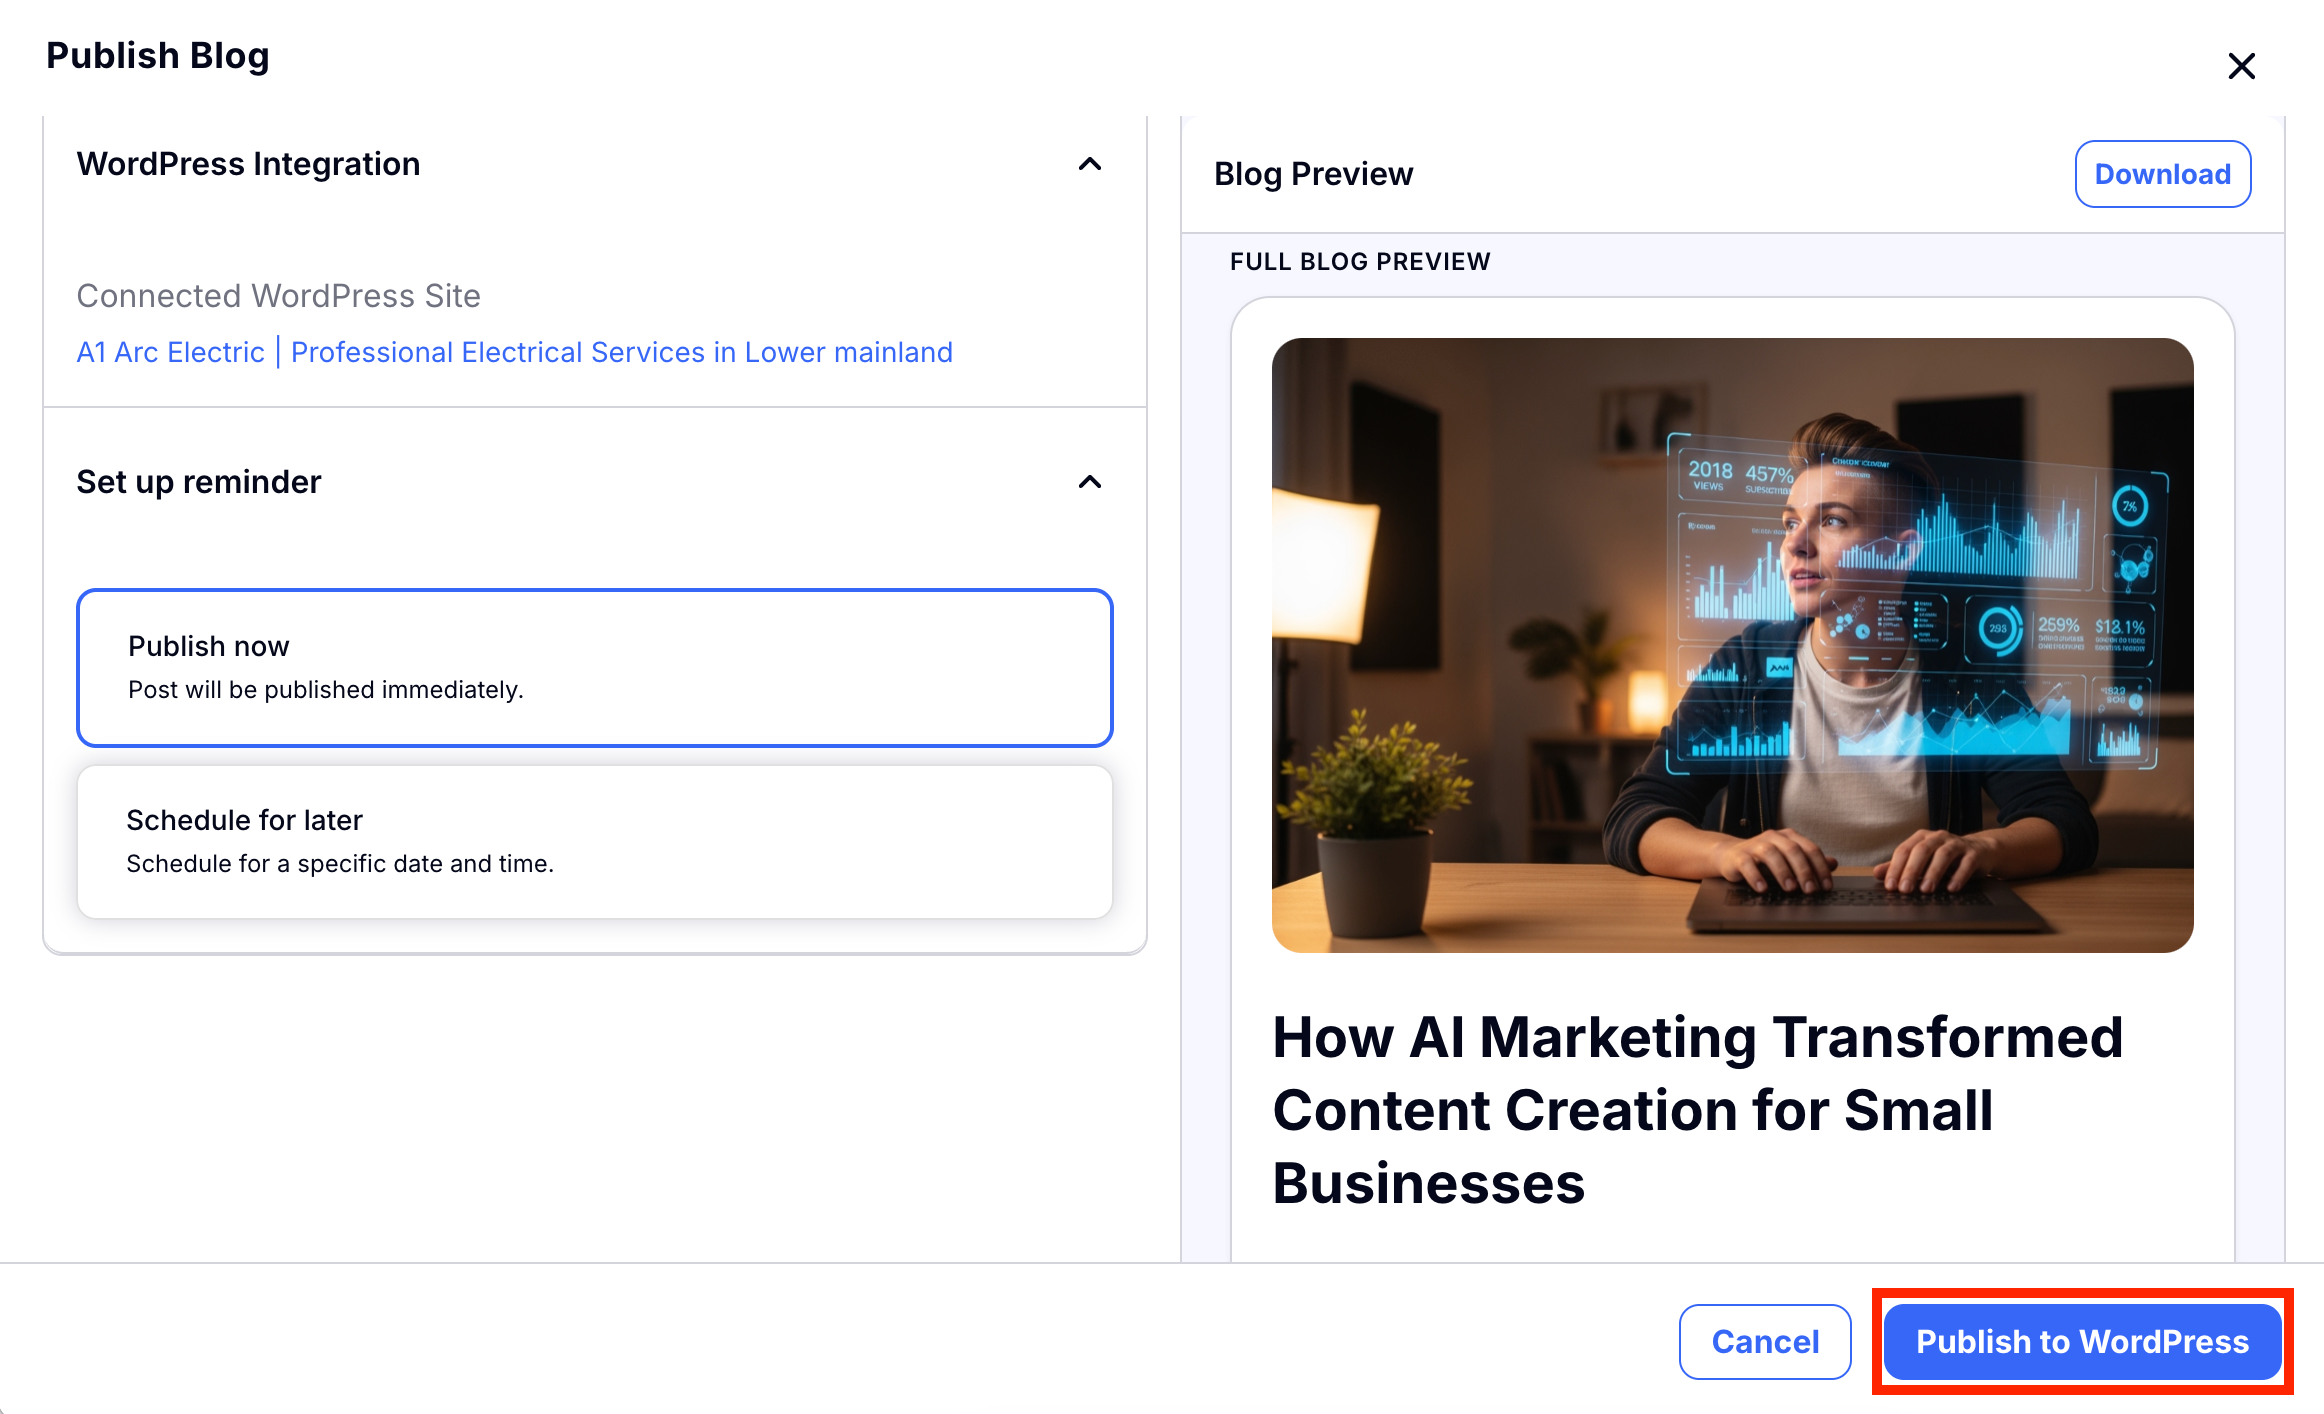
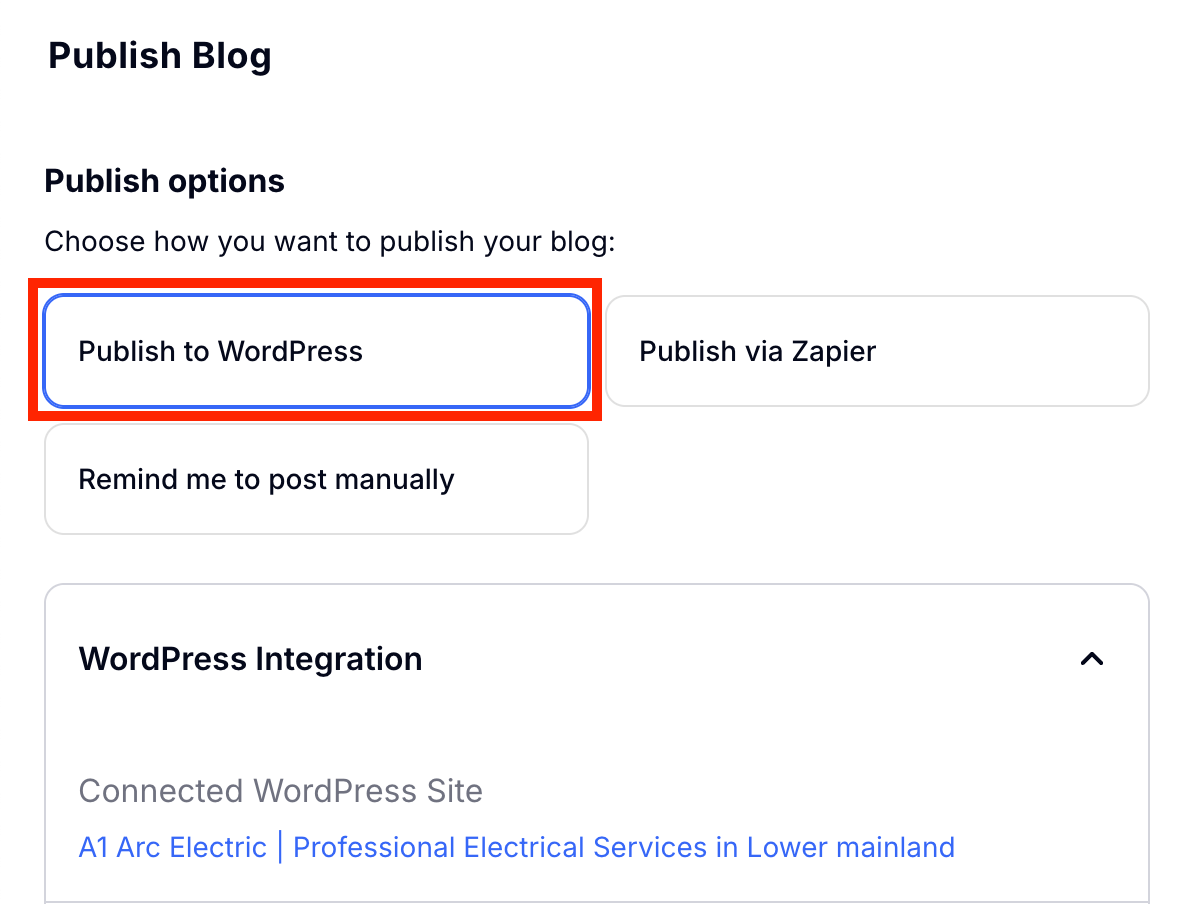
You will then be directed to some settings for how to publish your blog. Choose 'Publish to Wordpress.'
Scroll down and you can choose whether or not to 'Publish Now' or 'Schedule for later.' Choose the appropriate one, and click 'Publish to Wordpress' to publish your blog!