Email Settings Tutorial
How to set up your Email Settings in Craftify AI
In this short tutorial, you will discover how easy it is to set up your Email Settings so that you can start sending out emails to your customers with ease!
Step 1: Log in and head over to your Settings
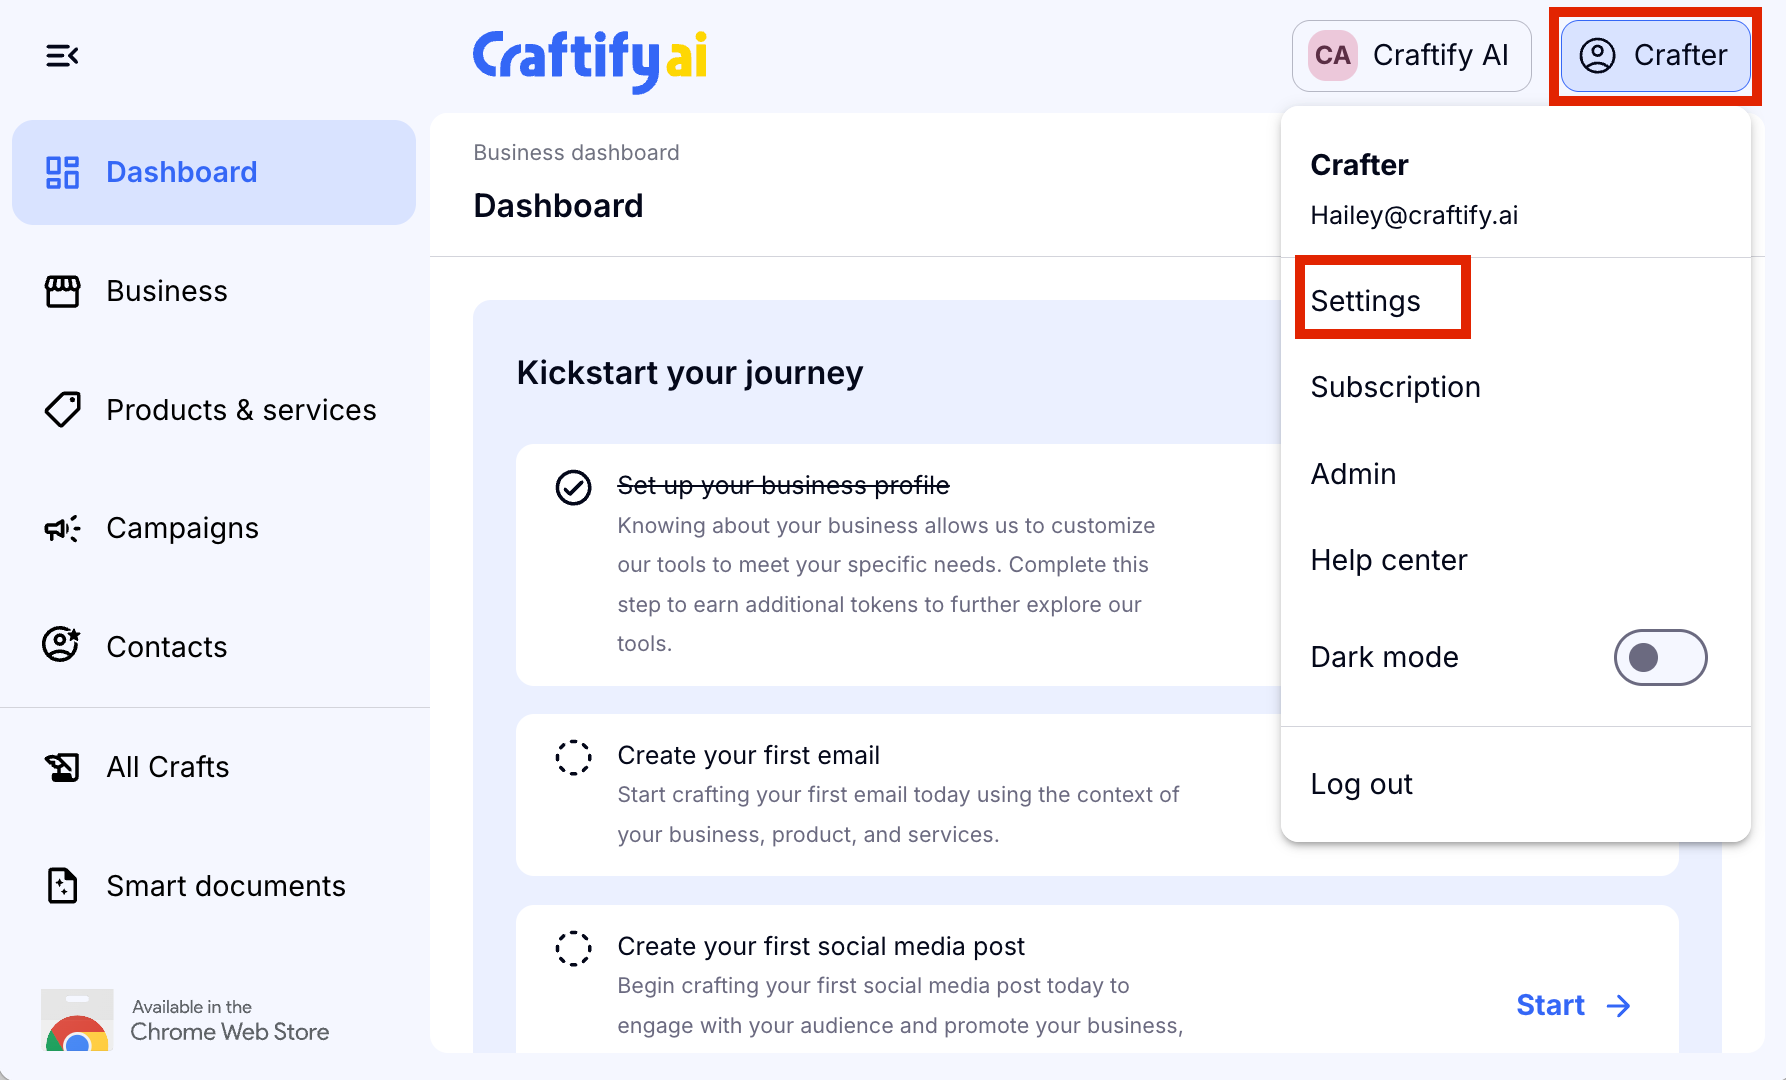
Inside Settings you will need to scroll down a bit to get to the Business Settings section and choose 'Email Settings.'
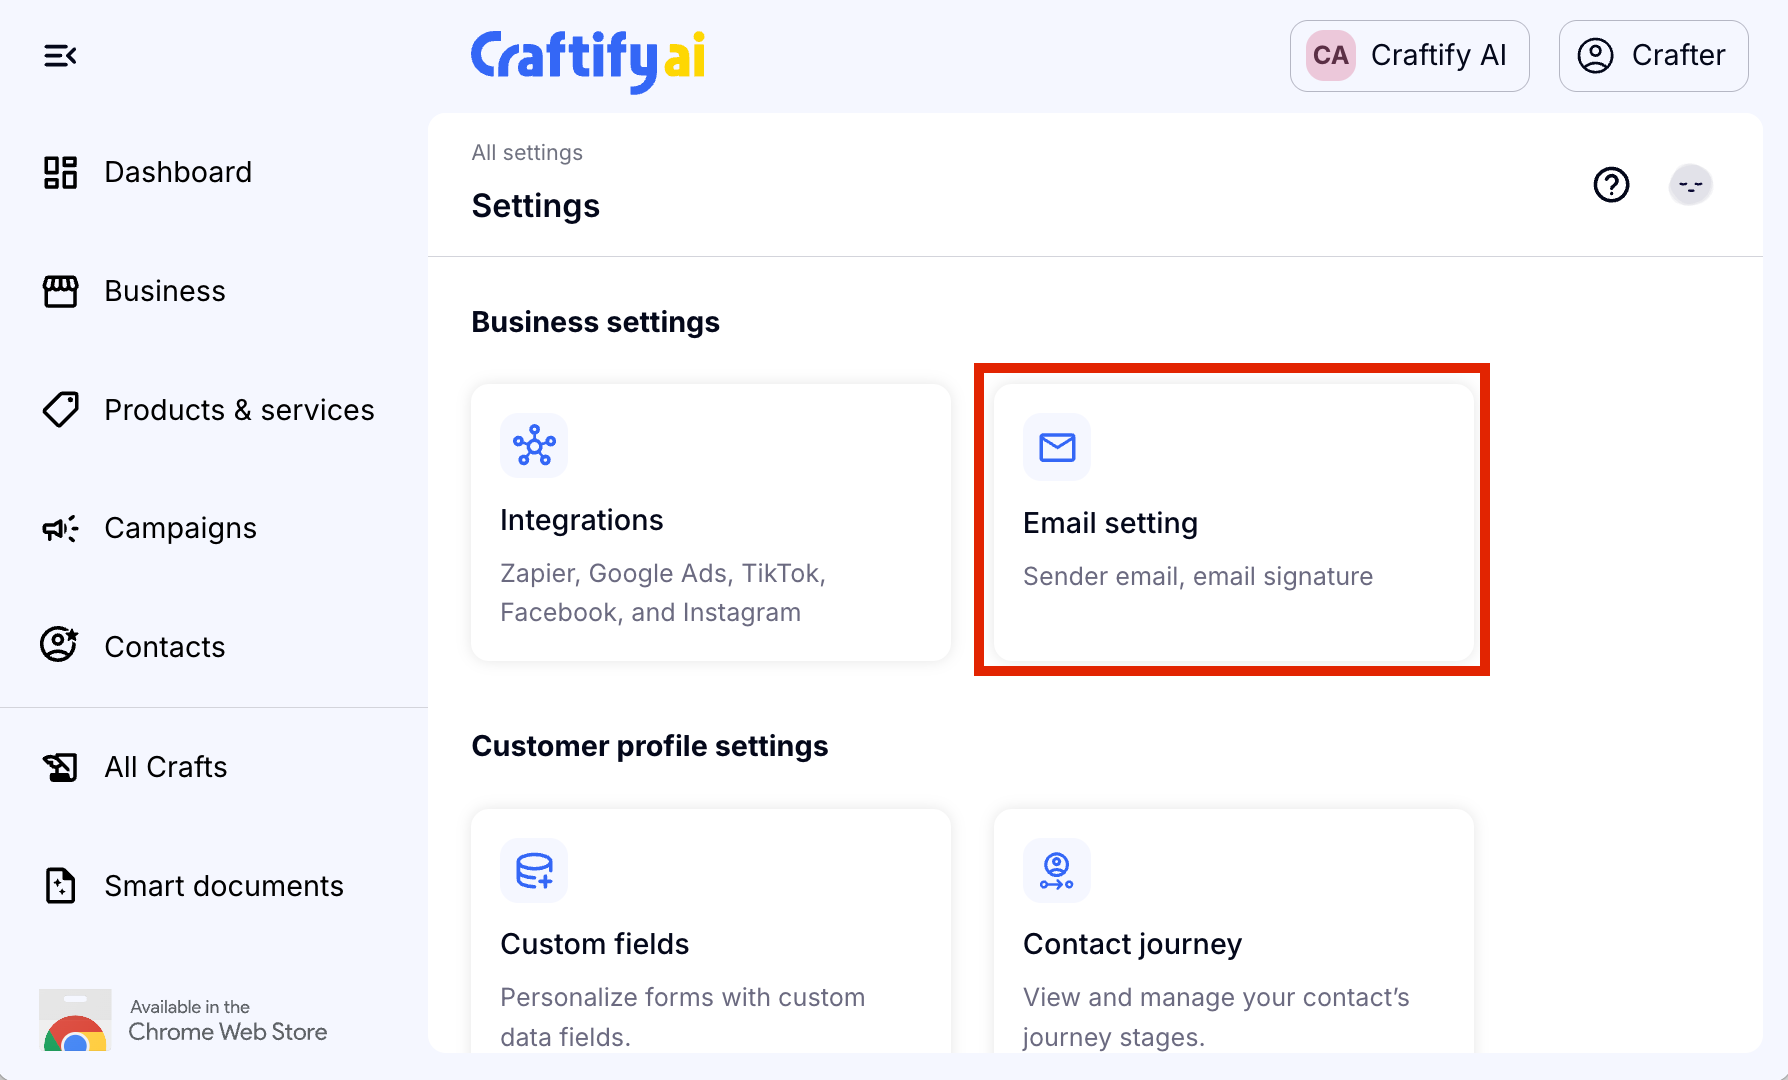
Step 2: Add Sender Email
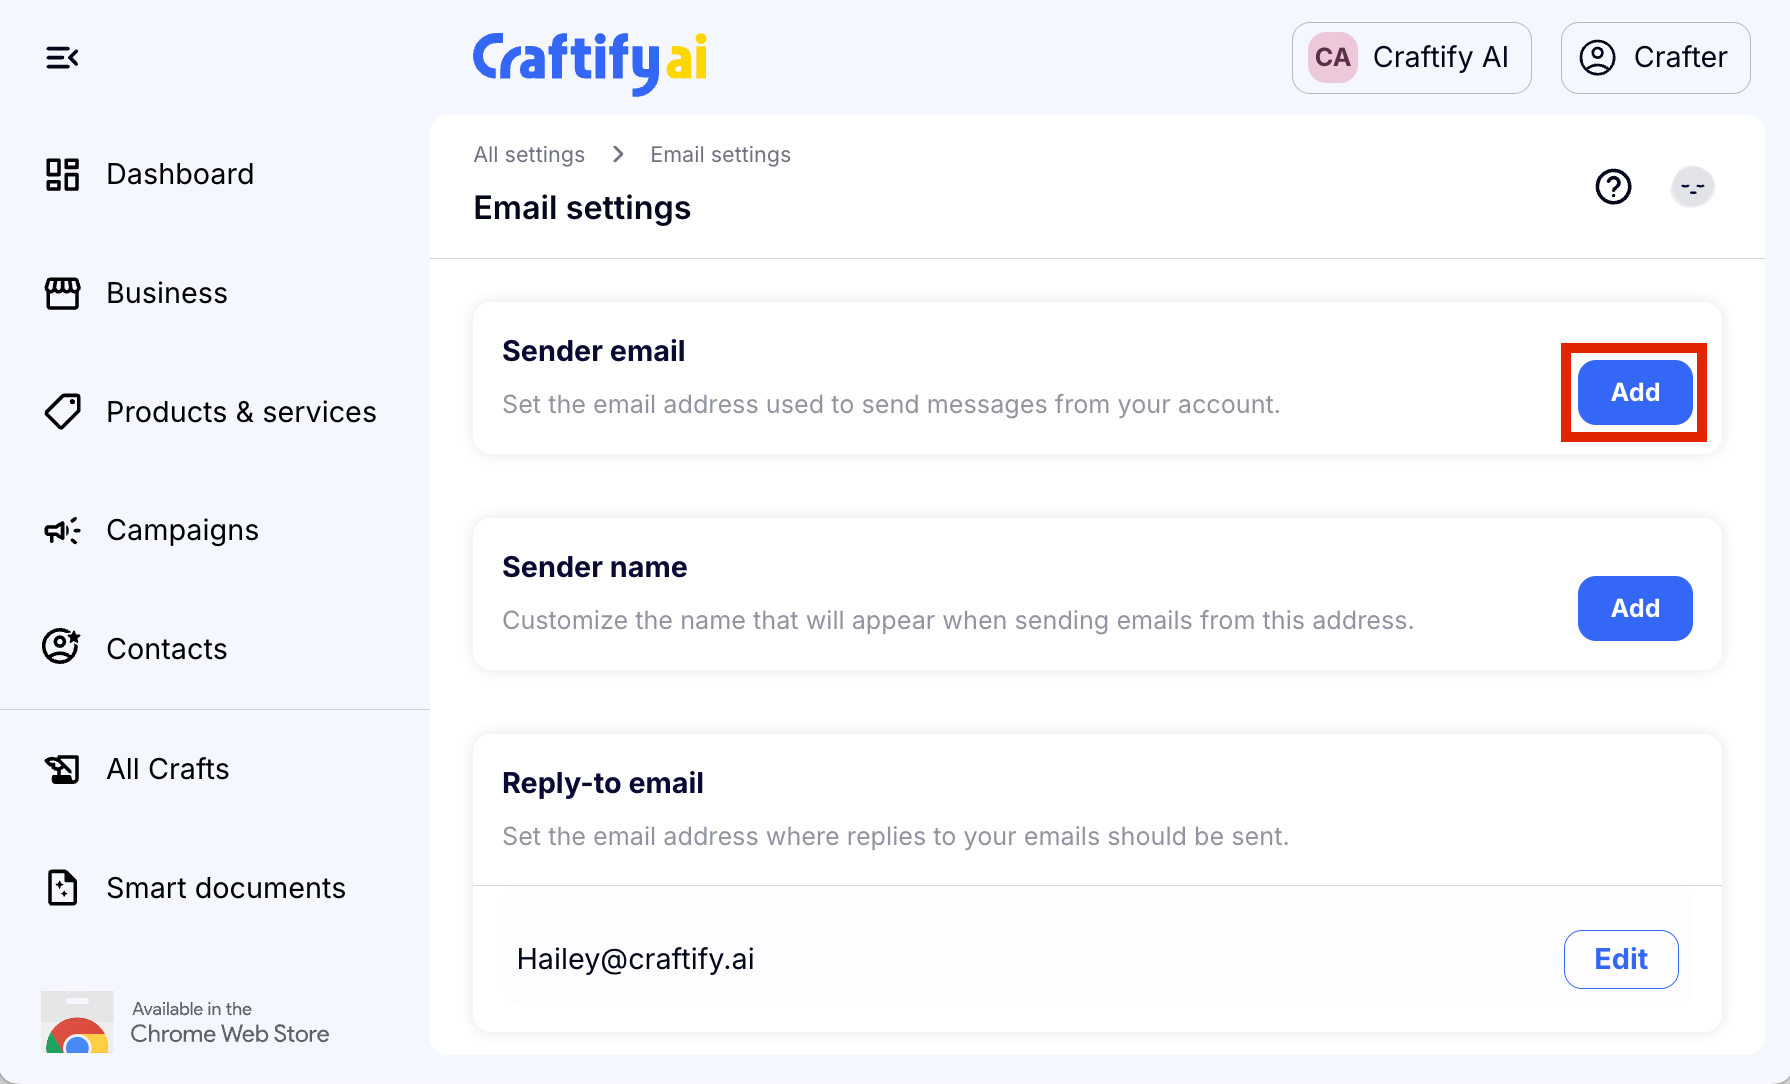
Choose 'Add' and you'll be given an email suggestion based on the Domain that you have connected to your Craftify AI account. You can choose the first part of this Sender Email! Choose 'Save' to move on to the next step.

If you haven't yet set up your domain, you will instead see the below screen. You can click the link to set up your domain. If you want help with that, you can watch and read our tutorial on the Domain Settings HERE!

Step 3: Add Sender Name
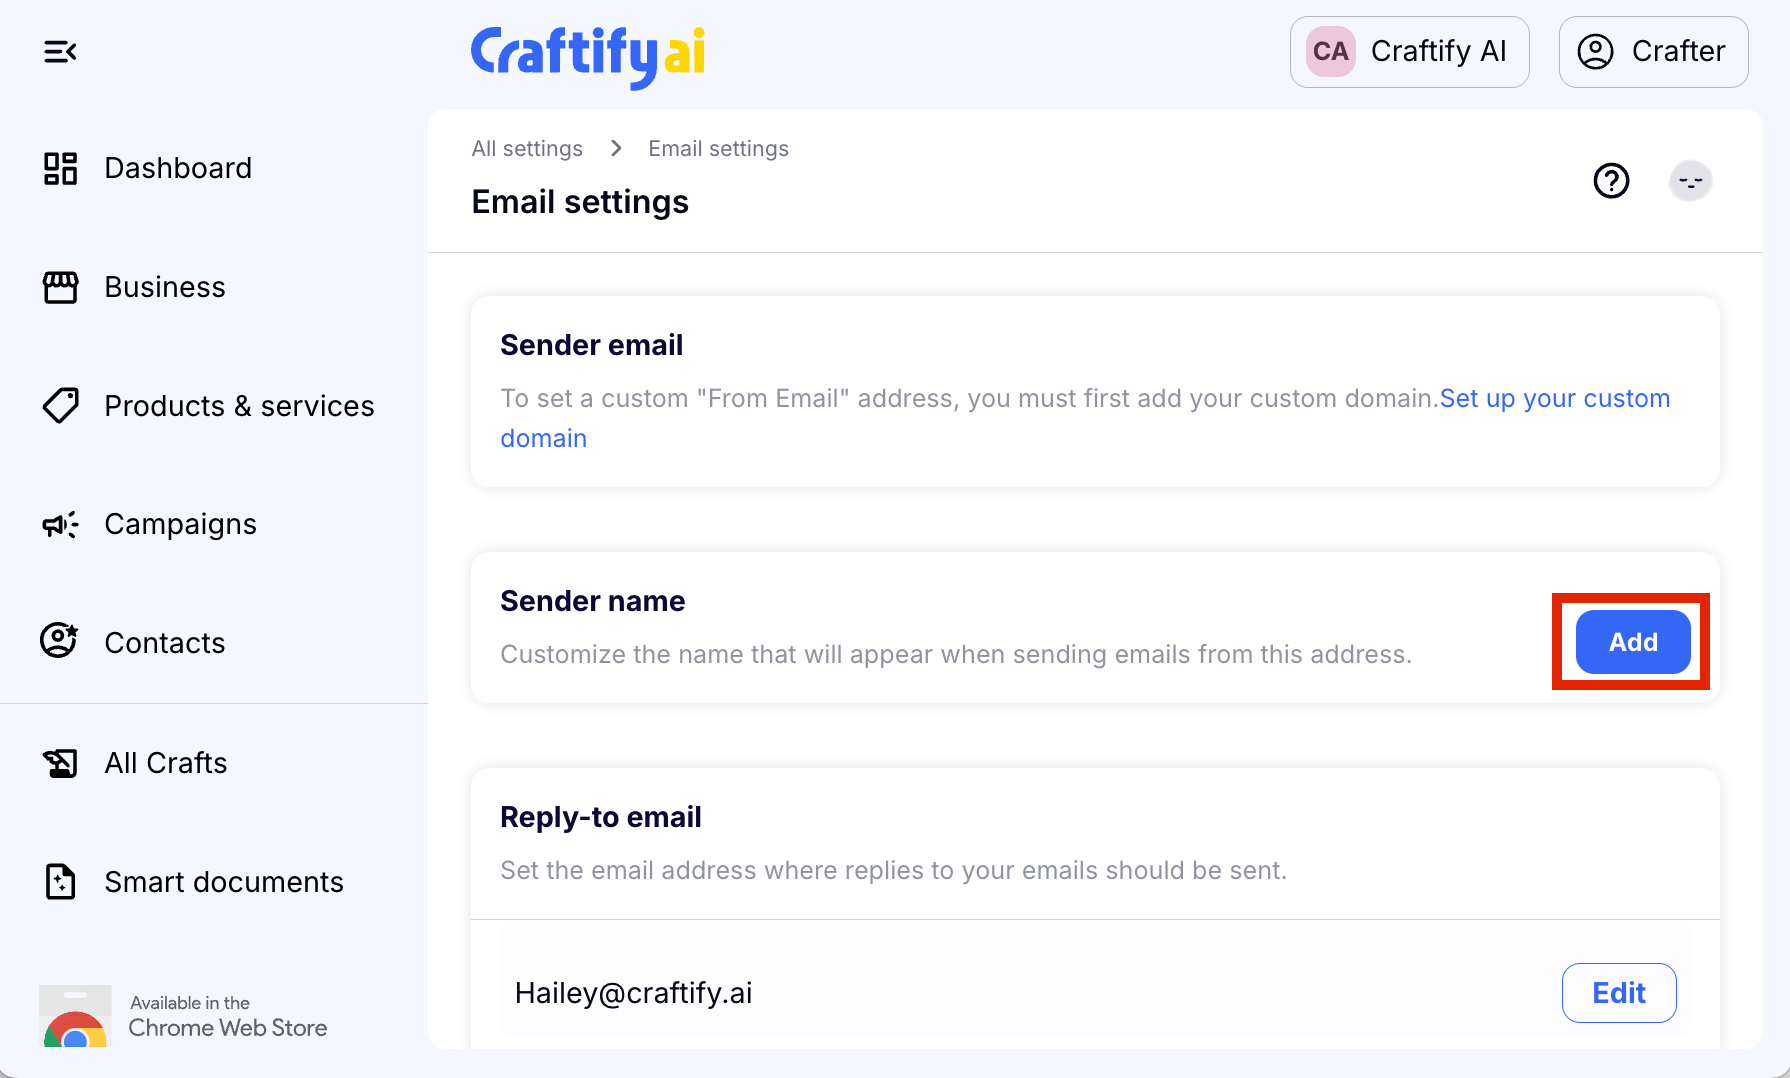
This is where you can personalize and let your audience know who is sending out the emails. You can choose to fill in this blank however you wish, but we recommend using either a name or a company name. Choose 'Save' to move on to the next step.

Step 3: Add or edit the Reply-to email
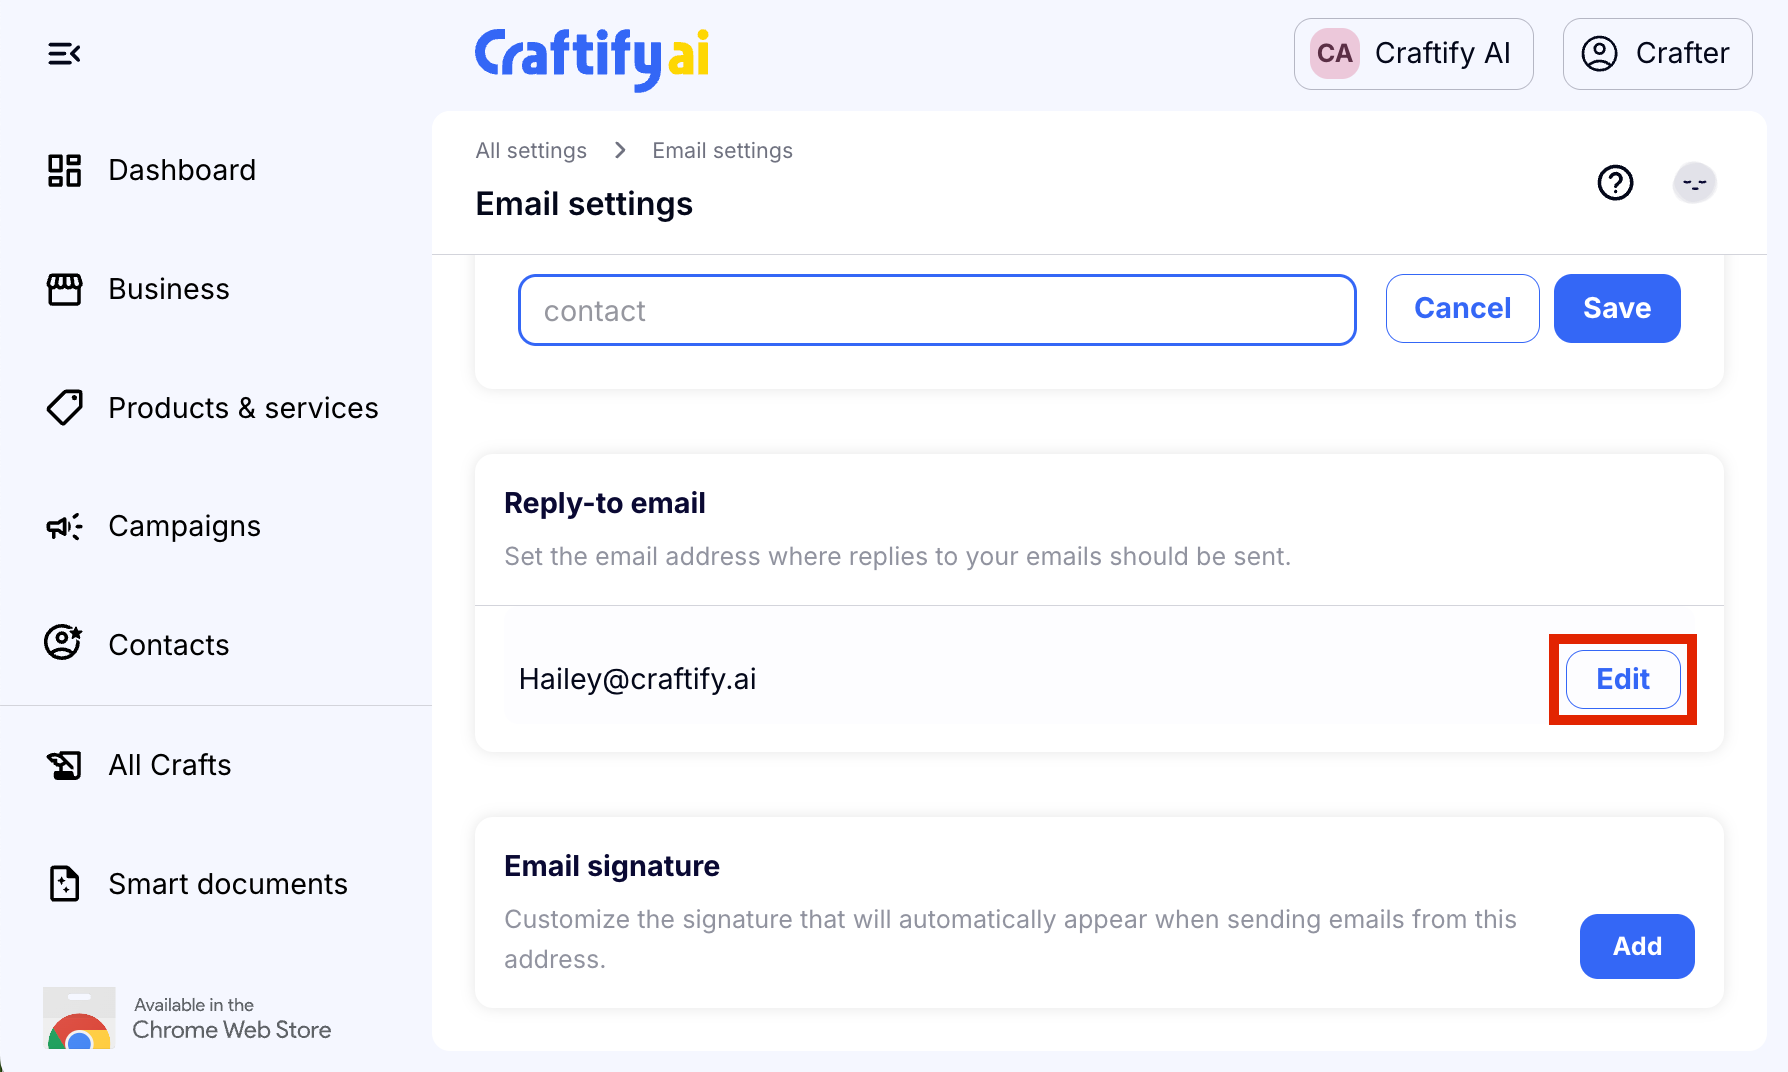
Automatically Craftify AI will use the email that you have registered with your account here. However, feel free to change this to any email you like! Make sure to double check your spelling, because this is where you will receive reply emails from your customers. So, you want it to be correct! Choose 'Save' to move on to the next step.
Step 5: Add your Email Signature
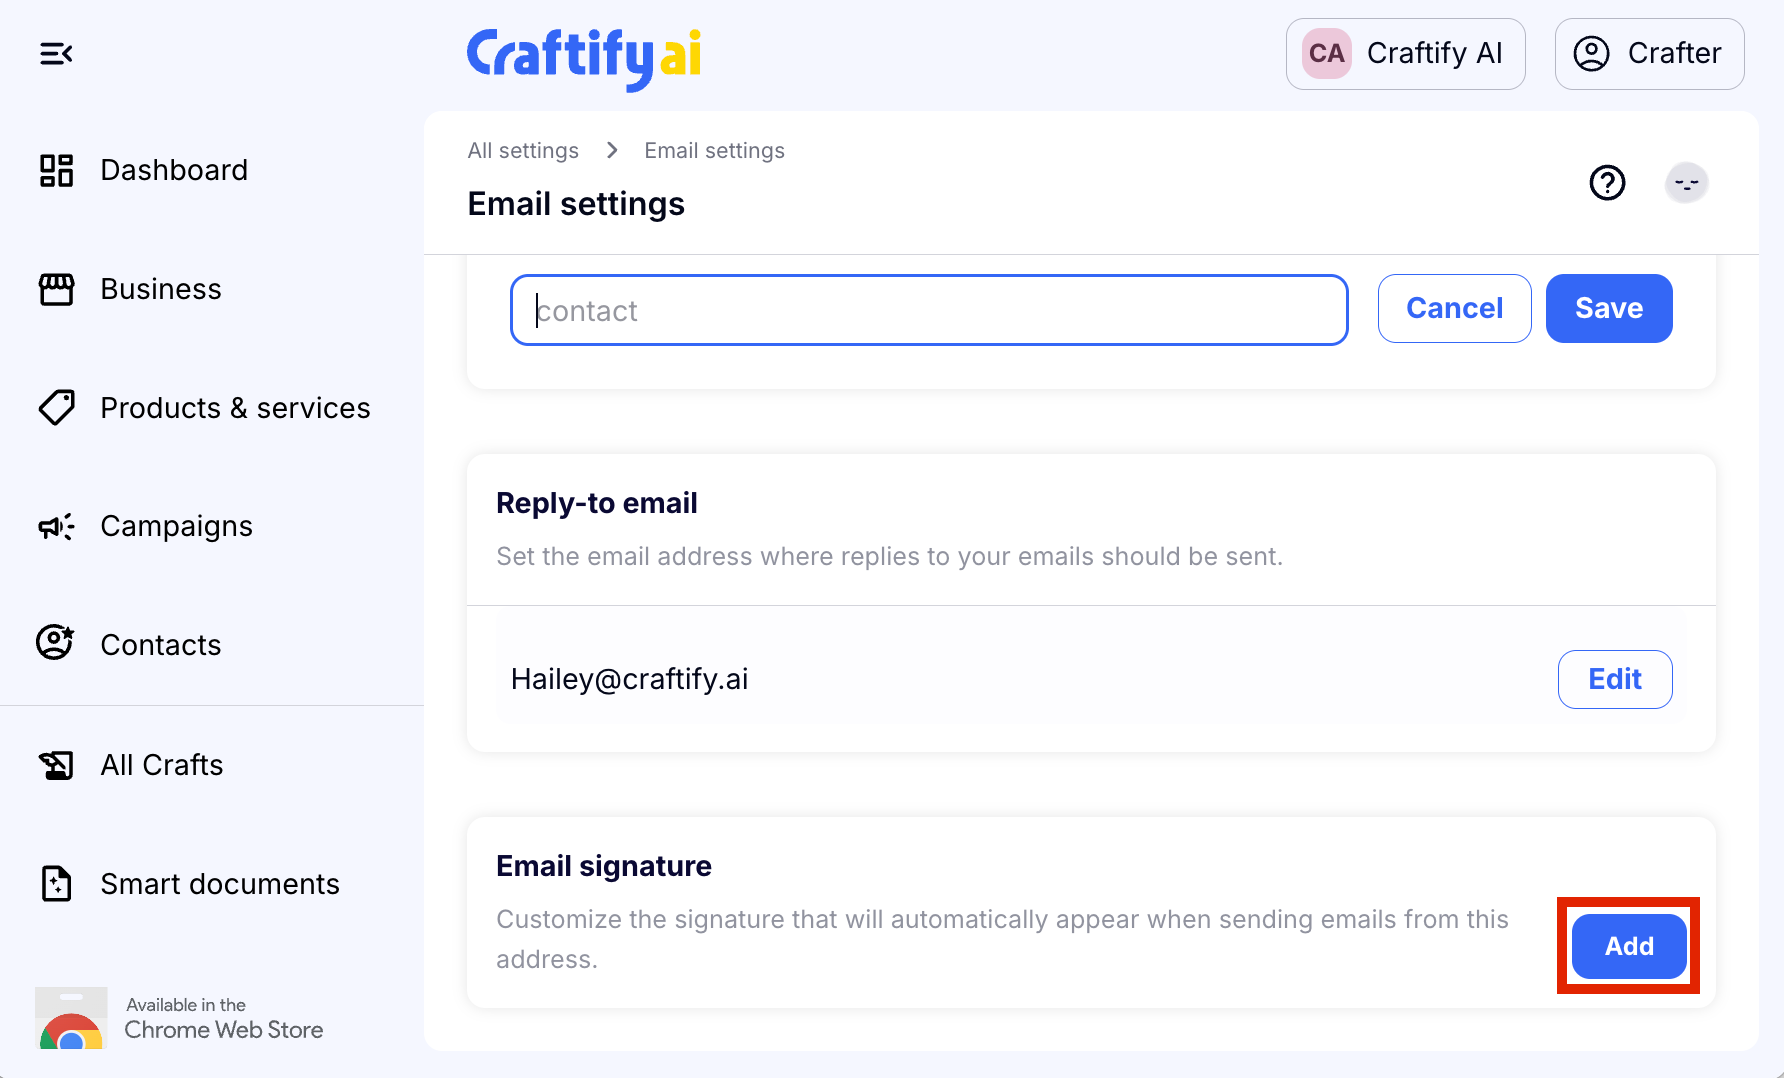
At the end of every email, you may wish to include a signature, which tells your reader who is sending the email, and maybe something else you want to add, like an inspirational quote, your company motto or mission statement, or a link to your website. You can get creative with this one or keep it simple, it's up to you! Choose 'Save' to finish and save your progress.
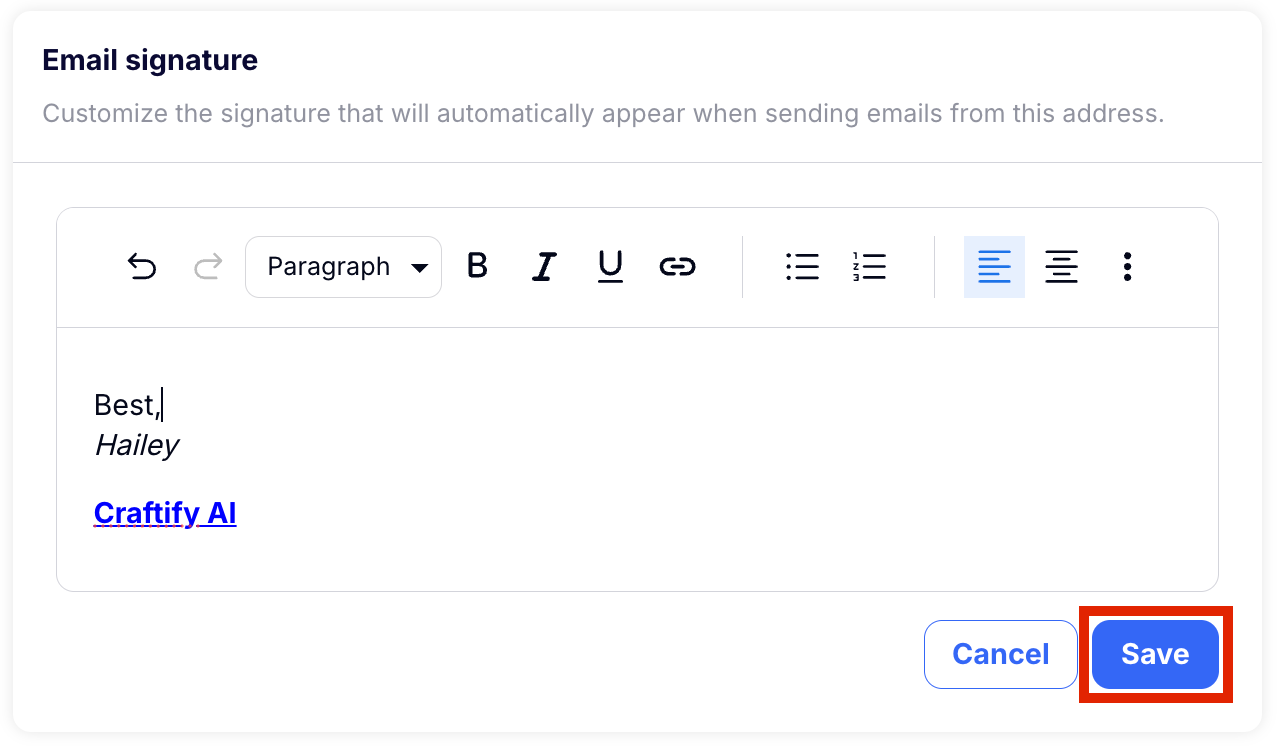
Told you it was super easy to set up your email settings!
Ready to start sending emails? HERE you can find a tutorial on how to use the email writer.